The Future Form of the Ita Bag: Giving Ken Kaneki a Dynamic Soul with an Electronic Pin
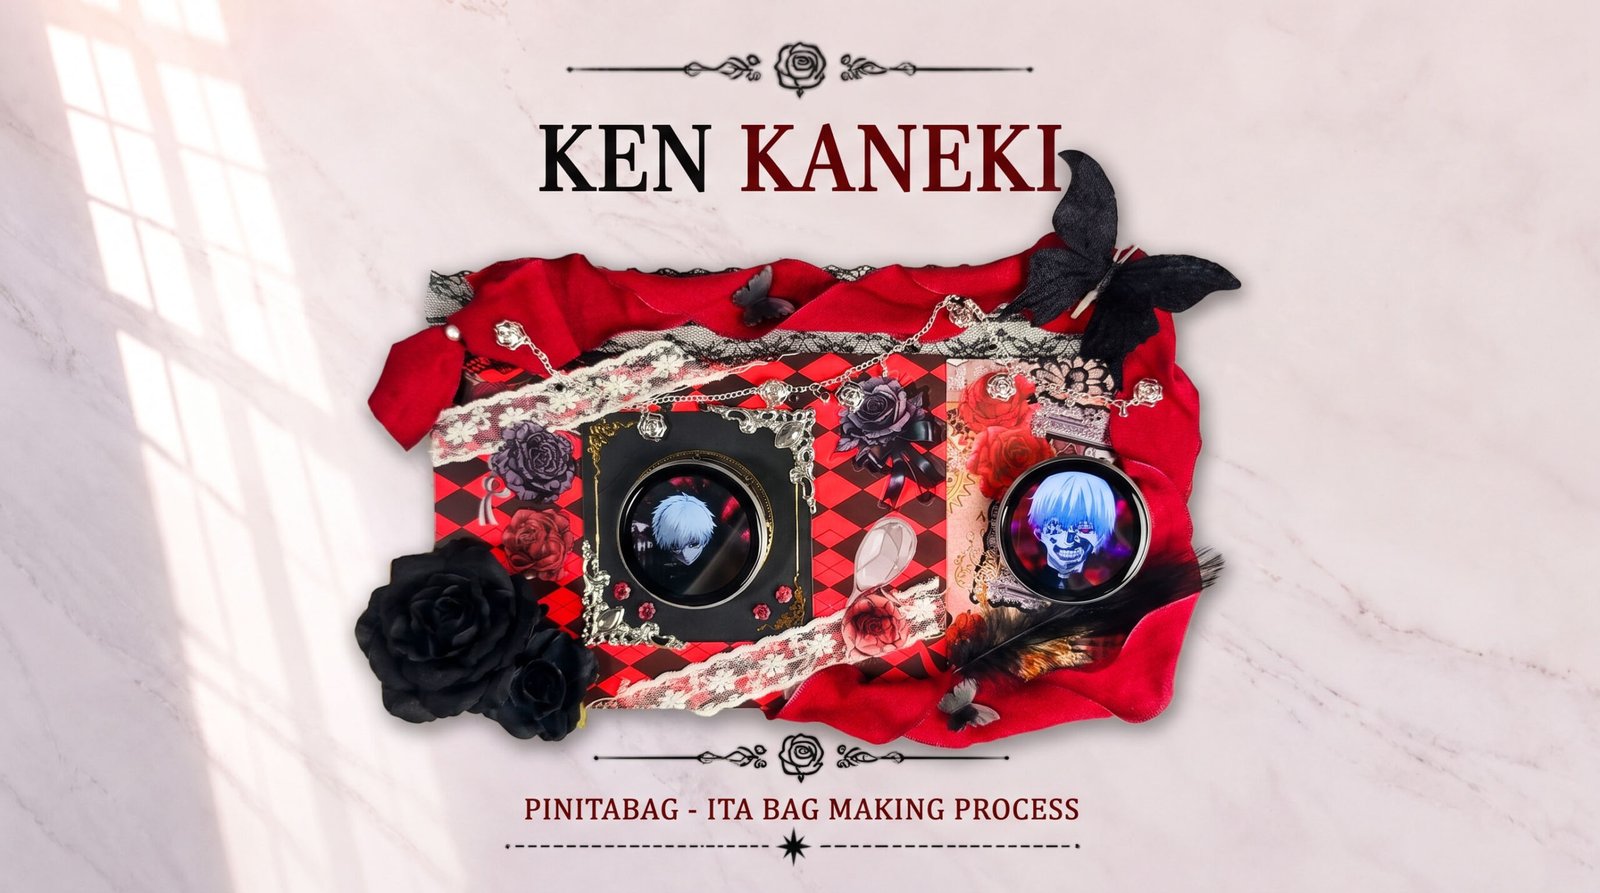
Table of Contents
For a long time, the core of an ita bag has never strayed far from static metal pins, enamel pin clasps, and acrylic stands. Out of love for a character, we carefully arrange them one by one, turning an ordinary bag into a moving display wall dedicated entirely to that beloved character.
But what if your ita bag could do more than that? What if the character inside could interact with you, switching its gaze and expression the instant you tap it, or even make a sound?
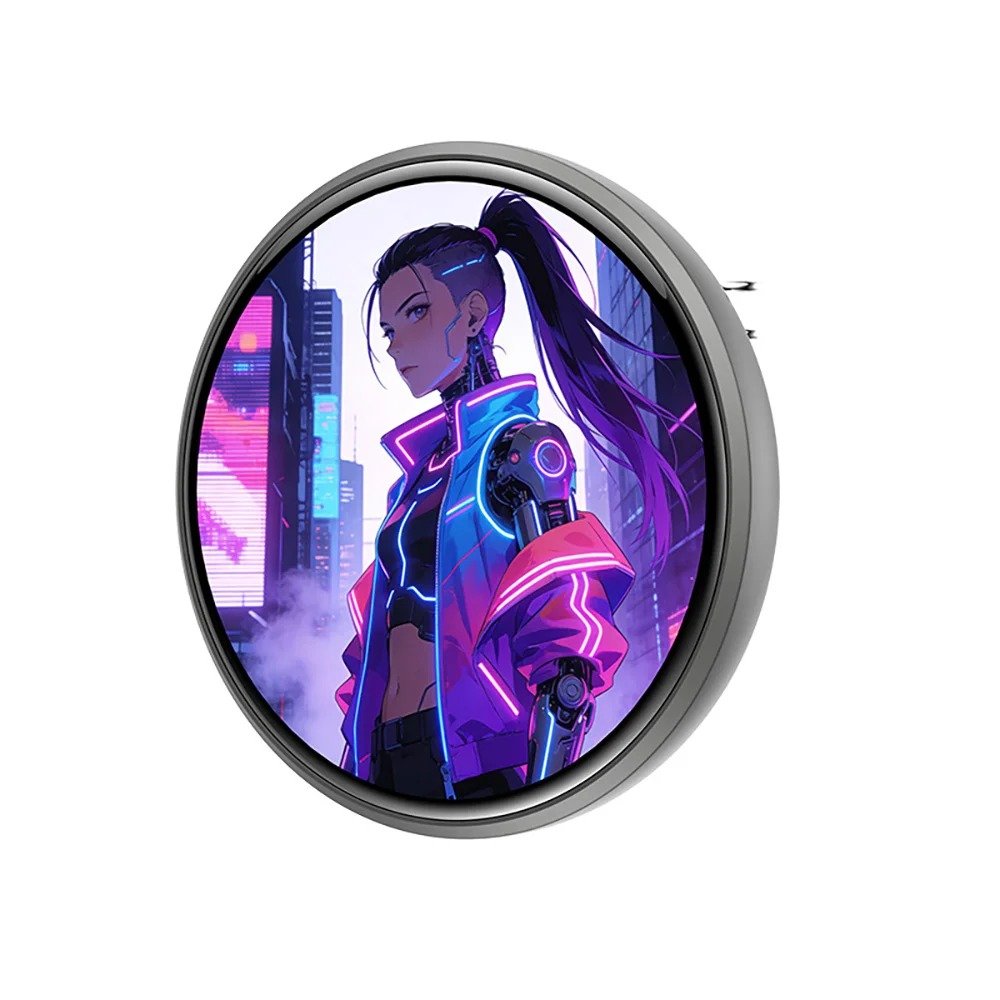
In our latest piece, we tried to push past the boundaries of the traditional handmade ita board, creating a board steeped in dark gothic style for Ken Kaneki from Tokyo Ghoul. The core of the whole board is, in fact, our team’s newest piece of high-tech innovation — a touchscreen electronic pin.
Today, we’ll walk you through how technology, dark aesthetic storytelling, and practical design come together in this Tokyo Ghoul–themed ita bag.
Core Highlight: A Whole New Upgrade, From Static Pins to Touchscreen High-Tech
Anyone who’s seen Tokyo Ghoul knows that Ken Kaneki’s growth carries a strong duality, human and ghoul, the once-gentle black-haired boy and the white-haired combat powerhouse he becomes. If you wanted to capture that kind of character depth using traditional static pins, you’d typically need to buy a huge number of pins and give up most of the board’s space to them.
The all-new touchscreen electronic pin completely changes the design logic of an ita board.
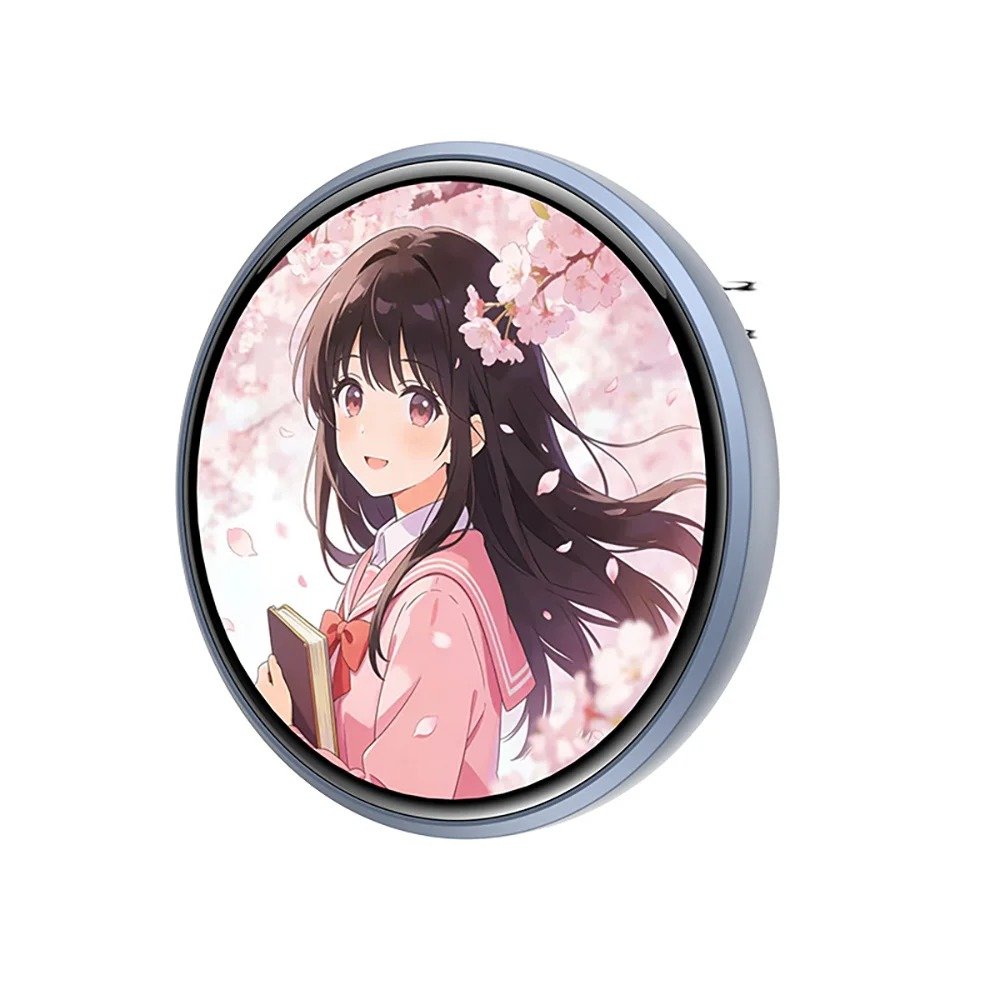
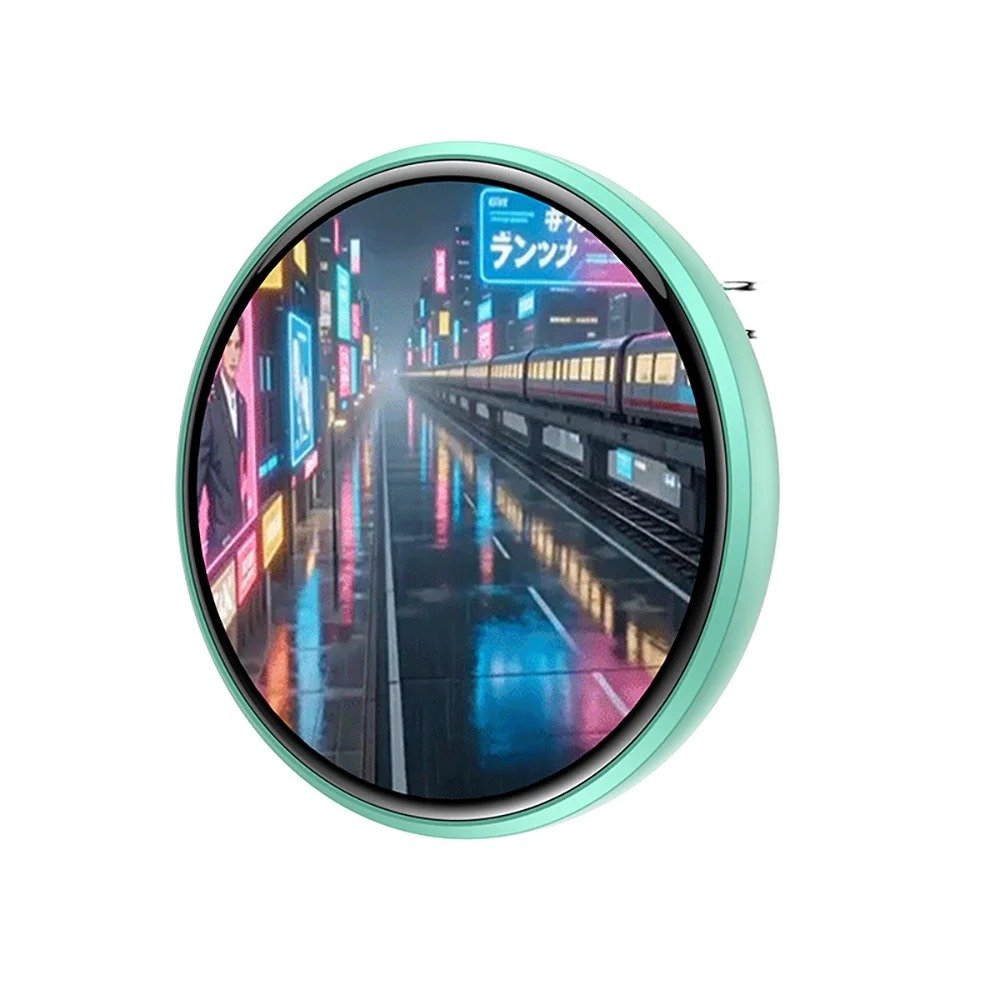
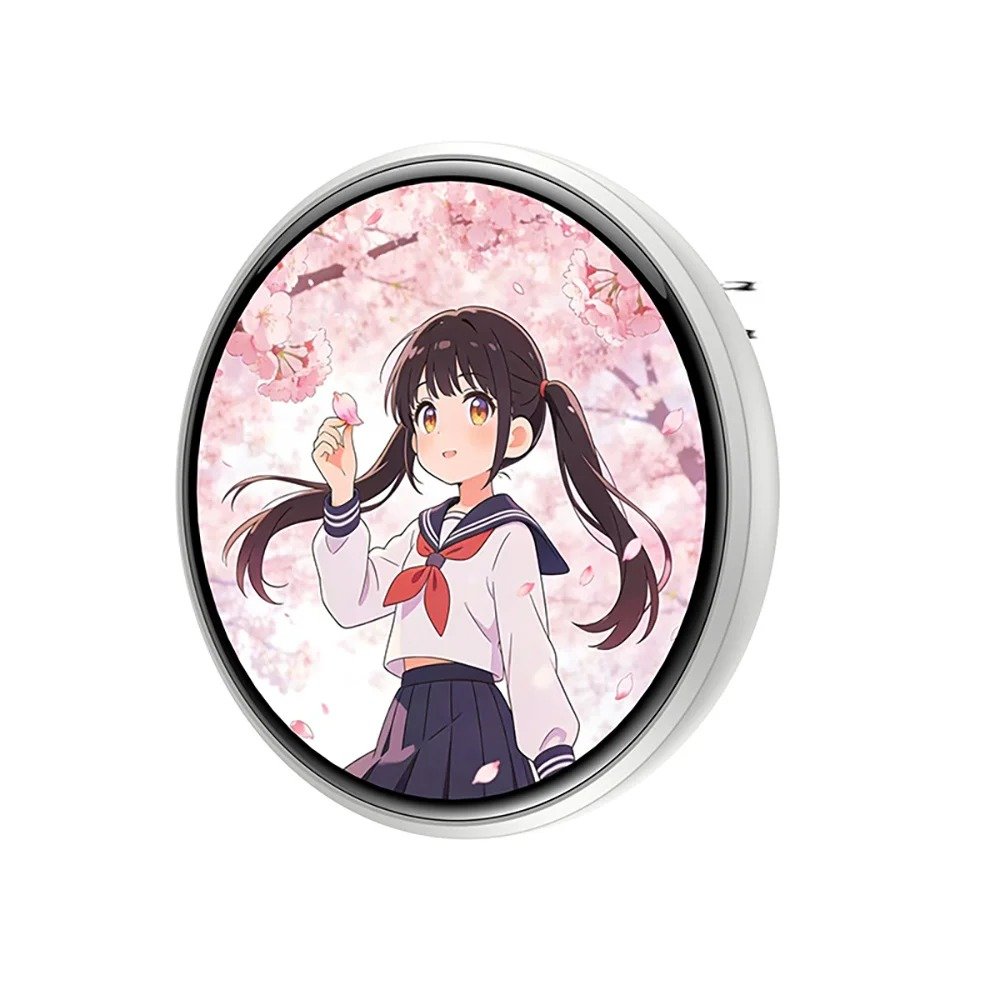
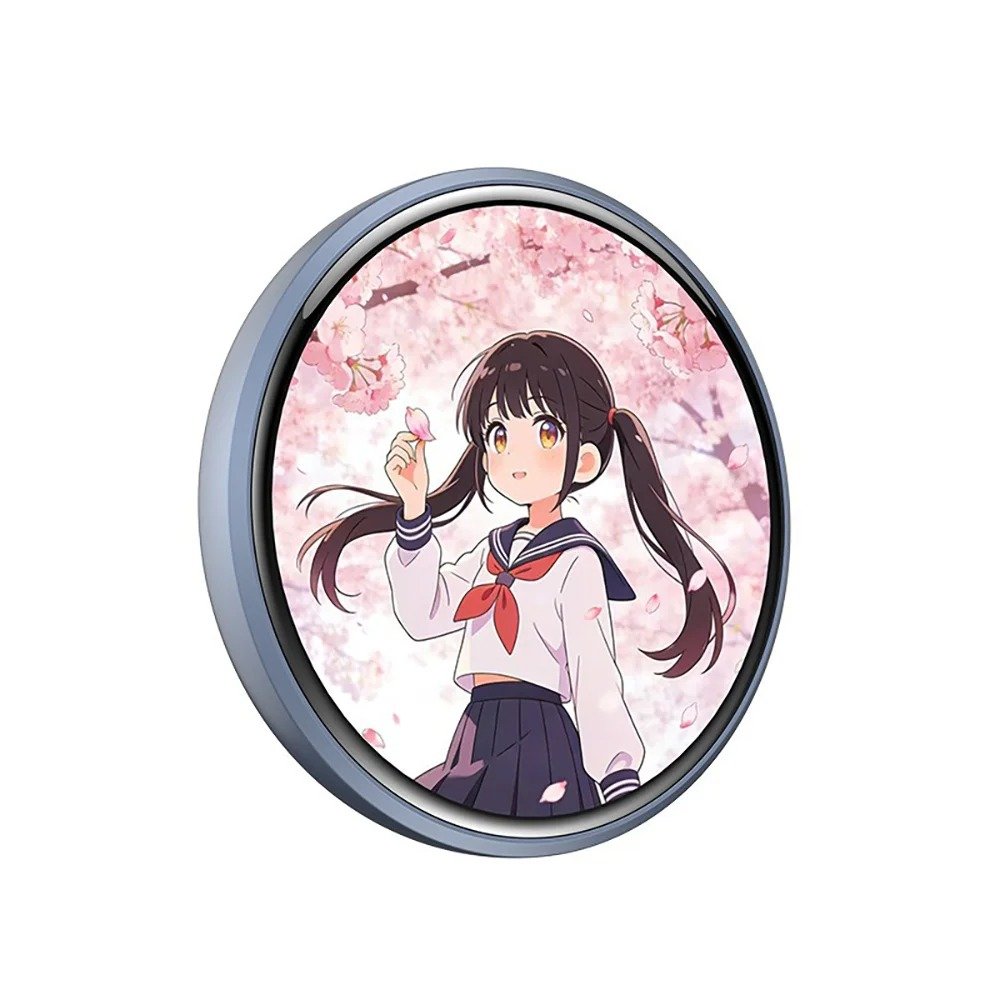
Dynamic scenes and expression switching: just tap the HD display, and you can freely switch between different iconic scenes, animated visuals, and character expressions. Ken Kaneki can shift seamlessly between his clear, human gaze and his glowing Kakugan form.
Built-in sound and iconic lines: on top of the visual impact, the electronic pin can also play the character’s iconic lines and original sound effects, instantly grabbing everyone’s attention at a convention or a get-together.
Lightweight, purpose-built design: engineered specifically around ita board thickness and load-bearing needs, it mounts securely on all kinds of insert boards without causing the clear window in front to sag or warp.
You no longer need to buy dozens of matching pins just to fill up a board — a single interactive electronic pin, used as the visual centerpiece, is enough to make the whole board the center of attention.
Where Tragic Character Aesthetics Meet a Gothic Design Language
With the electronic pin as the heart of the whole board, we didn’t just stick it onto an ordinary backing. Instead, we wanted the entire board to tell its own story, through material, color, and symbolic elements.
For a character like Ken Kaneki, we chose a dark gothic visual design.
Classic red-and-black diamond pattern: a base of the classic red-and-black diamond argyle pattern, hinting at tangled bloodlines, a chaotic order, and the tragic fate Kaneki can never escape.
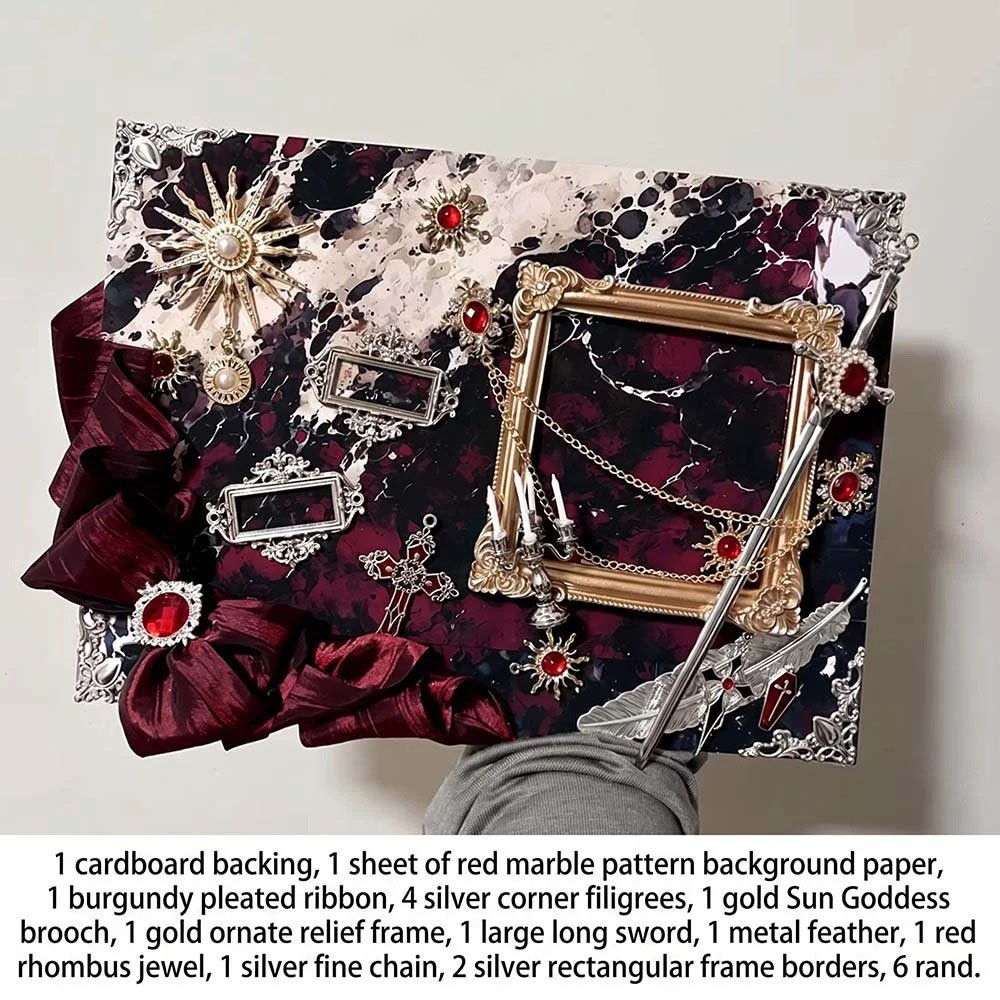
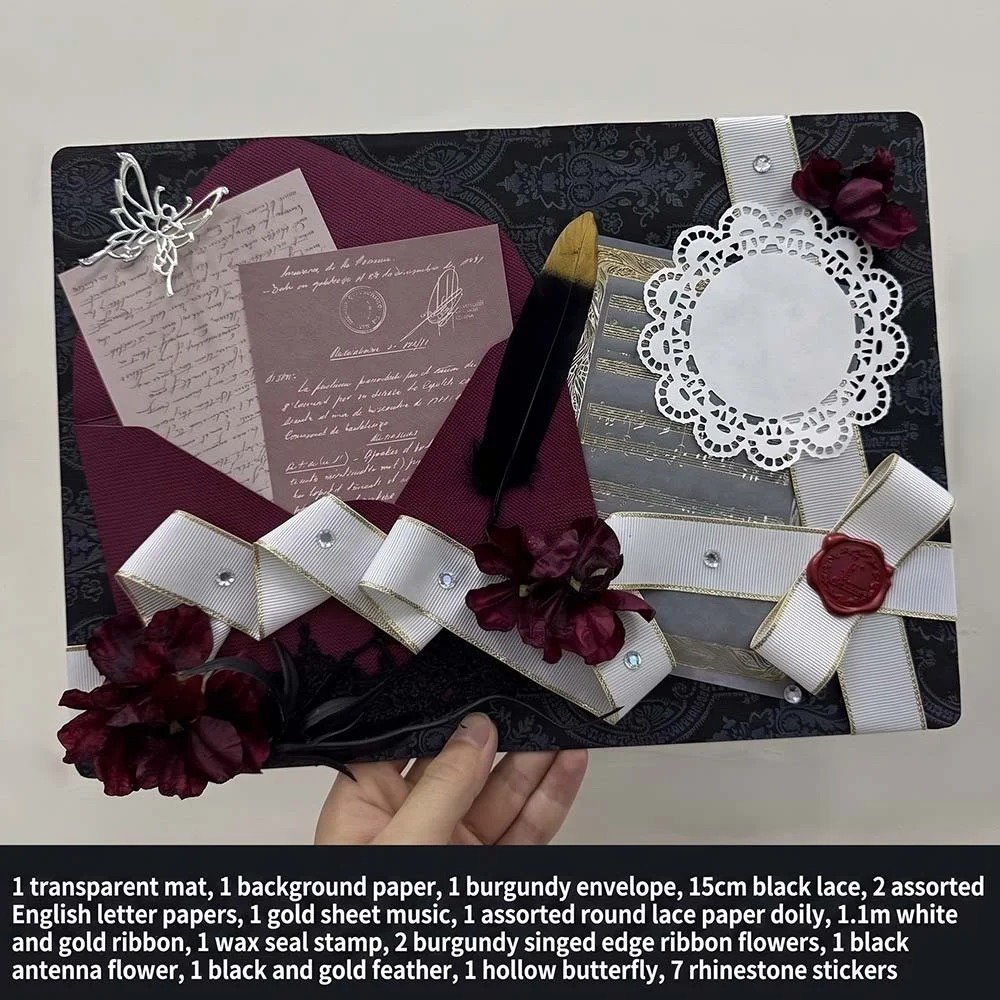
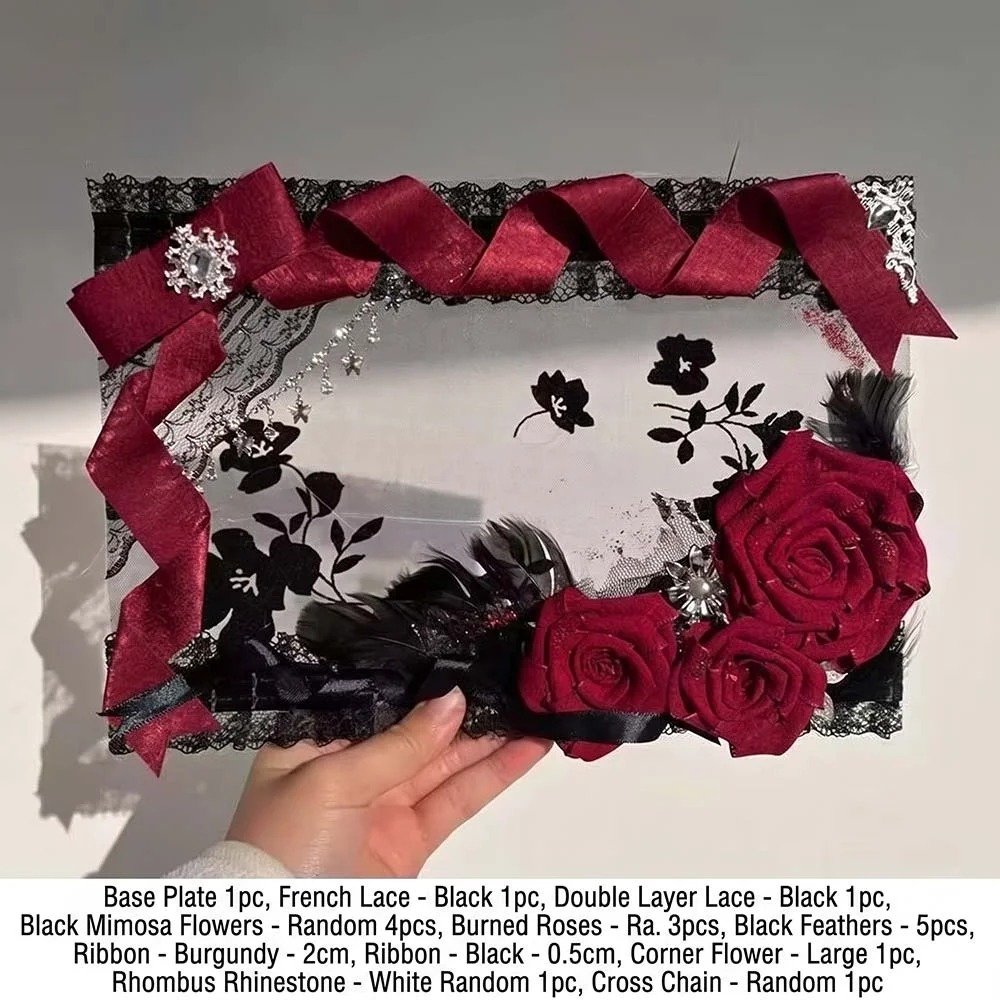
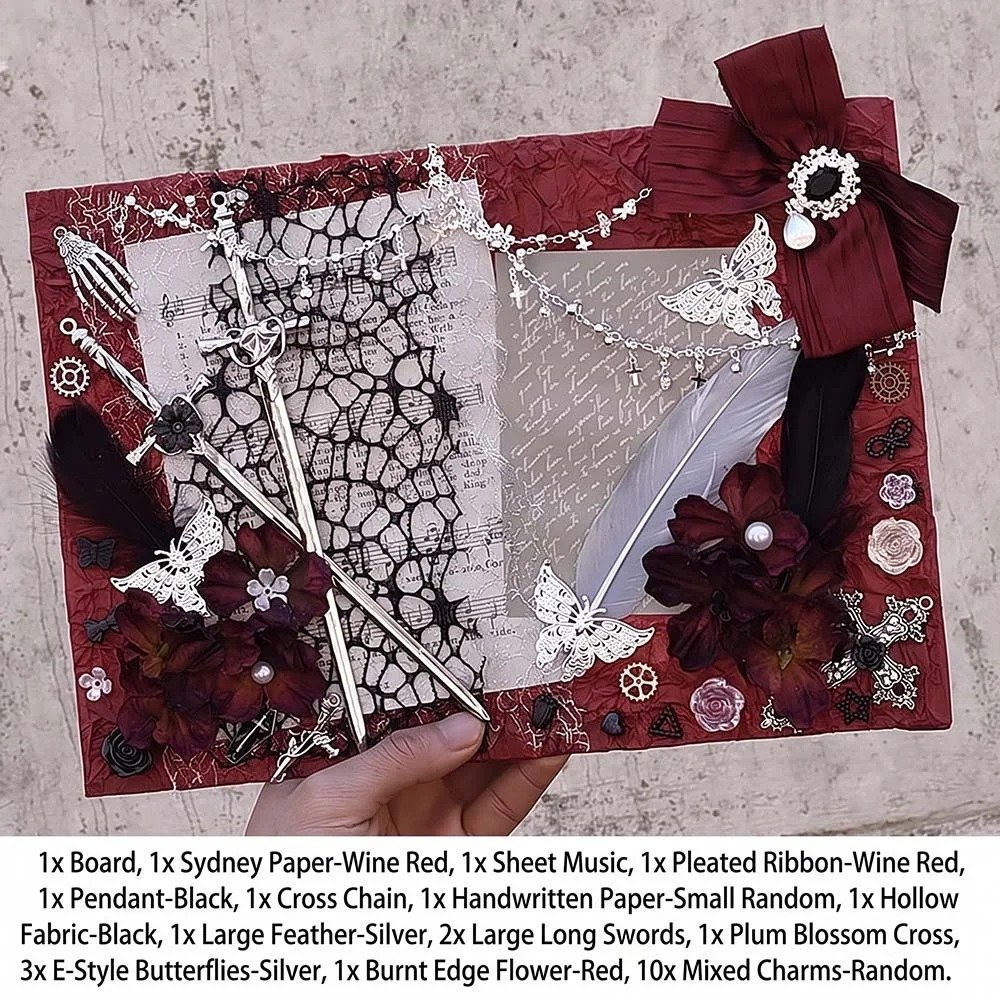
Multi-layered material collage: we used a dark red ribbon fold for the edging and black vintage lace for the border. The soft, delicate fabric texture cleverly softens the hard edge of the plastic backing, while creating a lavish, cathedral-like gothic atmosphere.
Symbolic dimensional ornaments
Black rose: symbolizing death, rebirth, and a descent into darkness, echoing Kaneki’s transformation toward his centipede-like kagune form.
Black butterfly and metal chain: a silver metal chain running across the board naturally connects the electronic screen to the surrounding decor, while the black dimensional butterfly symbolizes his fragile, struggling human soul.
When these delicate handmade materials come together with the glowing touchscreen, the warmth of traditional handmade craft and modern high-tech collide into a strikingly powerful visual effect.
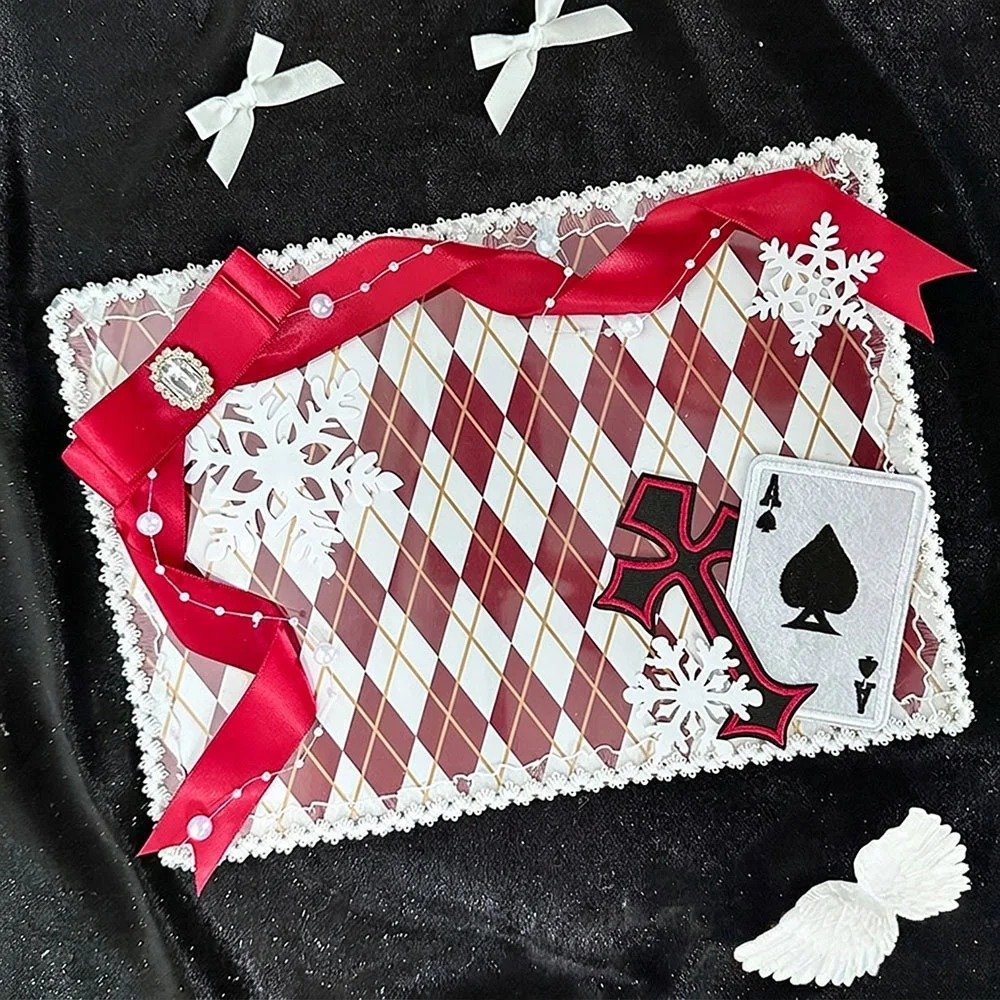
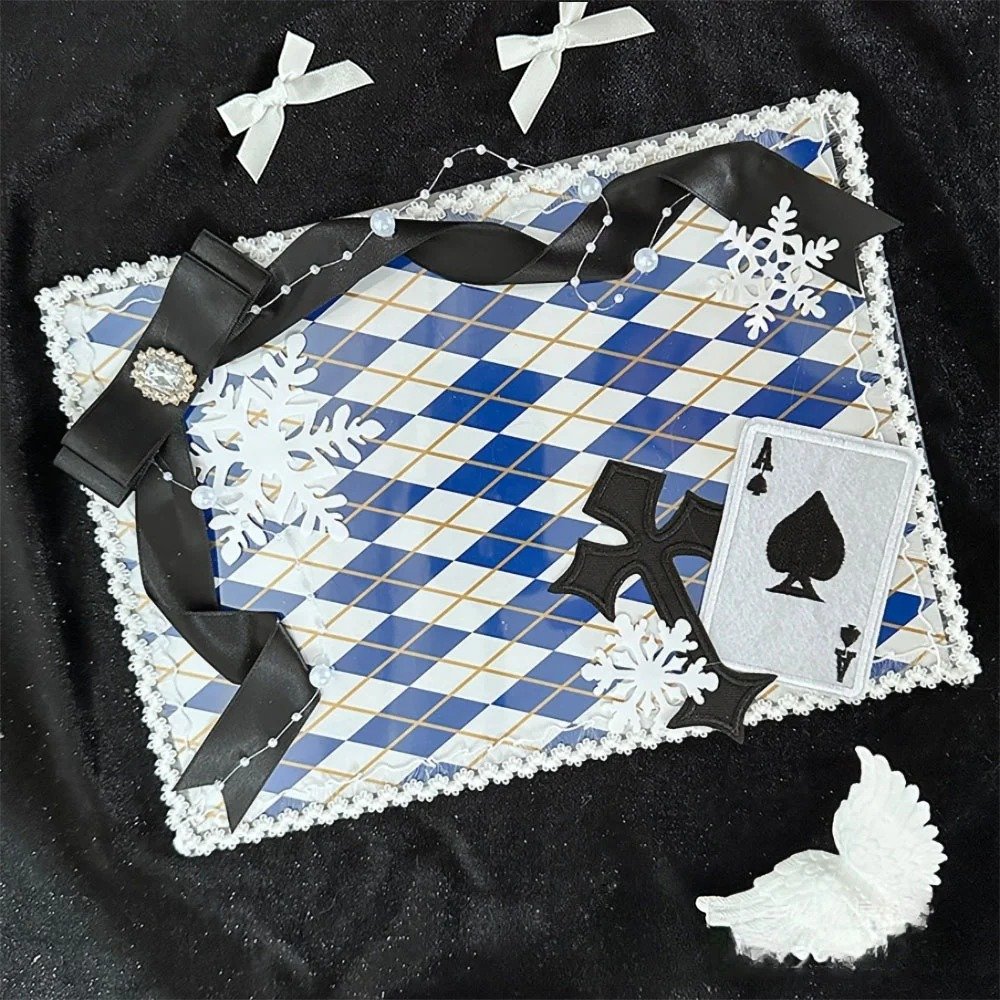
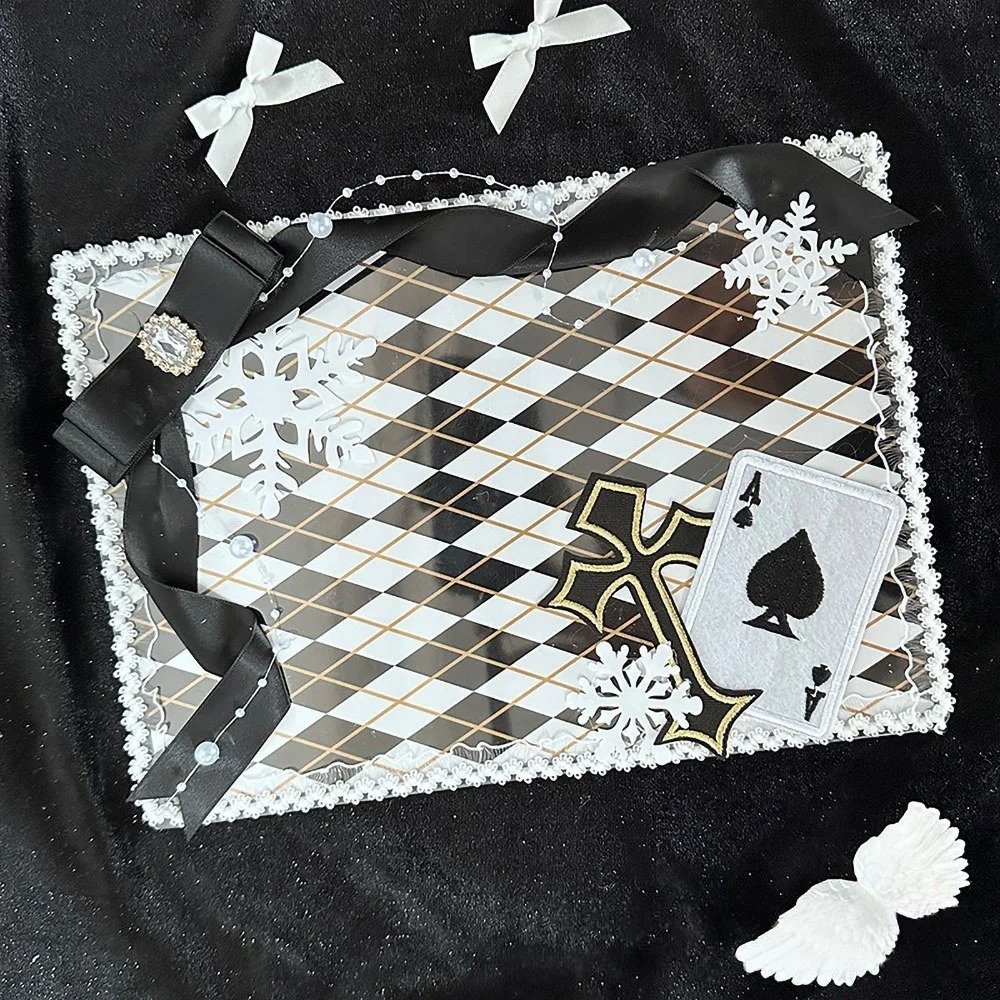
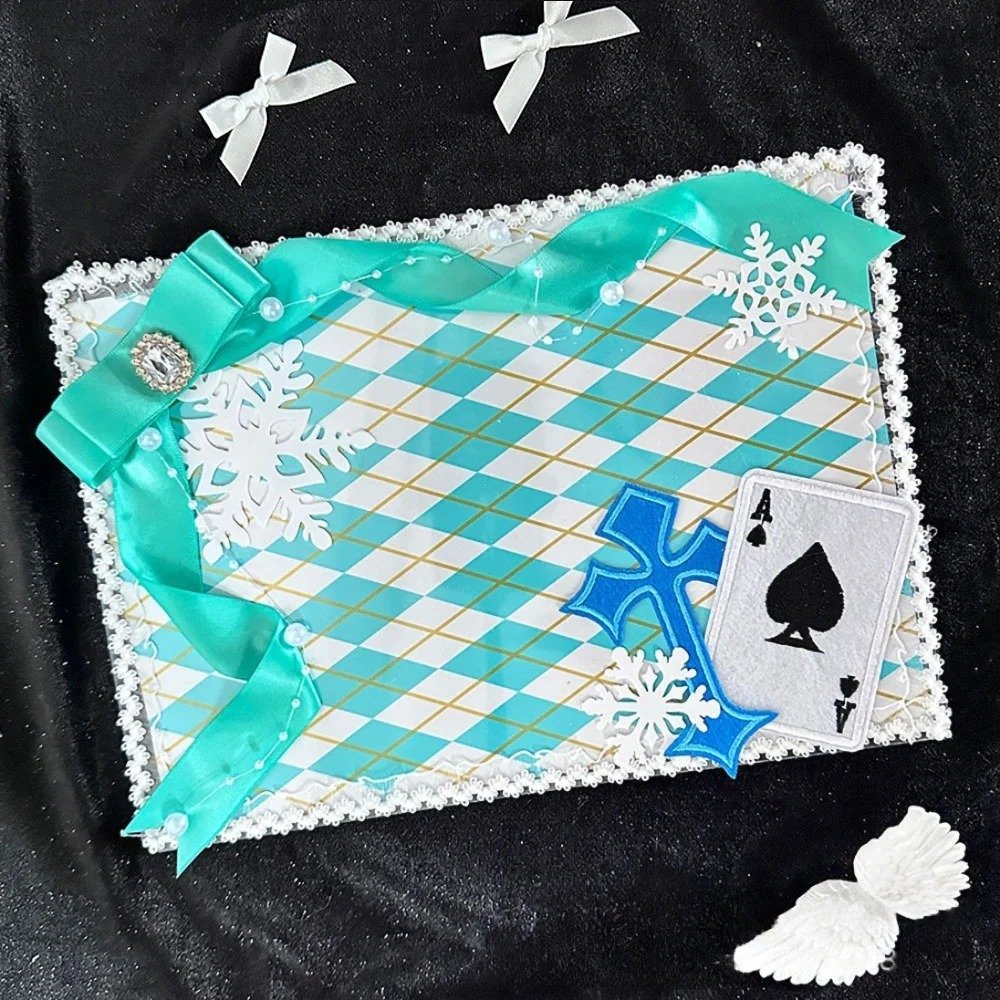
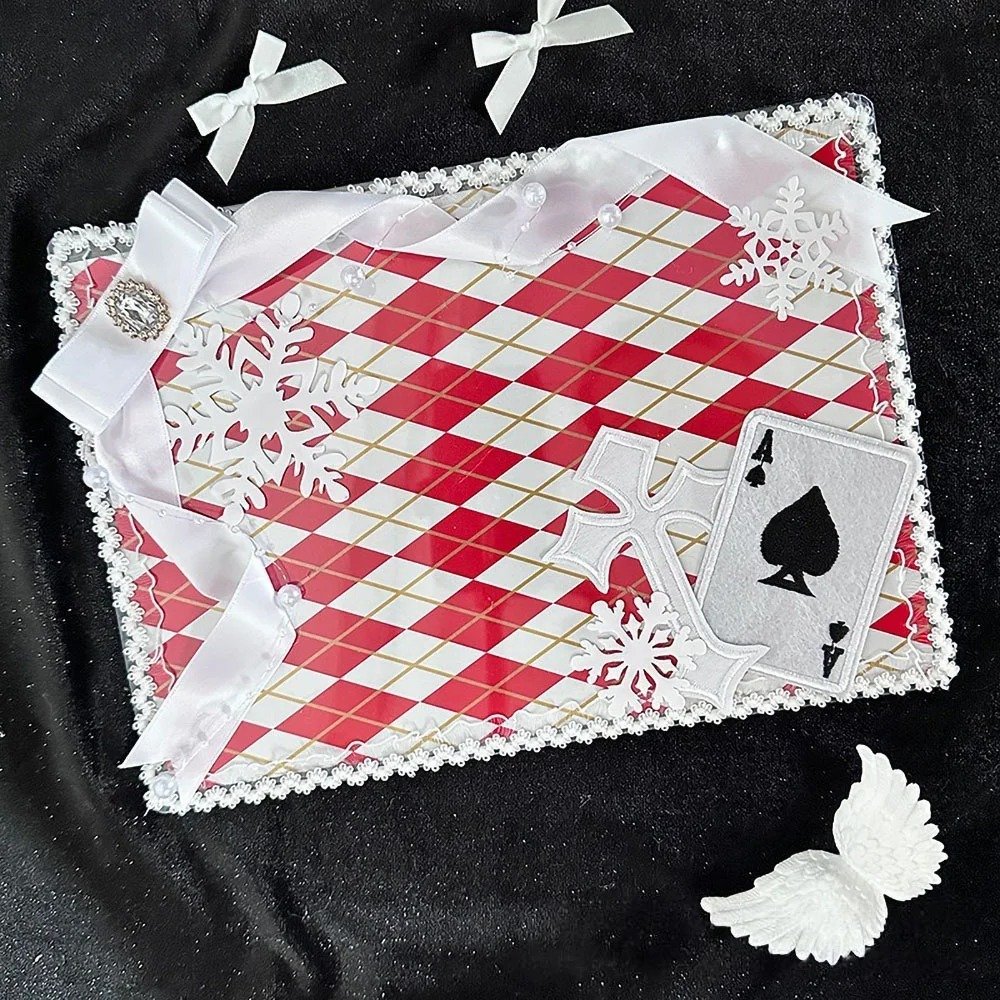
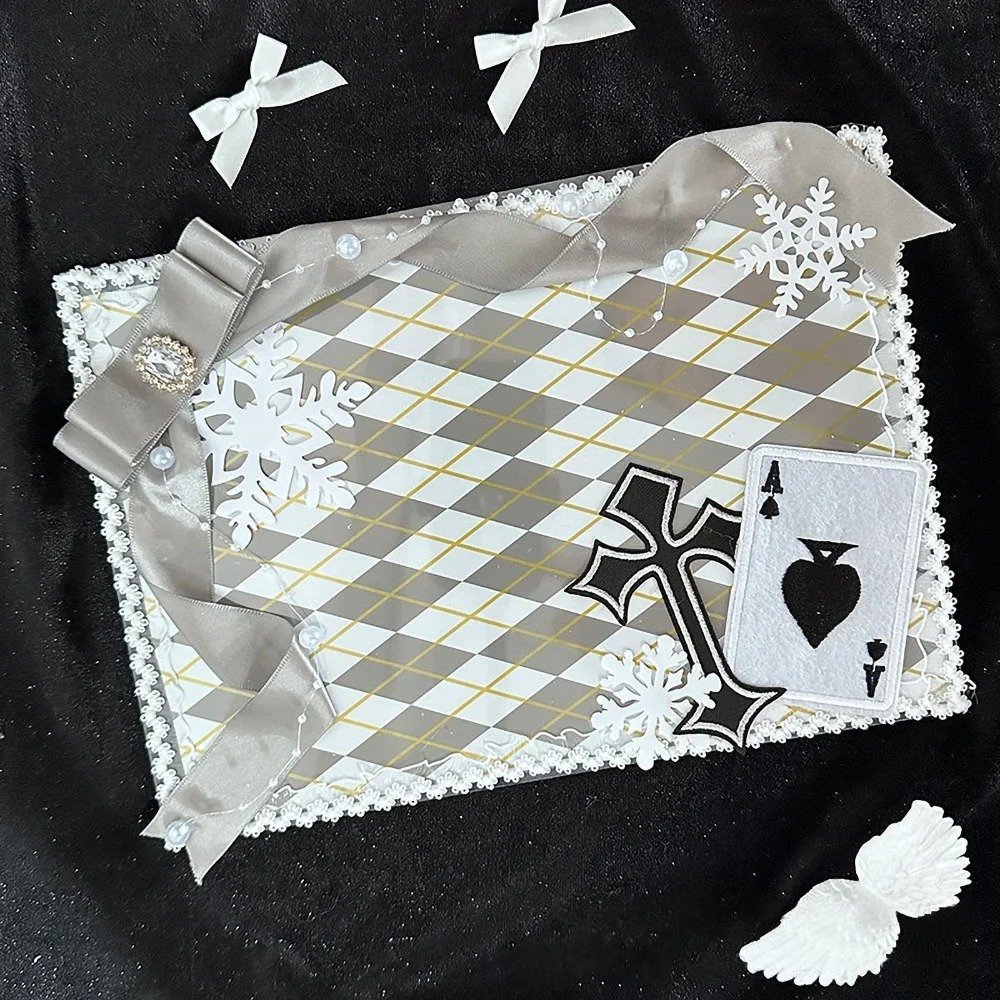
Full Breakdown of the Handmade Process: Building a Gothic Electronic Ita Board From Scratch
To give everyone a clearer picture of how this board came together, we’ve broken the process down into the following steps.
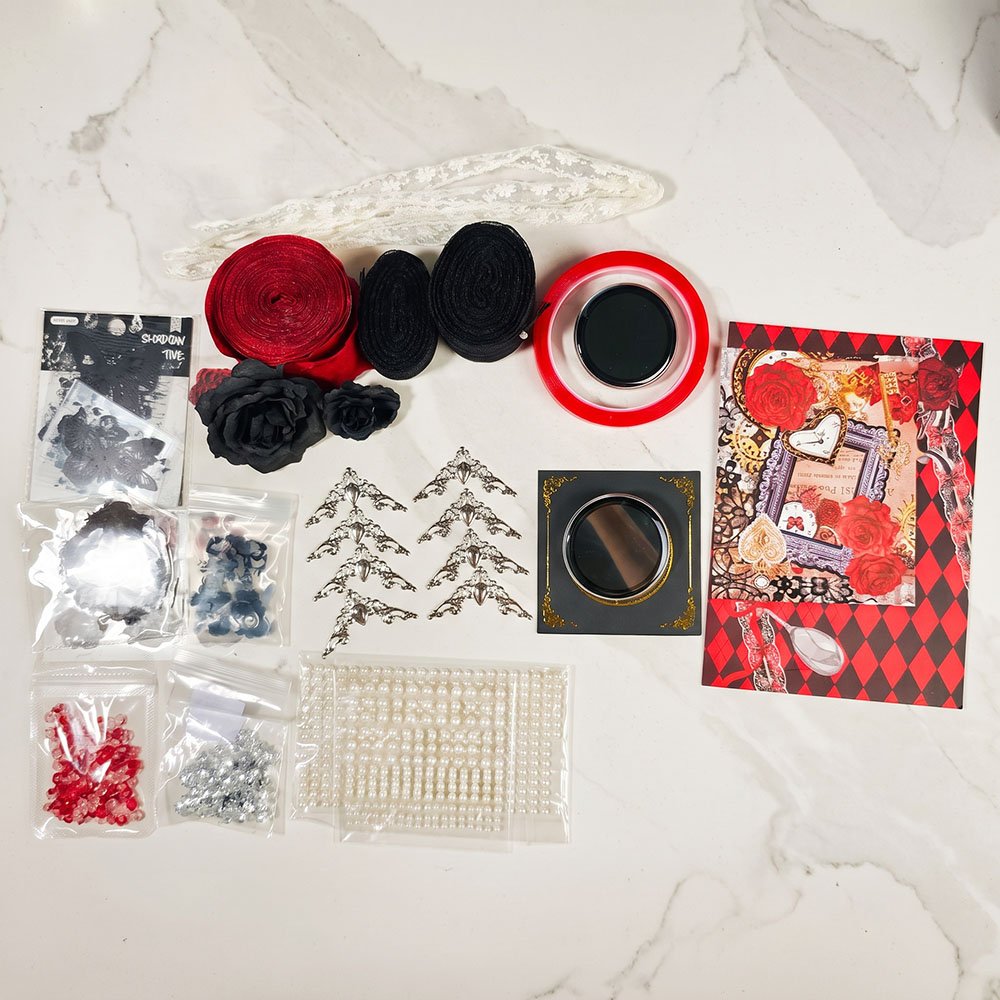
Laying down the base layer and edging
First, apply double-sided tape onto the clear PVC board, then lay down the red-and-black diamond-pattern paper and the vintage rose-print paper flat on top.
Along the edge of the board, stick on black vintage lace trim, then hand-fold a dark red ribbon into pleats and press it along the top and right side of the board, creating a heavy, elegant gothic frame effect.
Making the handmade bow and outline
Cut and fold a dark red ribbon into a dimensional ribbon bow, accent the center with a pearl embellishment, and fix it in the upper-left corner of the board.
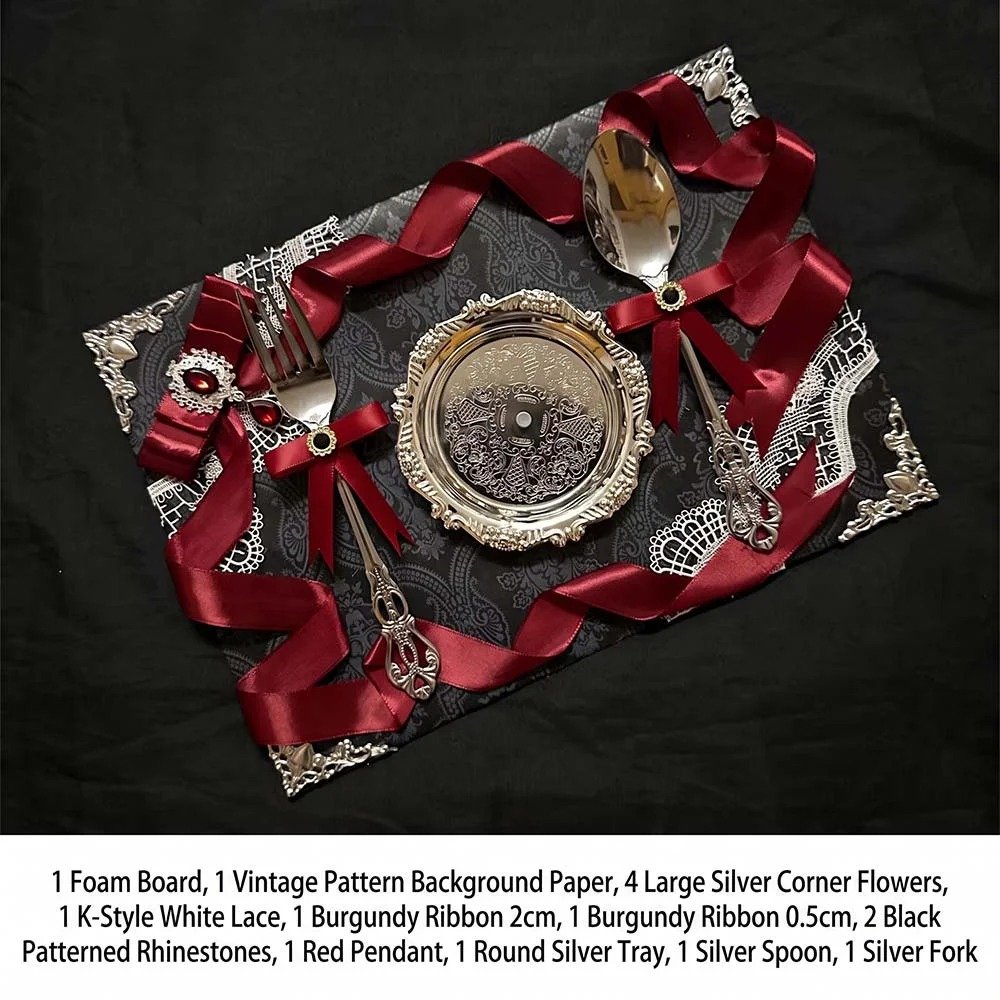
In the left area of the board, apply a black-and-gold foil-stamped vintage magic-circle sticker, and stick vintage silver filigree ornaments diagonally across the frame corners to reinforce the outline, establishing the visual anchor frame for the core pin, while arranging two strips of white lace trim around it, creating a sharp contrast against the black lace trim.
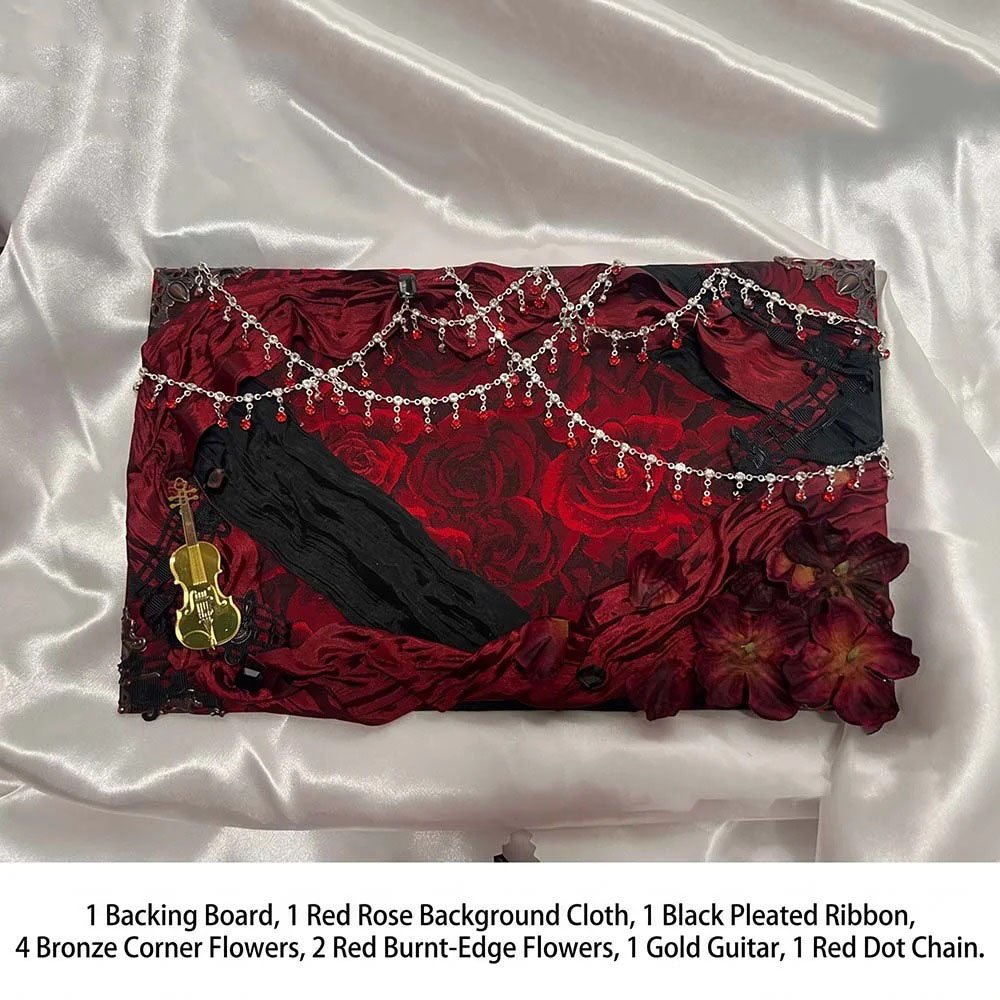
Installing the core, the touchscreen electronic pin
Right in the center of the black-and-gold frame sticker, glue down the round electronic pin securely.
Turn the device on and test switching between visuals and sound effects with a tap, to make sure the display function works properly.
Adding more dimensional accessories and extending the visuals
Above the electronic pin, run a silver metal chain across, and add a second electronic pin from the same series on the right side, creating a split left-right visual with dual-screen focus.
On the left side of the board, fix two dimensional black fabric roses, and on the right side, add black feathers, dimensional black butterflies, and decorative stickers to fill in the empty space.


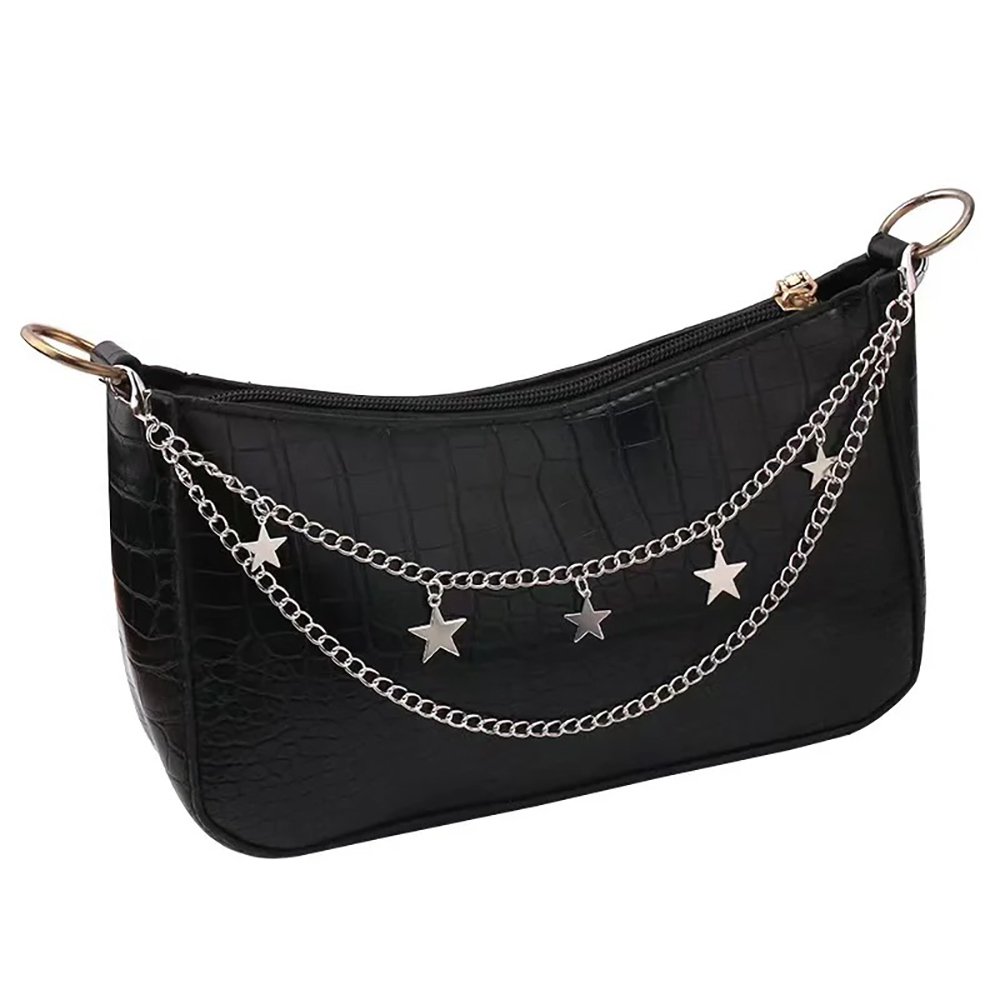
Sliding it into the ita bag and displaying it
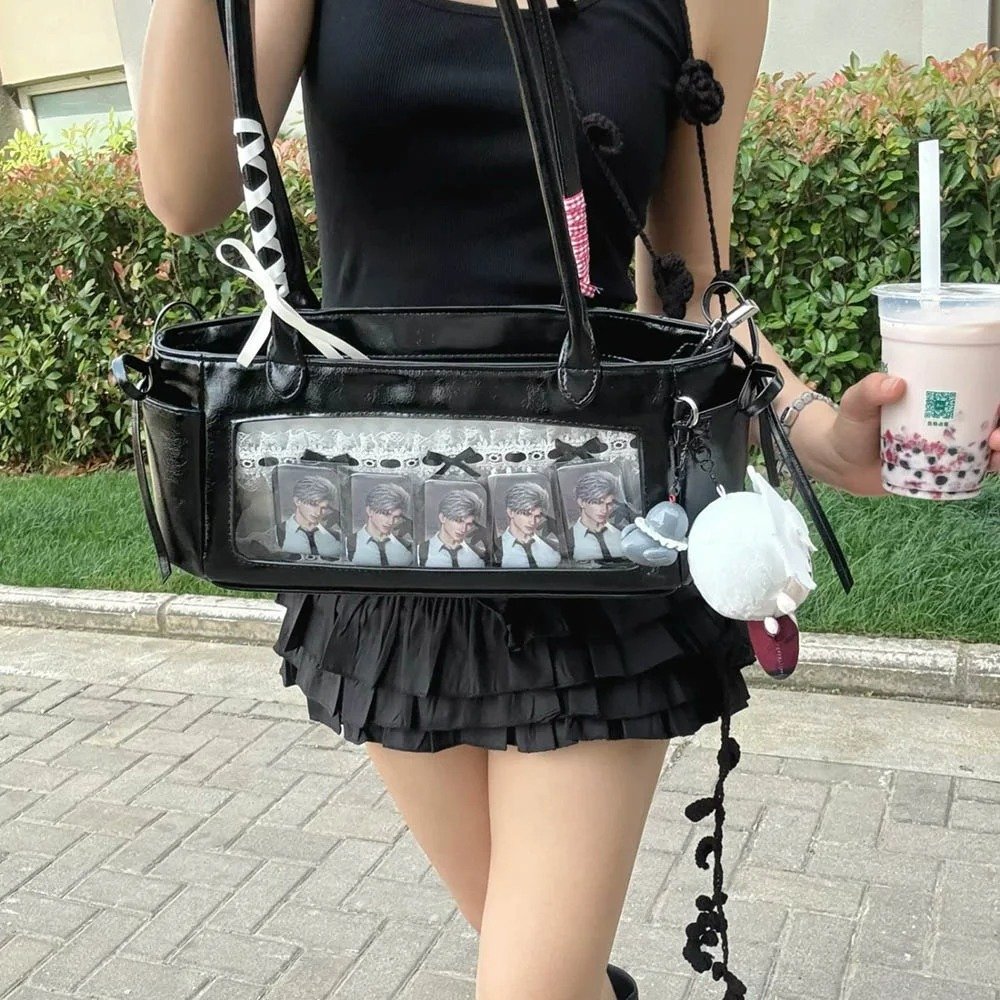
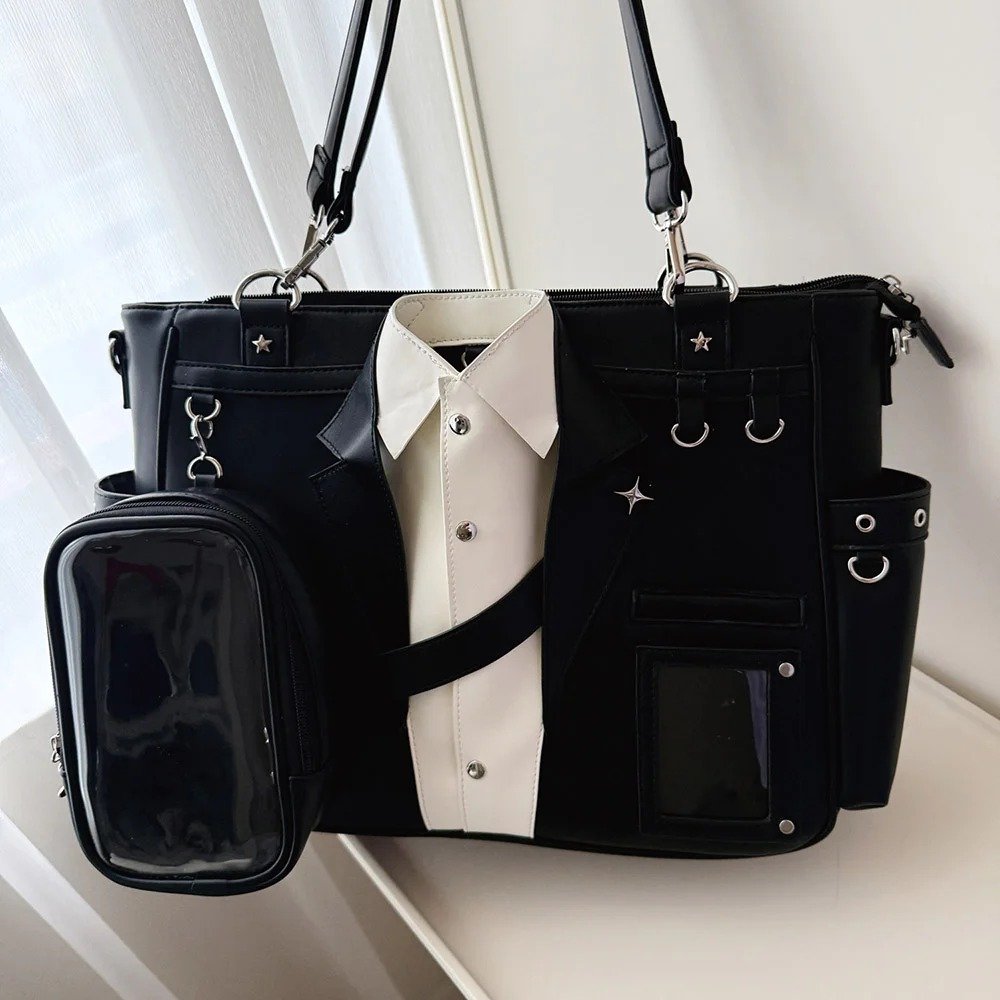
Gently slide the finished gothic board into the clear window of the black ita bag, zip it up, and you’re done!
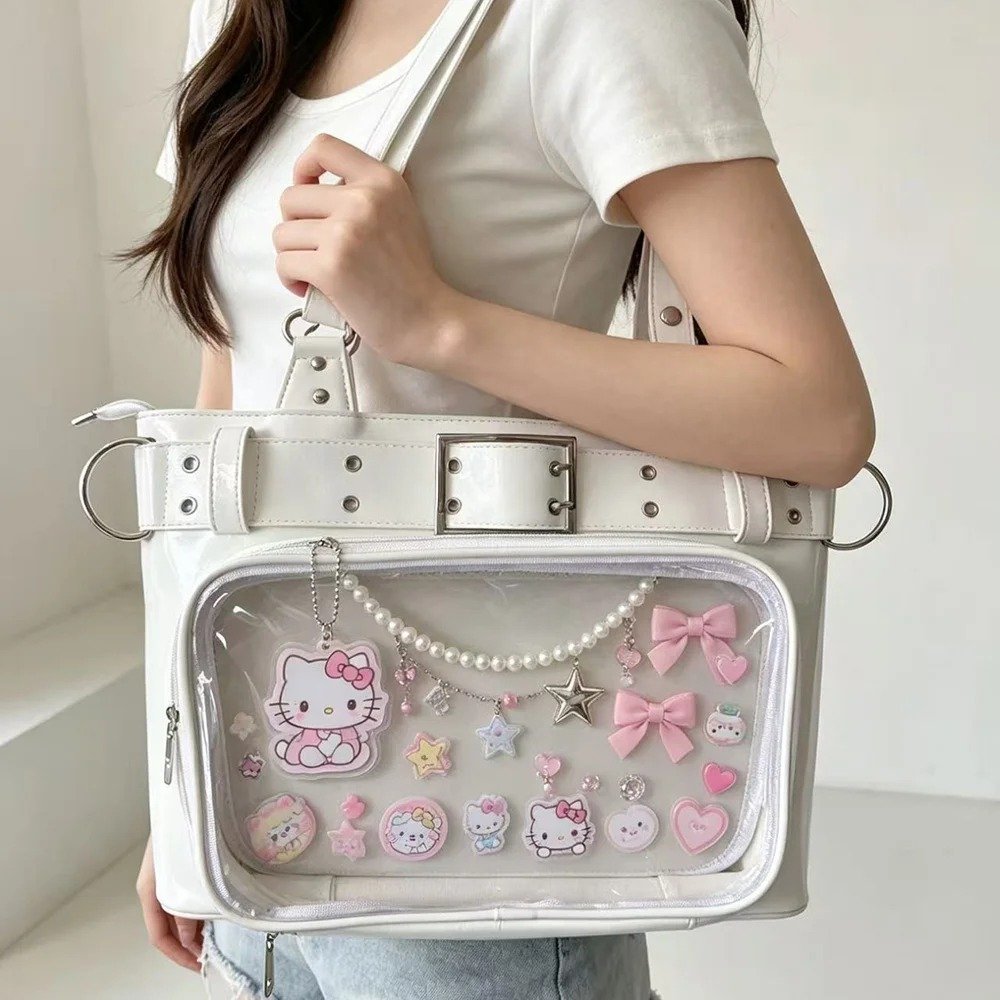
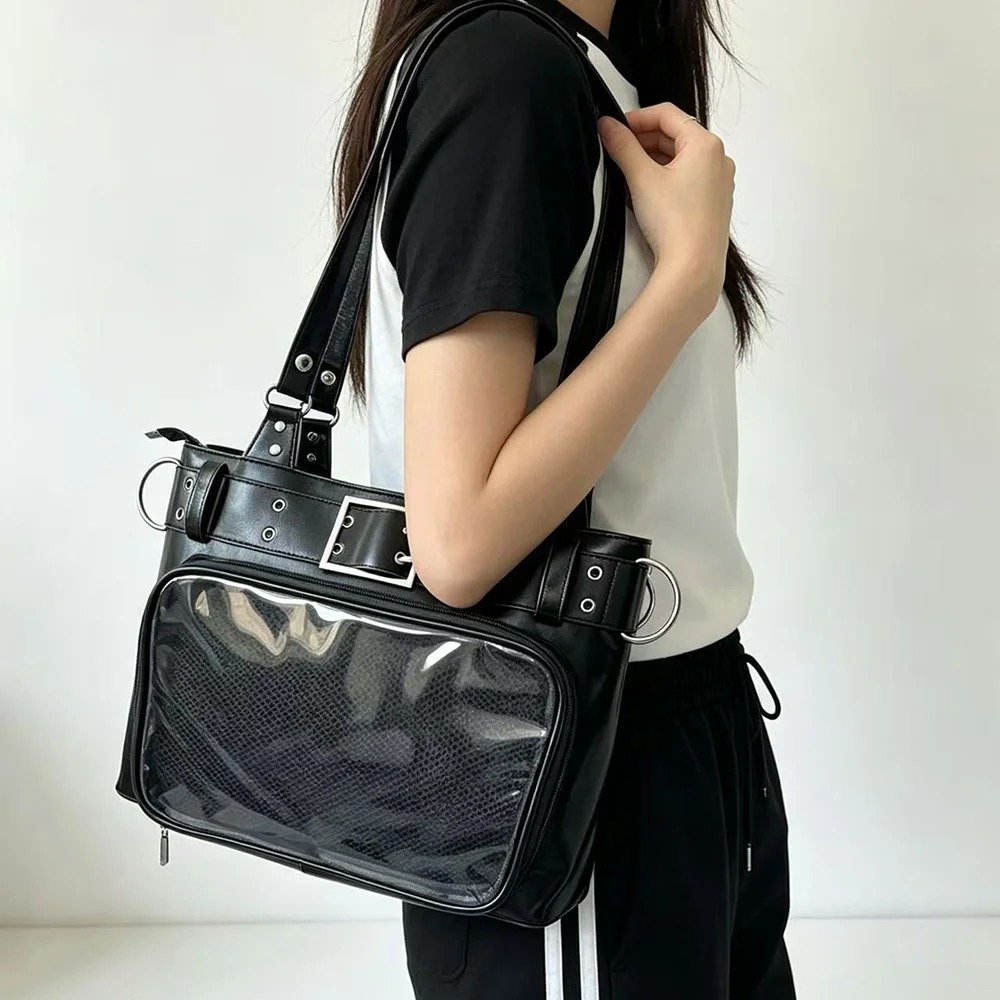
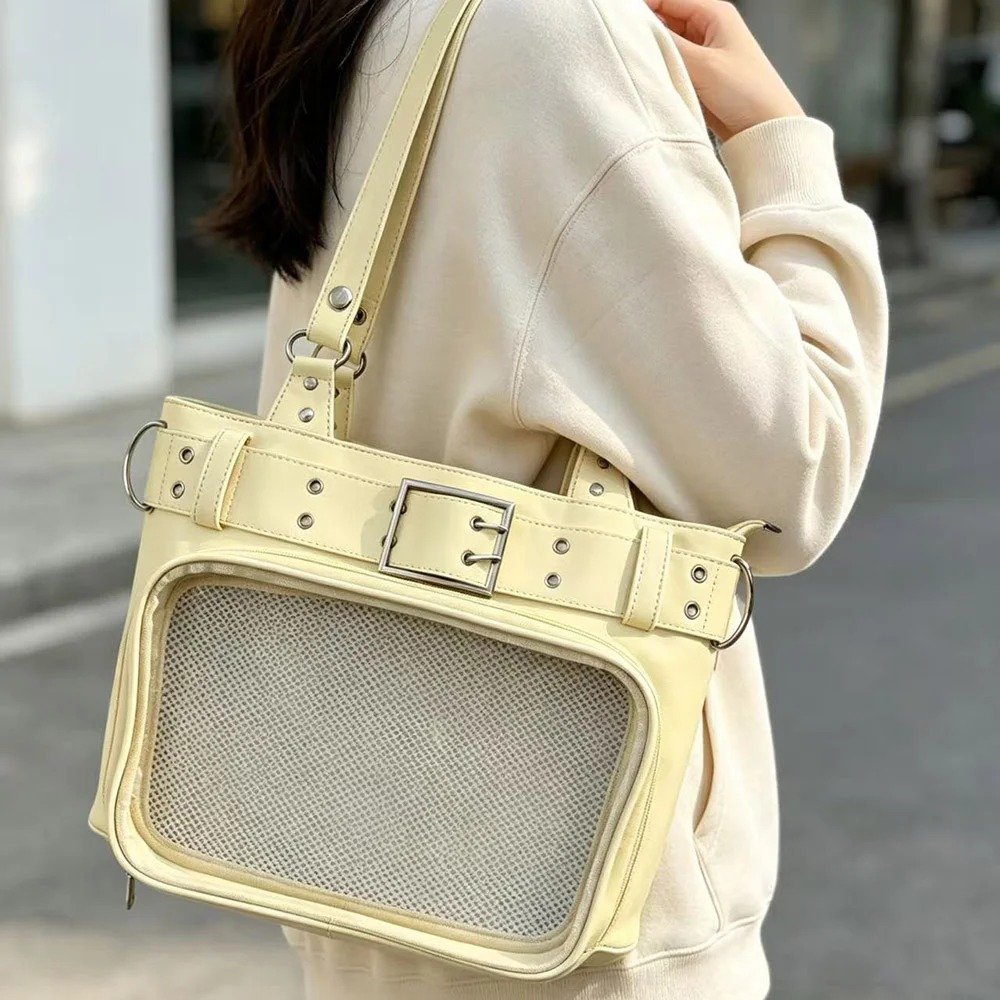
Pitfall Guide and Troubleshooting: Things to Watch Out for When Making a Handmade Electronic Ita Board
When making a board with electronic parts and heavy dimensional decorations, it’s easy to run into awkward problems like slipping, falling off, or not being able to fit the board into the bag if you’re not careful. Drawing on this project, we’ve put together a few key pitfalls to avoid.
1. Pitfall One: How the Electronic Pin Is Fixed and Its Center of Gravity
The challenge: an electronic pin has some thickness and weight compared to an ordinary paper sticker or thin metal pin. If you only use regular double-sided tape, it can easily shake loose and fall off from vibration while you’re out and about or walking around a convention.
How to avoid it: make sure to use strong-hold Velcro or industrial-grade residue-free strong adhesive to fix the back of the electronic pin. Velcro not only holds the weight securely, it also makes it easy to remove the electronic pin anytime to charge it or update its content.
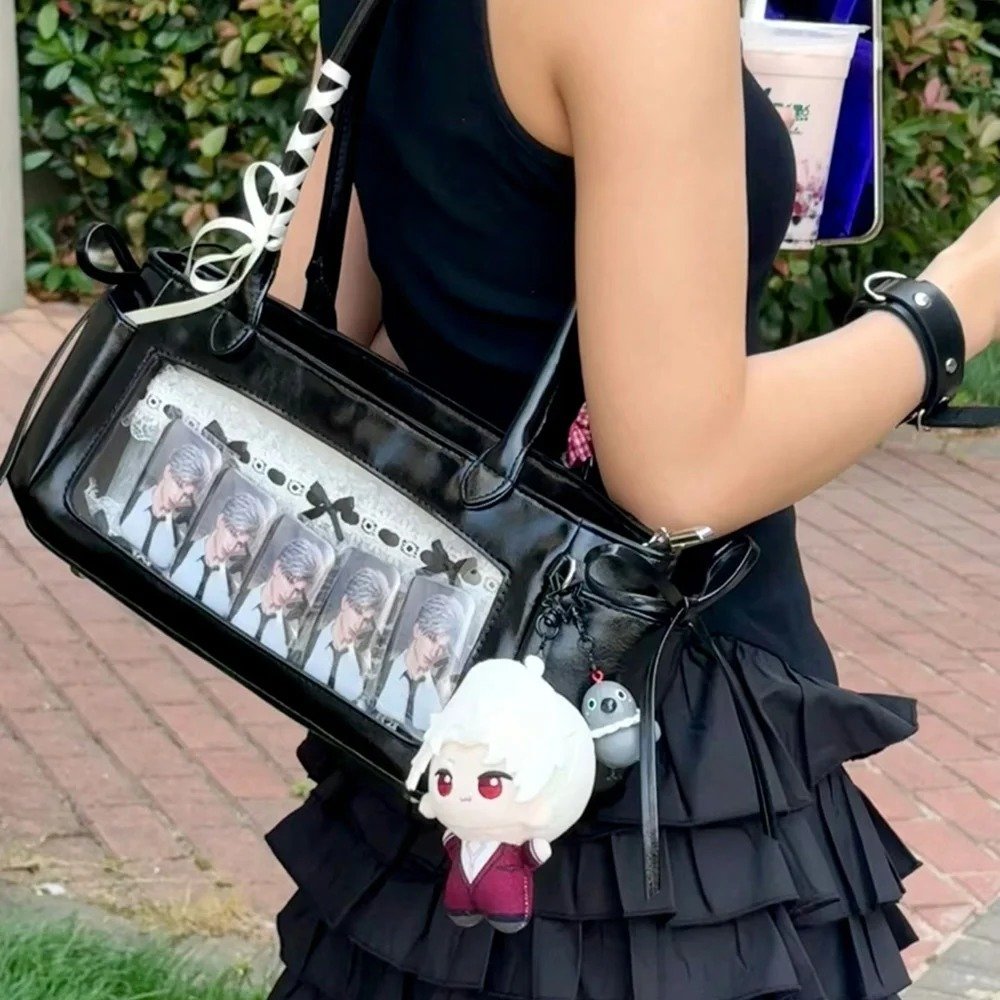
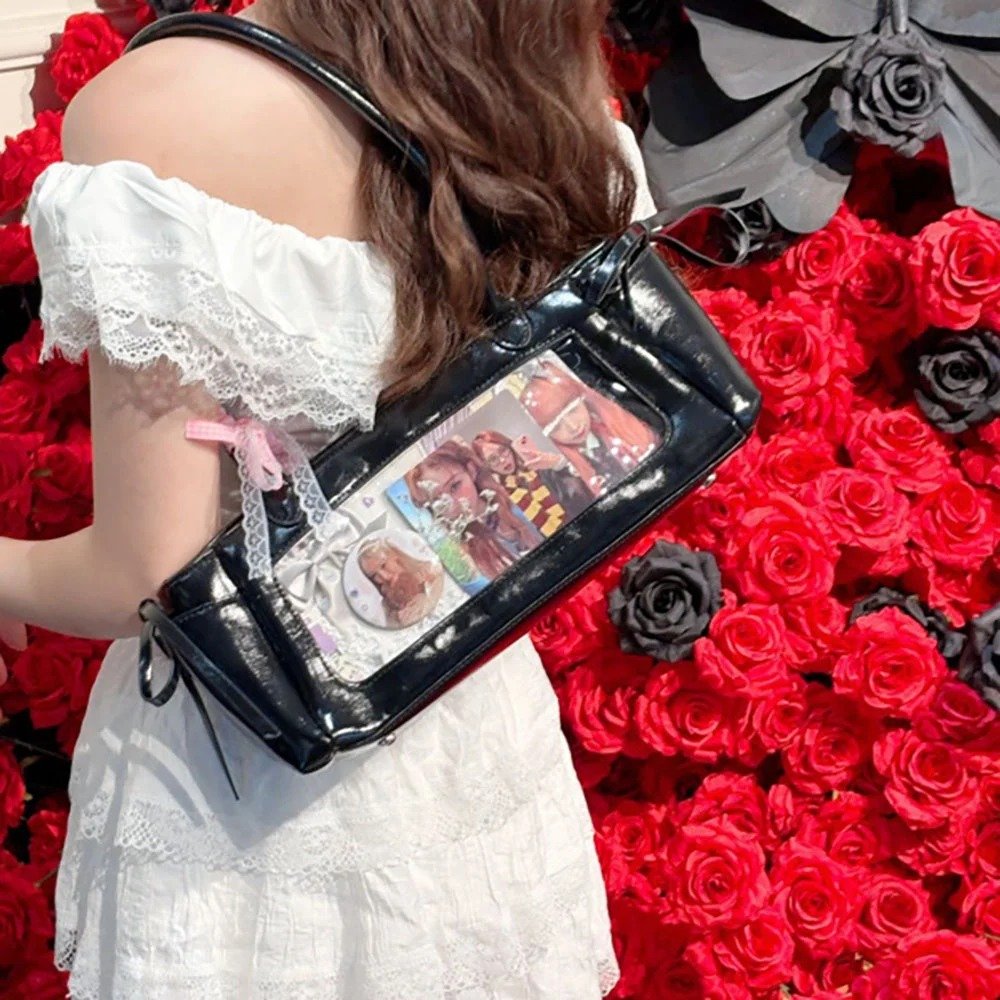
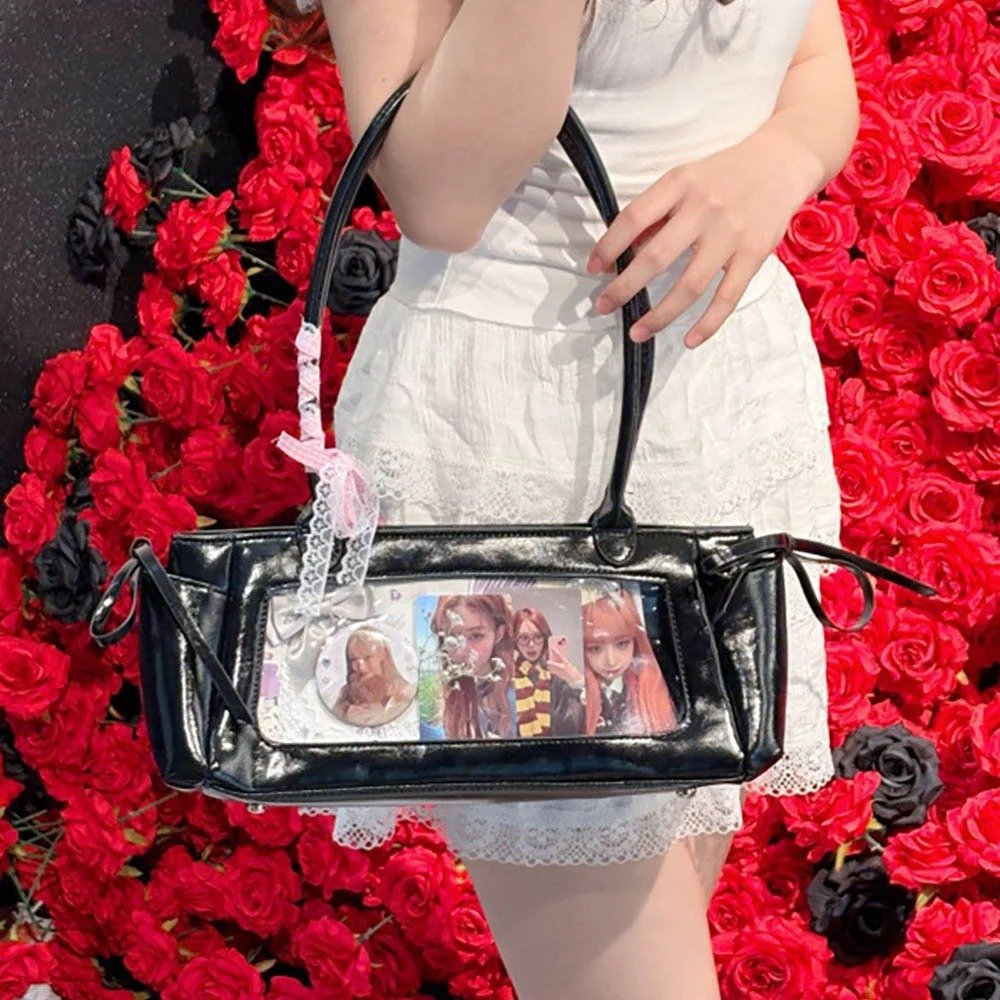
2. Pitfall Two: Dimensional Accessories Too Thick to Fit in the Bag or Getting Crushed
The challenge: a gothic style often involves a lot of dimensional flowers, black butterflies, feathers, and thick metal chains. If the accessories are thicker than the depth of the ita bag’s clear window, the bag’s PVC window can get squeezed out of shape, or the board can end up pressed too tightly for the electronic screen to respond to touch properly.
How to avoid it: before gluing on the black roses and butterflies, first place the board inside the ita bag and check the actual depth of the clear pocket. Choose soft fabric roses rather than hard plastic flowers; keep the metal chain hanging naturally and loosely, leaving a 0.5–1cm buffer.
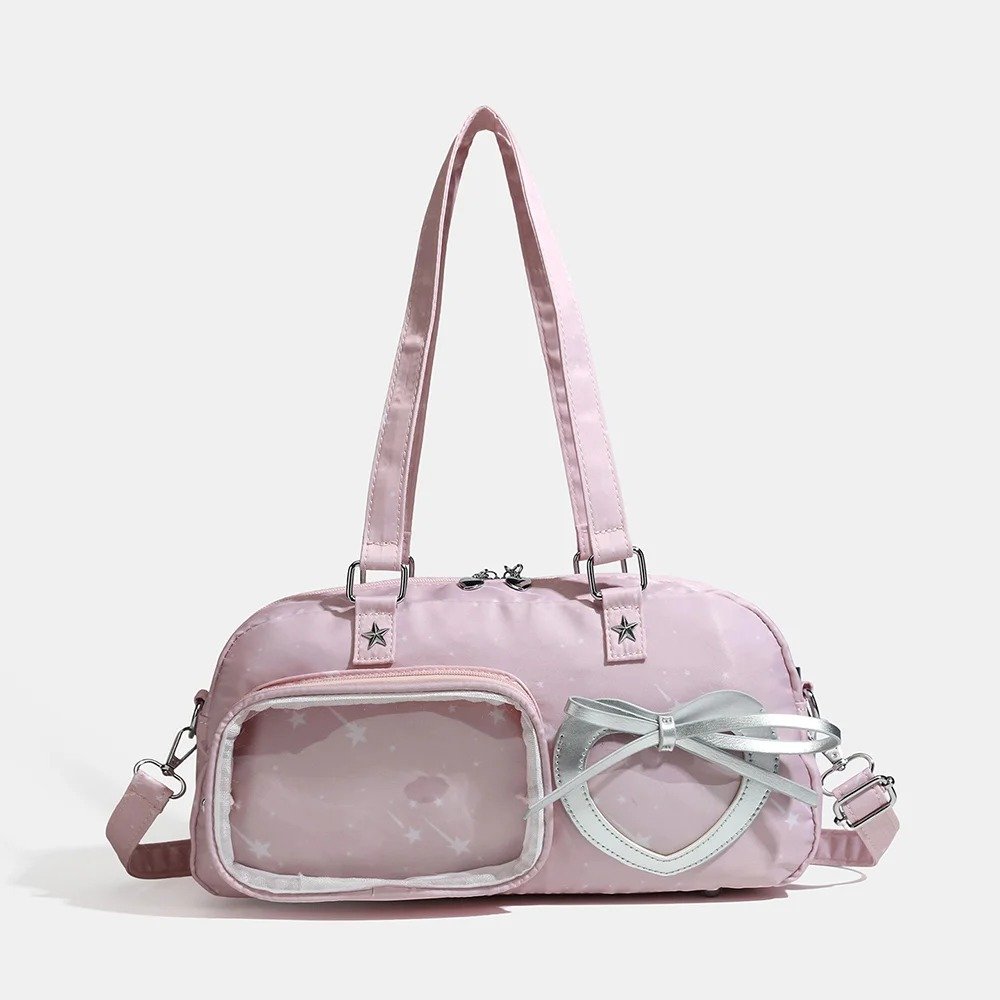
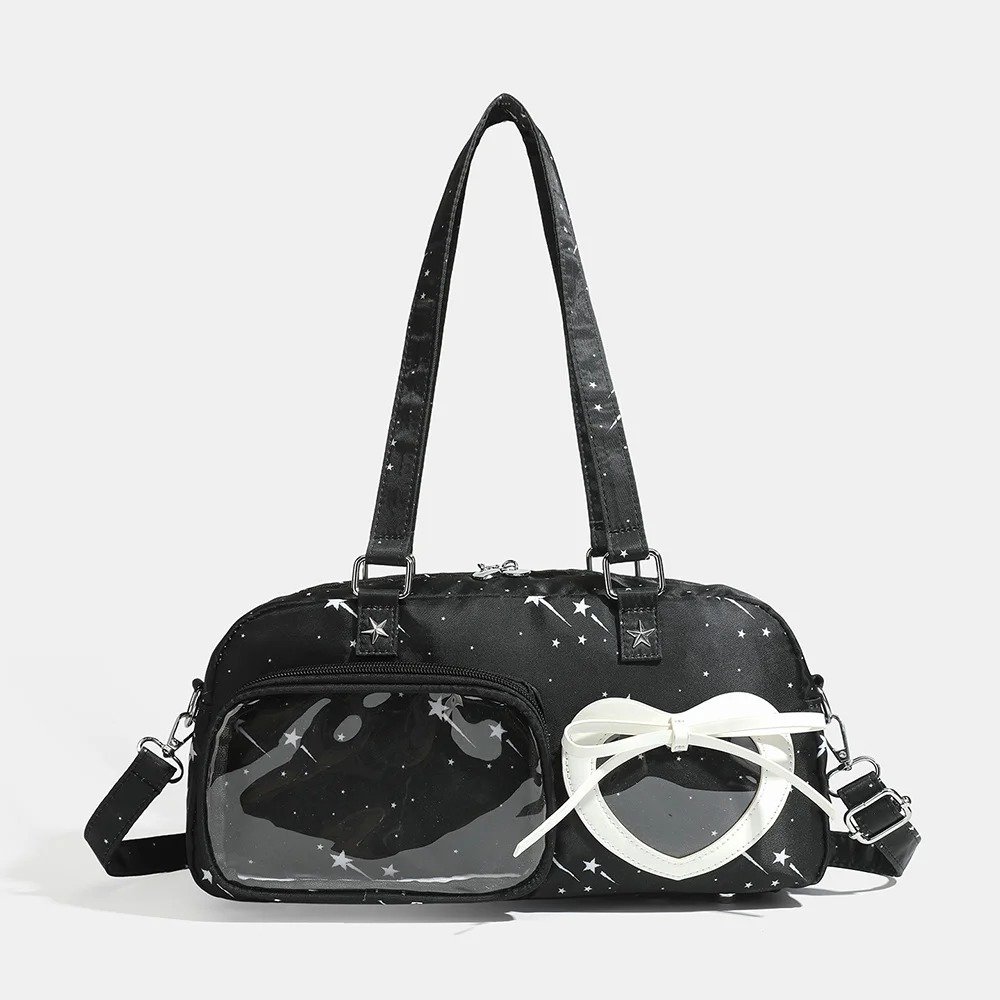
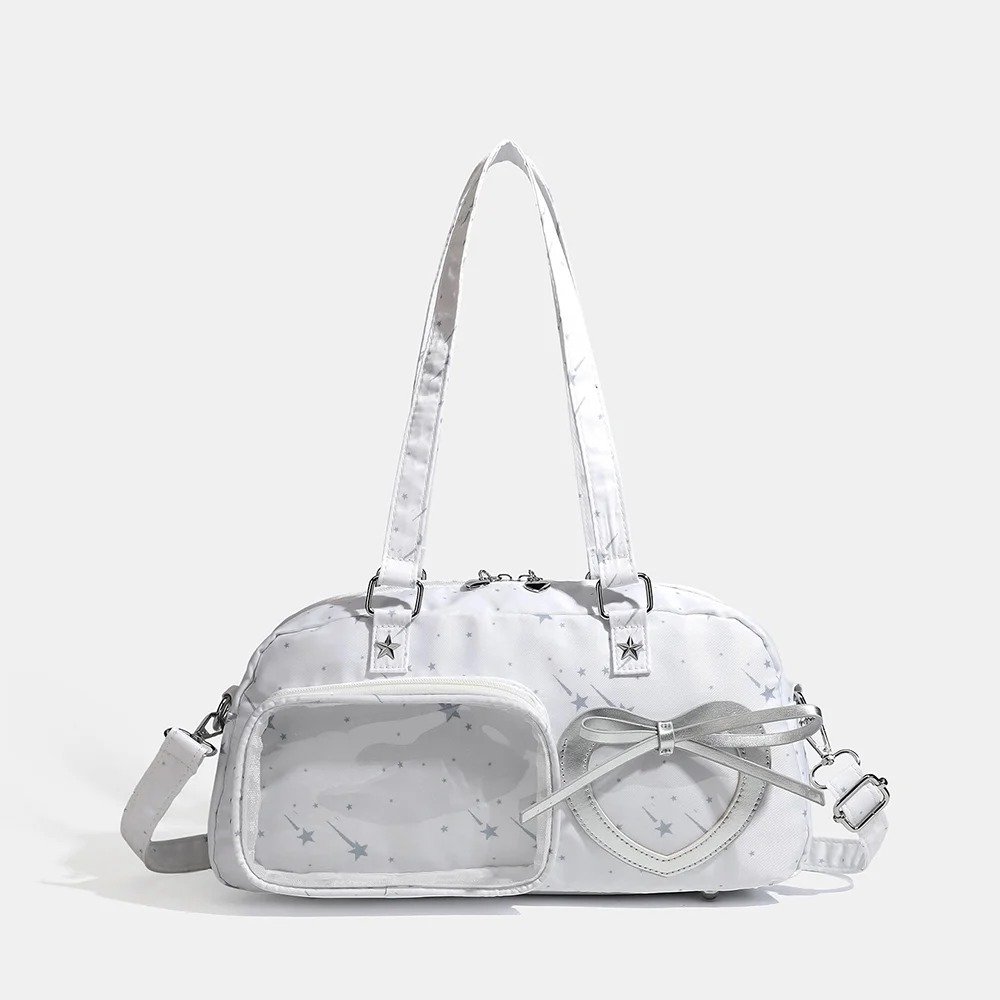
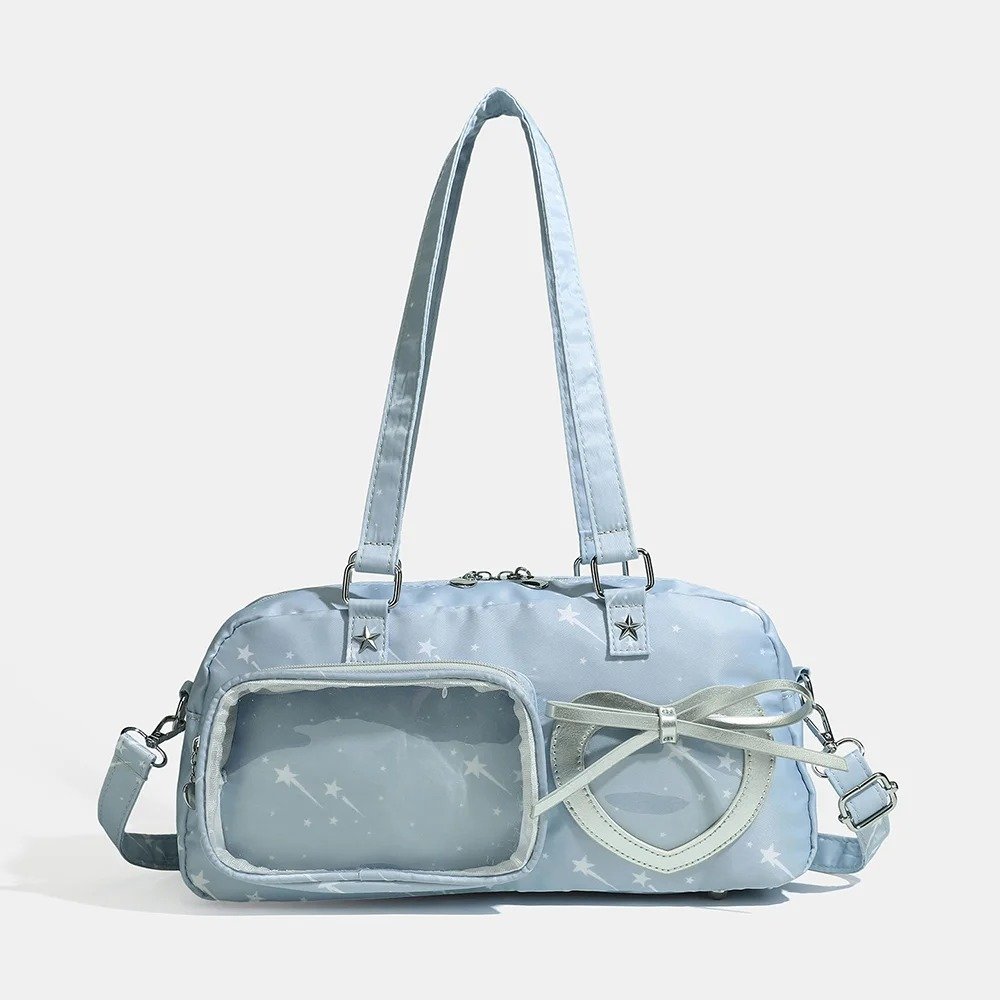
3. Pitfall Three: A Red-and-Black Dark Palette That’s Too Dim and Loses Focus
The challenge: black roses, black lace, a black bag body, plus black patterns — if you don’t handle the balance carefully, the whole board can look like one solid block of black from a distance, burying all the detail.
How to avoid it: cleverly use reflective and glowing materials to break things up! We used the glowing touchscreen as the single brightest point on the whole board, then wove in a silver metal chain, white pearl accents, and a touch of red ribbon, tracing lines of light through the dark background so the whole board reads with clear layers of depth.
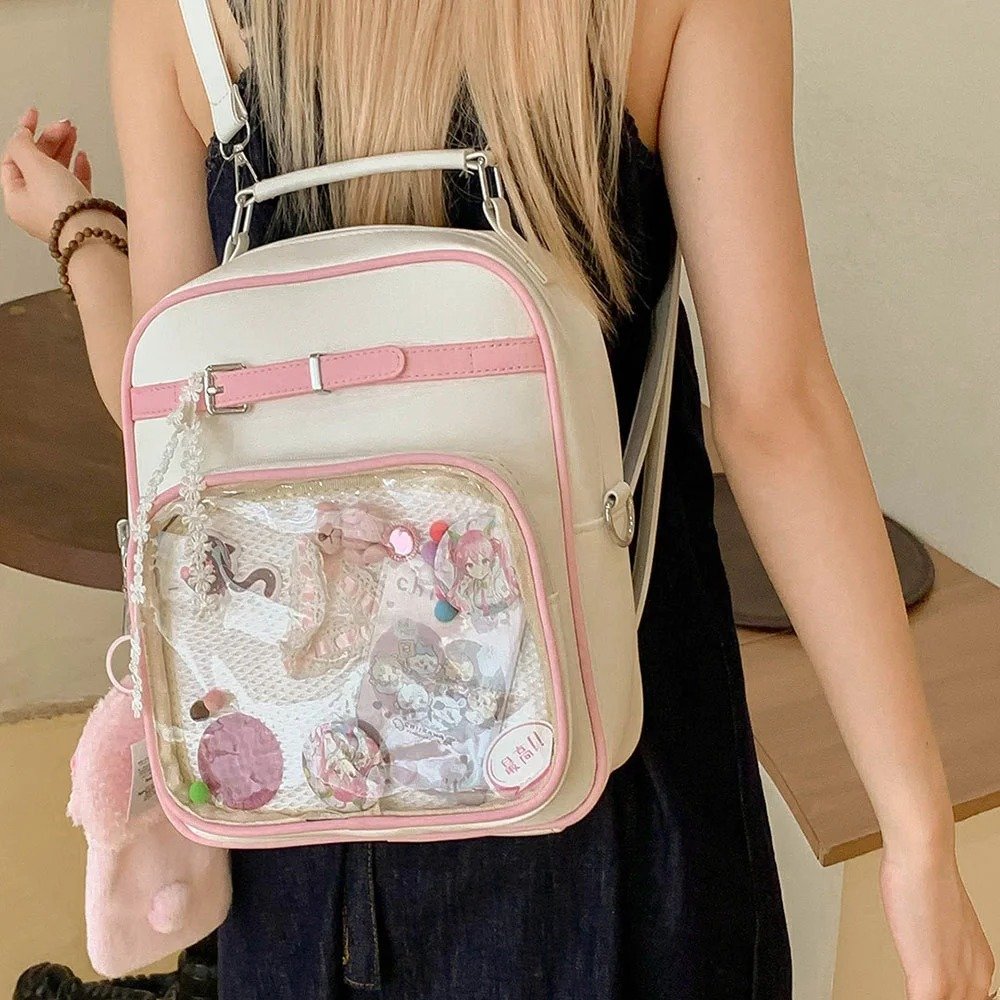
4. Pitfall Four: Uneven Ribbon Folding
The challenge: when pleating ribbon along an edge, if you peel all the adhesive backing off at once or press the folds at uneven spacing, the border ends up looking crooked and uneven.
How to avoid it: apply the adhesive in sections instead of peeling the whole strip off at once. Use tweezers to help press down each pleat, and leave a little extra curve allowance at the corners, so it doesn’t bunch up when you tuck it into the four corners of the bag.
A Whole New Evolution for Your Ita Bag
An ita bag has always been our way of showing the world how much we love a character. And now, with touchscreen electronic technology, your ita bag can finally feel as alive as the anime itself.
If it were up to you, which character’s dynamic moment would you want to put inside a touchscreen electronic pin? We’d love to hear your thoughts!
FAQ
What’s the biggest advantage of a touchscreen electronic pin over a traditional metal pin?
Mainly, dynamic variety and freed-up space. A traditional pin is static — showing a character’s different forms means buying multiple pins and filling up the whole board with them. A touchscreen electronic pin, on the other hand, lets you switch scenes, expressions, and original sound effects with just a tap, so a single one can serve as the interactive core of the entire board.
The electronic pin has some weight to it — does mounting it on the board risk it falling off or warping the board?
No. The product has already been optimized to be lightweight, and it’s recommended to mount it using strong-hold Velcro on the insert board. This not only prevents vibration damage and falling off, it also makes it much easier to take off anytime to charge it or update its content.
Will the electronic pin plus dimensional accessories squeeze the ita bag’s clear window?
Just keep the thickness in check. We recommend choosing soft fabric flowers, and keeping the metal chain’s hanging slack to about 0.5–1cm. Before gluing anything on, push the board into the bag first to check the actual depth, and leave room for the touchscreen to be pressed — that way you avoid squeezing the screen or the PVC window.
As a beginner, how do I make sure my ribbon folds come out even and not crooked?
It’s best to apply the adhesive in sections, and avoid peeling the whole strip off at once. Use tweezers to press each fold point to keep the spacing even, and leave a bit of curve allowance at the corners, so the fabric doesn’t bunch up or pucker when you tuck it into the bag.