Sweet and Cool, Bursting with Personality! A Hello Kitty Girly-Style Handmade Ita Board Tutorial
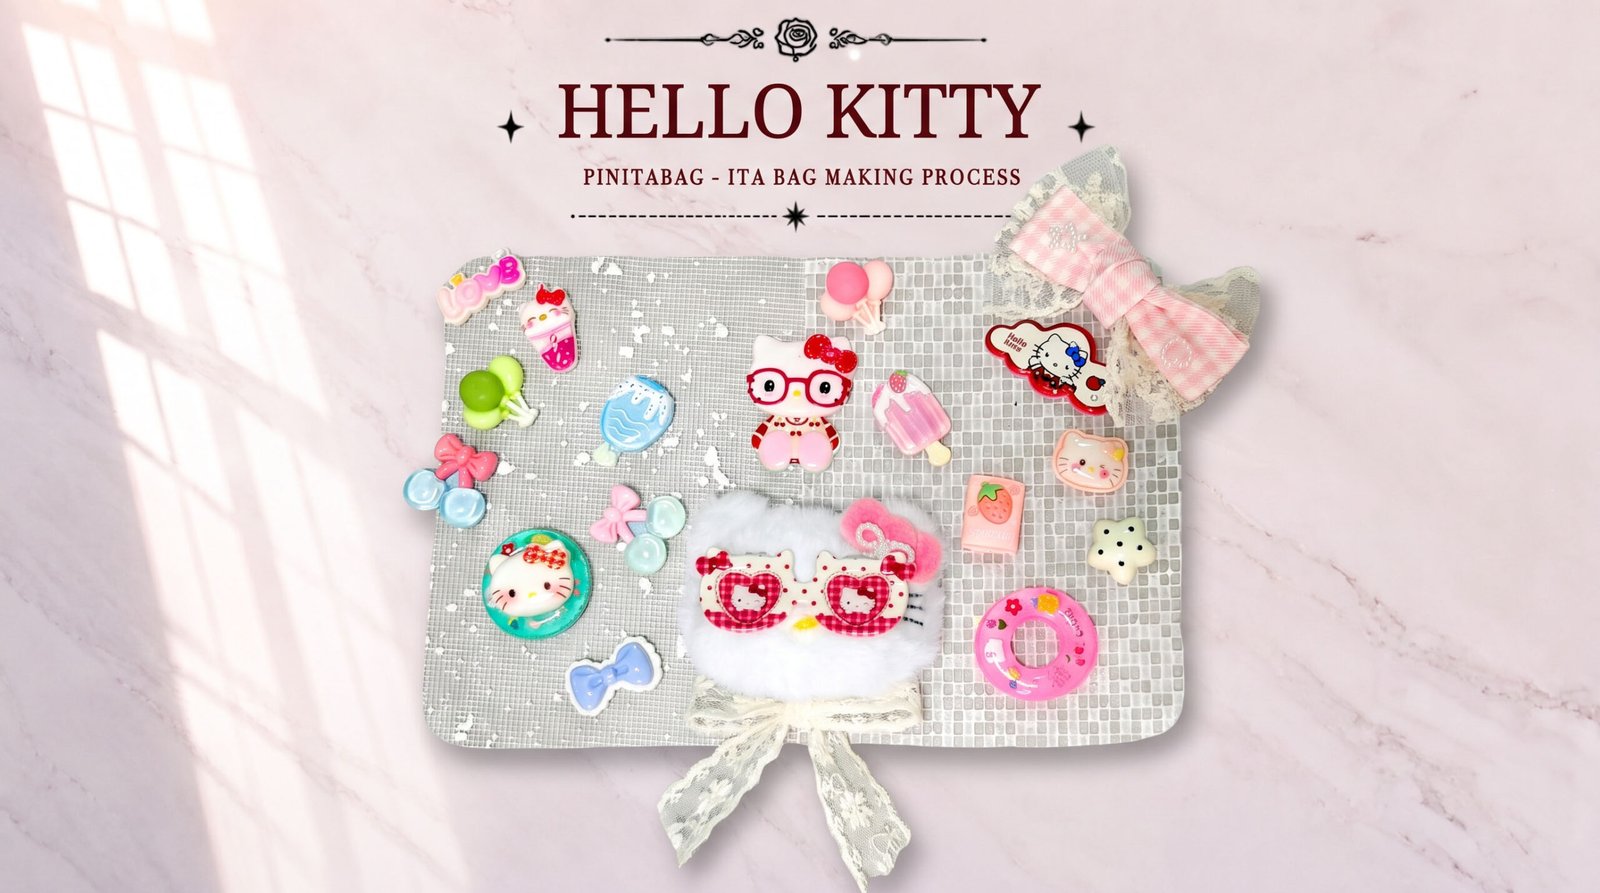
Table of Contents
Hi everyone! Welcome to Pinitabag’s craft corner. Every ACG and Sanrio fan out there knows that an ita bag isn’t just something you carry around — it’s a mobile little exhibition hall showing the world what you love. For a lot of newcomers to ita board making, facing a table covered in pins, charms and decorative materials, it’s easy to fall into the predicament of not knowing where to start, or accidentally cramming everything in until it’s a mess.
To give Kitty fans and ita bag hobbyists alike a different kind of design reference, today we’re going to break down the complete process behind our team’s newest Hello Kitty girly-style dimensional handmade ita board; then we’ll turn our attention to the Reddit community and break down, from multiple angles, the layout and design thinking behind two real players’ hit, hand-made Hello Kitty ita bags.
Whether you’re into soft, delicate layers of detail or a dense, dimensional glow-in-the-dark night style, this guide has endless fresh inspiration for you!
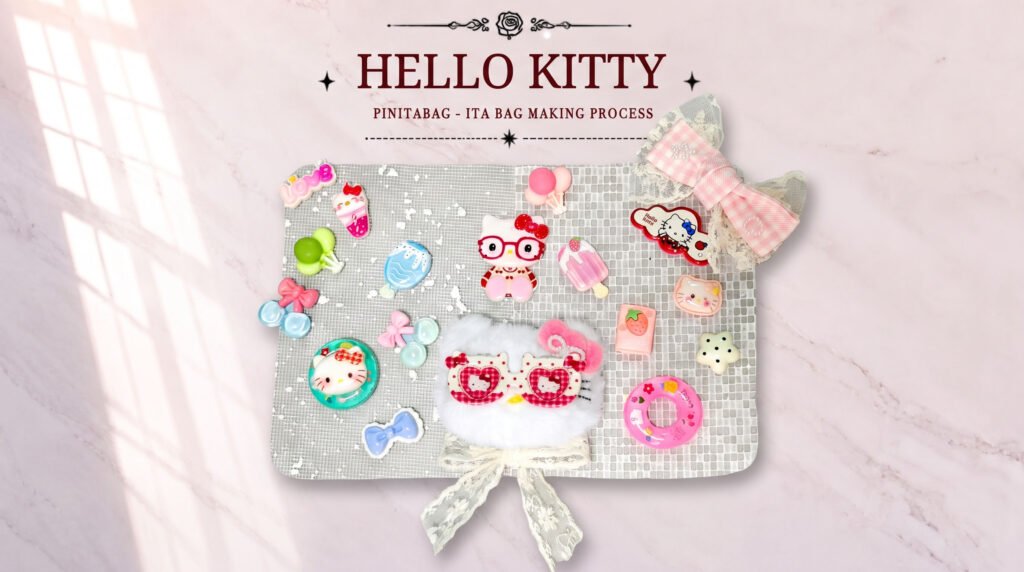
Exclusive Handmade Tutorial: Hello Kitty Sweet-and-Cool Two-Tone Mesh Ita Board
This piece was once again made by one of our newest team members. When I asked her why she wanted to go for this particular style, she said:
Hello Kitty has both a vintage, classic side and a modern, highly individual, sweet-yet-cool fashion quality. This time I didn’t want to be confined by the monotony of a traditional insert board, and instead wanted to create a display board with both a sense of depth and a dreamy atmosphere, through the interplay of a two-tone mesh and dimensional little objects.
Let’s walk through how this handmade board came together, step by step.
1. Materials and Tools Checklist
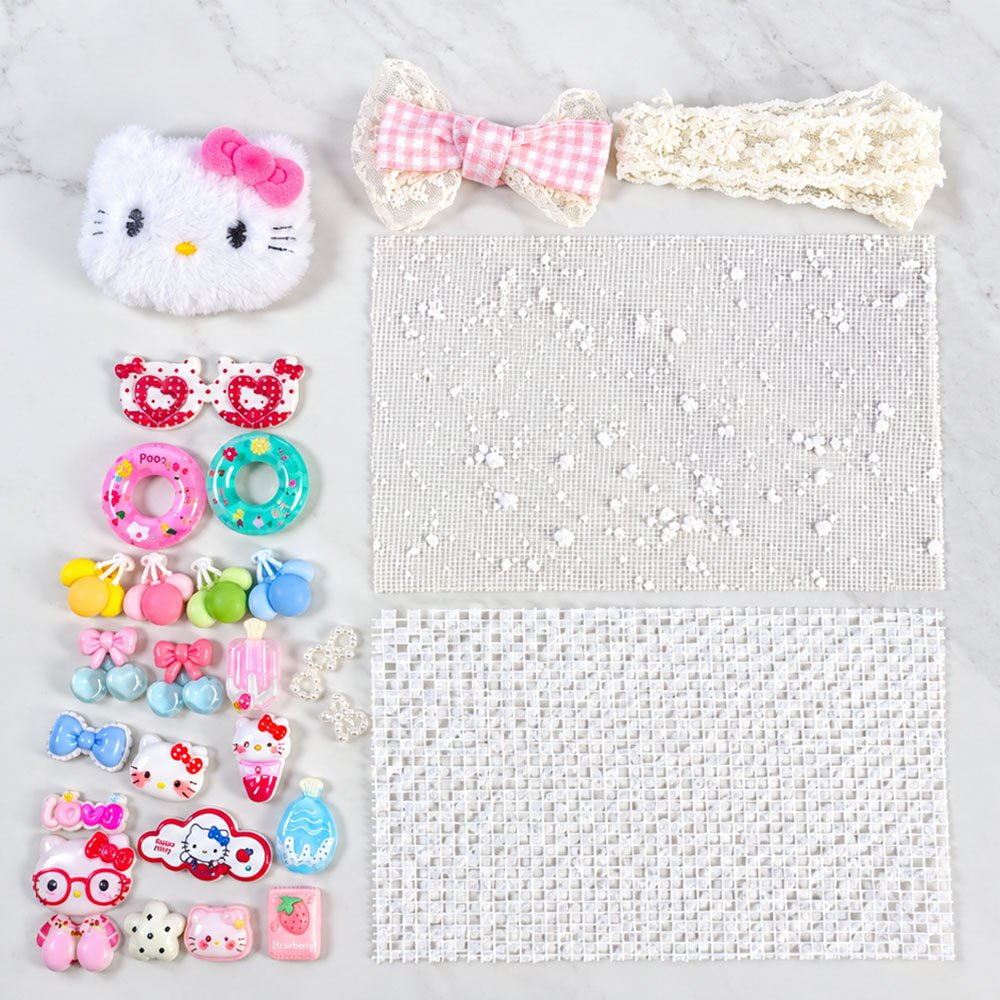
Base and structure
Clear PVC ita boardas the base
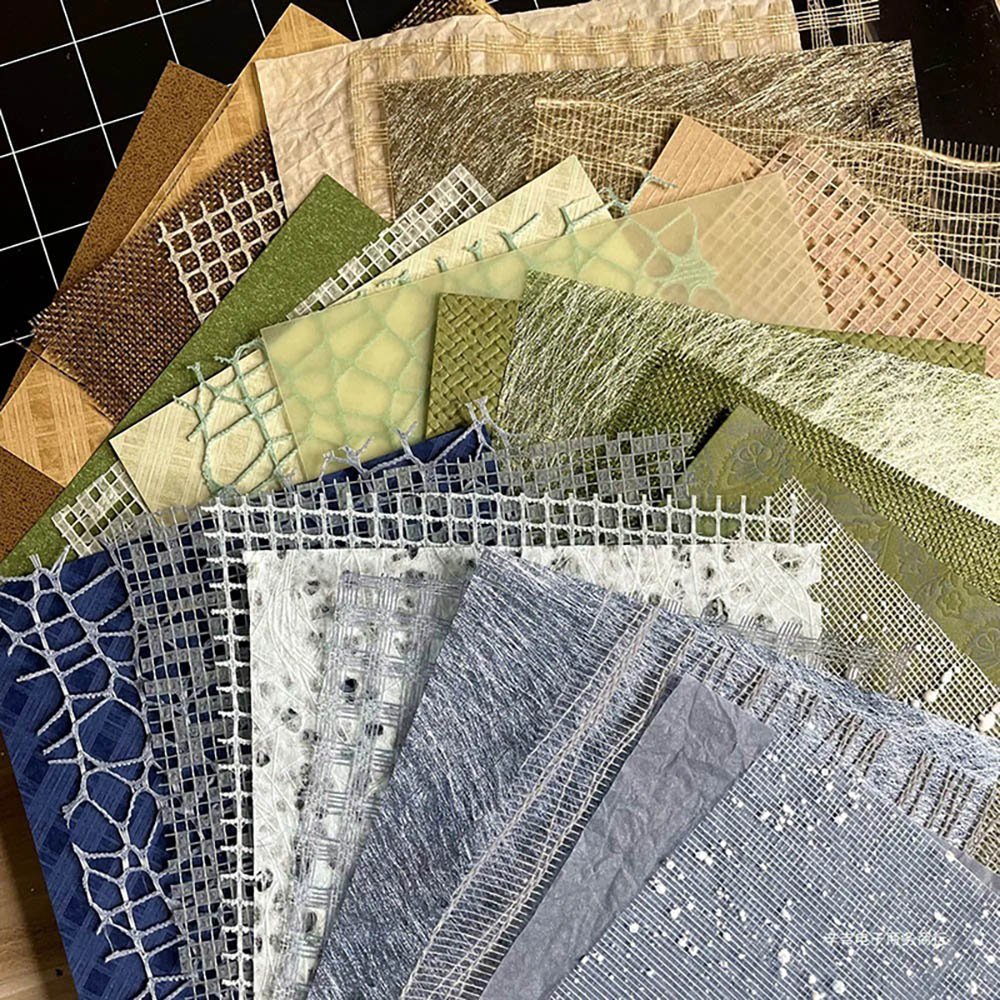
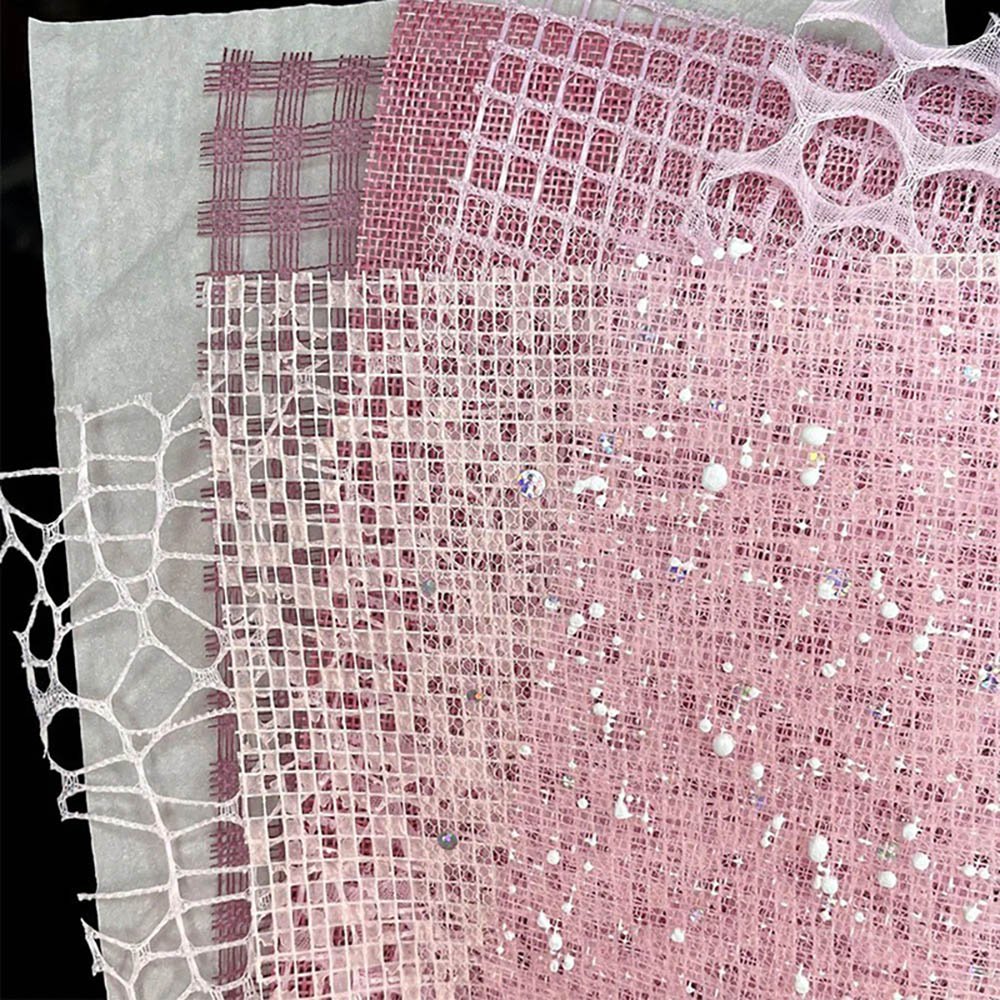
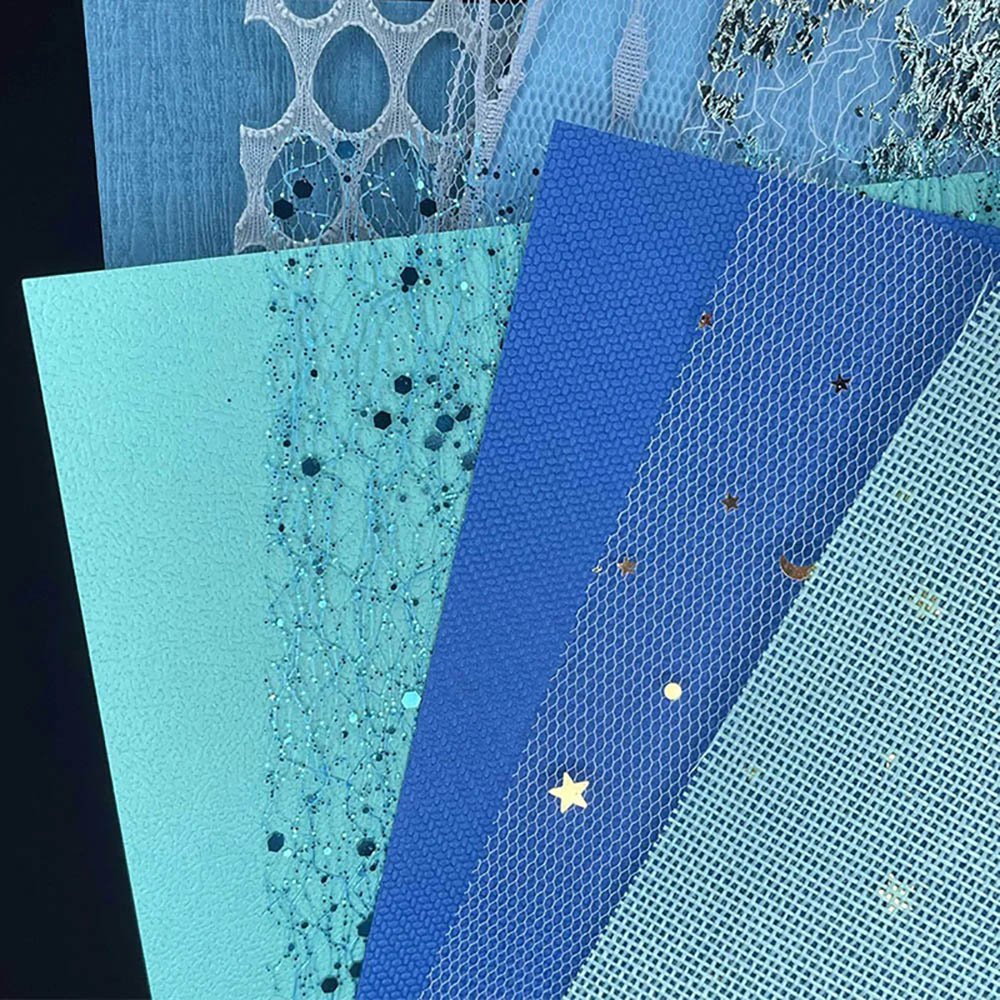
White raised-dot textured mesh fabric for the left half
White openwork small-grid mesh fabric for the right half
Main visual centerpiece
Hello Kitty dimensional plush headpiece
Large frame and corner decorations
Pink-and-white plaid lace large bowplaced along the top edge to max out the sweetness
White lace small bow placed at the bottom of the plush headpiece to echo it and finish things off
Heart-shaped bow glasses used to give the Kitty plush a sweet-and-cool personality
Theme accessories and theme stickers
Hello Kitty theme elements: a red-glasses Kitty sticker, cloud Kitty, juice Kitty, tiny pink bows, and more
Mood and dessert elements: two-tone balloons, ice cream, candy, donuts, strawberry milk cartons, and more
2. Frame-by-Frame Breakdown: Step-by-Step Guide
Step 1: Lay down the two-tone mesh base
Lay the clear PVC ita board flat and open it up. First lay a layer of dreamy-textured raised-dot mesh fabric on the left side, then lay the openwork small-grid mesh fabric flat on the right side. The contrast between the two textures not only breaks up the dullness of a single-color board, it also strengthens the dimensional visual effect, laying a rich foundation for the decorations to come.
Step 2: Position the main frame
Take the pink-and-white plaid lace large bow and fix it in the upper-right corner of the board. This step establishes the upper boundary of the board’s overall visual frame first, setting a soft, romantic tone.
Step 3: Anchor the center-stage main visual
Place the Hello Kitty dimensional plush headpiece slightly below the exact center of the board. The plush texture creates a clear contrast against the flat little accessories around it, instantly making Kitty’s face the board’s first visual focal point, and above the main visual, add the red-glasses Kitty sticker — one dimensional, one flat — adding even more richness to the board as a whole.
Step 4: Fill in and spread out multiple layers of decorations
Left half: cleverly use the gaps in the raised-dot mesh to arrange, in sequence, a blue-green balloon, a bow-shaped candy, a teal donut Kitty, a blue bow, and a juice Kitty sticker.
Right half: arrange a combination of cloud Kitty, a strawberry milk carton, pink ring-shaped ornaments, and speckled stars and other small accessories.
Layout principle: use a honeycomb arrangement — large pieces first, small pieces filling the gaps — keeping every element compact without overlapping, so the whole board ends up with the packed, joyful look of a candy house.
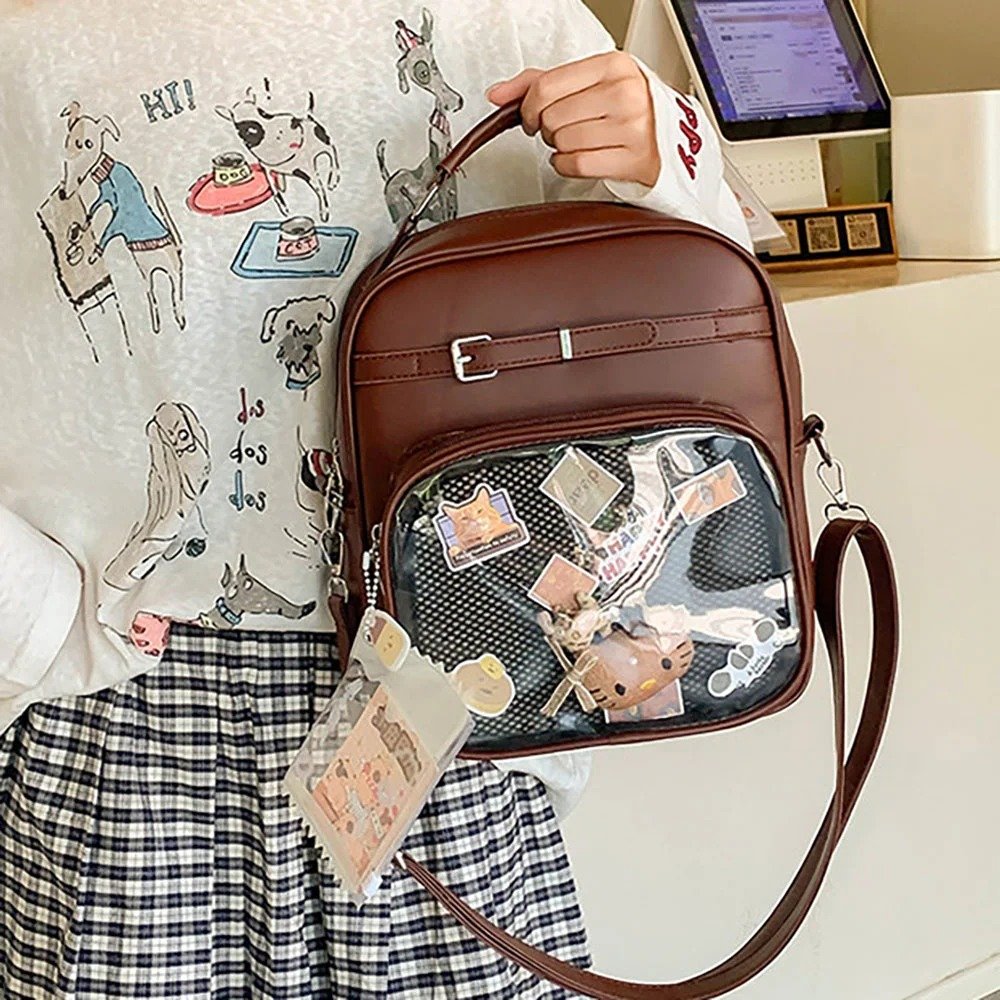
Step 5: The soul-level detail — leveling up the main visual
Take out the heart-shaped bow glasses and place them over the eyes of the central plush Hello Kitty, giving this classic character a playful, fashionable edge. Then attach a small white lace bow directly below the plush Kitty, echoing the top and bottom, and finishing off the whole board’s visual composition.
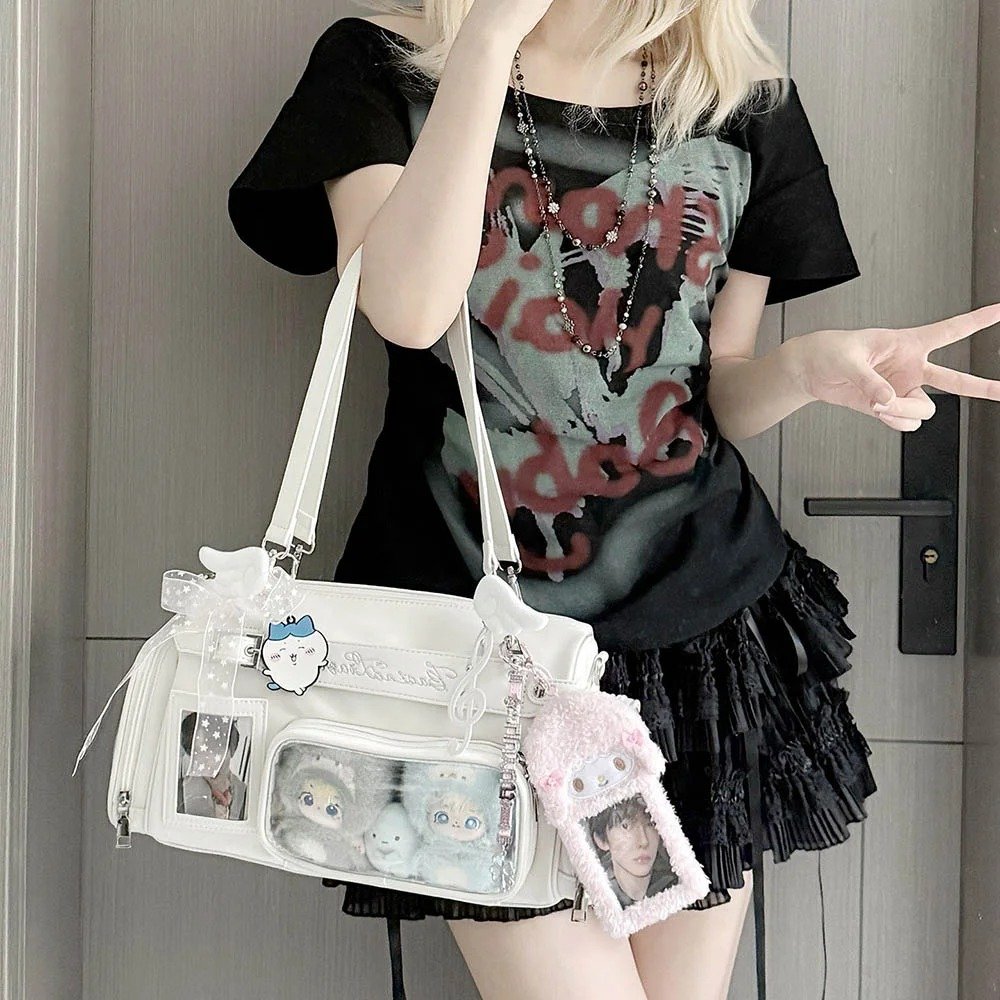
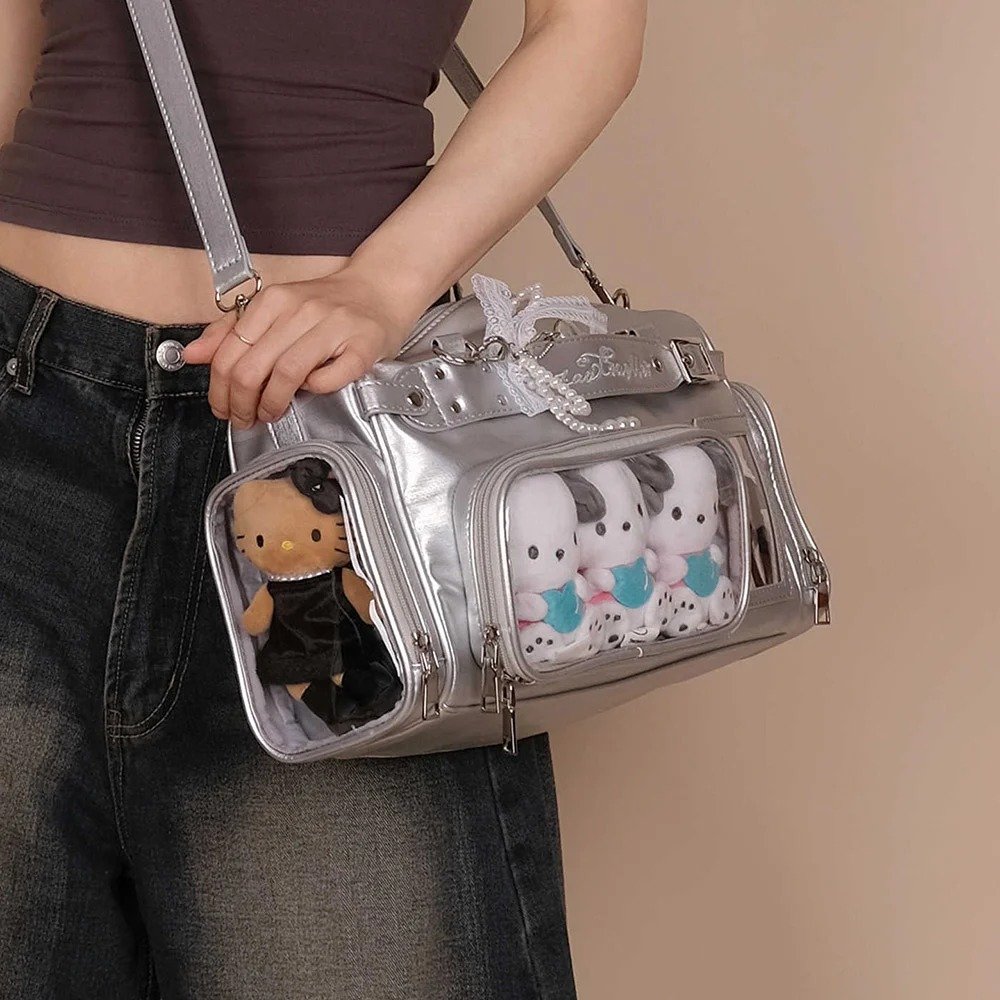
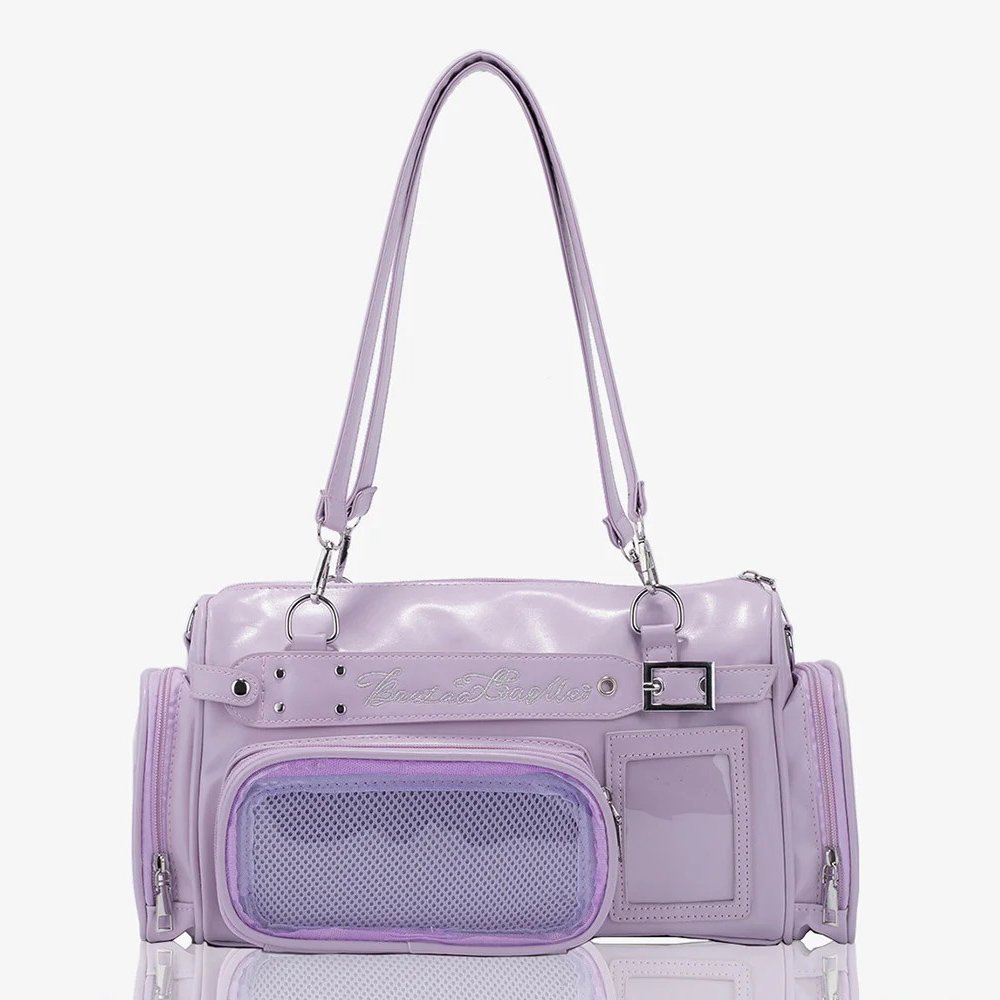
An In-Depth Breakdown of Community Players’ Standout Hello Kitty Ita Bags
After going through our own handmade tutorial, let’s turn our attention to the community. What community players create often reflects the most authentic real-world use cases and merch-collecting preferences. We picked two highly representative Hello Kitty–themed ita bag examples for a side-by-side analysis.
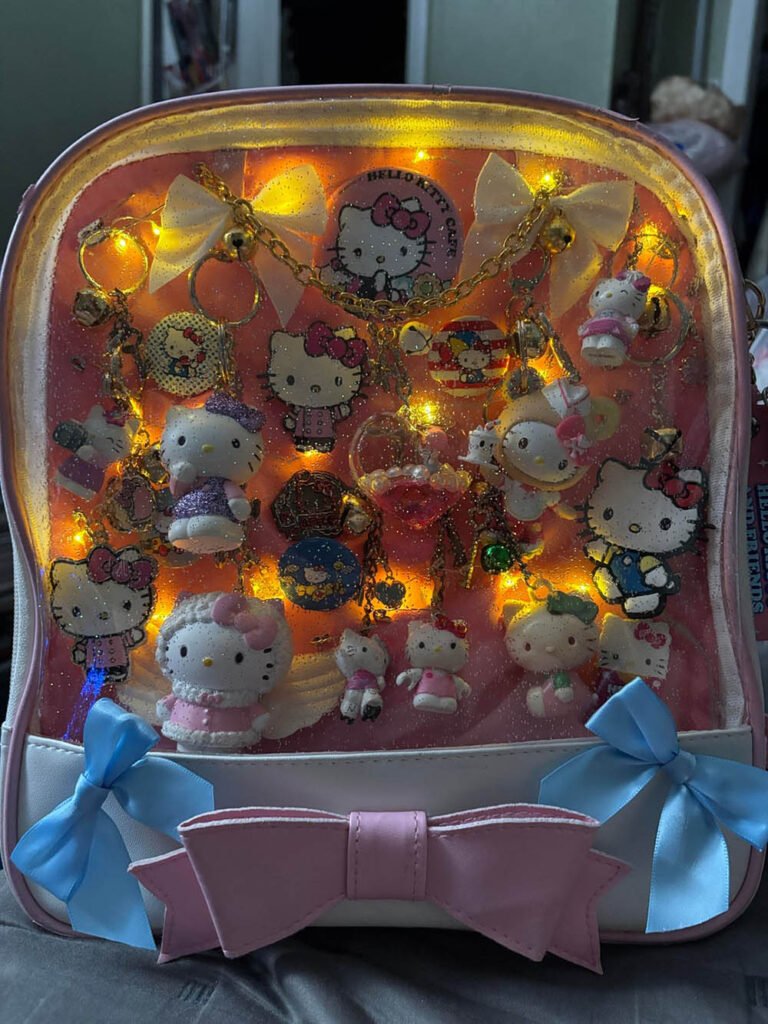
Case 1: Dreamy Warm Light and Dimensional Figure Ita Bag
1. Analysis of the Interior of the Clear Layer
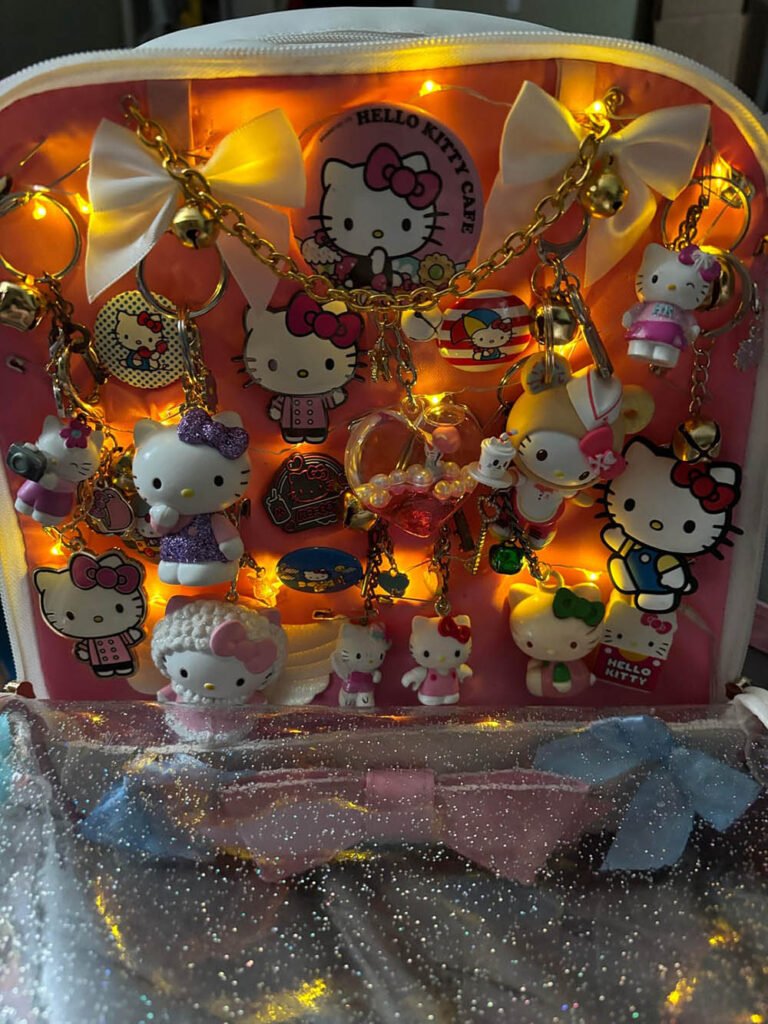
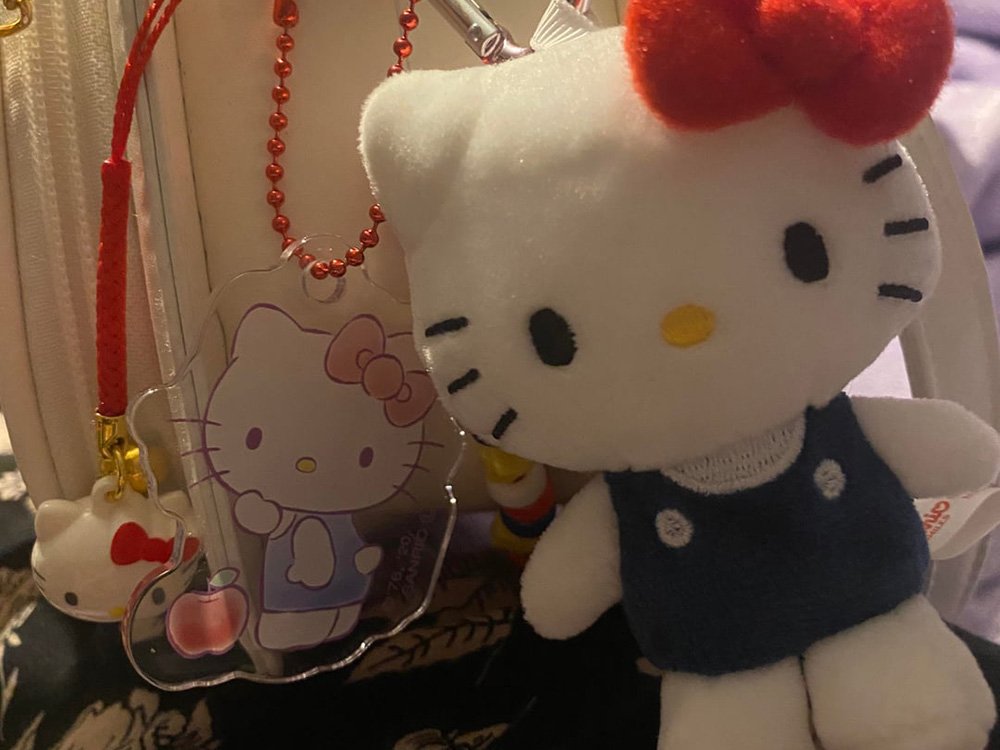
A dense core of dimensional charms: this player broke away from the traditional flat metal pin array — the inside of the layer is dominated almost entirely by a large number of dimensional charms repurposed from old toys.
Building atmosphere with a warm glowing background: an LED warm fairy light strand is cleverly embedded inside the clear layer. As the light shines through the layered, overlapping dimensional charms around it, it creates a strikingly strong visual impact and sense of depth at night or in a dim convention hall.
No-blind-spot, loss-proof placement: to avoid accidentally losing beloved charms at a convention or while traveling, the creator fixed all of her collected Hello Kitty charms centrally inside the ita bag, using a chain and hooks to create a densely tiered layout of varying heights.
2. Core Techniques and Inspiration to Borrow
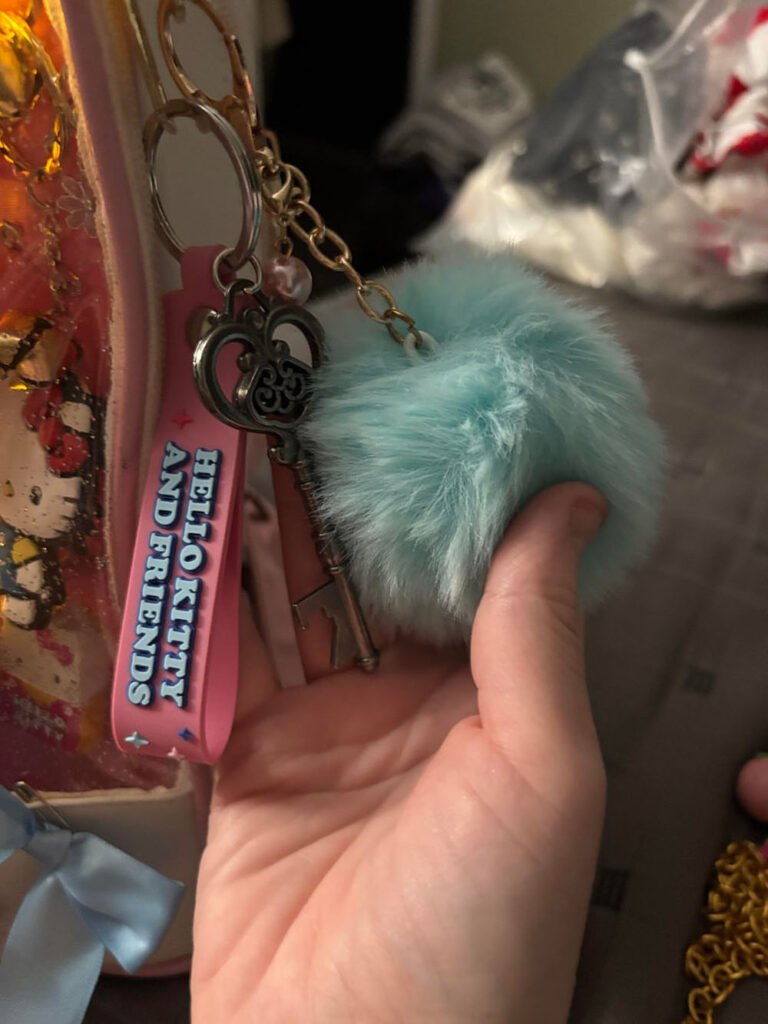
DIY-converting old toys into charms: take a solid Hello Kitty old toy or small figure, slowly screw a Mini Screw Eye Pin into the top of the figure with pliers, then hang a chain on it — and it instantly becomes a one-of-a-kind ita bag charm.
Hiding the wires and battery pack: tuck the light strand’s battery pack behind the insert board, weave the thin LED wiring evenly along the board’s frame and through the gaps between charms, and fix the charms in place last.
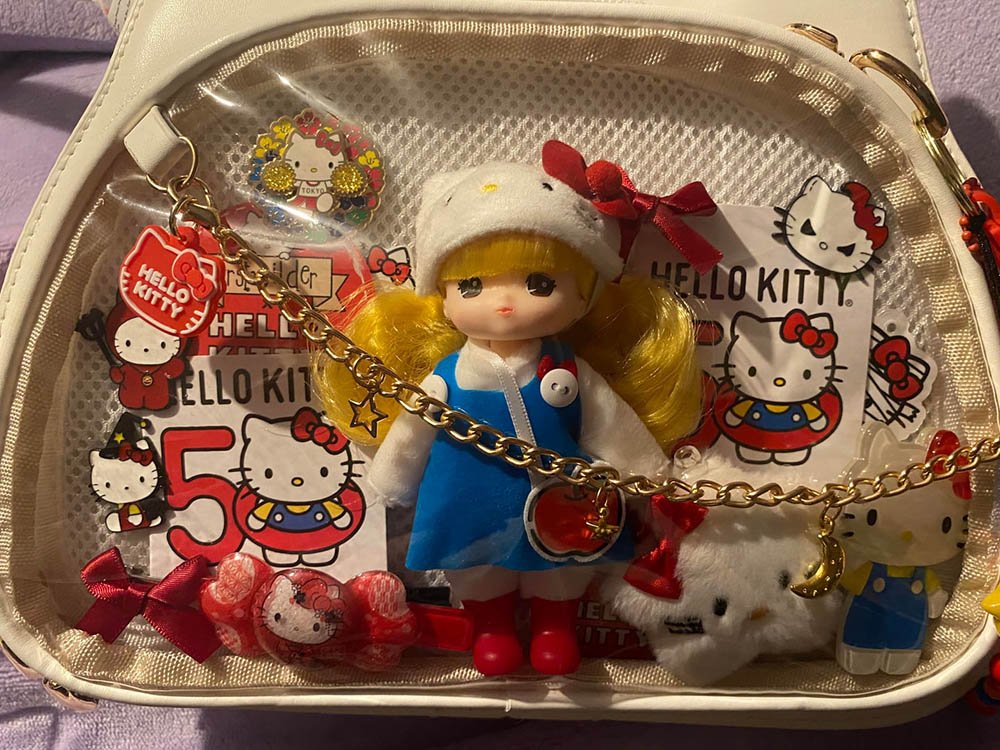
Case 2: High-Value, Budget-Friendly Mixed Collage Ita Bag
1. Analysis of the Interior of the Clear Layer
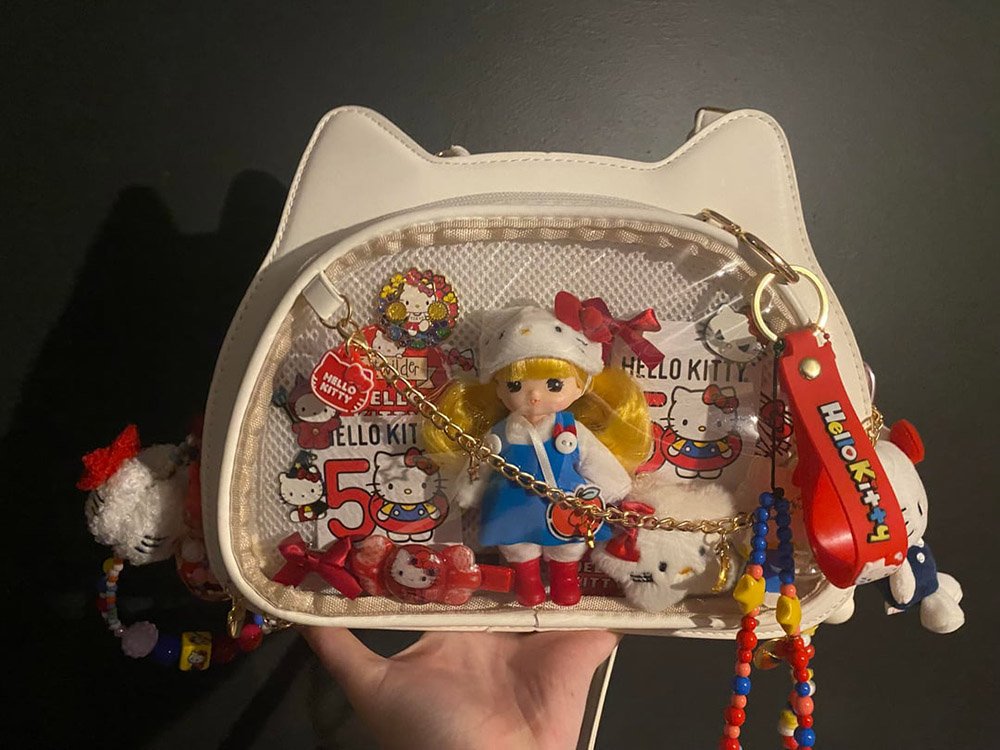
A diverse mix of fillers: collecting official pins the way you would stamps gets expensive, so this player instead used a combined fill-in strategy of official pins + paper tag labels + hair accessories + soft, cute little figures.
Visual centerpiece: a distinctive Korean-version Hello Kitty figure sits inside the layer as the bag’s anchoring focal point.
Background and gap-filling
Tags and labels: original paper tags and brand labels printed with Kitty patterns are used as a background backdrop, naturally covering the blank space on the insert board.
Hair accessories and clips: Kitty-themed hair clips, bow headbands, and other small accessories are cleverly added in, both enriching the material texture and significantly cutting down the cost of building the board.
2. Core Techniques and Inspiration to Borrow
Backing-board cover-up method: when there aren’t enough pins or main charms to fill the whole board, first lay down packaging cardboard, cute tags, or fabric hair clips as a base, then fix the main pins into the gaps on top — creating the effect of a board that looks completely full.
Damage-free fixing: hair accessories with metal clips can be clipped directly onto the board’s mesh fabric; for paper tags with no clasp, you can use residue-free double-sided tape to stick them to the board’s backing.
Design Takeaways and Bag-Choosing Advice
Putting our own handmade tutorial side by side with the two real community examples, we can pull out three completely different, and equally successful, approaches to ita bag design.
Handmade texture style: emphasizes material collage, lace, mesh, plush, and dimensional sticker decorations — a good fit for players who love fine detail and want to express a character’s sweet-and-cool personality.
Dimensional glow style: emphasizes repurposing old objects and lighting atmosphere — a good fit for geeky players who own a lot of dimensional toy figures and want a striking night-convention look.
Budget-friendly mixed style: emphasizes crossing over paper crafts, hair accessories, and figures — a good fit for beginners who are just starting to collect merch, have a limited budget, but still want their ita bag to look full and good-looking.
Whichever style you’re drawn to, choosing the right bag to carry your love is what matters most!
If you’re about to make your very first Hello Kitty ita board, come check out Pinitabag and browse to find products you’ll love. Our ita bags, made specifically for hobbyists, are a perfect fit for plush figures, high-density pins, dimensional light strands, and every other kind of complex board-building need.
If you’ve just finished your own Hello Kitty ita bag, or have some tips of your own, we’d love for you to share your work! Let’s build our own little ita bag world together!
FAQ
How can beginners prevent an ita board from looking empty if they don’t have enough badges?
Adopt a collage and mix-and-match approach. Start by laying down a dual-texture mesh fabric or using original paper tags and brand labels as background lining. Then, add cloth bows, hair clips, and dessert stickers to fill the gaps, achieving a rich, full visual effect without needing a large collection of badges.
How can solid, stringless mini figures be modified into ita bag charms?
Use Mini Screw Eye Pins for a quick DIY modification. Use pliers to hold the screw eye pin and slowly twist it into the top of the solid figure. Once tightened, attach a keychain ring or connecting ring to the eyelet to convert it into a unique internal charm.
How can you route LED light strings inside an ita bag to keep the front display clean and neat?
The key lies in invisible wiring. Hide the battery box behind the insert board, then route the thin wires along the board’s edges and through the gaps between decorations. Secure them at key points using transparent trace-free tape or the grid of the insert board to maintain a clean front layout while achieving a warm glow.
How can you create a high-density 3D hanging layout while preventing charms from getting lost during conventions or outings?
Adopt an “all-internal enclosure + chain hook” layout. Secure all 3D charms and mini figures inside the transparent window onto the insert board, using staggered hooks and chains to link them together. This provides a dense and striking visual impact while offering full protection against theft or accidental loss through the outer clear layer.