How to Build a Cinnamoroll Themed Ita Bag
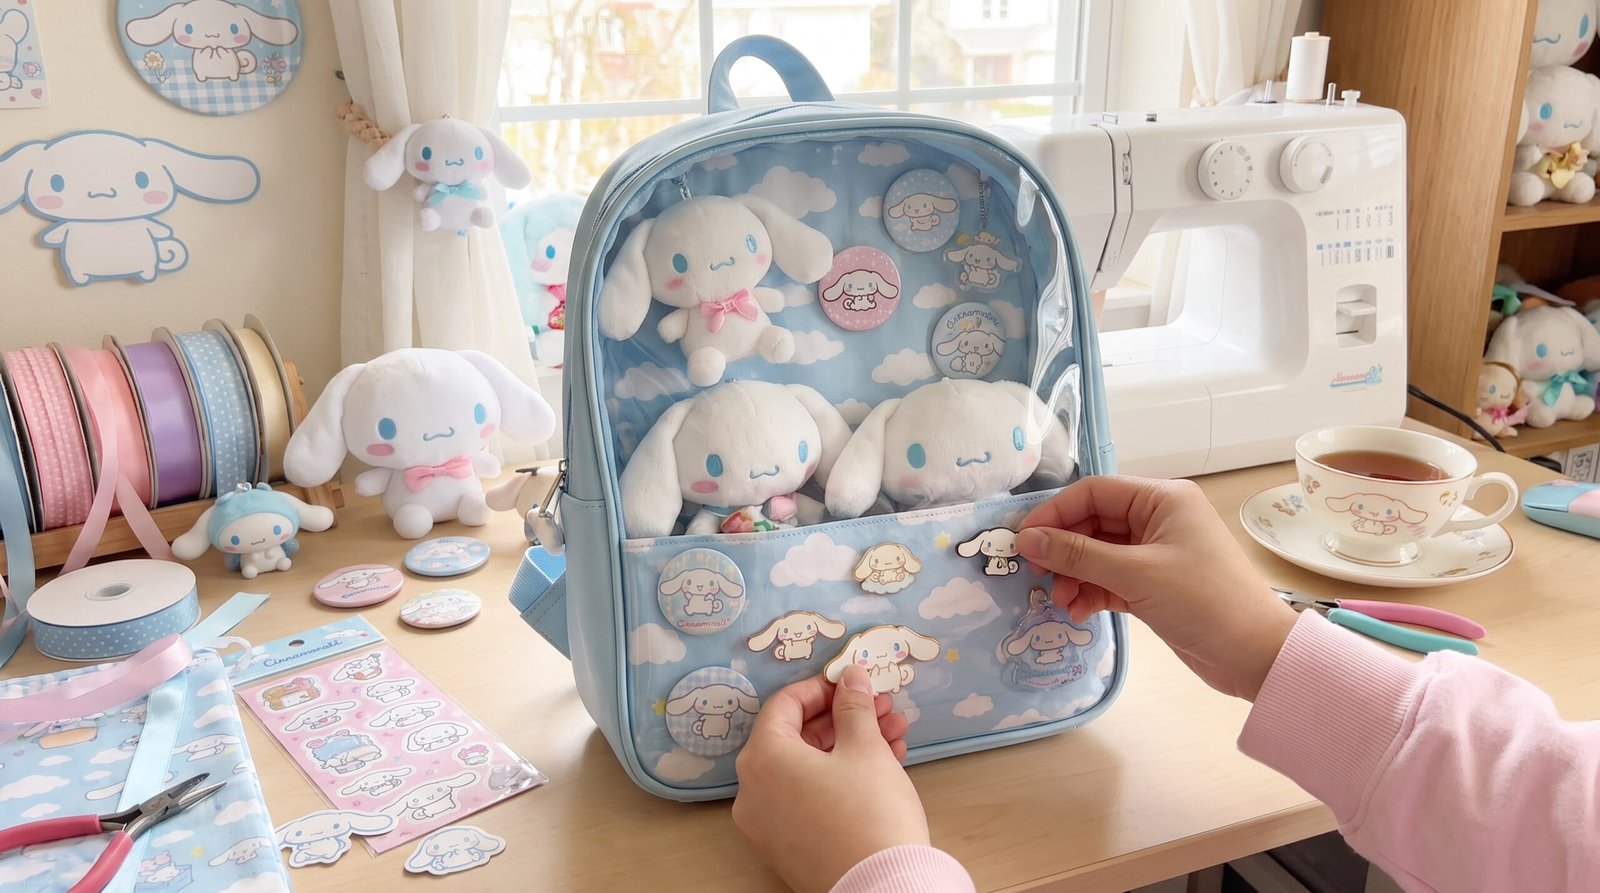
Table of Contents
As a long-standing star character under Sanrio that consistently tops popularity rankings, Cinnamoroll has won over countless fans with his soft, adorable big ears, his fluffy cloud-like tail, and his signature sky-blue and pure-white color scheme. And in ACG and merch culture, an Ita Bag is the perfect vehicle for turning that love into mobile visual art.
Building an itabag that both perfectly captures Cinnamoroll’s sweet, healing charm and combines layered aesthetics with solid structure is never just about piling on merch — it’s a careful creative process centered on theme colors, spatial composition, and mixing materials. This article starts from choosing your base bag, aesthetic layout principles, and hands-on steps, brings in professional itabag products, and deeply breaks down three real player design case studies, walking you step by step through building your very own Cinnamoroll dream itabag!
Ⅰ. Choosing the Right Vessel for Your Passion: Base Bags and Accessories for a Cinnamoroll Themed Ita Bag
The first step in building an itabag is choosing a base bag with strong support, high clarity, and a well-designed structure to serve as your mobile display case. When choosing the base bag and accessories for a themed itabag, you can evaluate things across the following three dimensions.
1. Base Bag Color and Silhouette
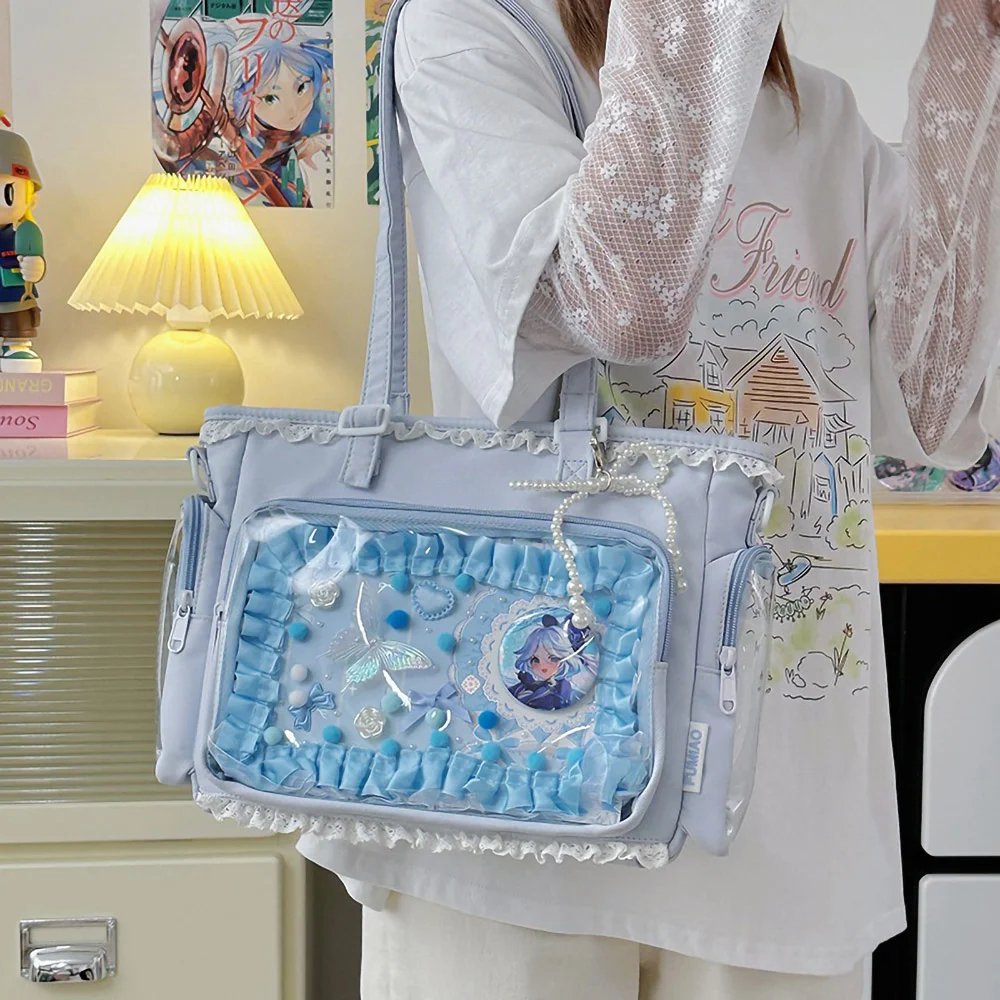
Color palette: for your itabag’s main color, light sky blue or pure white are the top choices, since both colors naturally match Cinnamoroll’s official visual identity. If you want a warmer, softer, sweeter look, cream white or light pink are also excellent base colors to work with.
Bag Style and Function
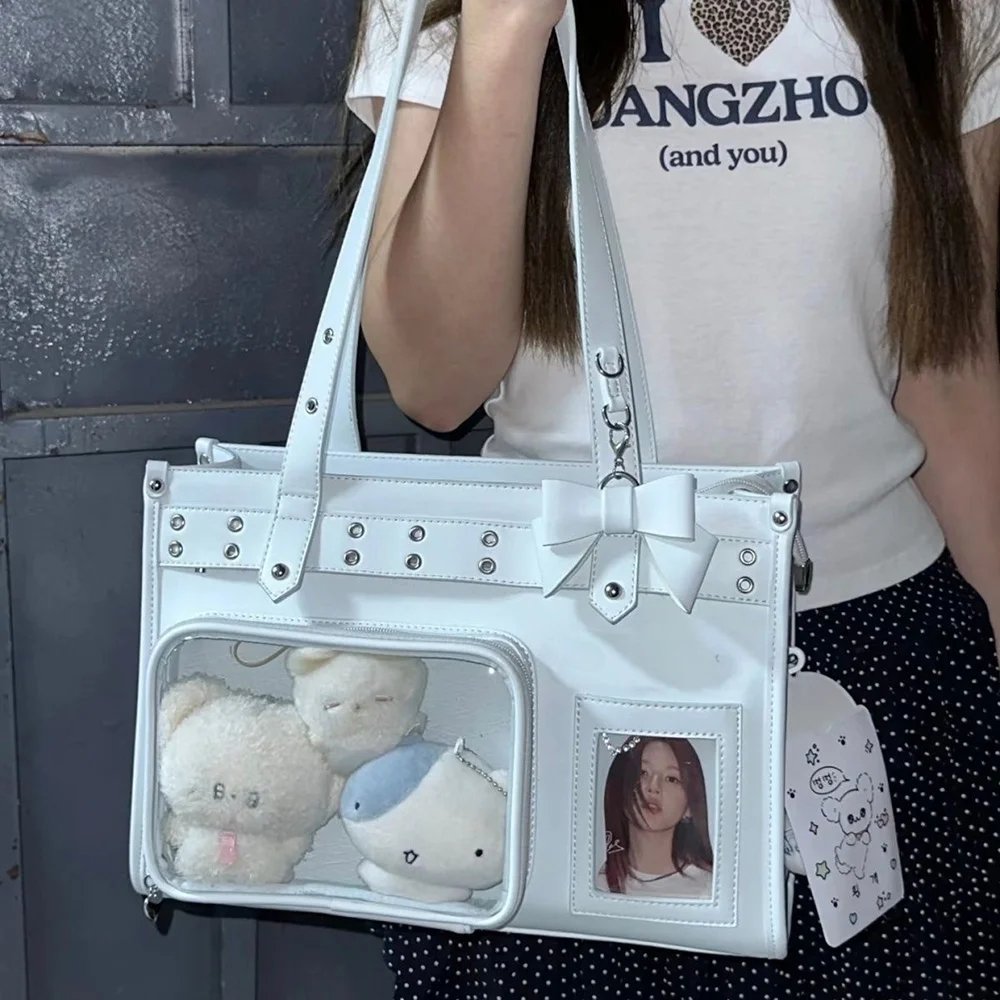
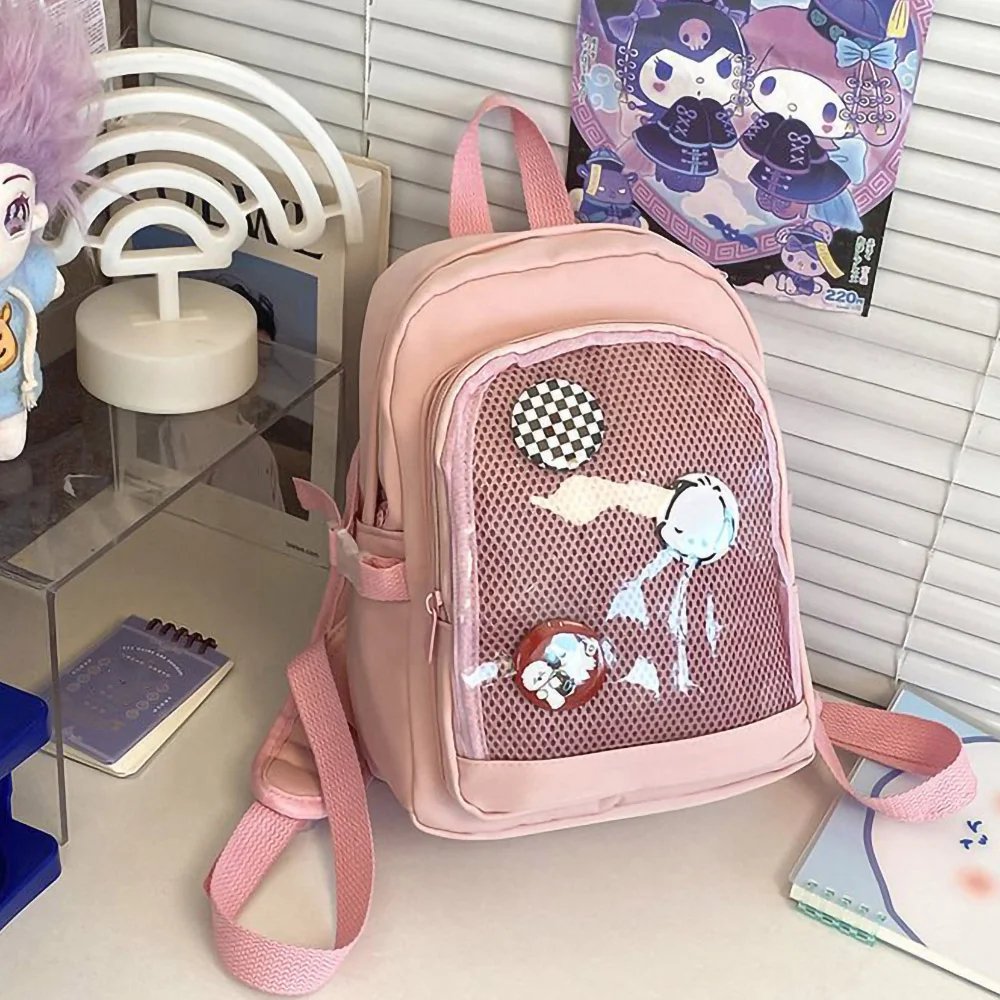
Large-Capacity Backpack-Style Ita Bag: great for fans with a large merch collection who want a fully-packed, visually striking look — it has a large display window and plenty of room.
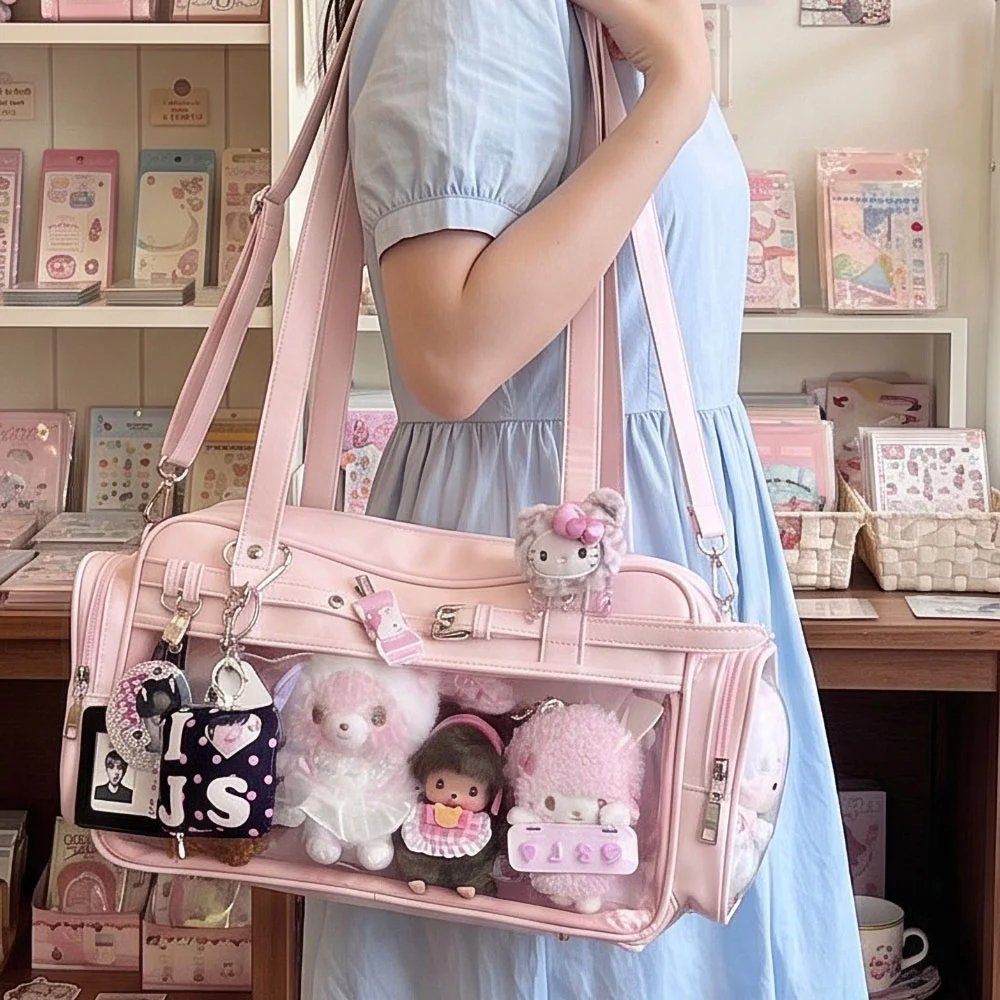
Shoulder / Crossbody Ita Bag: great for everyday itabag outings — light and flexible, with a moderate display area, and a great fit for beginners or a lighter-weight layout.
2. Insert Board Material and Weight Capacity
The insert board is the core medium for securing merch inside an itabag.
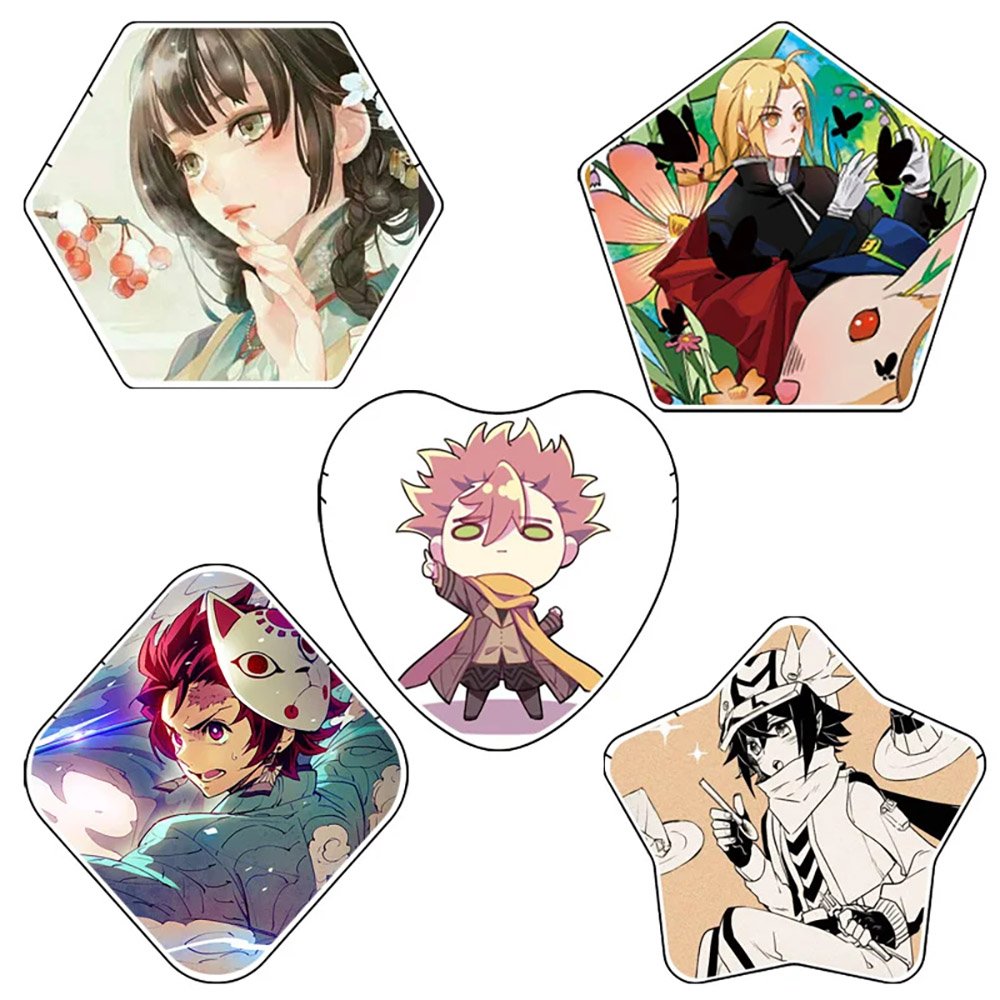
Material assessment: it’s recommended to use a grid-style insert board with some thickness, or a rigid felt insert board. A good-quality insert board can withstand repeated pinning and the weight of tin badges, and won’t easily dent or warp over long-term use.
Convenience: a removable insert board lets you do detailed layout and fastening work outside the bag itself, which greatly reduces how difficult the assembly process is.
3. Display Depth and Merch Protection
Depth space: Cinnamoroll merch often includes bulkier, three-dimensional plushies, so the front clear window of your itabag needs to keep enough depth space, to avoid the plush toy getting pressed flat and deformed by the PVC film once it’s inside.
Protection mechanisms: equipping clear PVC badge protective sleeves, acrylic anti-scratch film, and hook fastening straps can effectively prevent merch from bumping into each other, getting scratched, or falling off while you’re out and about.
Ⅱ. Design Aesthetics and Layout Principles for a Cinnamoroll Themed Ita Bag
When designing a Cinnamoroll-themed itabag, it’s worth following these four core visual principles to elevate the overall look of your bag:
1. Color Ratio
Main color (70%): sky blue + pure white (evoking the imagery of sky and clouds).
Supporting colors (20%): light pink (blush / cherry-blossom themes), cream yellow / light brown (café and cinnamon-roll themes).
Accent colors (10%): gold or silver (metallic rosette charms, star-shaped metal buckles).
2. Mixing Materials
Combine metal (tin badges), acrylic (clear charms), fabric/plush (Cinnamoroll plushies / rosette charms), and lace/ribbon/pearl strings to break up the coldness of a single flat surface and give the whole itabag a warm, soft, tactile feel.
3. Spatial Composition
Pyramid / Central Focus method: place the largest Cinnamoroll plushie or a limited-edition large badge at the center, with smaller merch extending outward around it, forming a clear visual center.
Grid / Checkerboard method: strictly align same-sized tin badges into a 3×3 or 4×4 grid, aiming for a strong sense of order and a “complete collection” feel.
Symmetrical Balance method: place rosette charms or charms of equal size symmetrically on the left and right sides, for a neat, soothing visual effect.
Ⅲ. In-Depth Analysis of Real Player Case Studies
To better understand the design thinking involved, we selected three representative real case studies for an in-depth look.
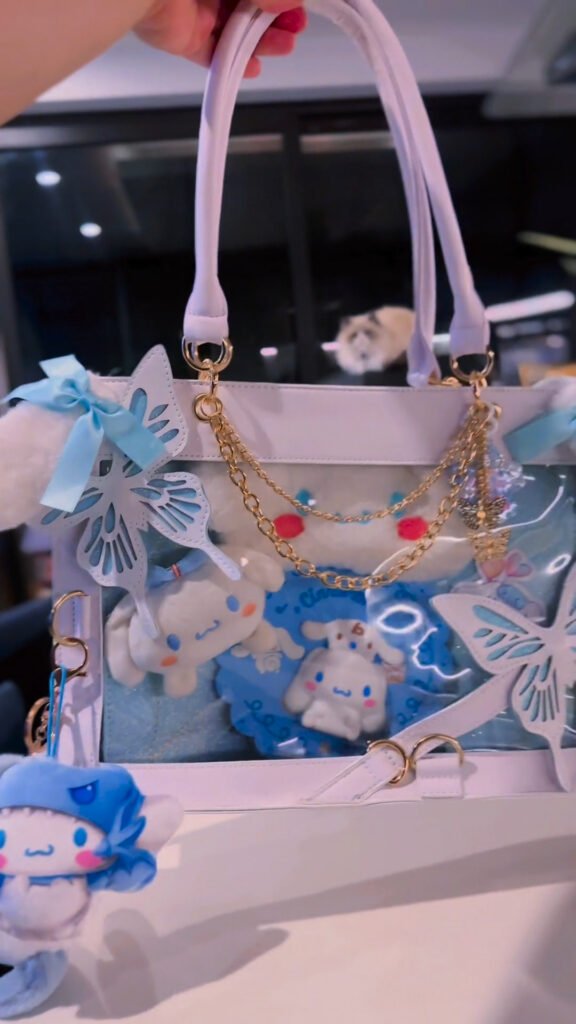
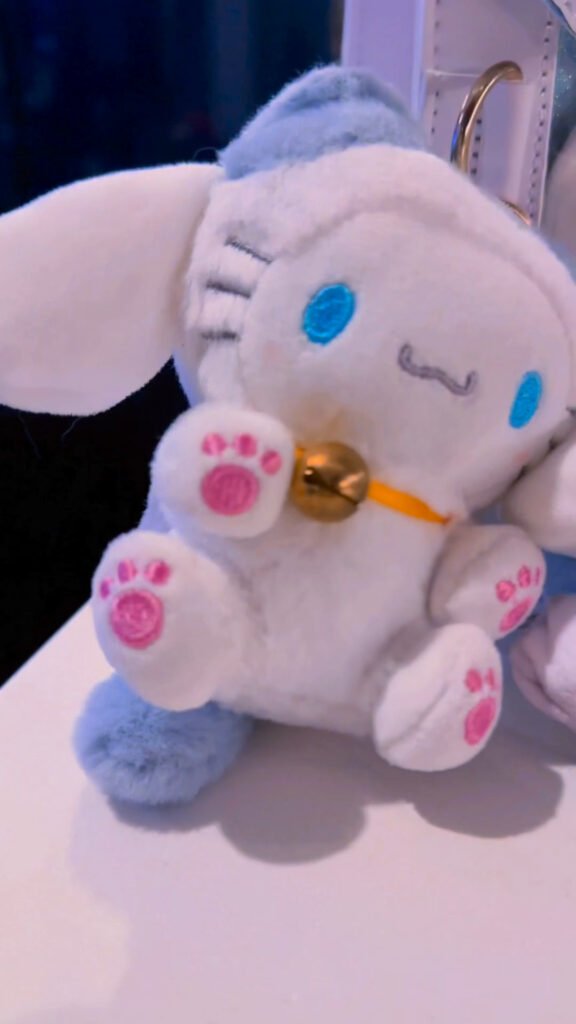
Case Study 1: A Beginner’s Debut — A Simple, Clean, Lightweight Cinnamoroll-Themed Itabag
This player showcased their own first Cinnamoroll-themed itabag, breaking from the traditional idea that an itabag has to be packed completely full and airtight, and showing how to create a refined, breathable, clearly-themed piece even with limited merch.
1. Base Bag and Color Scheme
Color: chose a classic pure white base bag, which closely matches Cinnamoroll’s signature “sky and clouds” color identity.
Window: a moderately sized clear window gives good visual focus without feeling empty from too much open space.
2. Composition and Layout Strategy
Concentration and negative space: adopted a strategy of concentrated focus plus deliberate negative space, gathering merch in the central golden-ratio zone with appropriate empty space around the edges, giving the whole thing a very clean, refreshing look.
3D layering: used a shimmering sky-blue insert board as the background, and hung mini plush/acrylic charms in front, creating visual depth between foreground and background.
3. Details and Atmosphere
Consistent color tone: merch was strictly filtered down to white and sky-blue tones, giving it an extremely high visual purity.
Accent fill: used white-and-blue bows and small charms to fill in gaps, cleverly enhancing the healing, comforting atmosphere.
4. Key Takeaways
Don’t stress about merch quantity: when you have less merch, you can choose a smaller base bag and pair it with ribbon or background fabric in matching colors to build atmosphere.
Minimalism is beautiful: a clean, uncluttered layout does a better job of highlighting Cinnamoroll’s own soft, healing character traits — a great template for beginners.
Case Study 2: Getting Better and Better — An Advanced Cinnabag with Mixed Materials
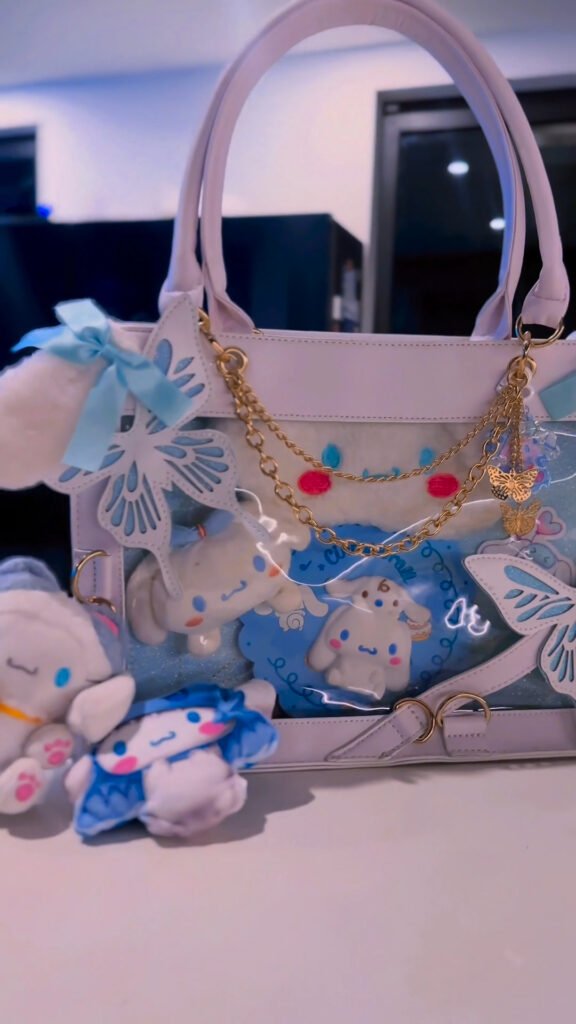
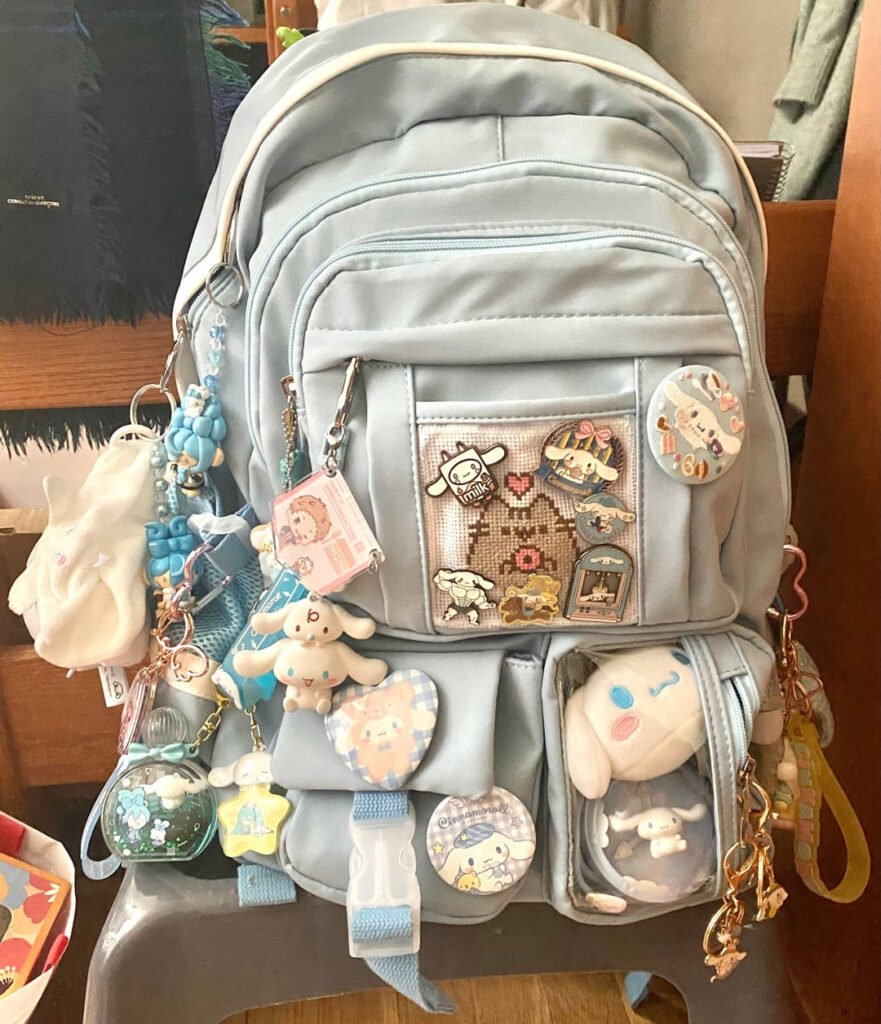
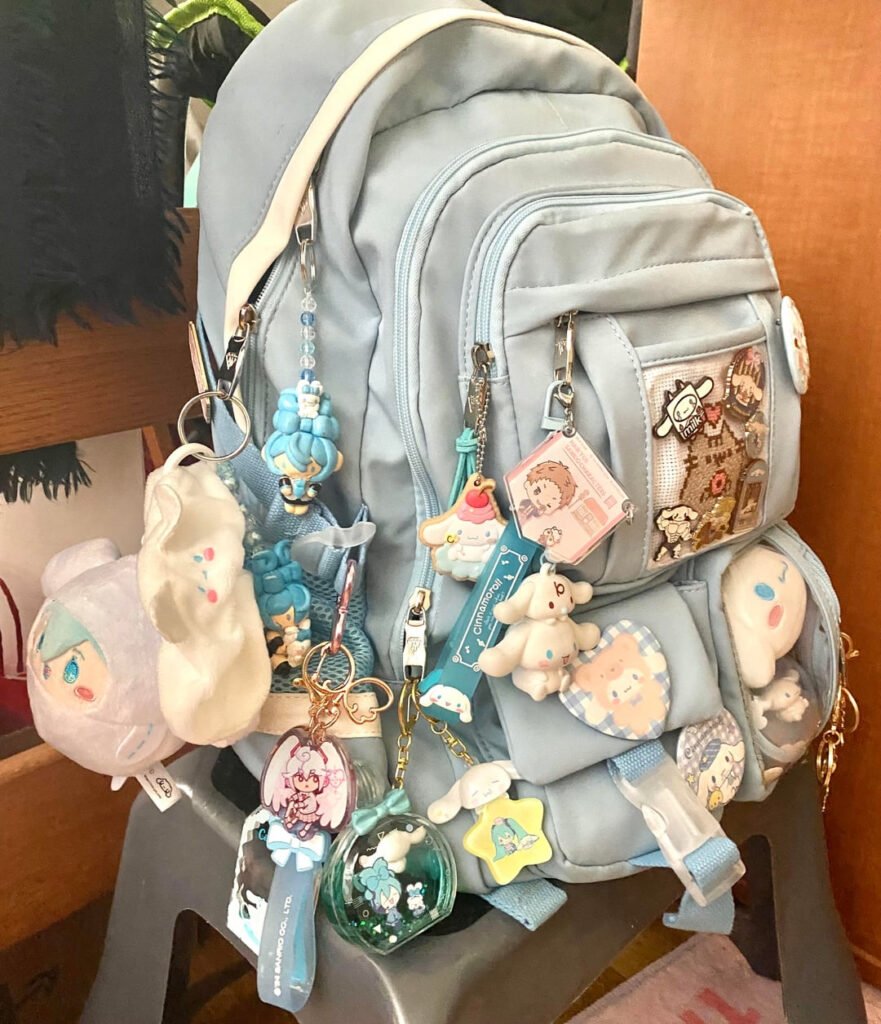
This case study demonstrates how, when you have a wide variety of merch types, you can use a distinctive background, a mix of 3D materials, and depth of space to build a rich, layered, highly polished itabag.
1. Color and Core Visual Anchor
Main color and accents: used classic sky blue as the main color, with cream yellow / light brown accents woven in — rich in variety without feeling cluttered.
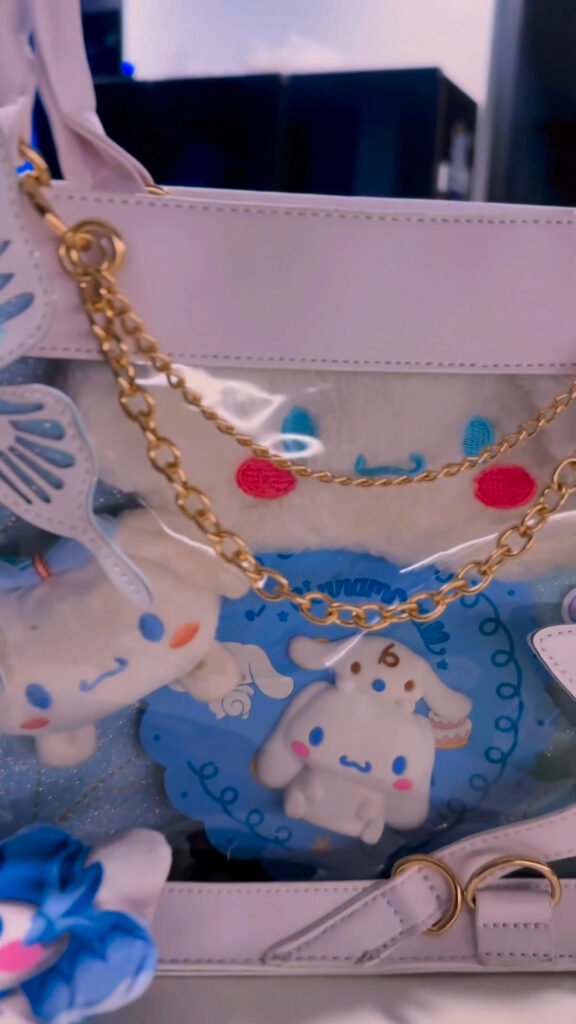
Distinctive cross-stitch background: inside the bag’s clear window, a square cross-stitch-style fabric charm serves as the core background, naturally becoming the visual anchor for the whole bag.
3D focal point: a plush figure and plush badges are placed in the front area, drawing the eye in and creating an eye-catching, healing-themed visual center.
2. Spatial Composition and Mixed Materials
Front-to-back depth: taking advantage of the depth of the front window, the cross-stitch fabric and flat badges are placed close against the insert board as a background, while the plush figure sits up front, creating a “front-projecting, back-flat” three-dimensional layered effect.
Mixing materials: the warm texture of the cross-stitch fabric, the metallic sheen of the tin badges, the translucency of the acrylic, and the softness of the plush figure all weave together, greatly enriching the overall visual texture.
3. Zone Management and Peripheral Mounting
Primary-secondary two-tier structure: the main clear window area serves as the primary display zone, while the pocket below and the surrounding areas, hung with small plush toys, form a supplementary zone — creating a clearly layered “main display + supplementary” structure.
Concentrated side mounting: bead strings, cloud-shaped plushies, clear balls, and other charms are hung together on the side. Even though there’s a lot of them, the visual focus is still kept under control, so it looks abundant without feeling cluttered.
4. Key Takeaways
Make good use of a distinctive background and depth: using textured fabric like cross-stitch as a backing can establish a distinctive tone for your itabag right away; pairing it with a base bag that has depth to combine plush figures and badges front-to-back gives an immediate visual payoff.
Manage peripheral items by zone: when you have a lot of hanging charms, the approach of one core focal point plus concentrated side mounting lets you show off a rich collection while still keeping things tidy and polished.
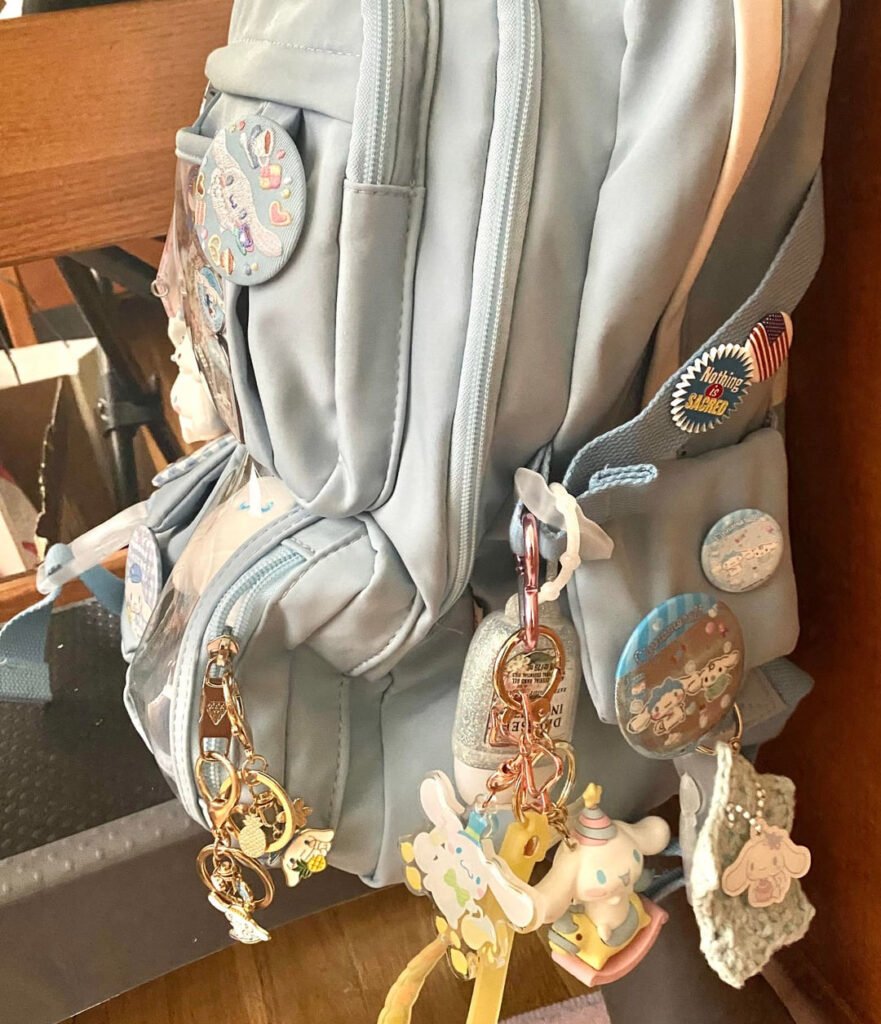
Case Study 3: Vintage, Casual, and Full of Interactive Charm — A Personal Collection Showcase
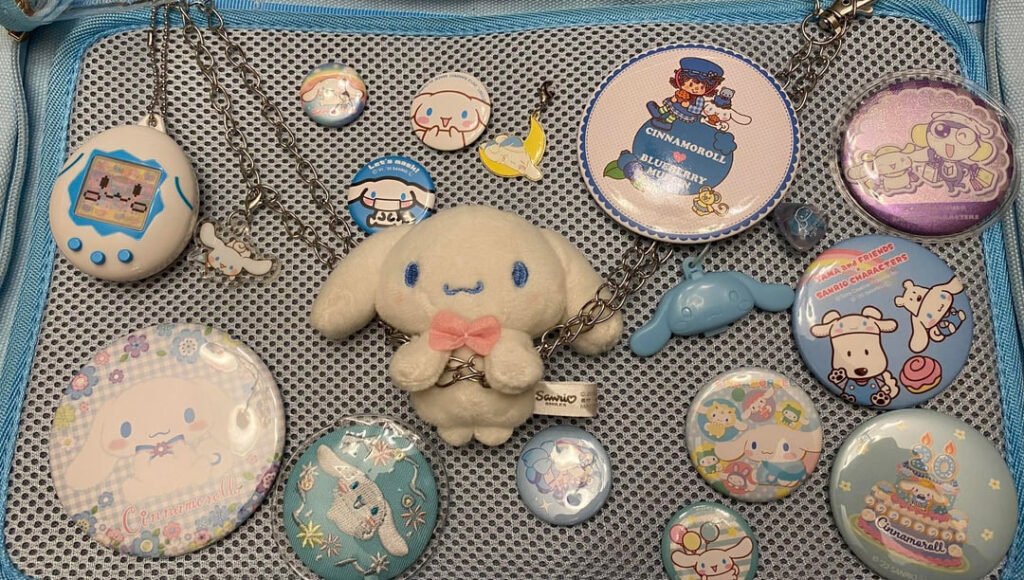
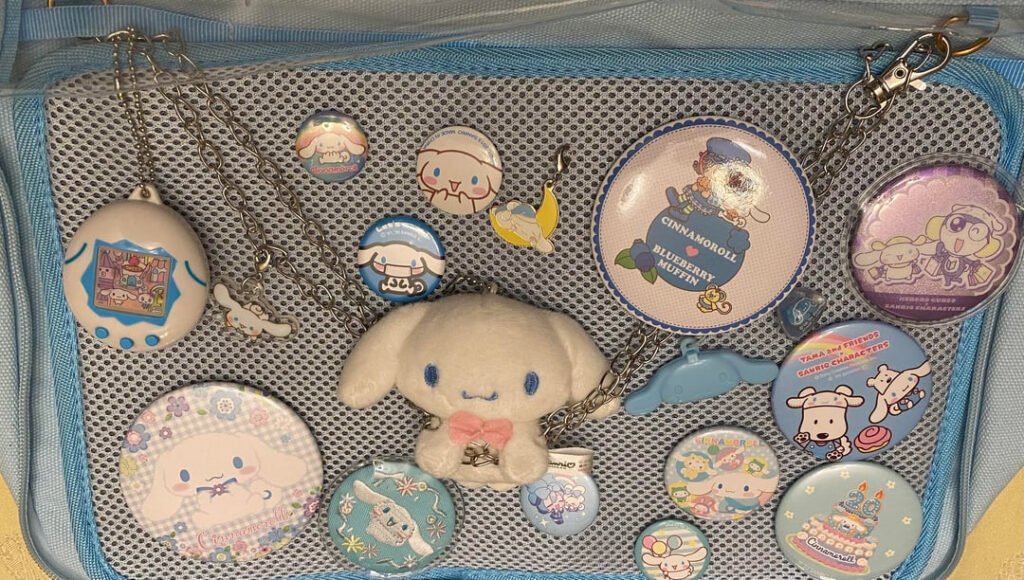
This player showcased a sky-blue itabag built on that base, full of personal collecting charm and interactive little items, for a relaxed, healing-style itabag.
1. Base and Color
Grid lining: used a light-gray grid insert board, which greatly increased the freedom to attach hooks, chains, and pin clasps.
Soft tones: the sky-blue trim, gray grid, and pure-white Cinnamoroll echo each other, building a clean, soothing background.
2. Diverse Merch and 3D Mixing
Plush centerpiece: a mini plushie with a pink bow is placed dead center, secured with a metal chain, naturally forming the visual center of gravity.
Vintage interactivity: the upper-left corner incorporates a blue-and-white Tamagotchi virtual pet toy, injecting a distinctive Y2K gaming feel.
Chained together: a metal chain runs across the inside of the bag, with small charms hung along it, adding depth to the overall look.
3. Naturally Scattered Composition
Mixed sizes: a mix of extra-large themed badges, anniversary commemorative badges, and small round badges keeps the look from feeling monotonous.
Casual arrangement: merch and decorative small clips are scattered around the central plushie, creating the natural, flowing look of a real personal display case.
4. Key Takeaways
Add in vintage or electronic gadgets: adding a Tamagotchi or metal chain that fits the theme can quickly boost your personal style and add a sense of fun.
Make good use of a grid insert board: a grid works well with all kinds of charms, and is a great fit for fans who have a wide variety of merch and enjoy freely mixing things together.
Ⅳ. Building a Cinnamoroll-Themed Itabag from Scratch
Step 1: Trial Layout on a Table
Before you fasten your merch to the removable insert board, lay it out flat on a table first. Arrange your prepared tin badges, plush figures, and ribbon rosettes into your planned layout, and take photos with your phone to record it. This step can be adjusted repeatedly until you’re happy with the visual proportions.
Step 2: Lay Down the Background and Border Trim
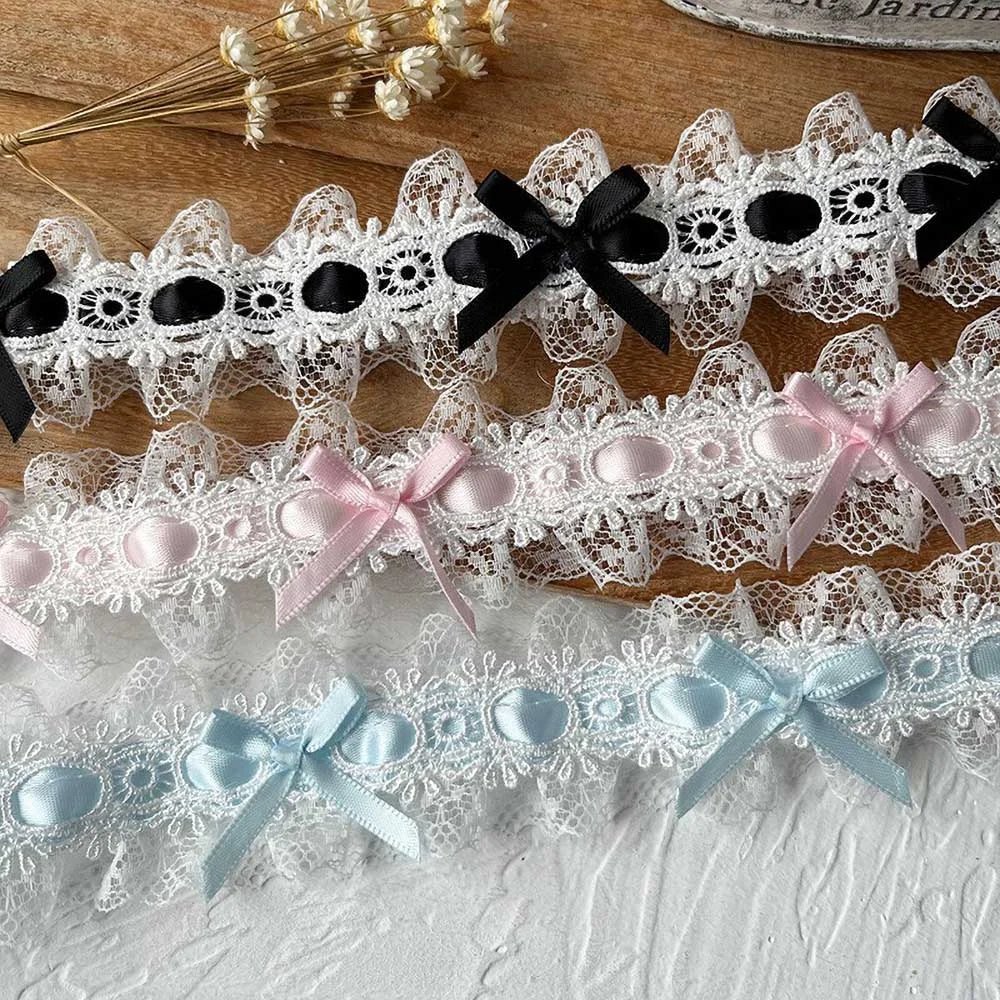
Border design: sew or use double-sided tape to attach blue or white lace trim or wavy edging around the border of the insert board.
Background layer: if the insert board’s color feels a bit plain, you can lay down a layer of sheer fabric or cloth printed with clouds, cinnamon rolls, or a starry-sky pattern, to establish a dreamy, sweet base tone for the whole bag.
Step 3: Secure the Core and Supporting Merch
Follow the principle of big-before-small, main-before-secondary: first secure Cinnamoroll’s main plush figure or the core large badge at the center. Then attach the tin badges to the insert board according to your pre-planned layout.
Add protective sleeves: slip a dedicated protective sleeve onto every badge, to prevent them from scratching each other while out and about.
Step 4: Fill Gaps and Add Decorative Charms
Once assembly is done, there will often be small gaps left in the insert board. At this point, you can use star- or cloud-shaped cotton/fabric accessories to fill in the gaps.
Hang dessert- or coffee-cup-shaped acrylic charms on the hanging loop at the top of the itabag, to enrich the Cinnamoroll cinnamon-roll-café theme.
Step 5: Assemble and Show Off the Finished Bag
Slide the finished insert board smoothly into the clear display window, zip it up tight, and straighten out the shoulder strap. At this point, a Cinnamoroll-themed itabag with visual beauty, layered depth, and solid structure is officially born!
Ⅴ. Summary
Building a Cinnamoroll-themed itabag isn’t just a fun hands-on DIY and visual-layout exercise — it’s also a way of giving physical form to your love for Cinnamoroll. By drawing on the inspiration and experience of the community, you too can put together your very own Cinnamoroll dream itabag, full of love and polish!
FAQ
How should a beginner start making their first Cinnamoroll-themed itabag?
For beginners, it’s best not to fasten badges down right away — instead, do a trial layout on a table first. You can lay out all your merch on a table, adjust the center position, color pairing, and spacing, take photos to record a layout you’re happy with, and only then secure everything to the insert board. This reduces how much back-and-forth disassembly you’ll need, and improves the final result.
What color base bag should you choose for a Cinnamoroll themed itabag?
The most classic choices are pure white and light sky blue, since these two colors most closely recreate Cinnamoroll’s official visual identity. If you want a sweeter overall style, you can also choose cream white, light pink, or a light-colored itabag with a clear display window, and add lace, ribbon, and cloud elements for extra dreaminess.
Cinnamoroll-themed itabag: should you go with a backpack or a crossbody bag?
It mainly depends on how much merch you have and how you plan to use it. If you have a large collection of badges, plushies, and other merch, a large-capacity backpack-style itabag is recommended, since the bigger display area lets you build out a rich themed layout. If it’s mainly for everyday outings, a crossbody itabag or a smaller itabag works well — lightweight while still keeping a polished display.
Is it a good idea to add plush figures to a Cinnamoroll themed itabag?
Definitely. Cinnamoroll’s biggest visual traits are his fluffy big ears and his soft, cloud-like form, so adding plush figures enhances the itabag’s sense of dimension and its healing, comforting atmosphere. That said, pay attention to how much display space the base bag offers — choosing a display window with some depth helps prevent plush toys from getting squeezed and deformed.
Get Inspired on Instagram
Looking for inspiration for your next ita bag? Follow us on Instagram for more ita bag decoration ideas, styling inspiration, and creative ways to showcase your favorite pins, charms, and collectibles. We regularly share different styling ideas to help you discover new ways to decorate and personalize your ita bag.