From Clear PVC to a Kuromi-Covered Board: How to Make a Decoden Cream Ita Board
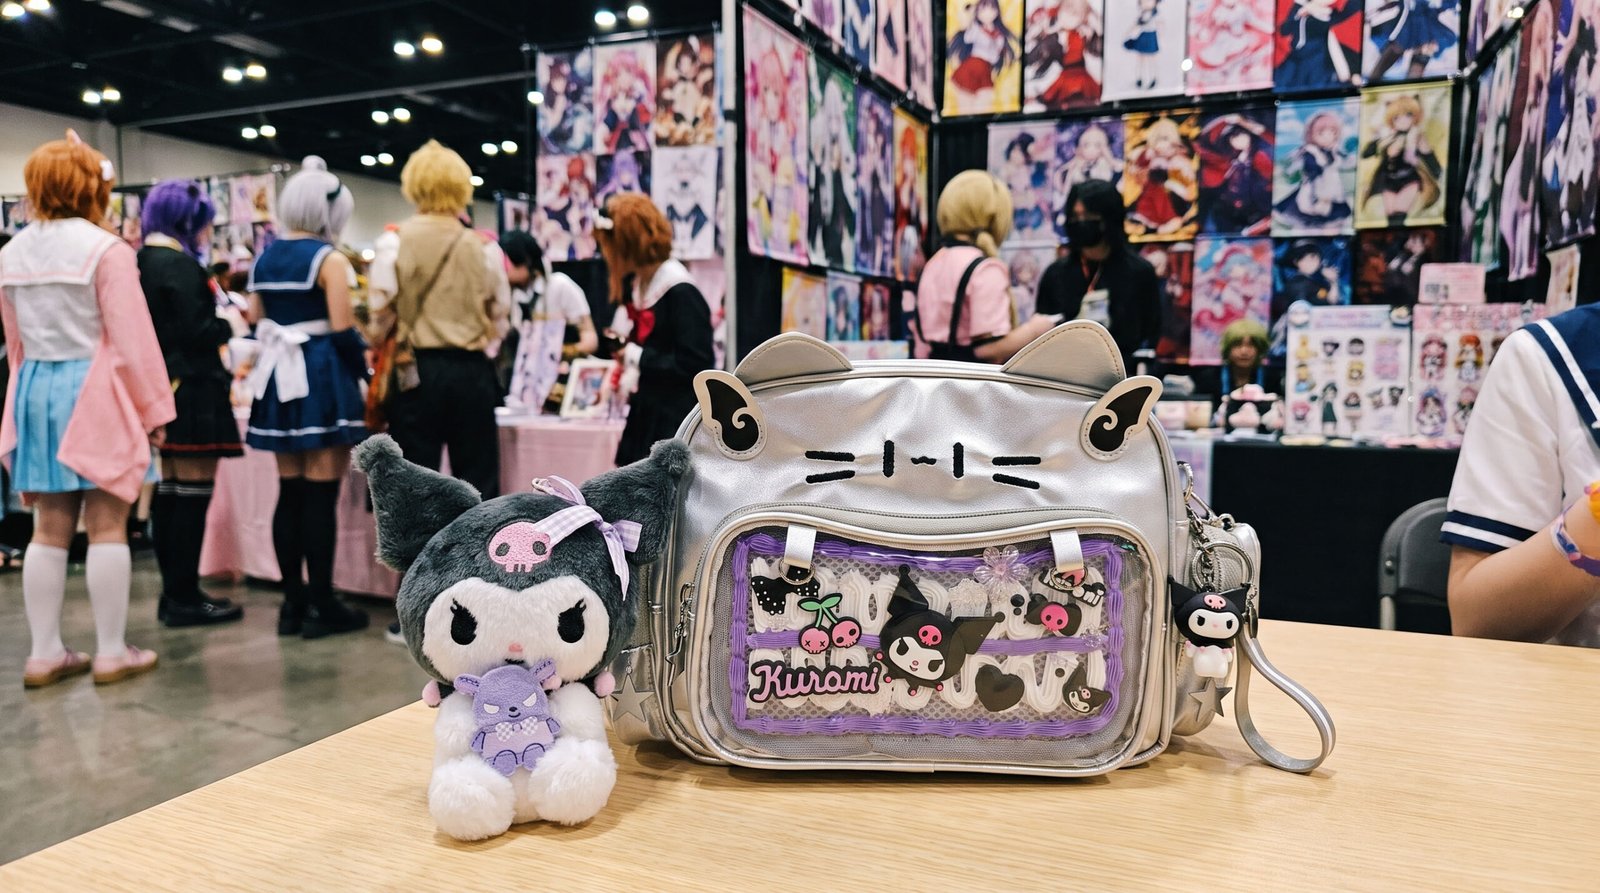
Table of Contents
Hi everyone, we’re Pinitabag! This time we’re not talking about which bag to pick or how to style it — this is a pure, hands-on making log. A few days ago we spent ages at our worktable making a custom Decoden Cream board for our silver cat-ear ita bag, and filmed the process into a short video along the way. After we posted it, a lot of followers messaged asking about the details: how to control the thickness of the cream, how to keep the border neat, how to secure the charms so they don’t fall off — so we figured we’d just write a full tutorial, noting down the whole process along with the little pitfalls we ran into. We’ve also linked a few small items we used ourselves, or that could save you some hassle, along the way in case they’re useful.
Step 1: A Properly Sized Clear PVC Insert
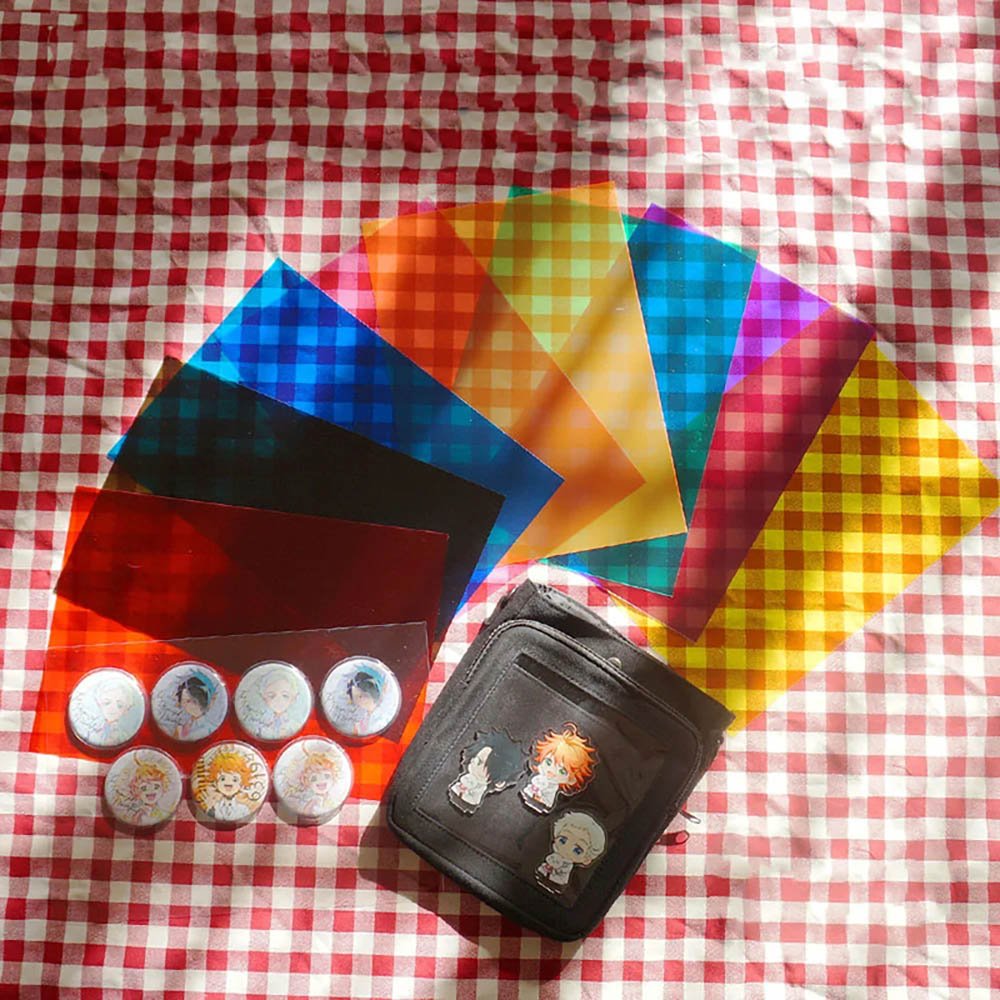
The skeleton of a decoden cream board is actually really simple — it’s just a piece of clear PVC insert. Start by using scissors to cut a rounded rectangle to match the size of your ita bag’s insert window. This step sounds easy, but in practice the part that trips people up most is the sizing: cut it too small and it’ll rattle around inside the window, cut it too big and it’ll jam the zipper. We usually trace the outline of the bag’s insert window with a soft tape measure first, then leave about a 2mm margin before cutting.
If you’d rather not keep measuring and trimming against your bag’s insert window by trial and error, you can also do what we do and just use a pre-cut, standard-size DIY trimmable insert sheet — it saves a lot of back-and-forth.
Step 2: Pipe the Border First, Then Fill In Row by Row
Once the base is ready, switch to a piping bag with a fine round tip and pipe a wavy border of purple decoden cream all the way around the edge to form the outer frame. This step is genuinely addictive — the cream has just the right consistency, comes out with a natural sheen, and closing the loop gives you that real “I’m basically frosting a cake” sense of accomplishment.
Once the frame is done, fill in the inside with white decoden cream, going back and forth row by row like stacking roof tiles, then pipe a purple line down the middle as a divider. This part needs the most patience — don’t rush your hand, or the ridges will blur together. Try to keep the same angle and pressure on the piping bag throughout, so each row’s wave pattern looks consistent and even.
Step 3: Add the Main Charm and Smaller Accents
Once the cream is piped and has set a little, comes the most satisfying part — placing your featured charms on top. This time we went with Kuromi: place the main hero charm first to set the layout, then build out the smaller accents around it — a black polka-dot bow, a cherry with a skull dangling from it, a letter logo tag, snowflake decorations, tiny hearts… every time you add one, you can’t help but step back and check whether the overall proportions still feel balanced.
Step 4: Reinforce with Tape for a Second Layer of Hold
Decoden cream is sticky on its own, but when charms are packed closely together and the bag gets carried around all day, relying on the cream alone isn’t quite reliable enough — especially with heavier metal charms, which tend to sag over time. We usually reinforce the key stress points with a bit of nano double-sided tape or a tiny strong magnet. It doesn’t affect the look, and it lets the whole board hold up to everyday bumps and handling.
If you feel the empty spaces look a bit plain, you can also dot a few self-adhesive rhinestones around the edges. We carry ready-made colorful self-adhesive rhinestone stickers too — no tools needed, just peel and stick, which makes finishing touches really easy.
Final Step: Slot It Into the Bag — Done!
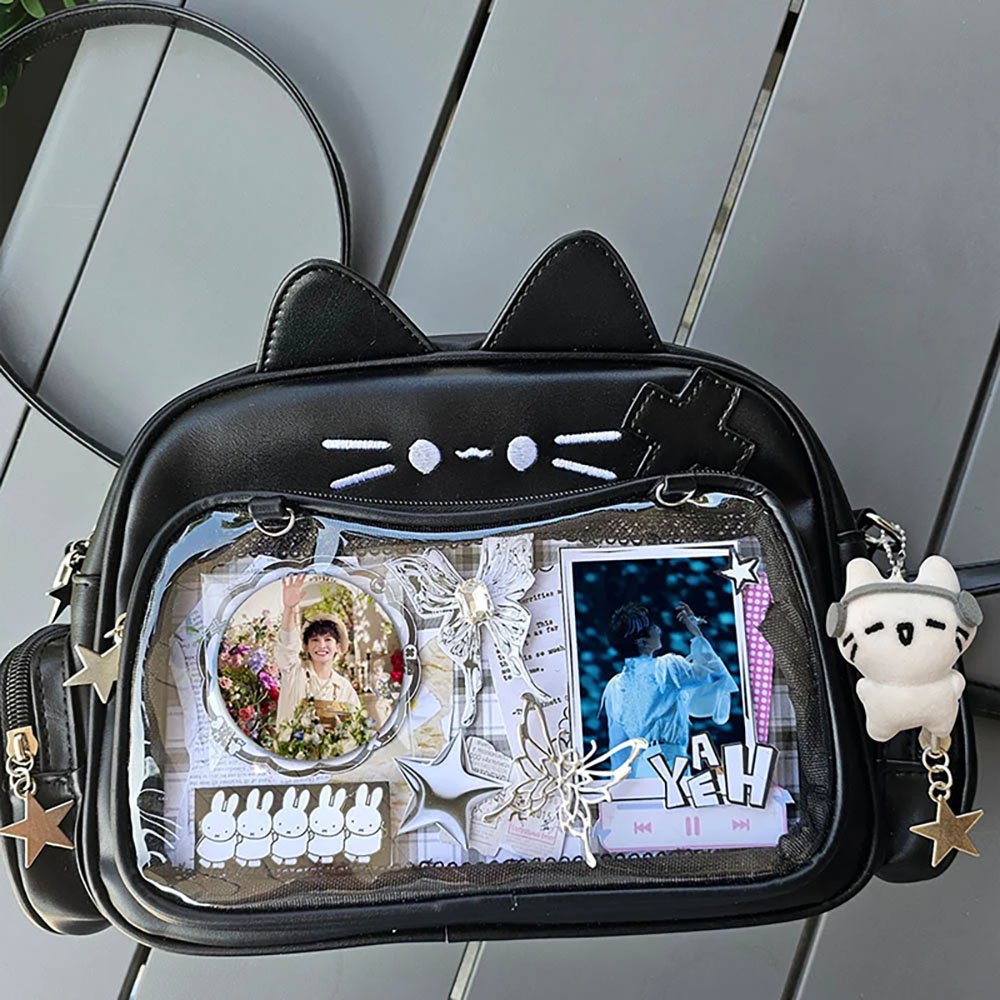
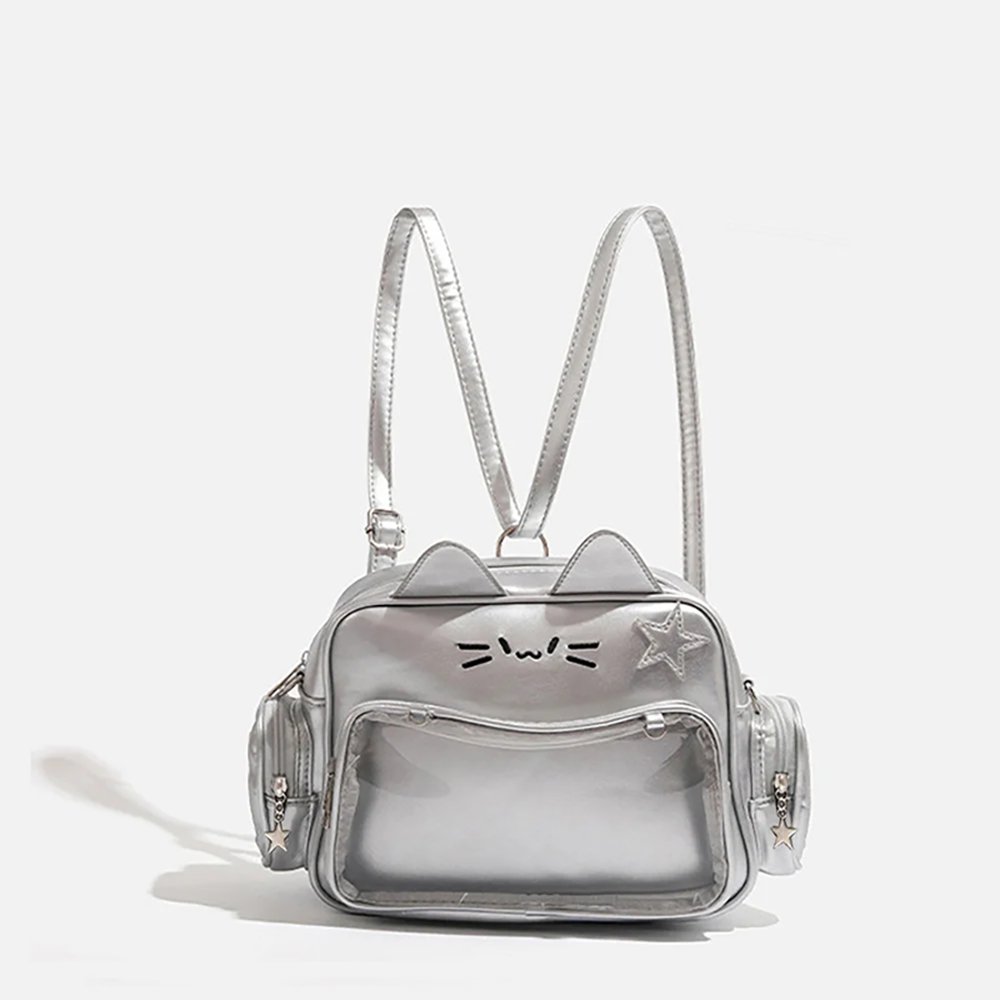
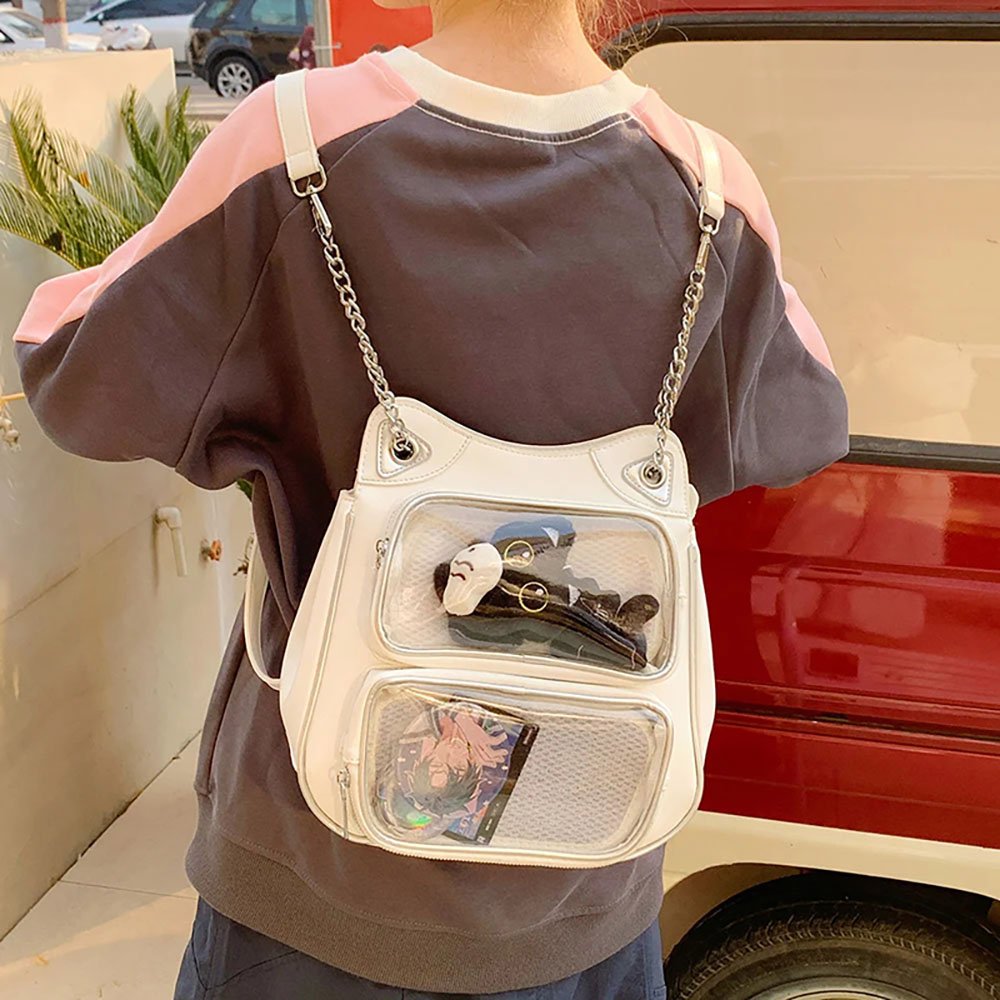
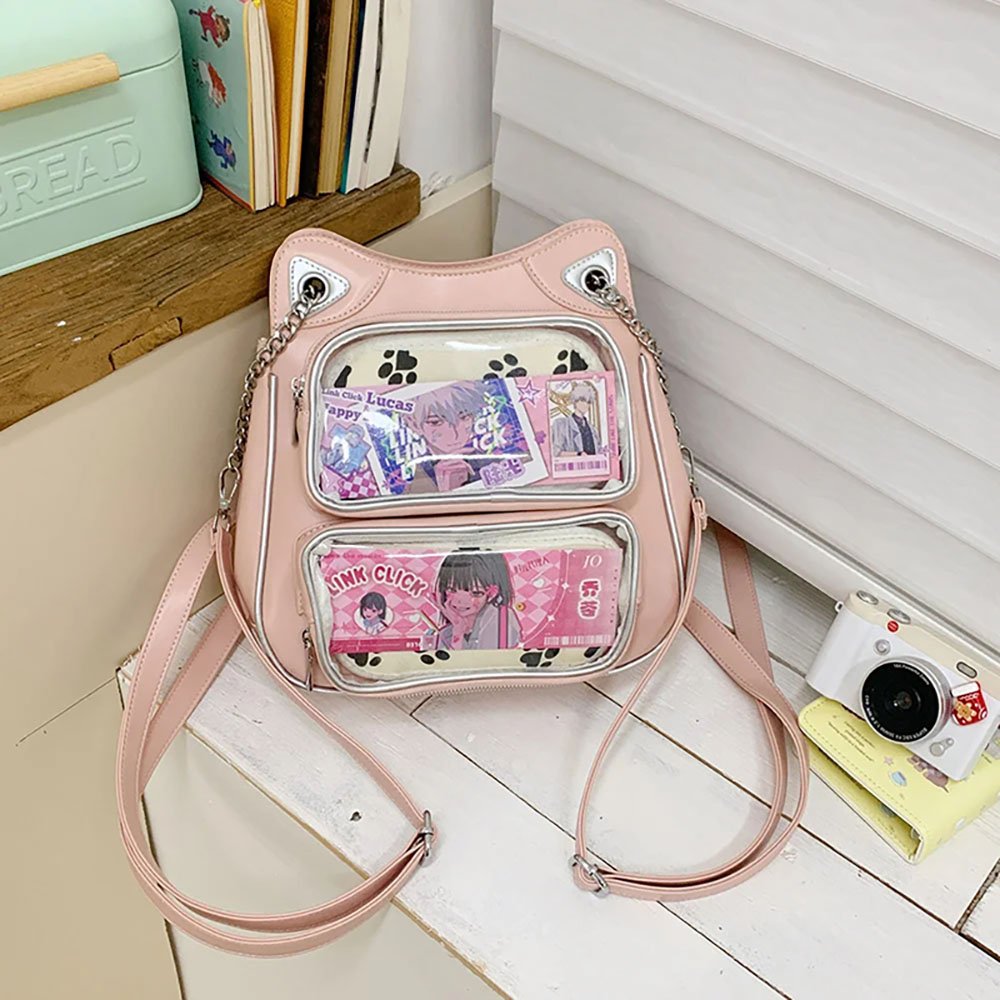
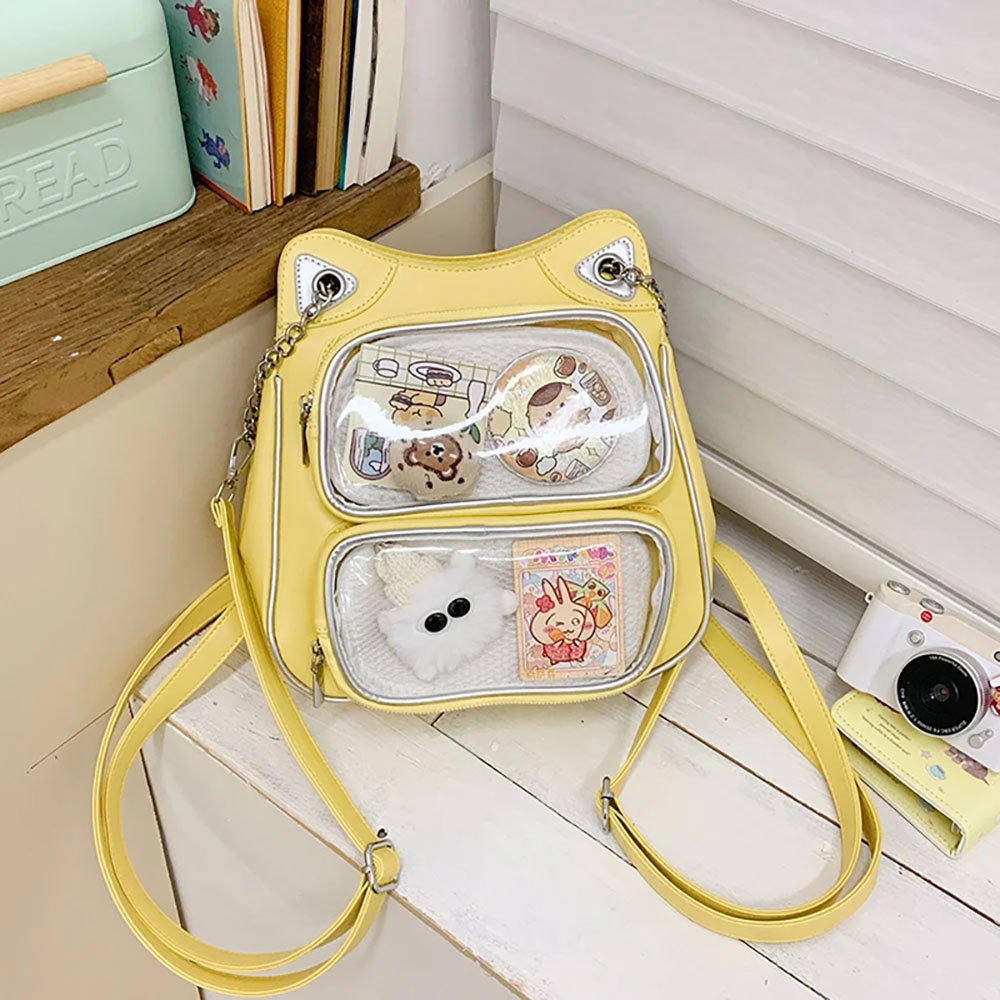
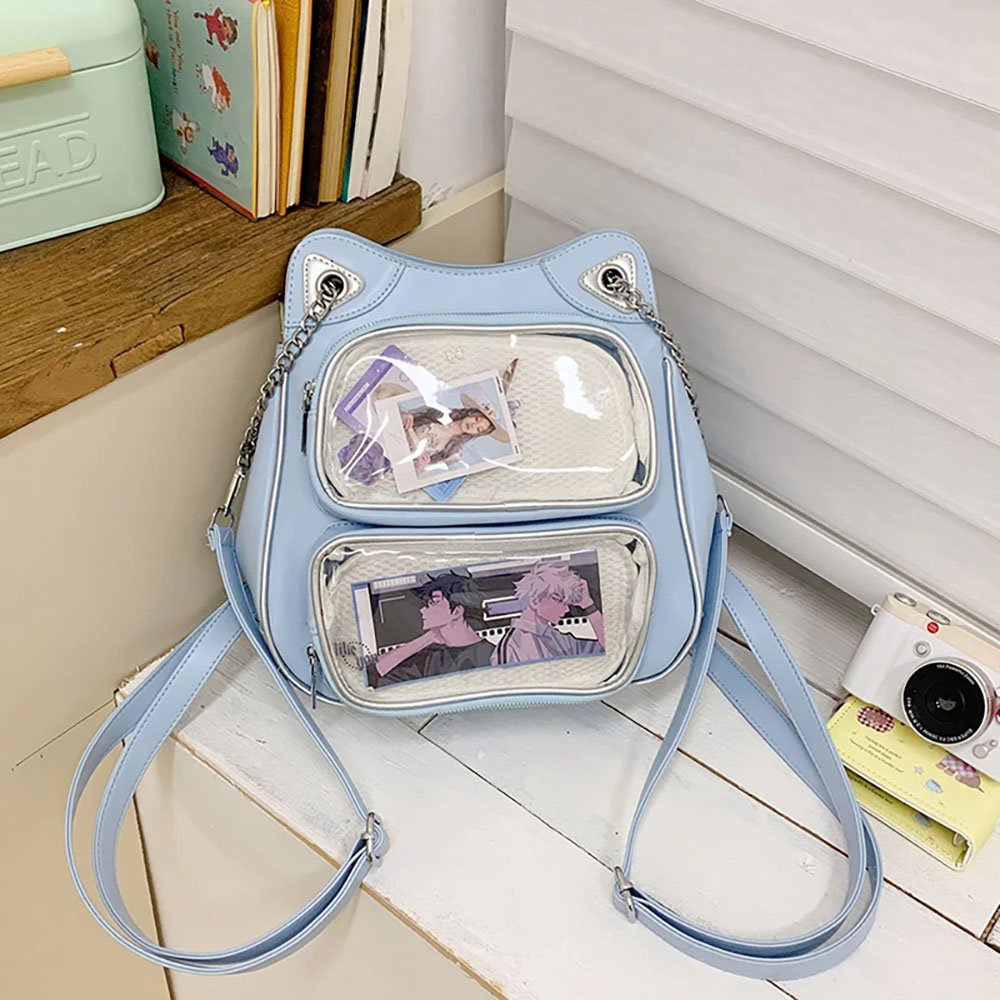
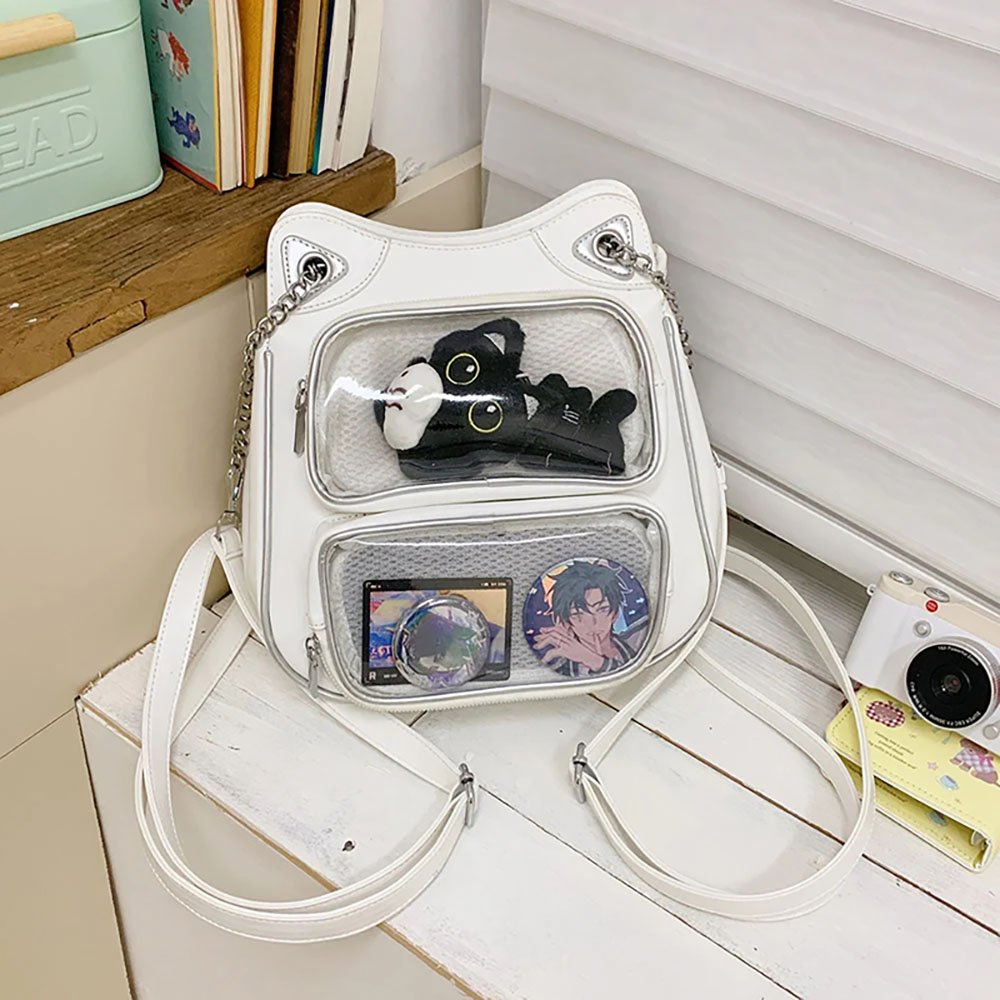
Once the board is finished, just slot it straight into the clear insert window on the front of your ita bag. This time we used our silver cat-ear ita bag — the cat ears paired with the metallic-look body create strong contrast against the purple-and-black Kuromi board, and it really pops visually. If you like this cat-ear style with a clear insert window too, check out our cat-ear dual-window ita backpack — it has a roomier insert space that fits your own decoden cream boards, as well as badges or cards, without any trouble.
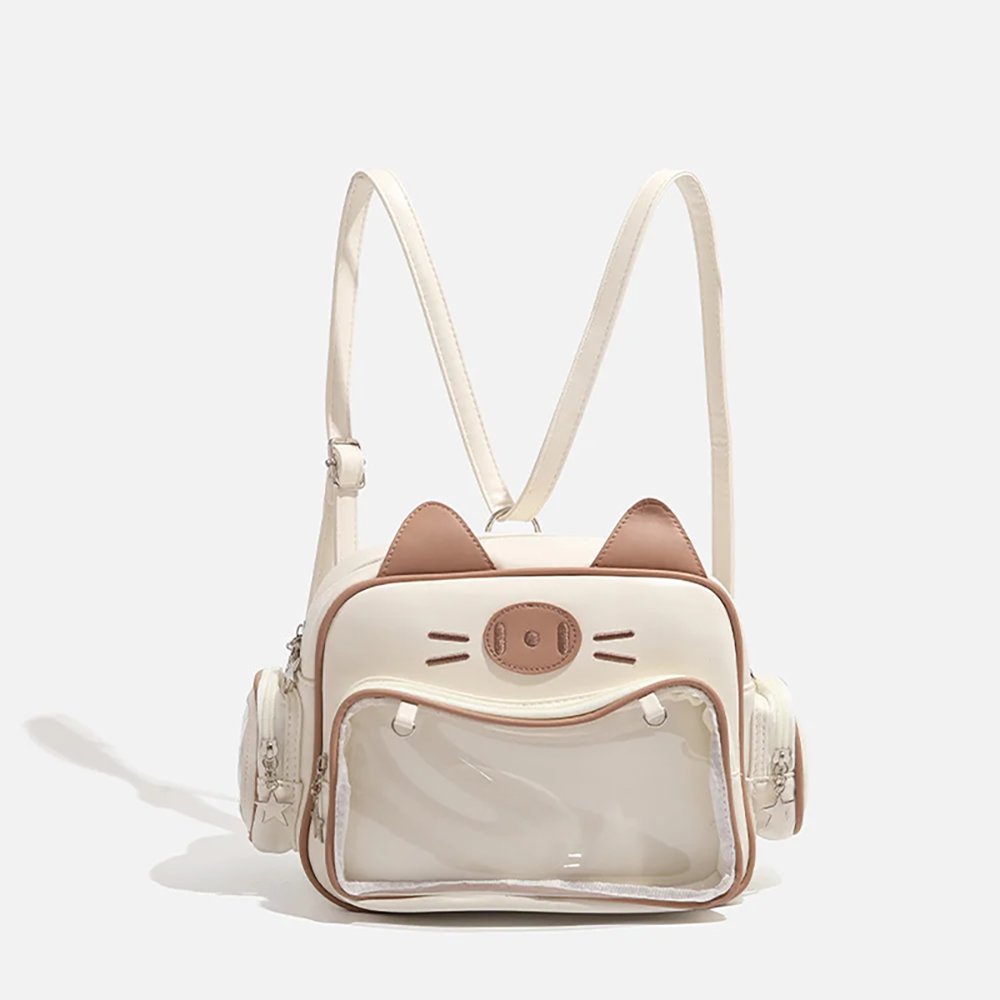
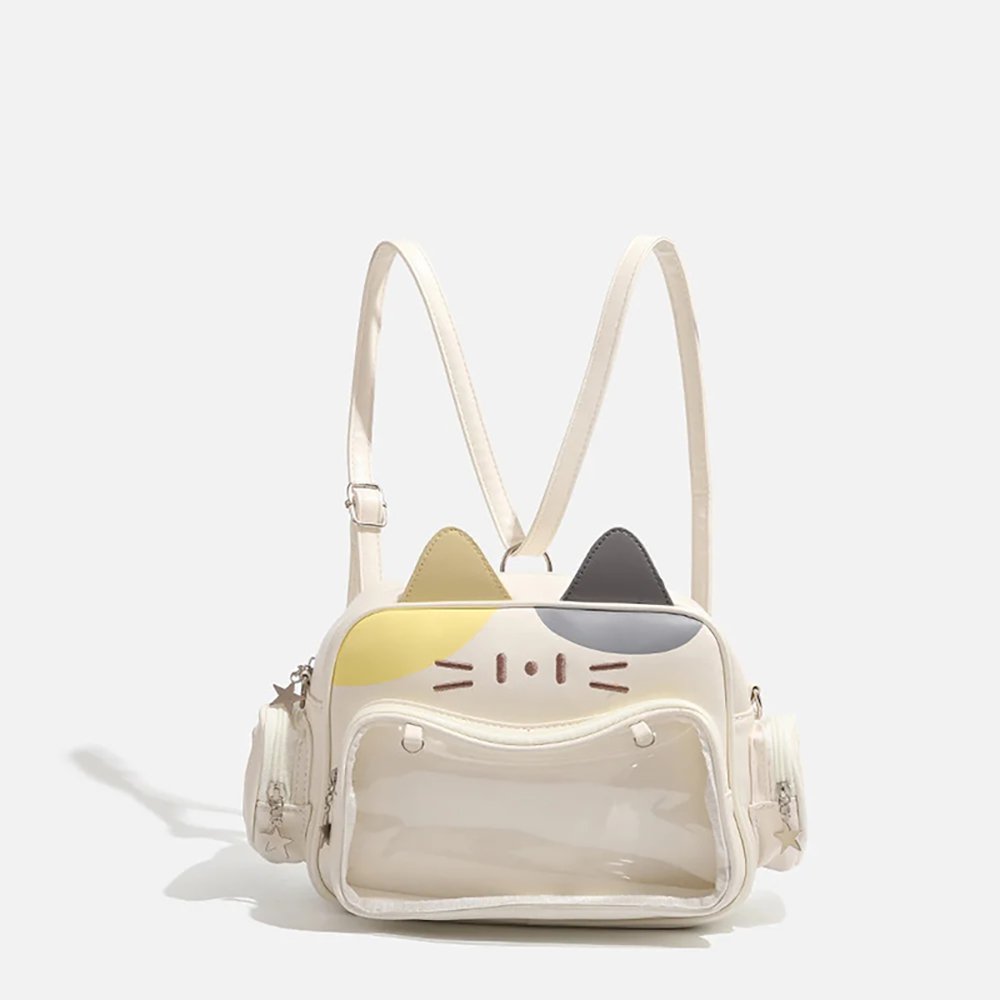
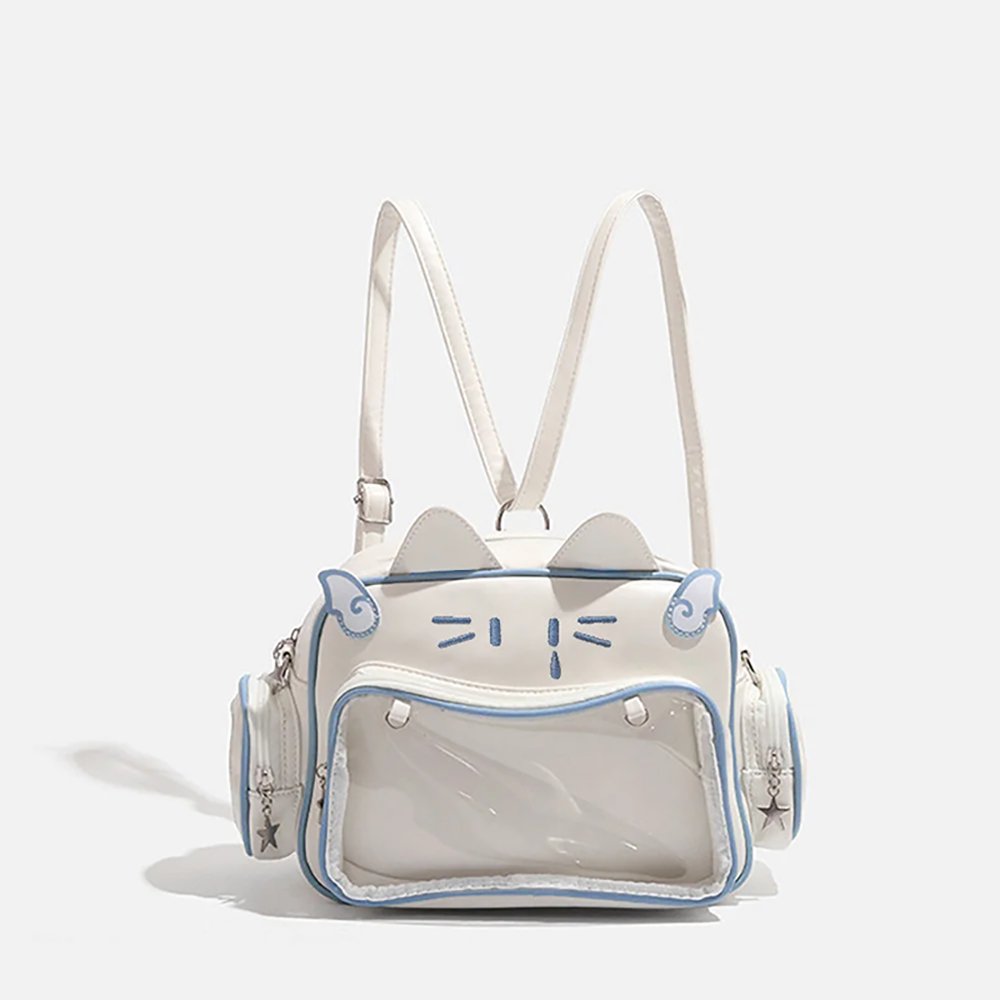
After it was all set up, we also added a plush Kuromi charm hanging off the side, which took the overall vibe to the next level — and that’s honestly the most addictive part of decorating an ita bag: there’s always one more little thing you want to add.
Wrap-Up
Decoden cream doesn’t hold up well to sun or heat: try not to leave a finished board in a car or in direct sunlight for long periods — both the color and the texture can warp.
The angle of the piping bag determines how thick the lines come out: a 45-degree angle gives the smoothest flow, while pressing straight down tends to flatten the wave pattern.
Place first, glue later: for every charm, we’d recommend laying it out and taking a photo to confirm you’re happy with the placement before gluing anything down permanently — redoing it costs more time than you’d expect.
Leave a little breathing room: covering the whole board edge-to-edge looks great, but if you leave absolutely no gaps, you won’t have anywhere to add new charms later.
If you’d rather skip cutting and piping from scratch, our shop also carries a few ready-made ita bag insert boards that already come with lace trims or basic patterns — you can just add charms straight onto the finished base, which makes it easy for beginners too. You don’t have to go the fully hand-made route.
That’s all for this share! If you make your own version following along, feel free to send us a photo — who knows, your work might end up as the material for our next tutorial!
FAQ
Why does my decoden cream come out with uneven ridges?
This is most likely caused by air bubbles in the piping bag, or uneven pressure from your hand. We’d suggest squeezing the top of the piping bag before you start to release any trapped air, and keeping a steady, even speed as you pipe instead of going fast and slow.
How long will a finished decoden cream board last?
Stored properly — out of direct light and away from high heat or humidity — it can typically keep its shape for over half a year to a year or more. That said, decoden cream is a decorative material, so it’s not meant to withstand long-term sun exposure, wind, or repeated pressing.
Will the charms fade or fall off?
PVC or acrylic charms are very unlikely to fade, but how you secure them matters a lot. For charms that are densely placed or on the heavier side, we’d recommend adding a layer of double-sided tape on the back for extra hold, and try to avoid knocking the bag against anything hard when you’re out and about.
Can a finished decorative board be moved to a different ita bag?
Yes — as long as the new bag’s insert window is roughly the same size as your cut PVC base, you can swap it straight in. That’s actually one of the reasons a lot of people prefer DIY-ing their boards instead of buying finished ones — a single board can even be rotated across several different bags.
Get Inspired on Instagram
Looking for inspiration for your next ita bag? Follow us on Instagram for more ita bag decoration ideas, styling inspiration, and creative ways to showcase your favorite pins, charms, and collectibles. We regularly share different styling ideas to help you discover new ways to decorate and personalize your ita bag.