Subverting Convention with Dual-Character Aesthetics: A Blue Lock Handmade Ita Board Breakdown
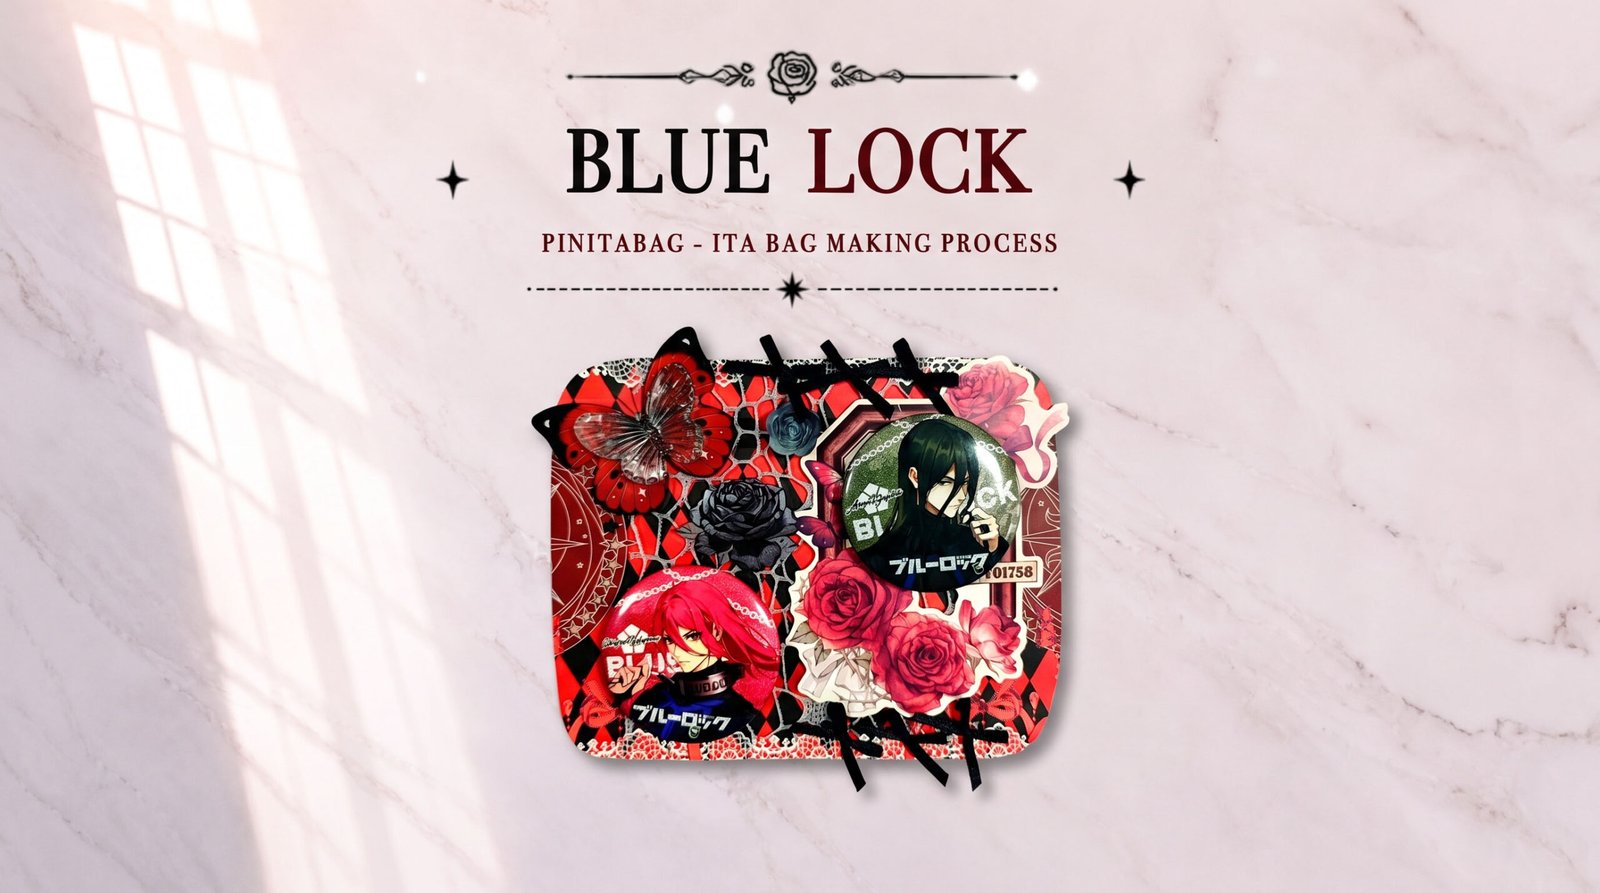
Table of Contents
As a team dedicated to ita bag design, we’ve always believed that an ita bag is more than just a container for holding your favorite characters — it’s a small, portable exhibition where fans show the world their deepest love and their sense of aesthetics.
Many newcomers to ita bag making tend to fall into the mindset that every layer has to be packed to the brim, which often leaves the piece feeling cluttered with no clear focal point. Or, when working with a lesser-known character with limited official merch, or a dual-character combo, they’re not sure how to balance the overall look through smart composition.
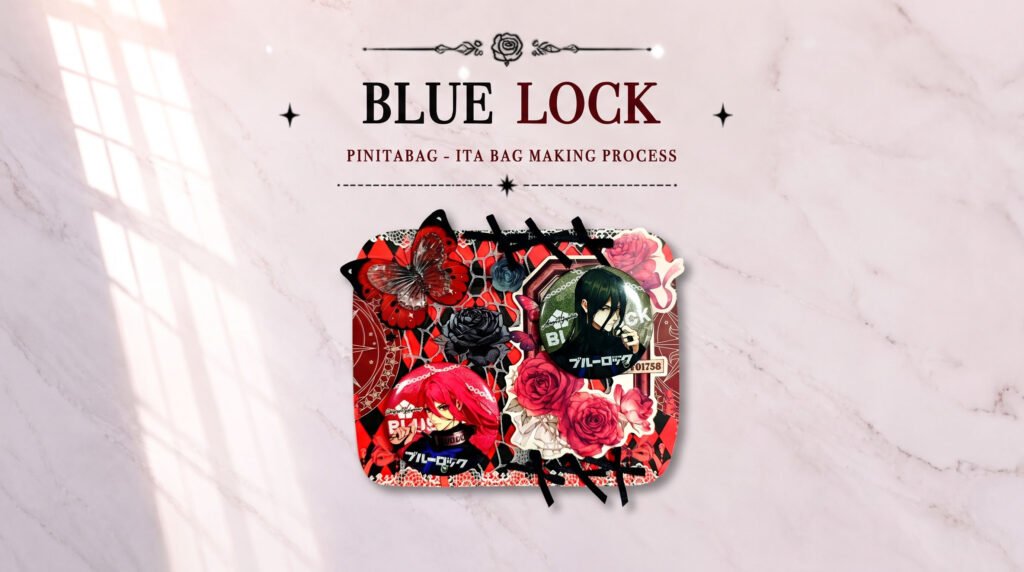
To give you a guide that’s both practical and artistic, today we’re breaking down our team’s newest project: a step-by-step tutorial for a Blue Lock Hyoma Chigiri × Jyubei Aryu dual-character Gothic-style handmade ita board. After that, we’ll take a close look at two real players’ classic Blue Lock ita bags and dig into the design thinking and creative inspiration behind them.
Why Choose Blue Lock for a Dual-Character Gothic Build?
As one of the most explosive soccer series around, Blue Lock’s core appeal comes from the tension in its characters — a fierce individualism colliding with an obsession over fashion, aesthetics, and winning.
When designing this handmade ita board, our team skipped the most obvious route — a green soccer-field backdrop or a purely sporty look — and instead dug into the personalities and visual color palettes of Hyoma Chigiri and Jyubei Aryu.
Hyoma Chigiri: has a delicate, almost aristocratic beauty paired with elegant, blazing speed. His signature color is a fiery, striking red.
Jyubei Aryu: a long-haired style icon who chases fashion to the extreme, with a cool, mysterious, dark aura. His signature color is a deep, dark green/dark tone.
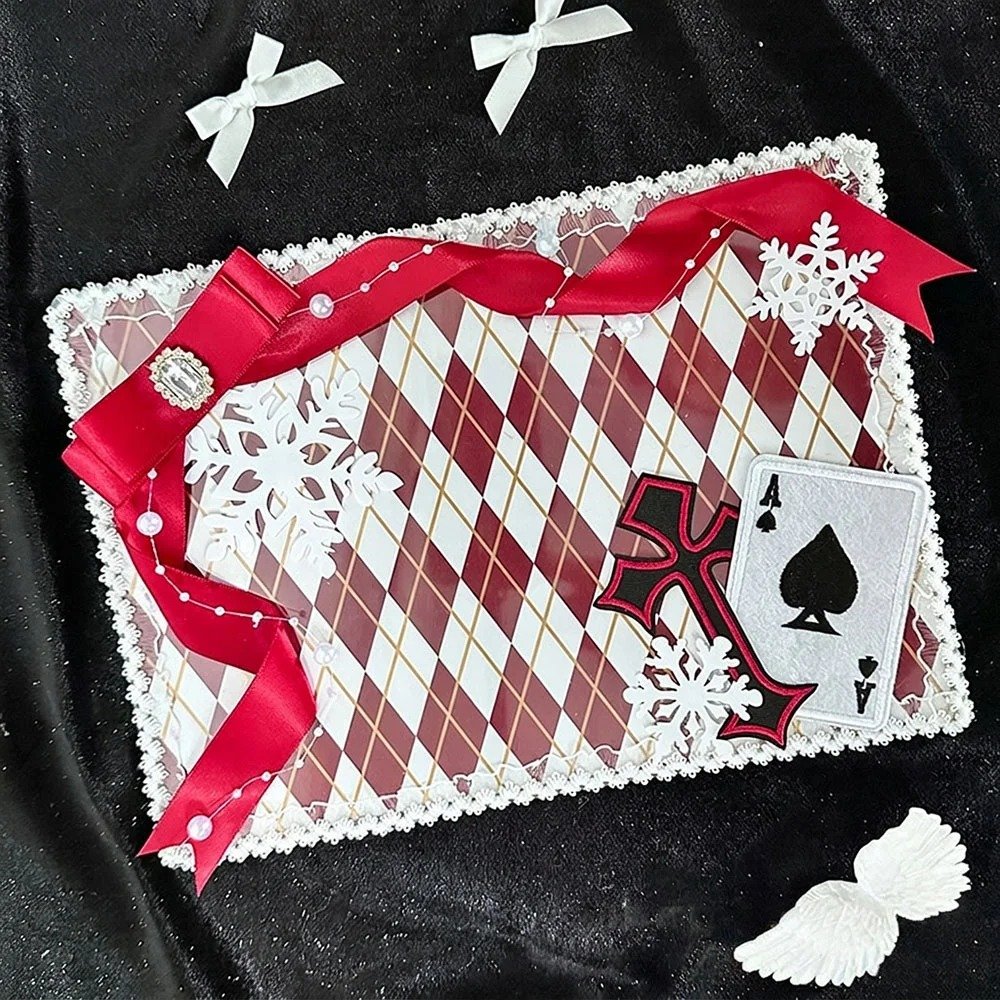
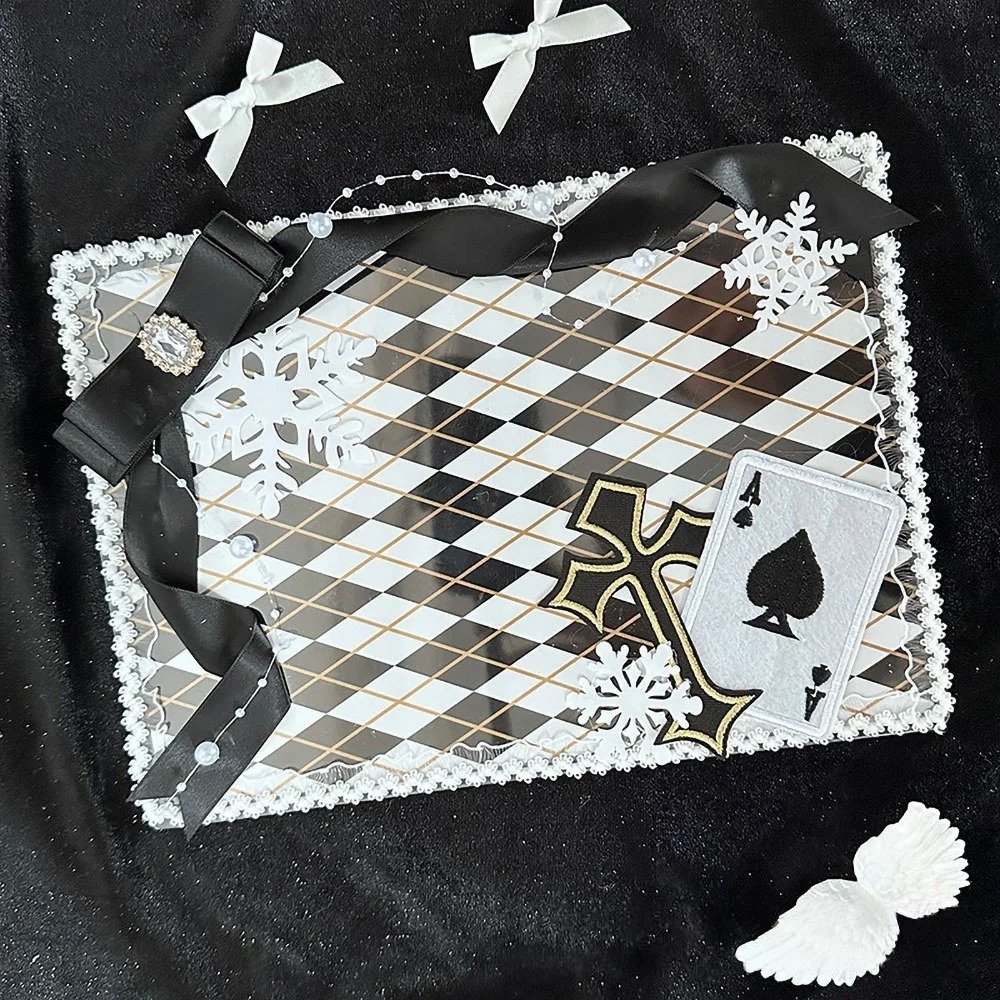
Putting these two style-driven, color-distinct characters on the same ita board is, at its core, a visual clash between red and dark, between refinement and fashion. To fully capture that red-and-black, fiery-versus-cool Gothic drama, we decided to build the piece around a red-and-black poker-card diamond pattern, vintage lace, and dark Gothic roses — creating a dual-character handmade ita board full of tension and refined layering.
Case Studies: Minimalist Negative Space and Breaking Through with Niche Characters
Before we get into our DIY tutorial, let’s look at how the community has approached Blue Lock-themed ita bags.
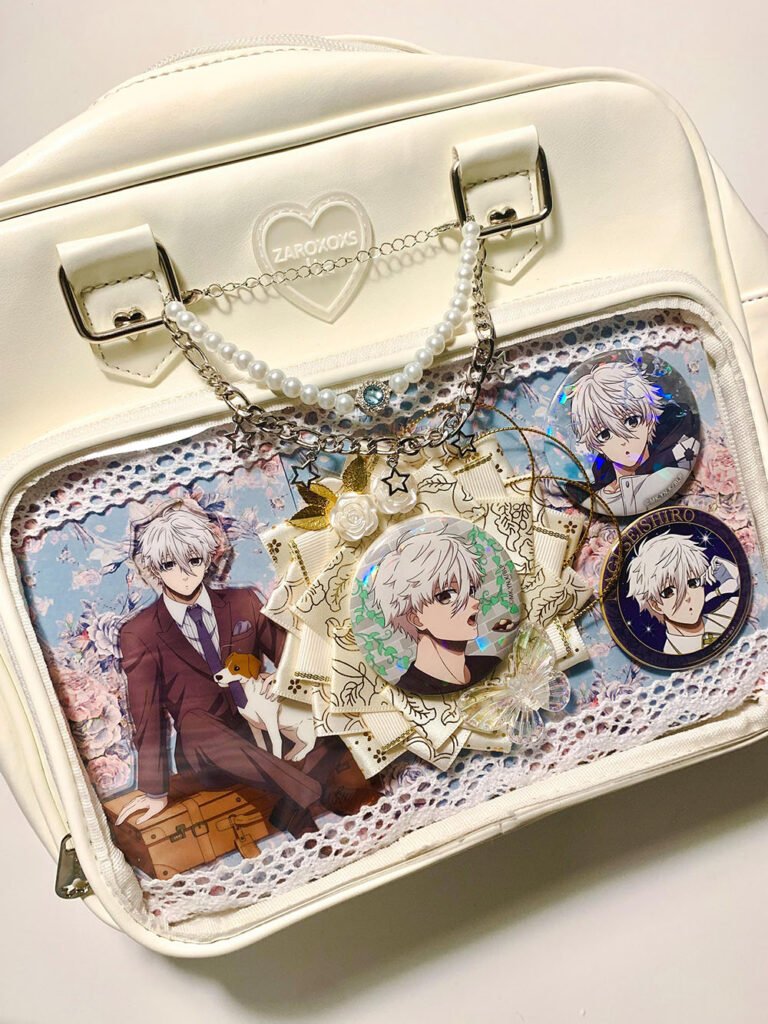
1. Seishiro Nagi Ita Bag: Ita-Flower and Acrylic Stand Combo with Elegant Negative Space
Layout and Color Analysis
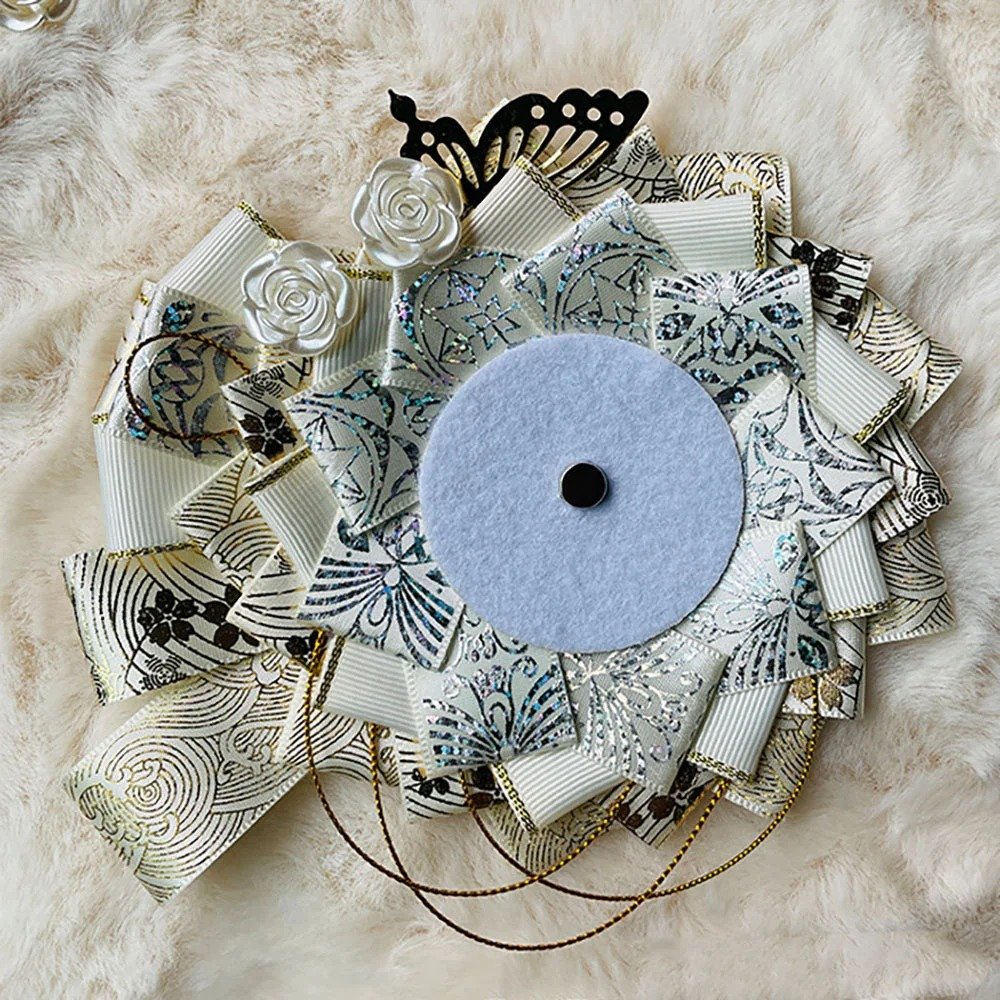
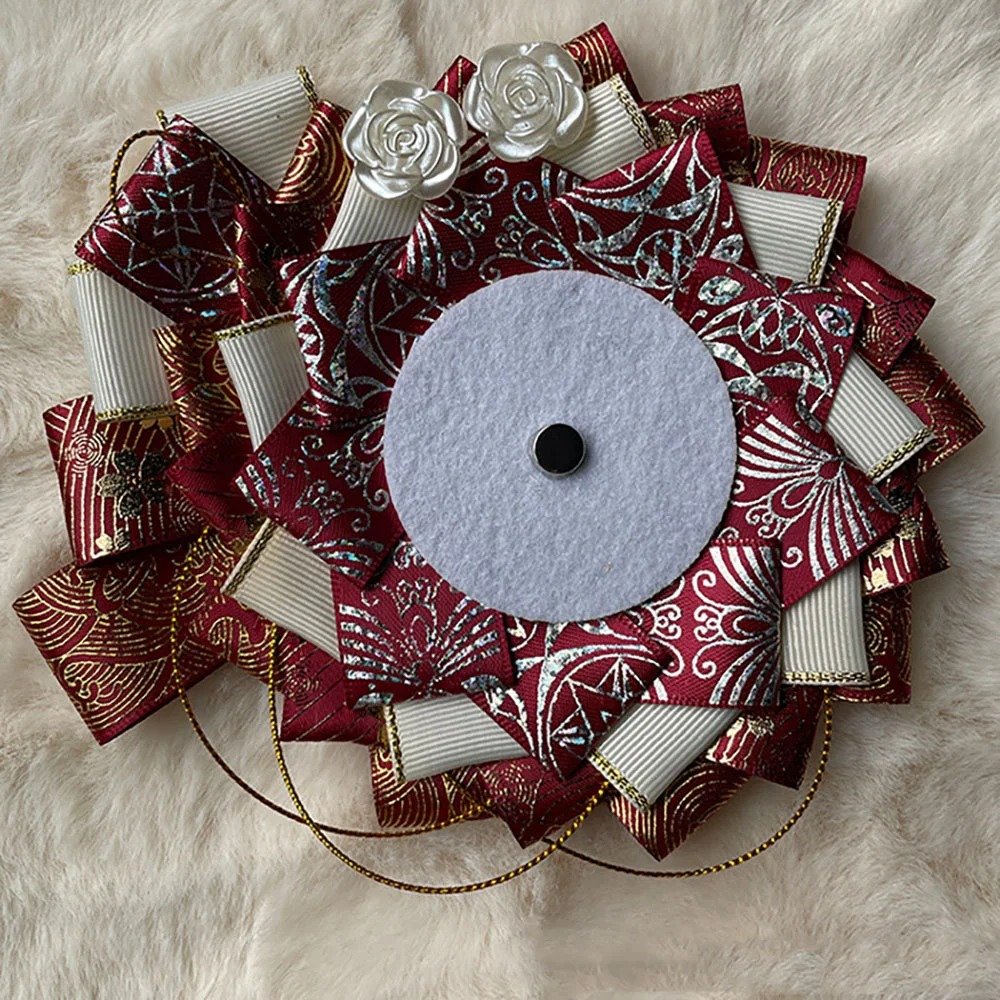
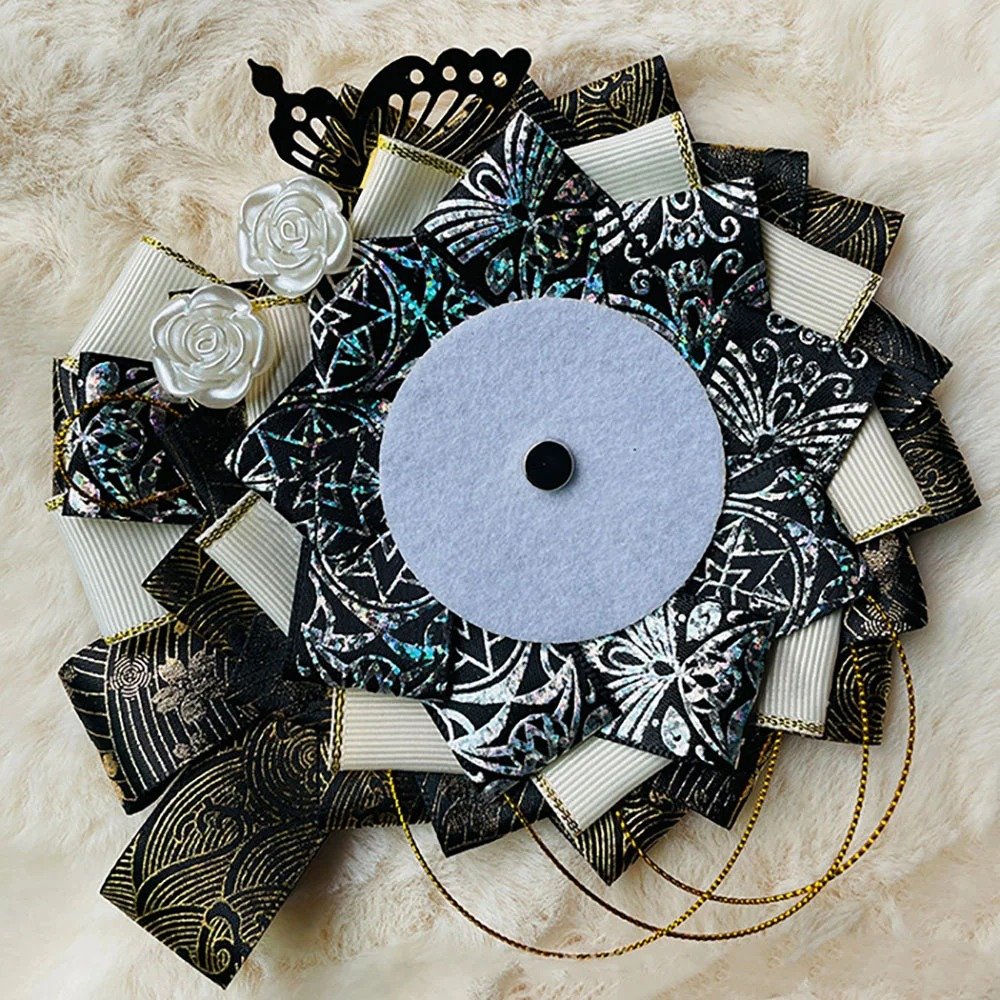
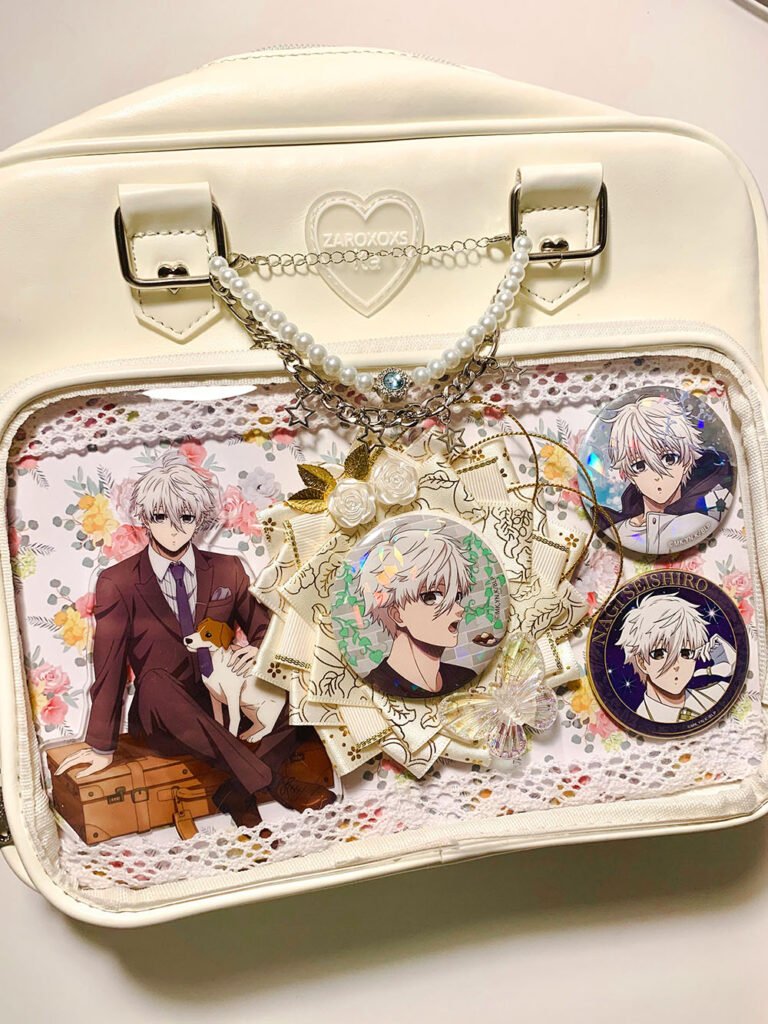
Absolute focal point: Rather than simply lining up badges the usual way, this player anchored the whole layer’s visual focus on a shimmering badge dressed up with a gold rosette ita flower The flower is paired with gilded leaves, white roses, and crystal butterfly accents, making the central Seishiro Nagi badge look incredibly lavish and elegant.
Balanced asymmetry: A large character acrylic stand sits on the left side of the layer, giving strong visual anchoring there; on the right, two badges in different styles are staggered top and bottom, creating a lovely balance of center ita-flower + left stand + right double badges.
Background and bag styling: The base uses a soft, vintage floral-print cardstock, trimmed all around with delicate white lace. The bag itself is further accented with pearls and a star-shaped metal chain. With just the right amount of negative space, commenters agreed: It’s less crowded, but that actually makes it very pretty.
Practical mounting tip: For securing the acrylic stand inside the ita bag, the creator shared a really handy trick in the comments — self-adhesive round Velcro dots. Stick one side to the back of the stand and the other to the insert board. It holds firmly, won’t tilt, and peels off without damaging the merch at all.
2. Raichi Jingo Ita Bag: Mixed-Media Styling and Color Aesthetics for a Niche Character
Layout and Creative Analysis
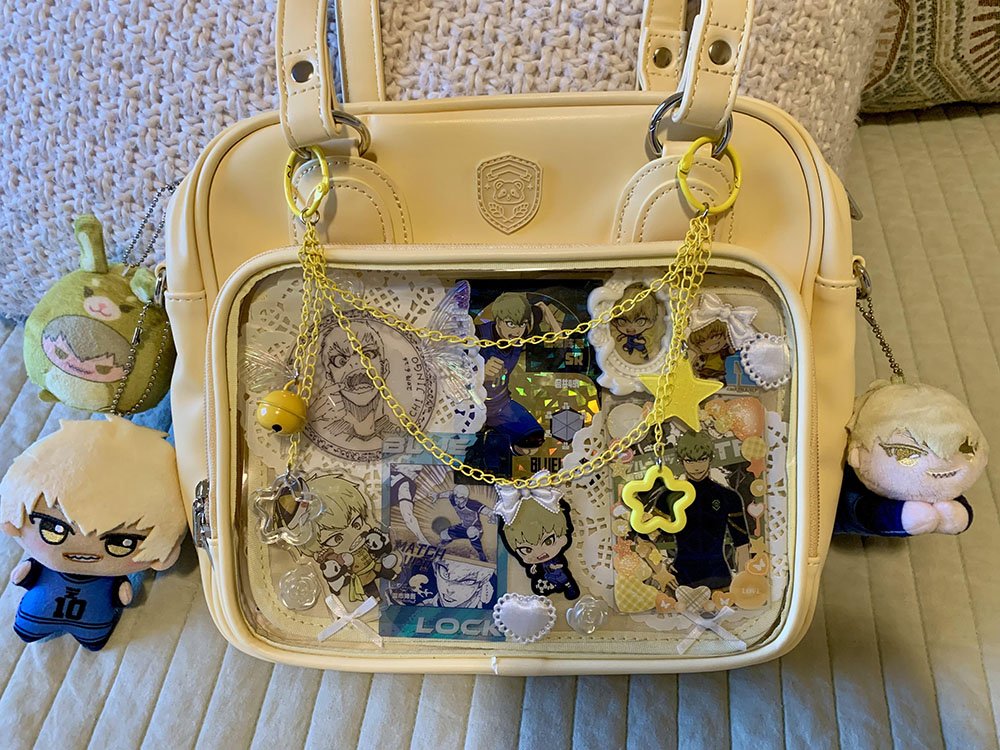
Working around limited merch: Raichi Jingo is a wild-personality character with relatively little official merch. Unable to gather a full set of matching badges, this player went with an advanced mixed-media approach — combining black-and-white manga-style badges, holo cards, small acrylic charms, chibi stickers, and cards.
Matching bag color with 3D charm extensions: The bag itself is an eye-catching cream yellow. To extend the character’s presence, the creator hung a Raichi Jingo plush and doll on either side of the bag, and added a yellow star-and-bell charm chain along the outside of the window, adding extra visual depth to the whole piece.
Lace mat paper to fill the gaps: For the corner gaps left after placing the merch, instead of randomly stuffing things in, the creator laid white vintage lace mat paper on the base and added small bows and rose accents along the window edges. This cream-and-white-lace combo perfectly fills in the corners, giving this niche character’s ita bag a strong sweet-yet-edgy feel.
Pinitabag Tutorial: Hyoma Chigiri × Jyubei Aryu Dual-Character Gothic Ita Board
Now that we’ve seen some great work from the community, let’s walk through the full step-by-step process for making a Blue Lock Hyoma Chigiri × Jyubei Aryu themed ita board!
Materials and Tools
Base support: A clear PVC sheet forms the underlying structure of the ita board, keeping it flat and sturdy.
Background paper: red-and-black diamond-pattern background cardstock, which sets the dark Gothic tone for the whole piece.
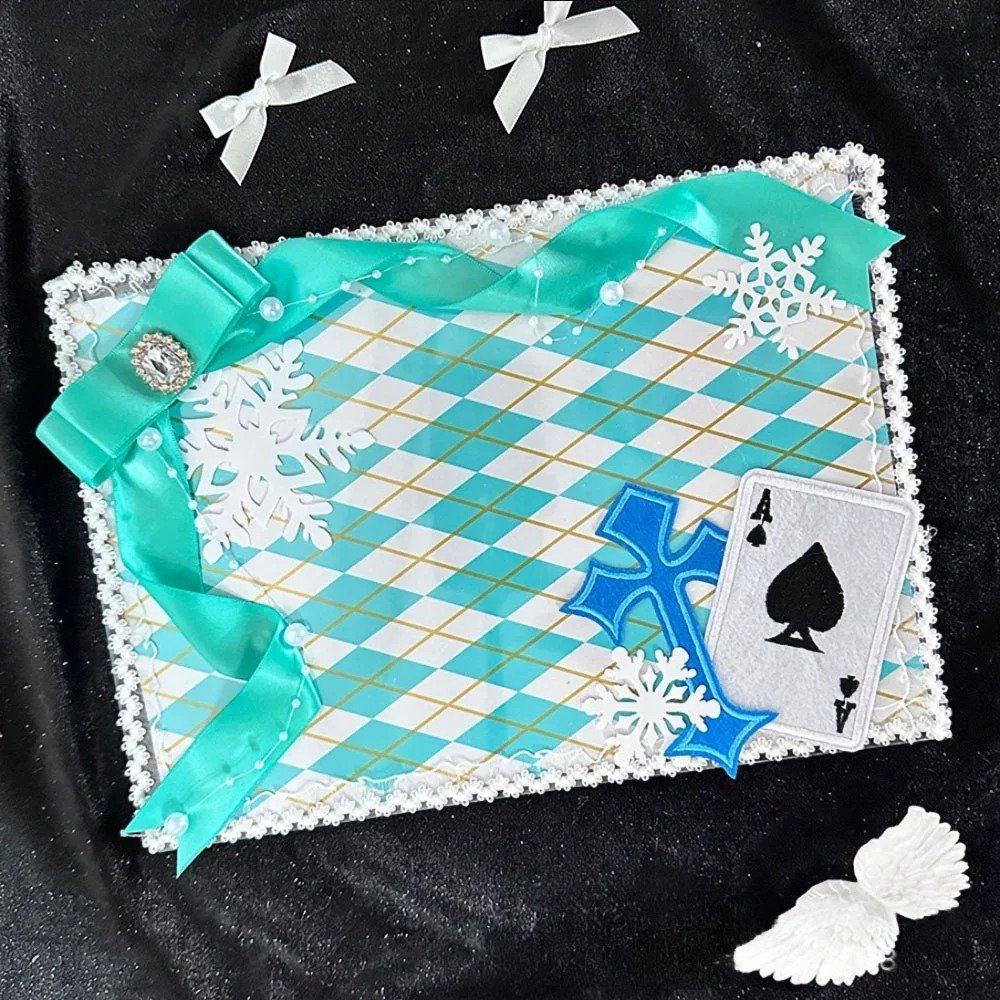
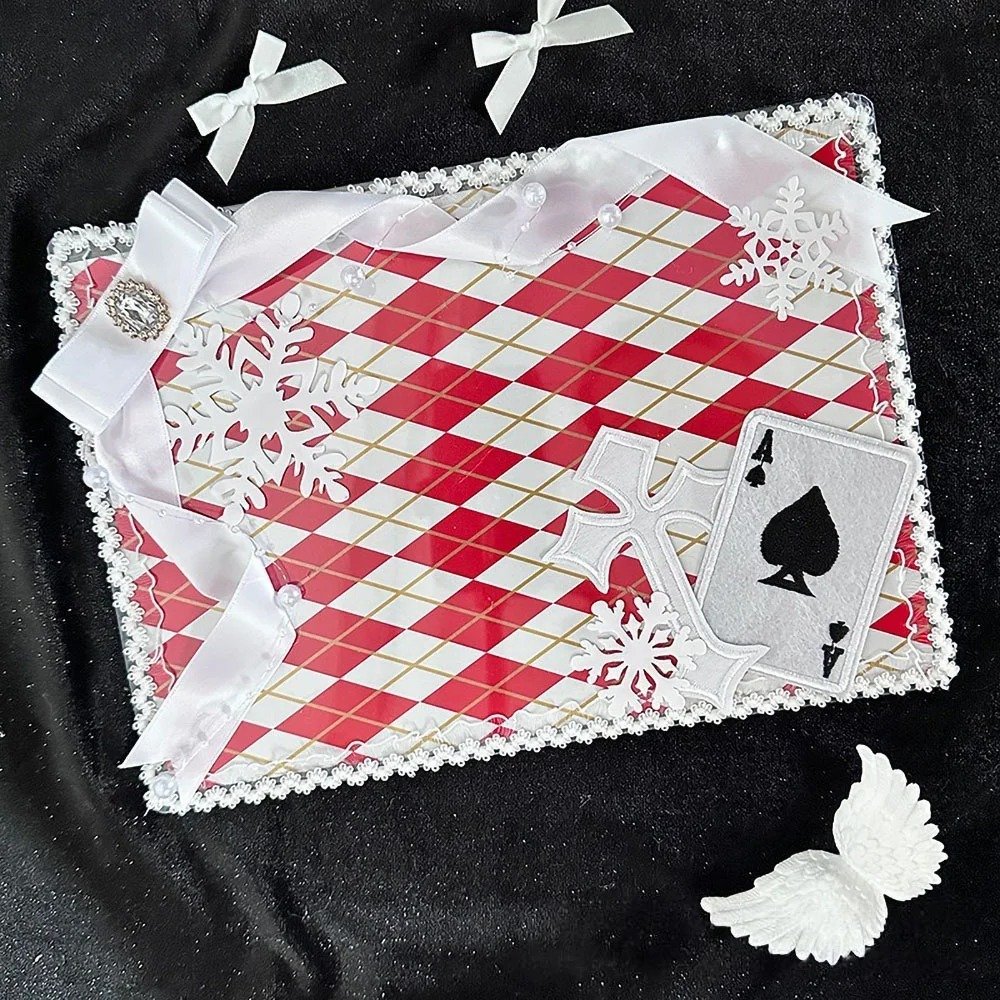
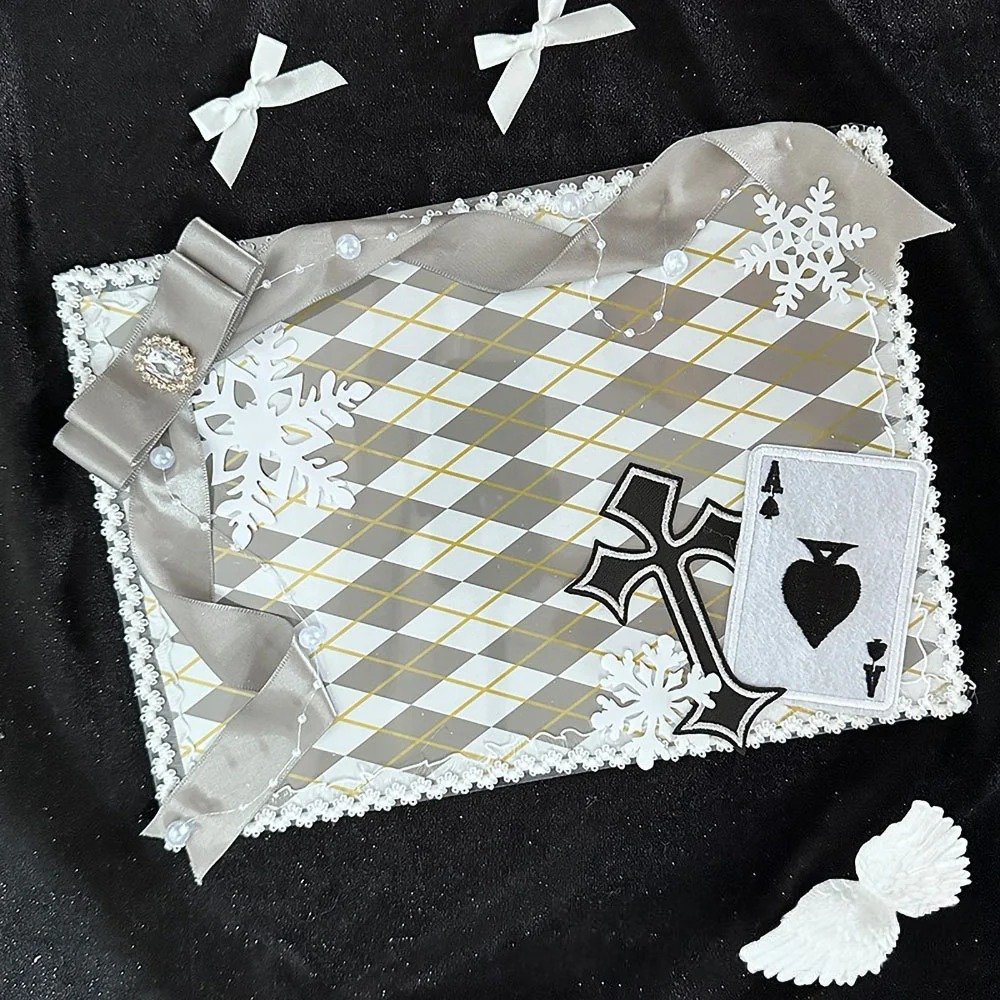
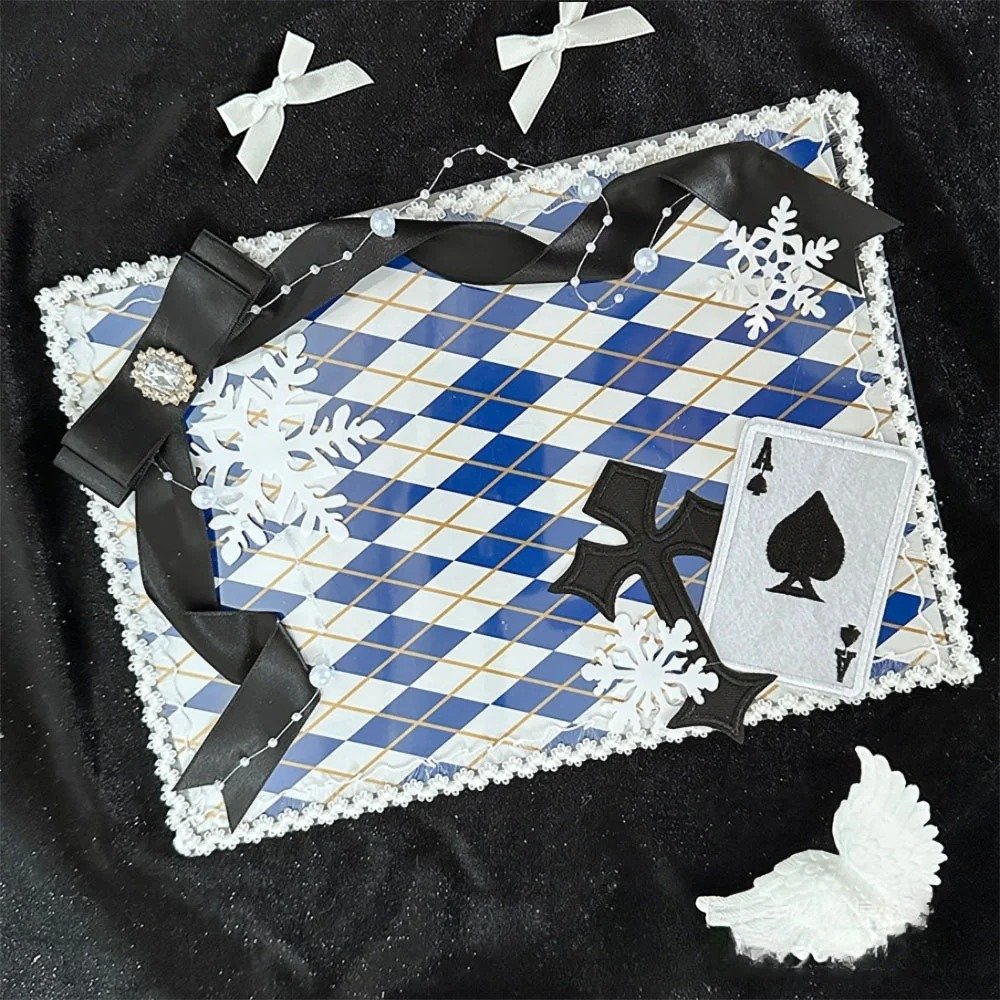
Adhesives: strong double-sided tape and round adhesive dots.
Cutting and helper tools: craft scissors, plus tweezers for handling pearl accents and small stickers.
Decorative fabric: openwork mesh lace paper and black ribbon bows, used to add 3D texture and a vintage Gothic feel to the board.
3D accents: die-cut rose-frame cardstock, 3D butterflies, and floral stickers to add depth across flat and dimensional layers.
Display merch: Blue Lock Hyoma Chigiri badge, Jyubei Aryu badge.
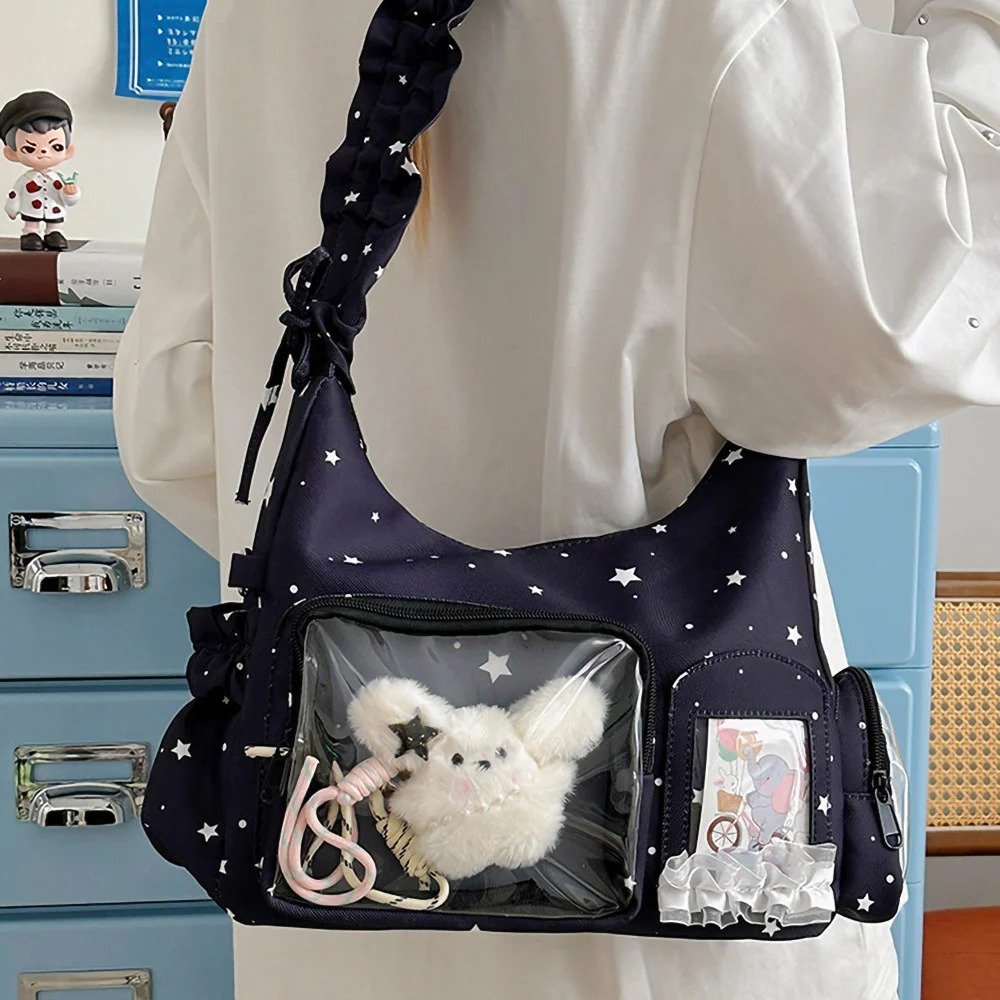
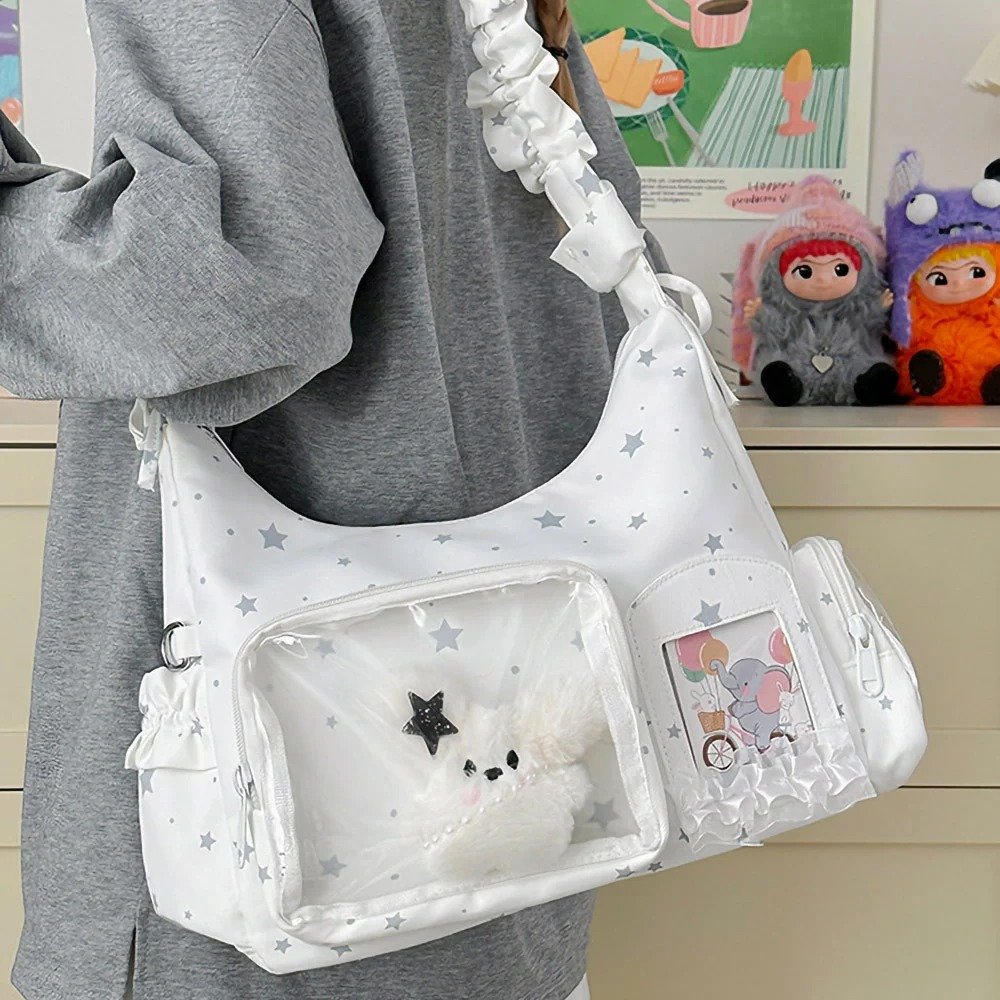
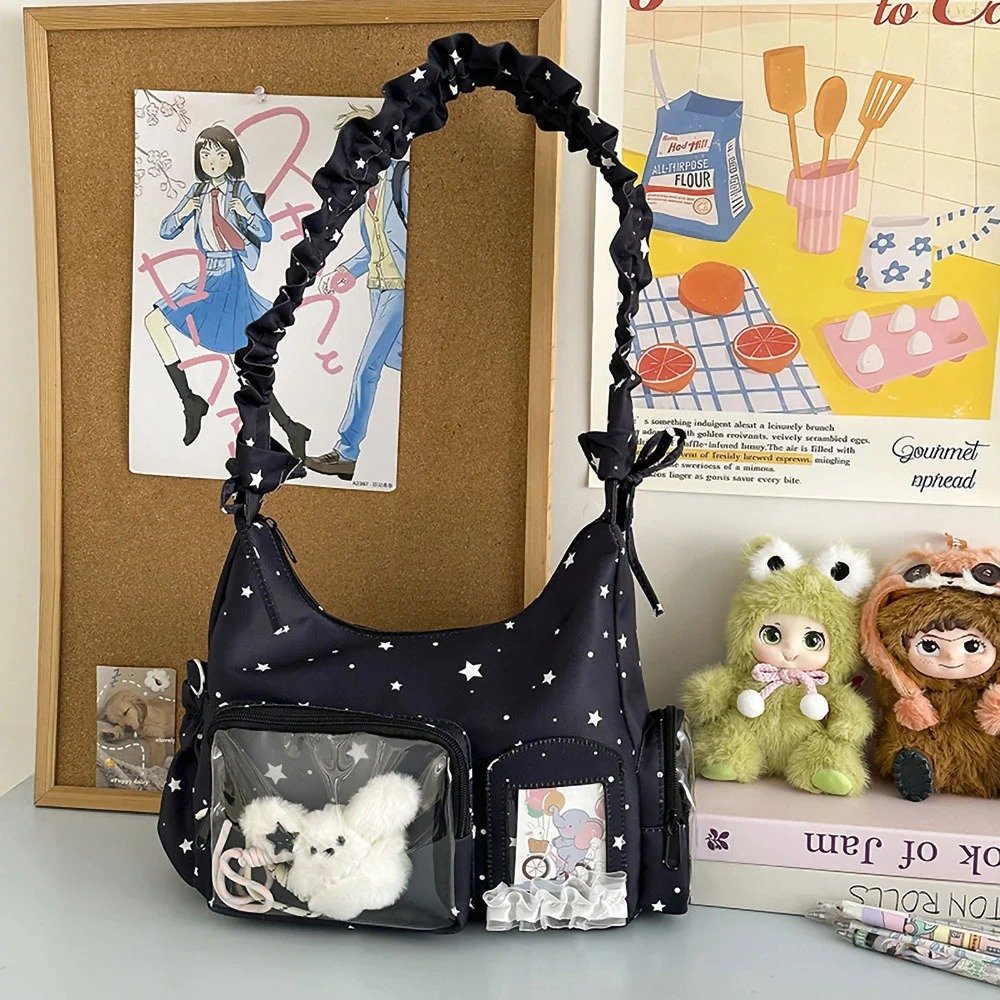
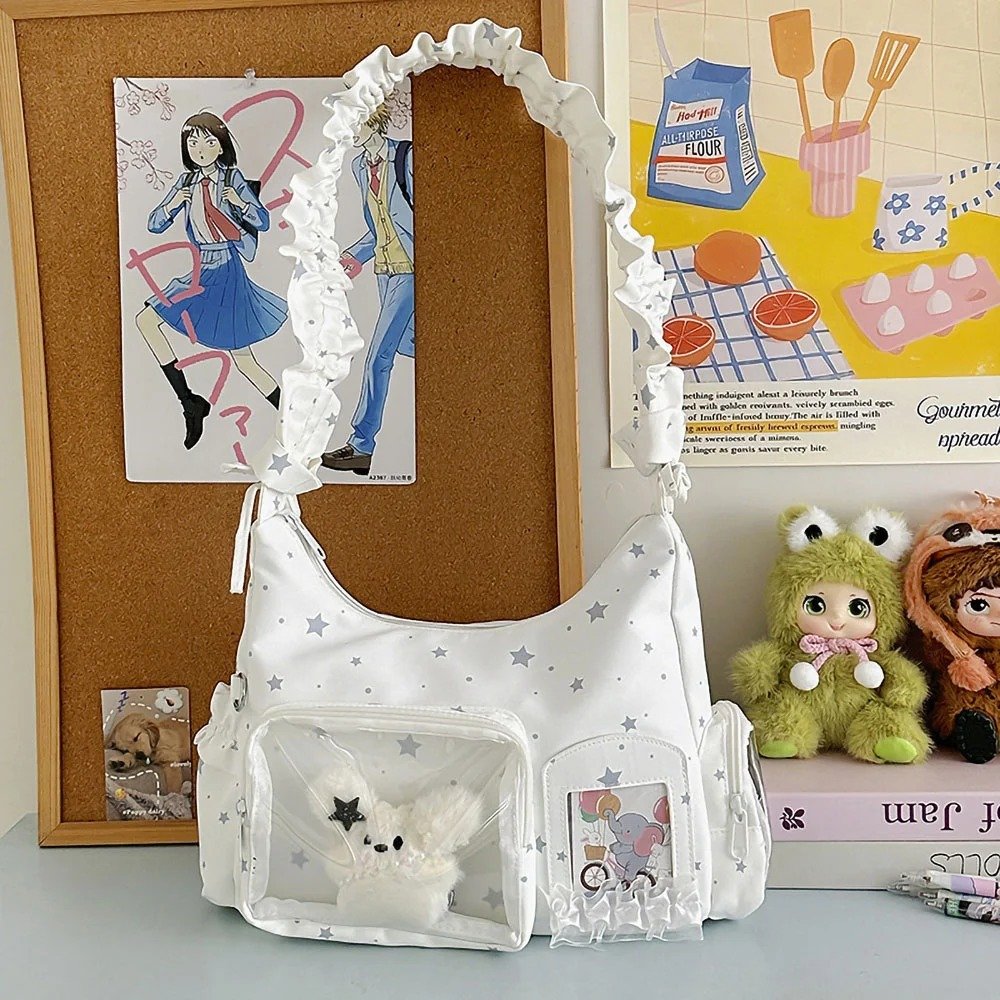
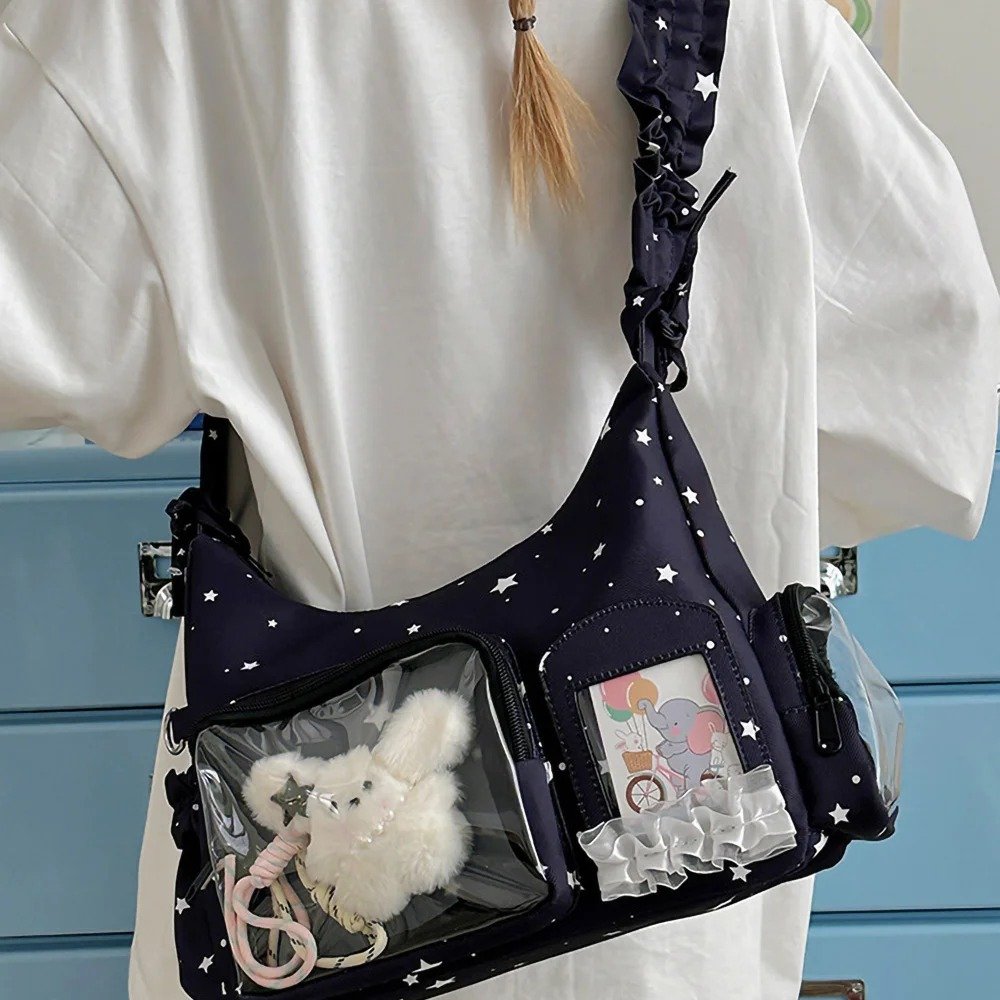
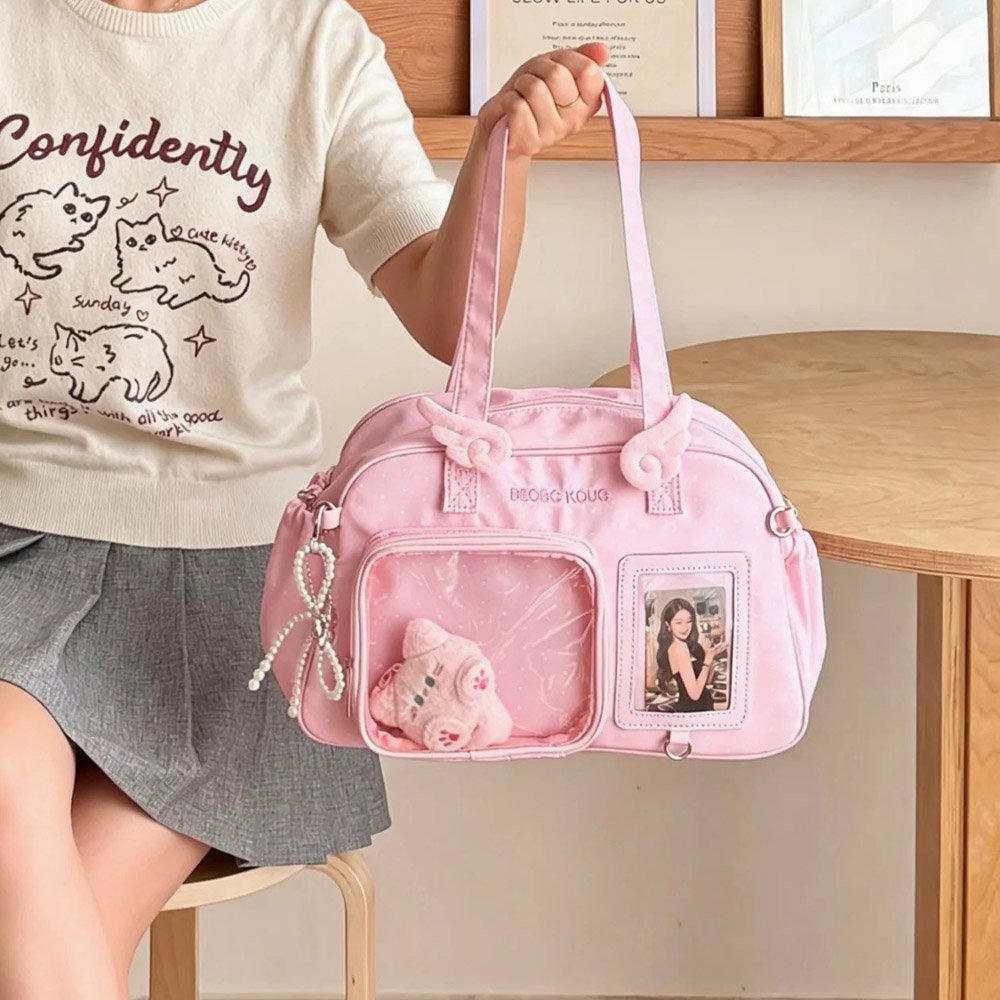
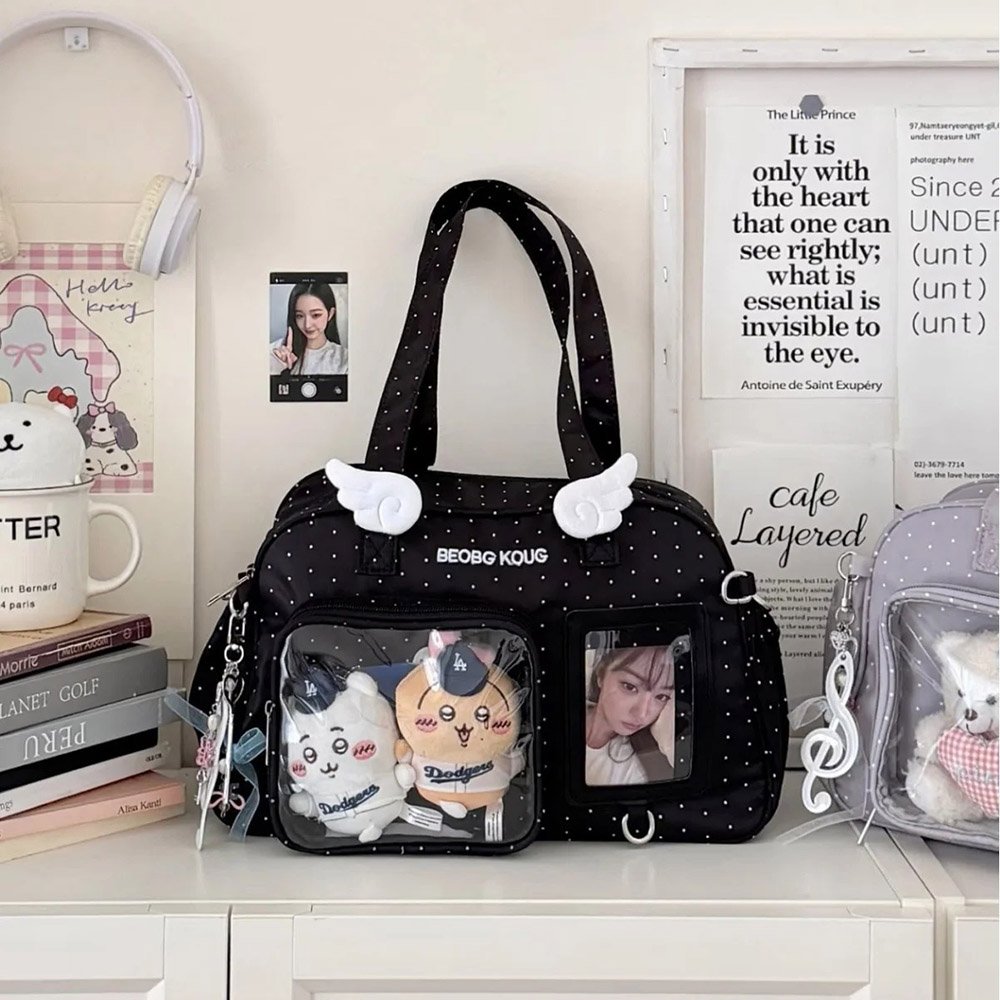
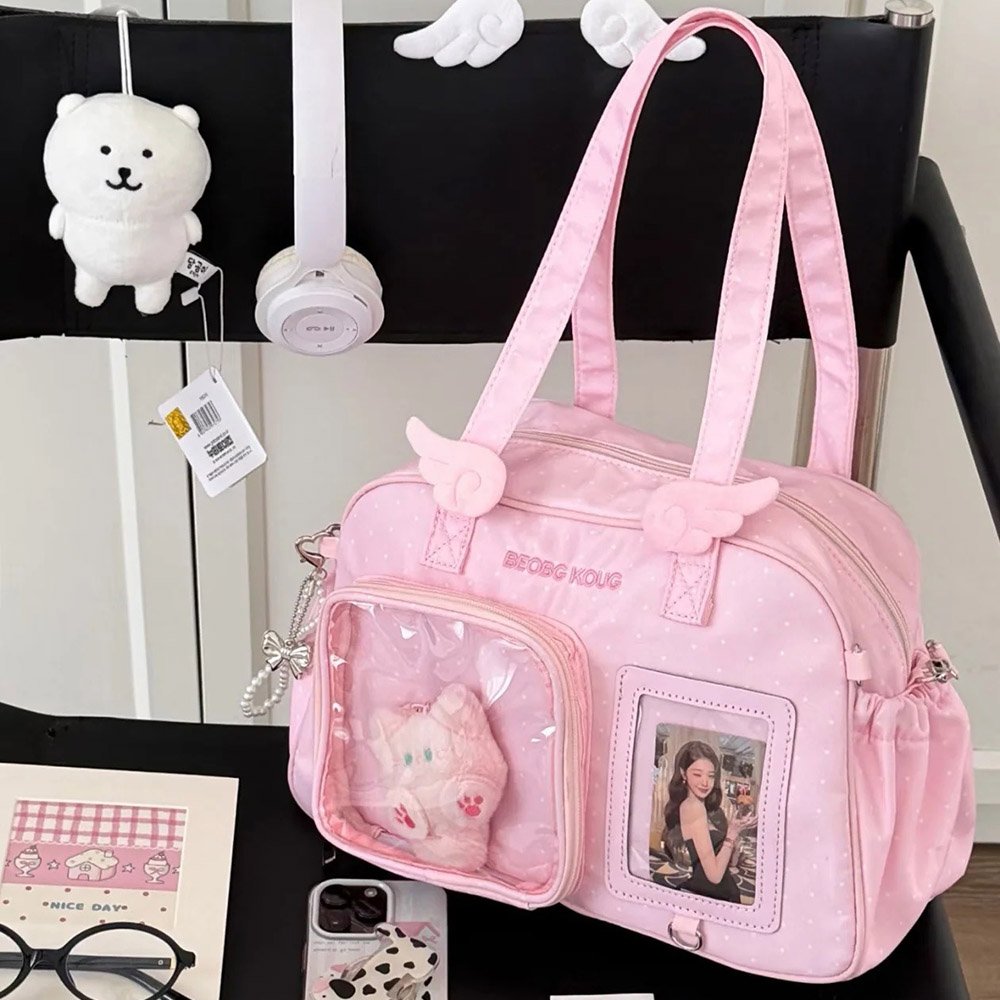
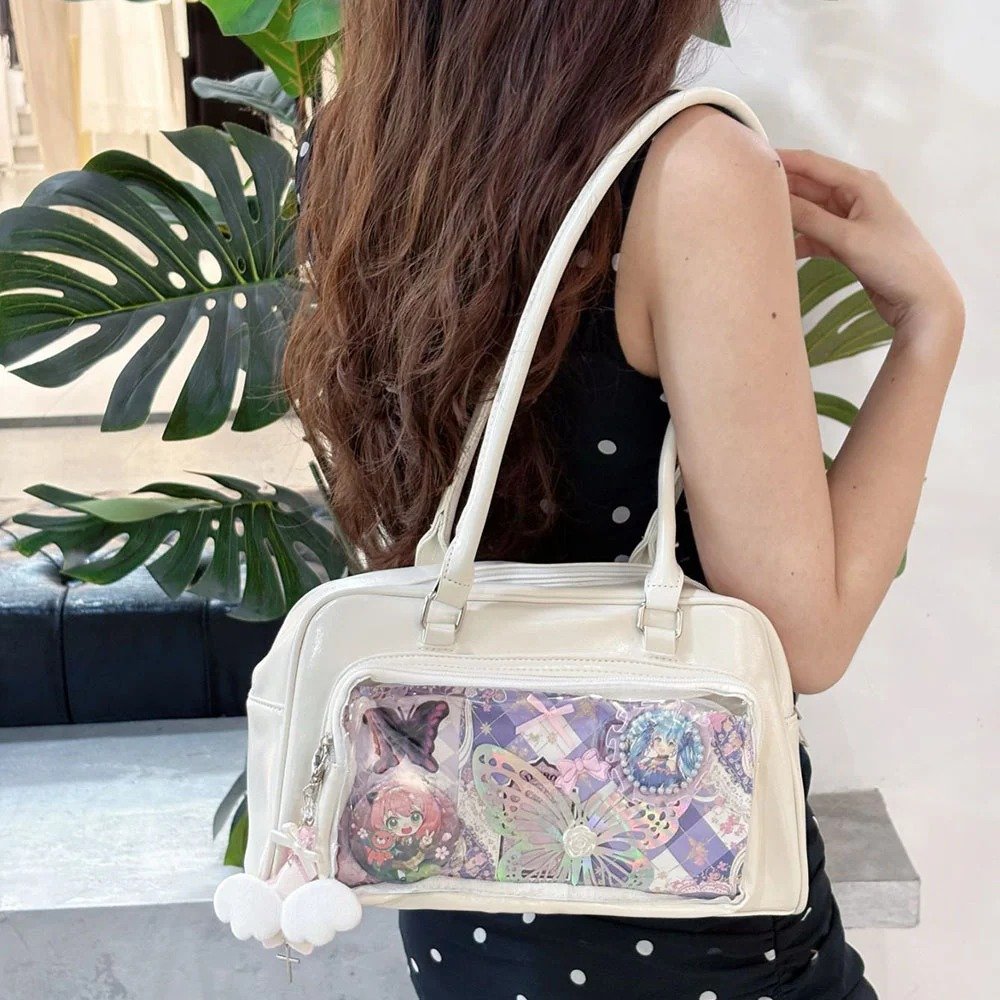
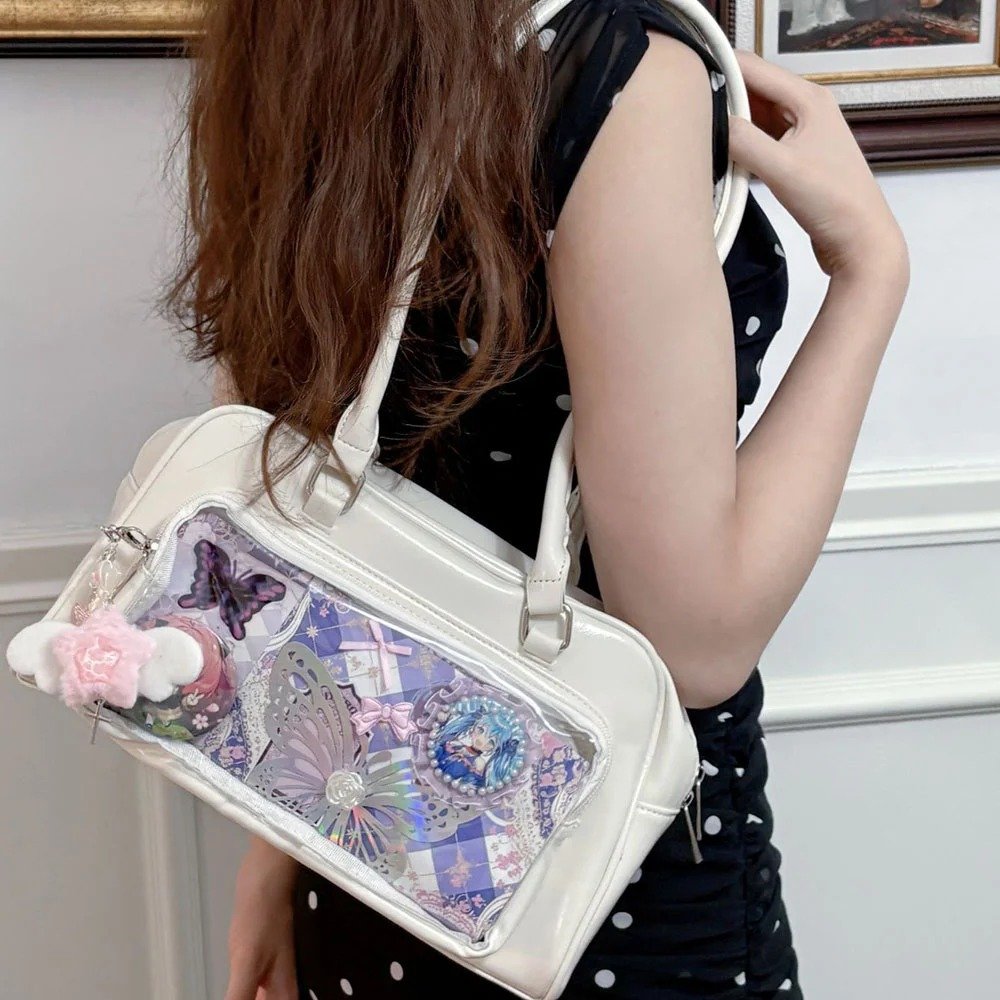
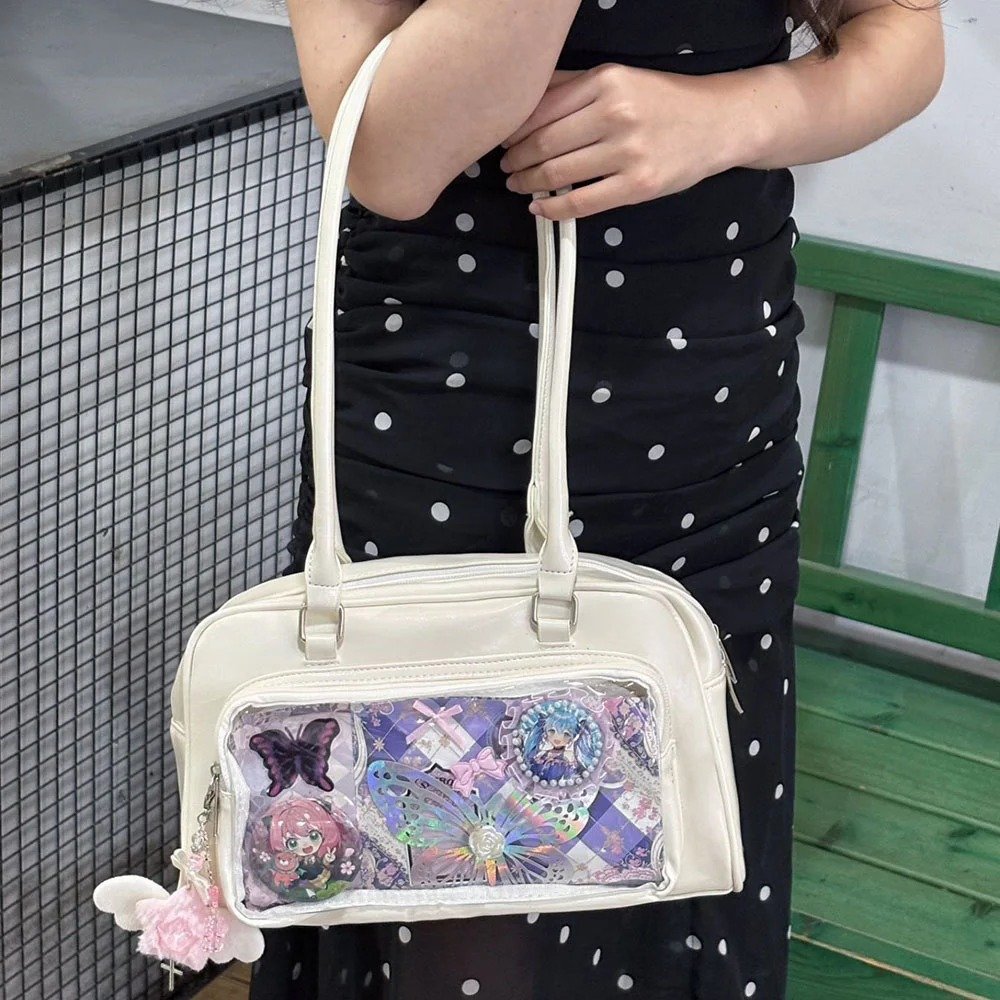
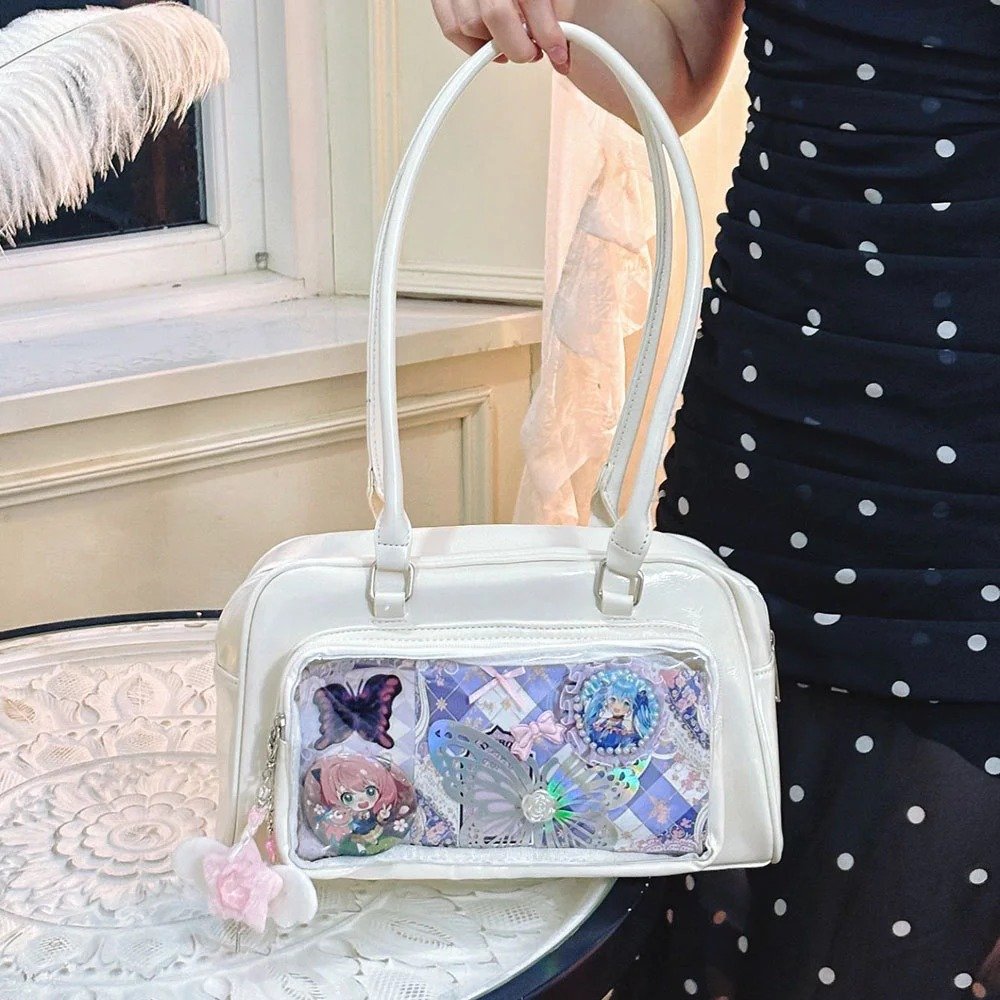
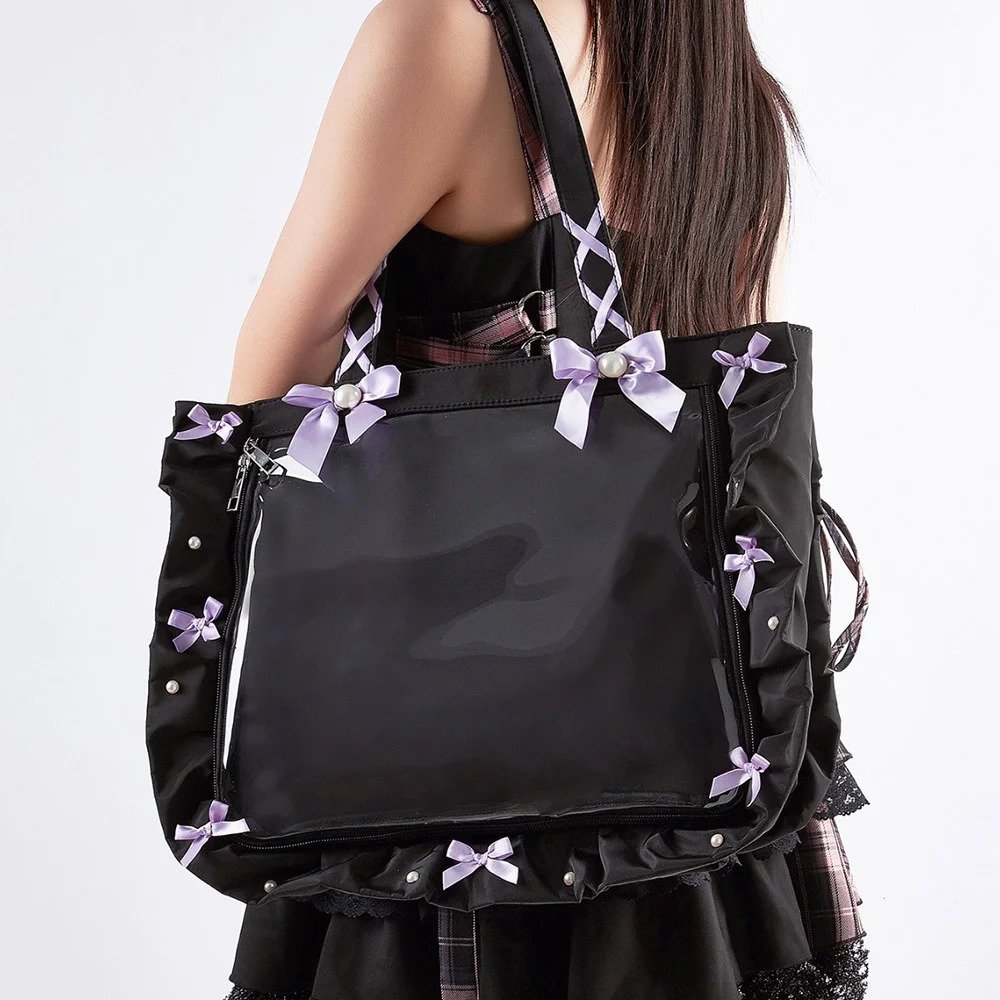
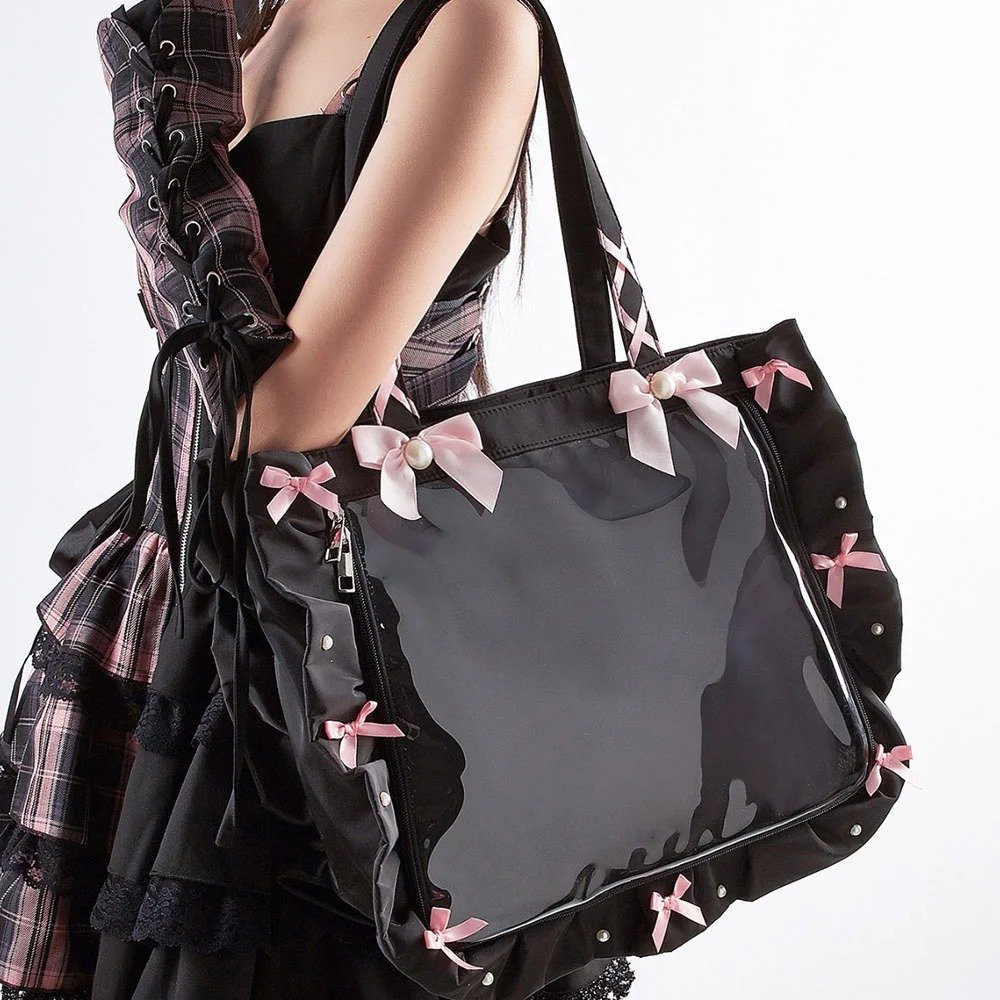
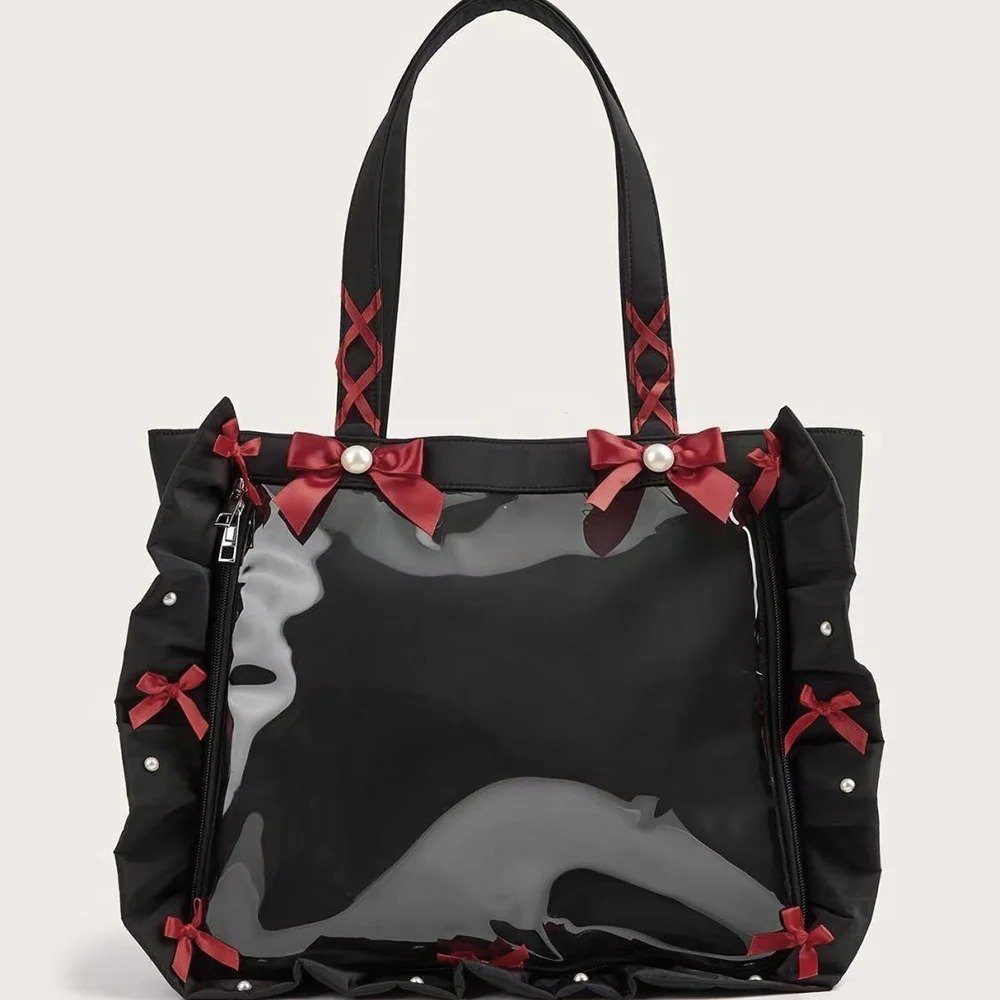
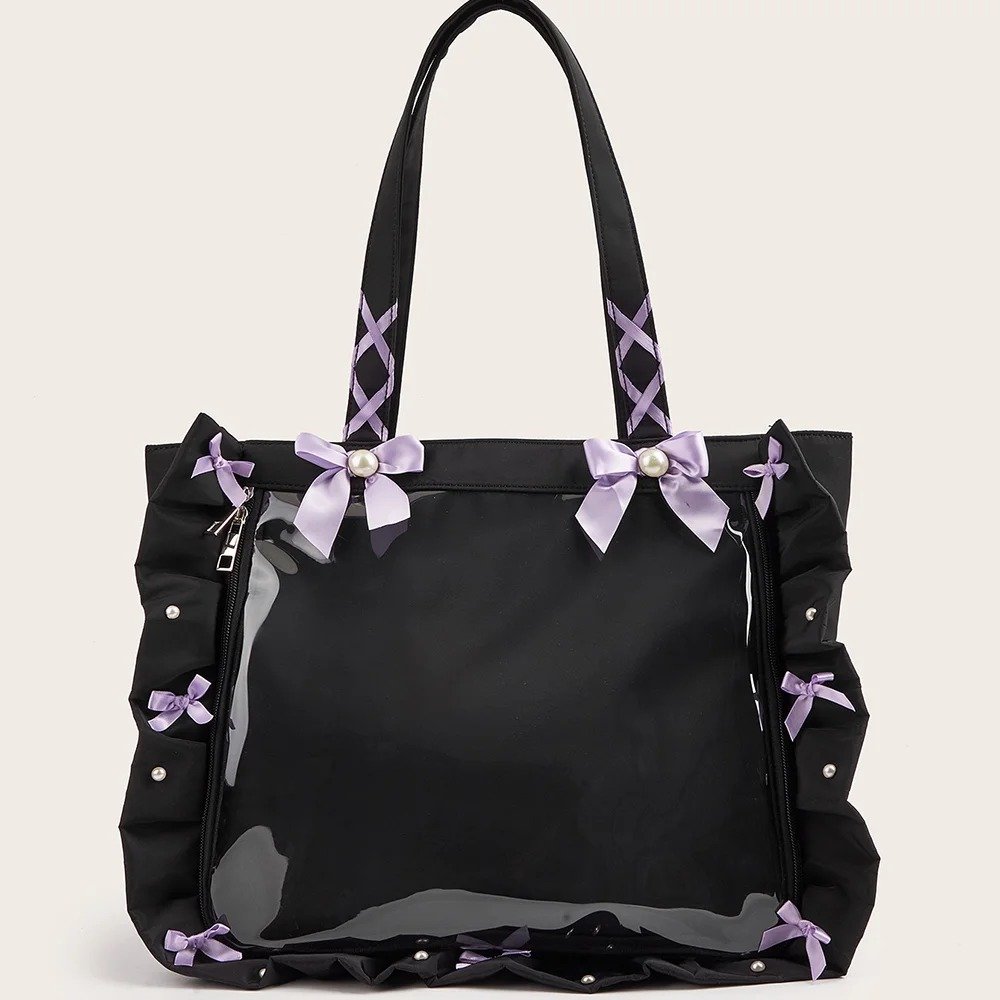
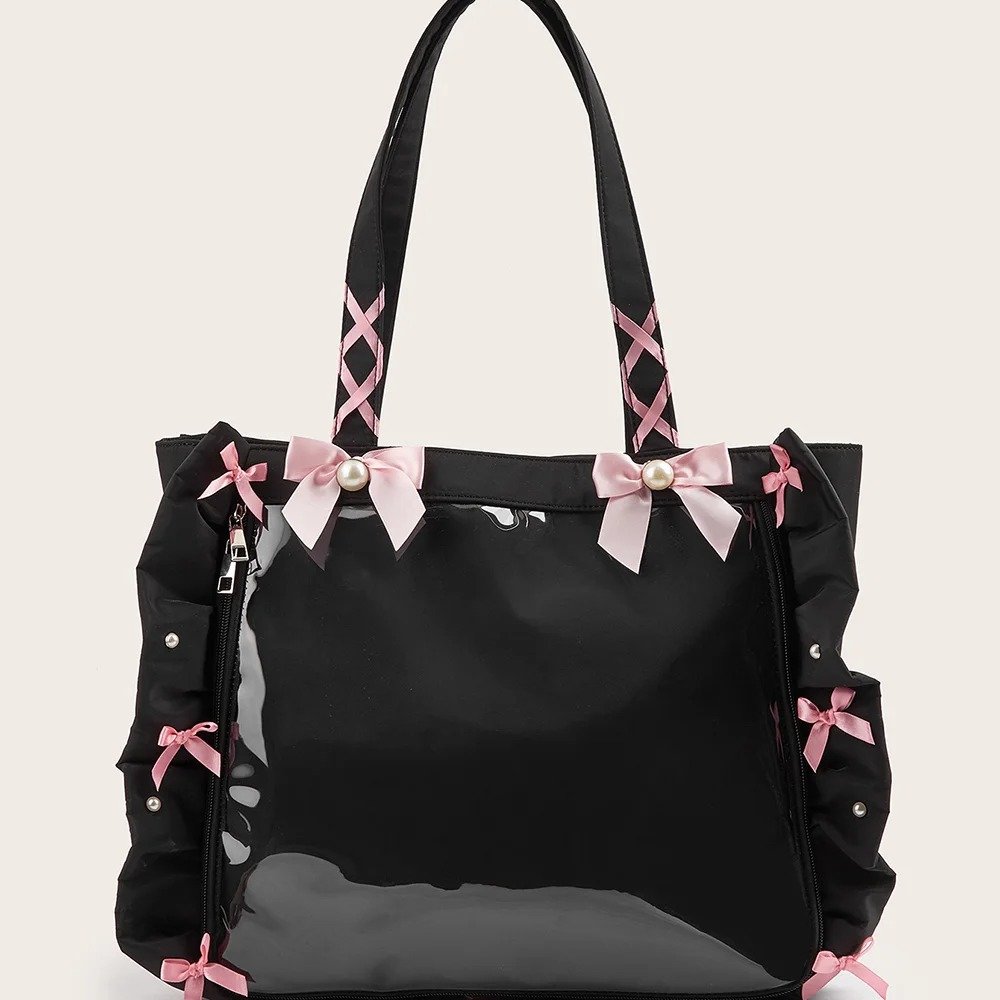
Carrier bag: the Black Ita Bag Star Print Cute Y2K Hobo — the ideal bag for protecting and showing off your handmade ita board.
Step 1: Build a Flat, Sturdy Base
Clean and peel: Take the clear PVC sheet and peel off the protective film, keeping the surface clean and dust-free.
Lay the tape framework: Run a strip of strong double-sided tape around the entire edge, then reinforce the center with another layer of tape.
Layer and trim the background paper: Smooth the red-and-black diamond-pattern background paper firmly onto the tape. Trim away the excess with scissors to create an insert that fits the ita bag window exactly.
Step 2: Add Texture Layers and Reinforce the Adhesive
Cut the mesh lace paper: Take a sheet of openwork mesh lace paper and cut it to cover just the center focal area.
Combine dots and adhesive: Apply double-sided tape to the front of the background cardstock, then use tweezers to add two dots of adhesive in the blank areas.
Apply the mesh layer: Press the openwork mesh paper down over the cardstock. The mesh pattern over the red-and-black diamond background instantly gives the base a moody Gothic-grid texture.
Step 3: Establish the Main Composition and Place the Merch
Place the main window frame: Take a die-cut frame card featuring a rose-and-butterfly motif, apply adhesive to the back, and secure it to the right side of the base.
Place badges on a diagonal: Secure the Jyubei Aryu badge inside the red rose frame on the right, showing off his cool, fashion-forward elegance. Secure the Hyoma Chigiri badge in the bottom-left corner, echoing the Jyubei Aryu badge diagonally and creating a sense of visual stretch.
Step 4: Layer 3D Details and Build the Mood
Light up the focal point: Add a ring of pearl and star accents around the Hyoma Chigiri badge, then place a large red 3D butterfly sticker in the empty top-left area.
Transitions and dimensional layout: Use tweezers to place black rose stickers between the two badges as a smooth transition, add black ribbon bows at the top and bottom of the board for maximum Gothic-girl energy, and finally layer a 3D gray butterfly over the red one to finish the board’s dimensional build.
Step 5: Load It Into the Bag — Ready for Street Style!
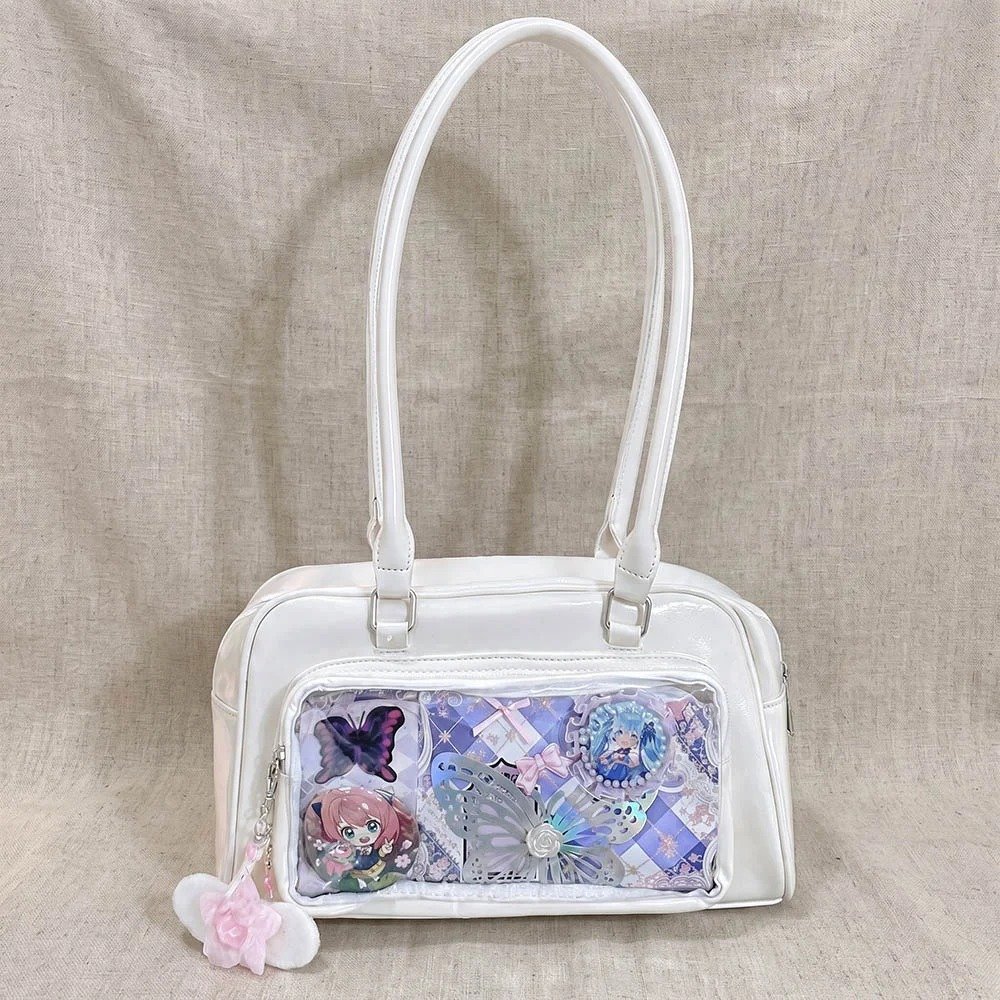
Unzip the clear zipper layer on the Black Ita Bag Star Print Cute Y2K Hobo and slide your finished ita board right into the main window! You can also tuck mini cards or tiny badges into the small clear side pockets — and just like that, a Blue Lock handmade ita bag with striking visuals and full dark Gothic energy is born!
Give Your Love a Shape Through Creativity — Start Your Own Ita Bag Journey
From the community’s clever use of lavish ita-flowers, vintage lace mat paper, and mixed-media styling, to our own carefully crafted dark Gothic dual-character ita board, one thing is clear: there’s no single right way to make an ita bag, and you don’t need to be boxed in by a fixed formula.
Whether you have dozens of the same badge lined up, or a scattered mix of rarer, irregular pieces; whether you’re going all-in on a single beloved character or staging a color showdown between two — once you’ve got the knack for layering and spatial composition, any ita board can become a work of art that carries your passion.
As your steady partner on this ita bag journey, Pinitabag doesn’t just keep supplying you with quality ita bag essentials — we also hope to be a warm home base where every fan can swap creative ideas and share the joy of making things by hand.
So go ahead, grab your tools and build a visual world that’s truly yours and your favorite characters’! If you follow our tutorial and make your own ita bag, we’d love for you to share it with us in the comments!
FAQ
Can I still make a good-looking ita bag without dozens of matching badges?
Absolutely. You can go for a mixed-media style, combining different elements and using a vertical grid layout to create a sense of order. Or go minimalist: pair one standout badge with a lavish ita-flower or a large stand as the visual center, leaving some breathing room around it — that works just as well for a polished, gallery-worthy result.
How do I secure an acrylic stand with no pin base so it doesn’t fall over on the insert board?
We recommend self-adhesive round Velcro dots. Stick the hook side to the back of the stand and the loop side to the insert board. It holds very securely, won’t tilt, and peels off without damaging either the stand or the base — great for protecting your valuable merch.
After placing irregular merch, how do I handle the leftover space around the edges so it doesn’t look empty?
Use mat paper and small accents to fill the gaps. Try laying a sheet of vintage lace mat paper as the very bottom layer — the lace pattern naturally softens the empty spots. Then add ribbons and other small decorations in the blank areas, which hides the bare corners while adding extra layering.
What kind of ita bag works best for showing off a finished handmade ita board?
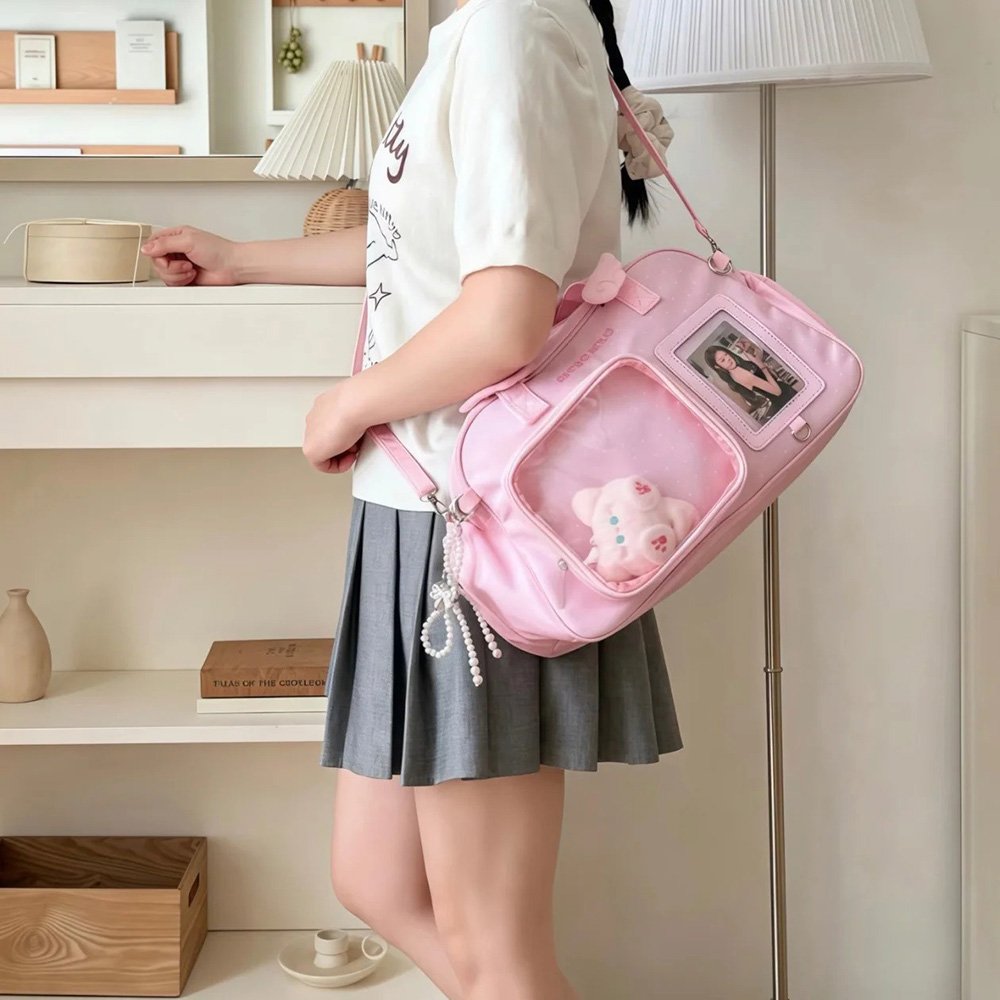
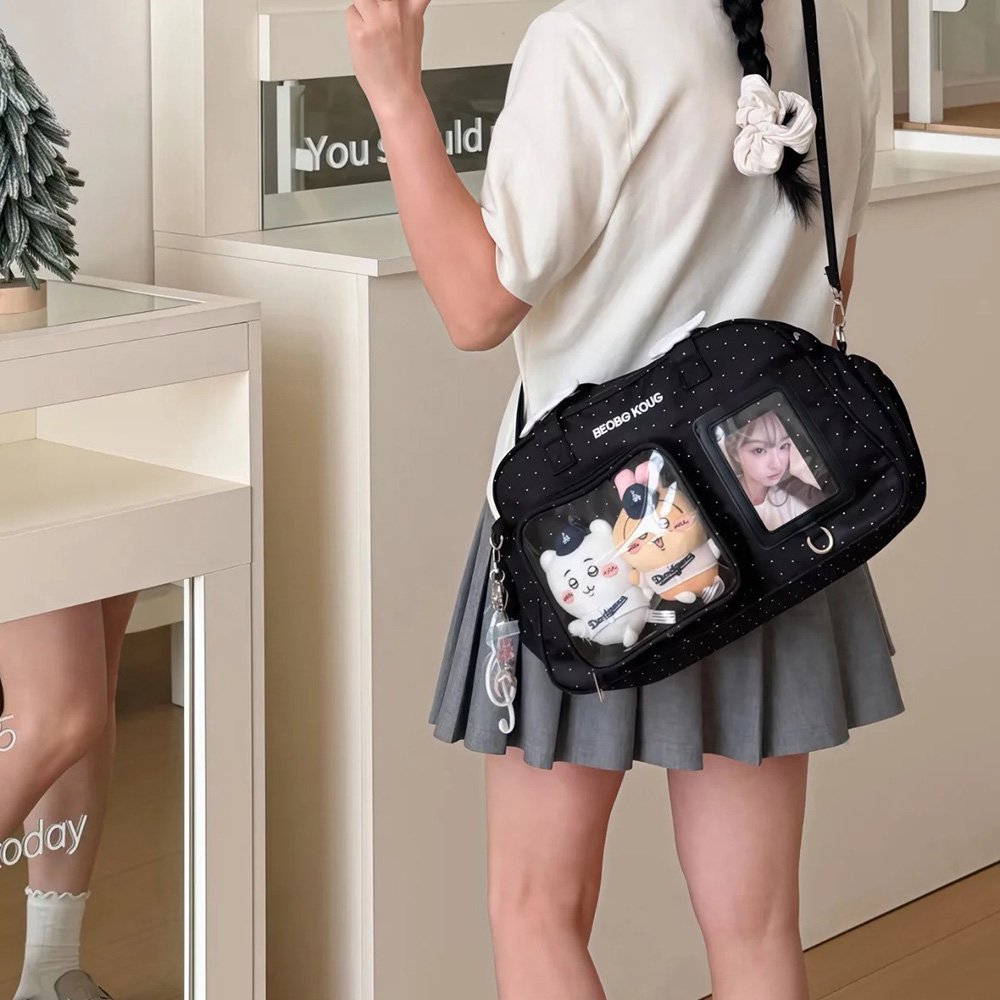
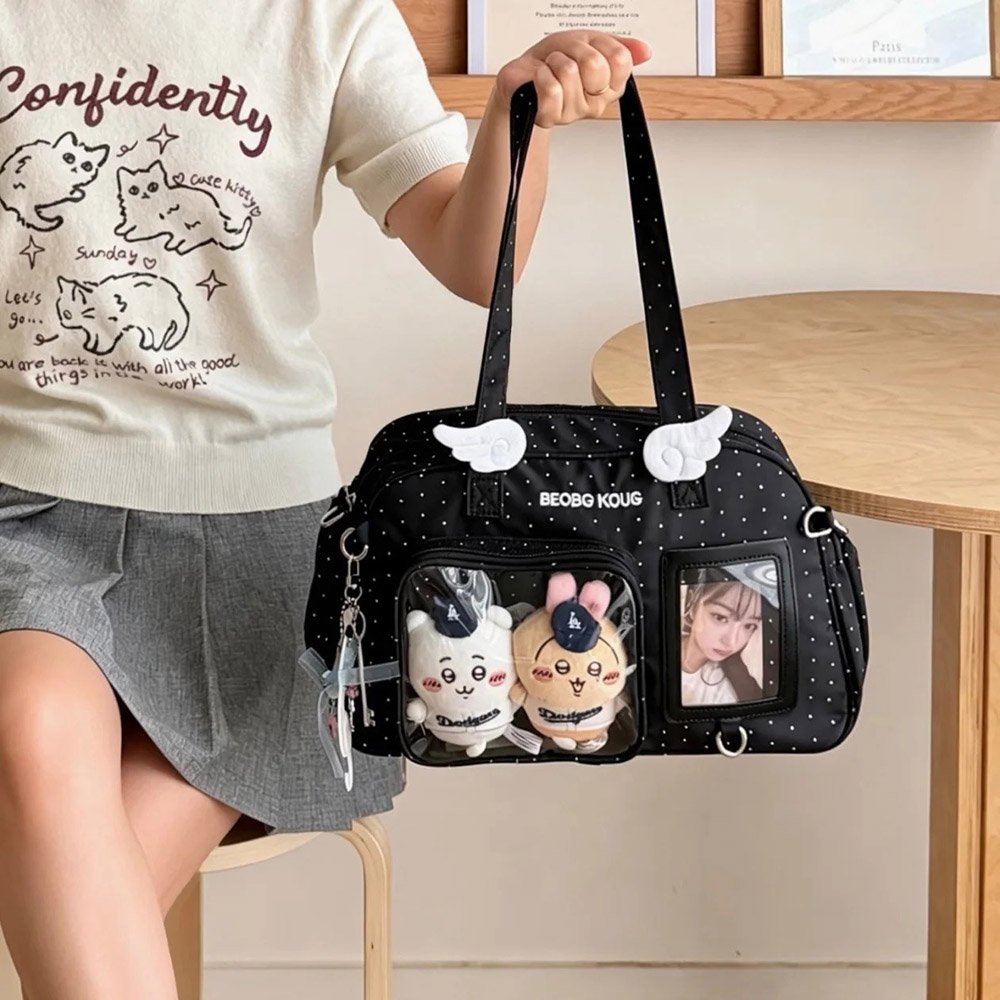
Go for an ita bag with high transparency, scratch resistance, and a well-proportioned window. Highly clear PVC does a great job showing off the fine details of lace and decorations, and if the bag has a separate pocket, you can tuck in character mini cards or small charms for even more depth.
Get Inspired on Instagram
Looking for inspiration for your next ita bag? Follow us on Instagram for more ita bag decoration ideas, styling inspiration, and creative ways to showcase your favorite pins, charms, and collectibles. We regularly share different styling ideas to help you discover new ways to decorate and personalize your ita bag.