DIY Ita Bag Insert Tutorial: How to Make a Gorgeous Vintage-Style Star Insert Board
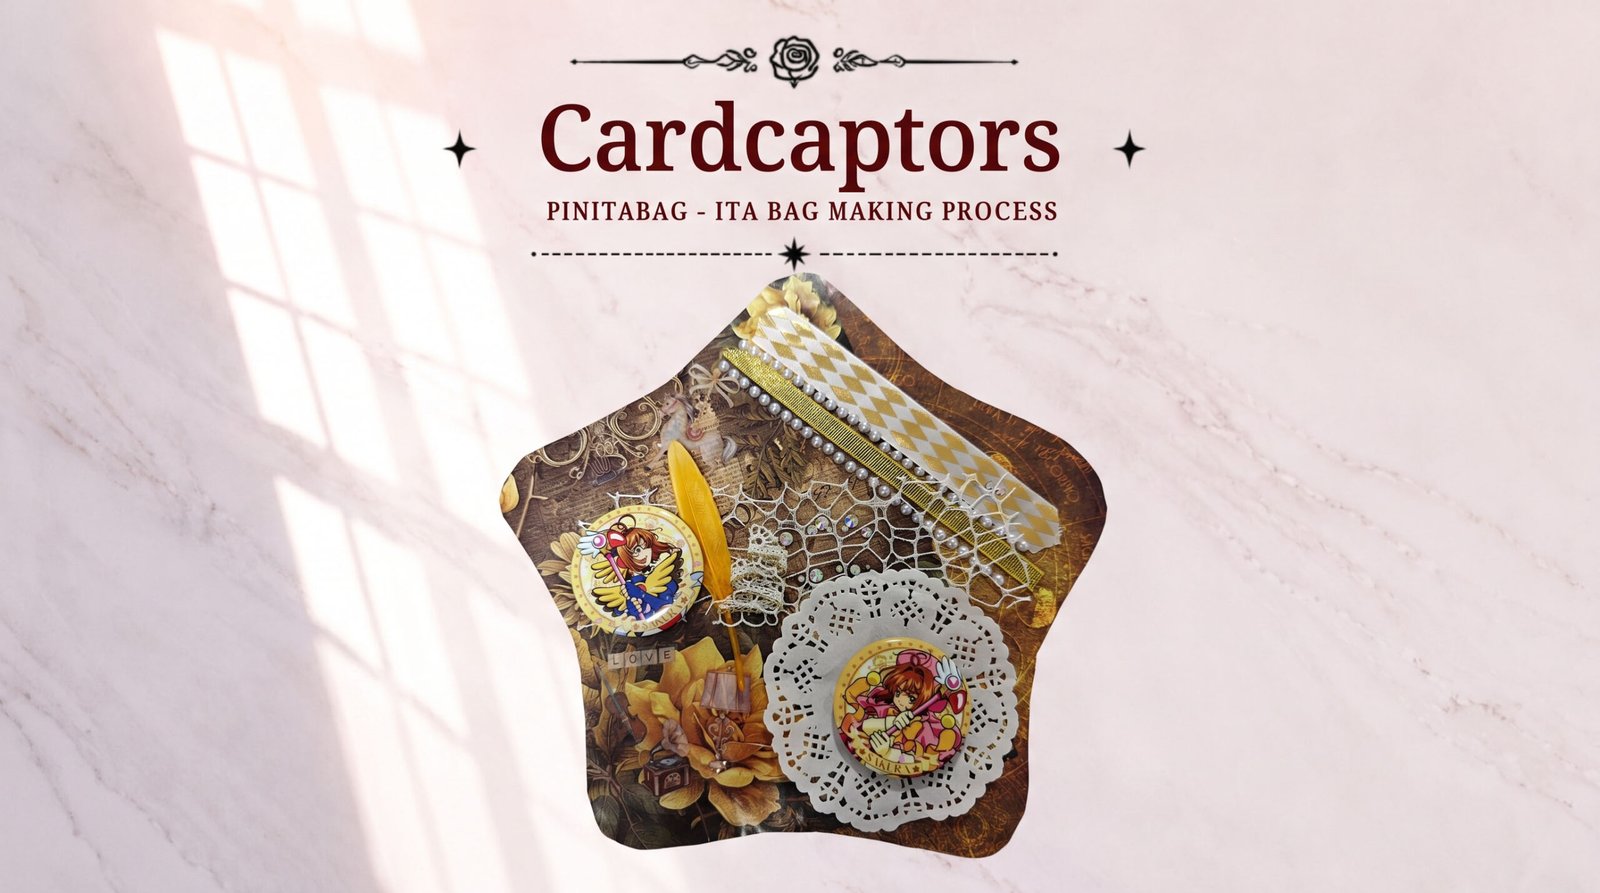
Table of Contents
The other day, while sorting through our materials box, we came across a piece of vintage floral cardstock we’d picked up a while back — a brown base with gold foil flower patterns — and it immediately sparked an idea: we wanted to make a star ita bag insert that was fully hand-collaged, so we spent a long time tinkering away at the worktable, and finally finished editing the craft video for this star ita bag insert.
Honestly, this insert is one of our team’s favorite pieces lately, with a vintage floral background paper paired with a ring of pearls, lace, and two tiny round badges — looking through the star-shaped clear window, it looks like a jewelry box, just as delicate and gorgeous. Today we’re writing down the entire process in full, right down to the materials list and every little detail at each step, so if you want to follow along, you can just work through this post.
First, Let’s Talk About Why We Made This Insert
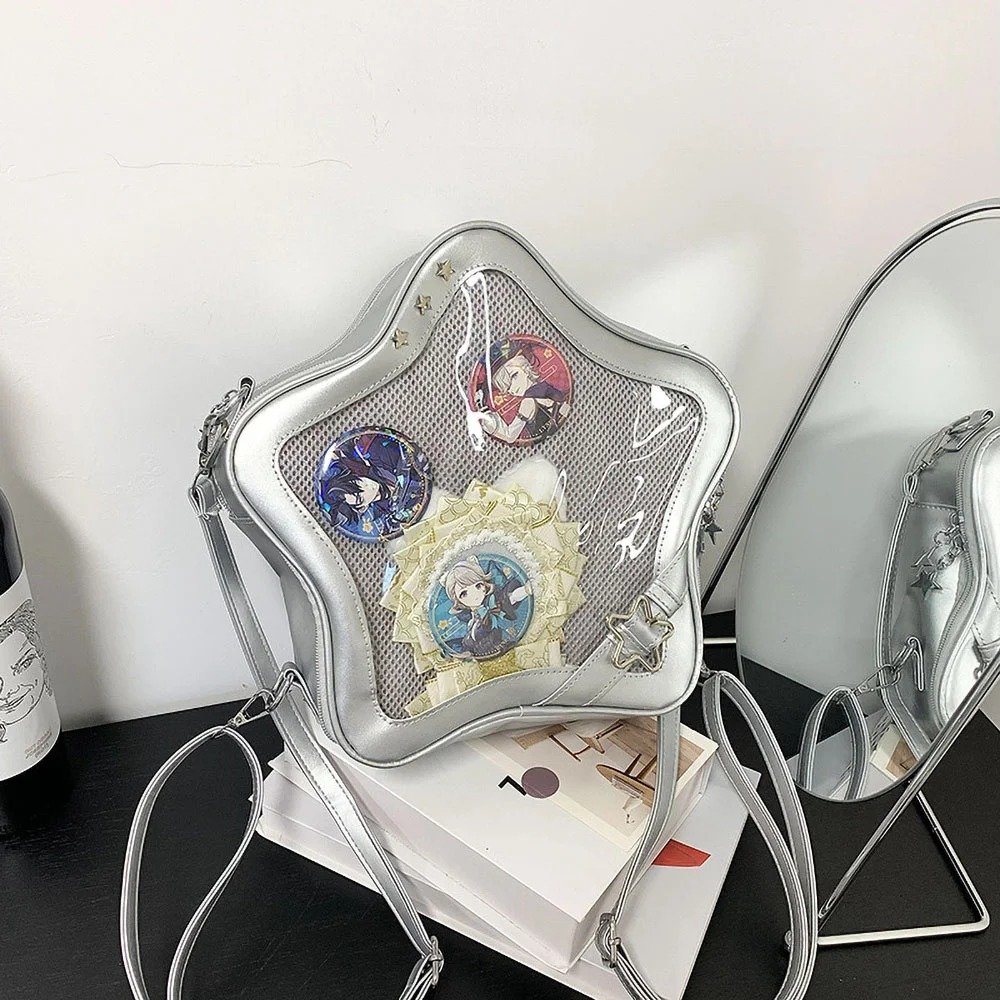
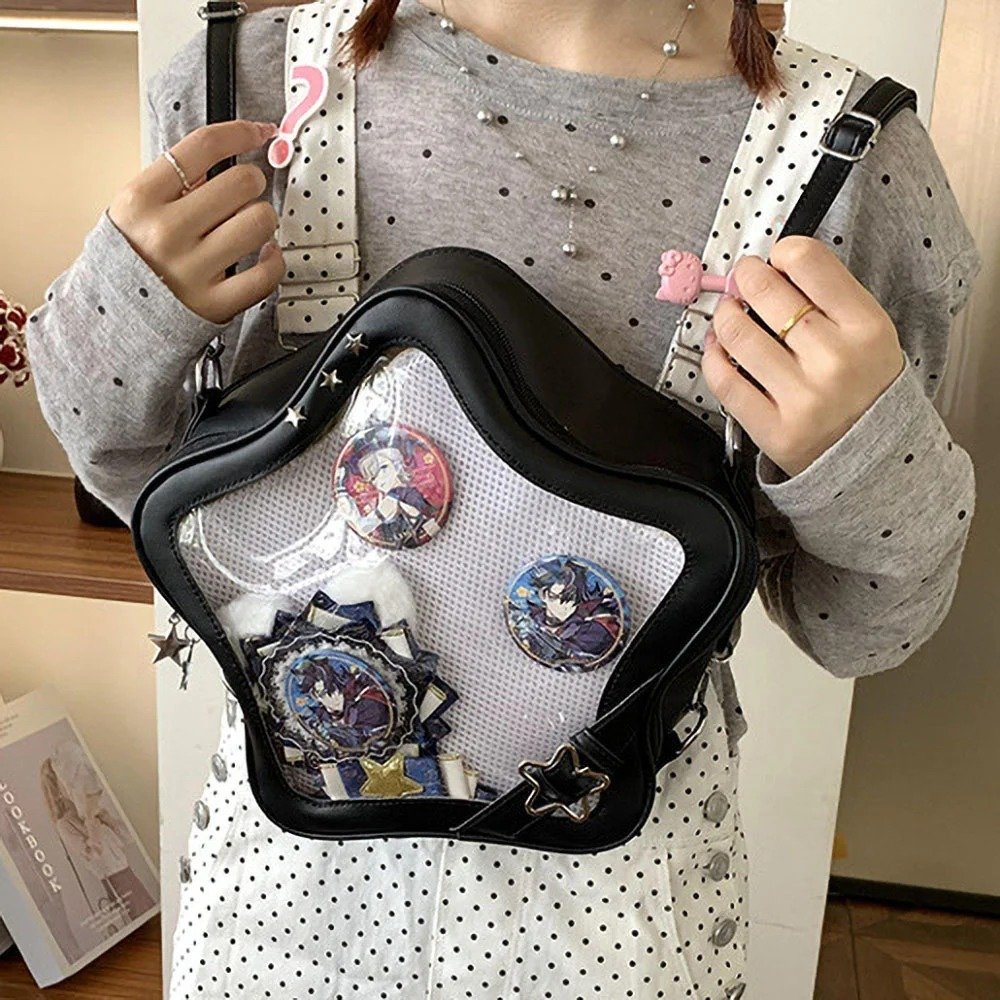
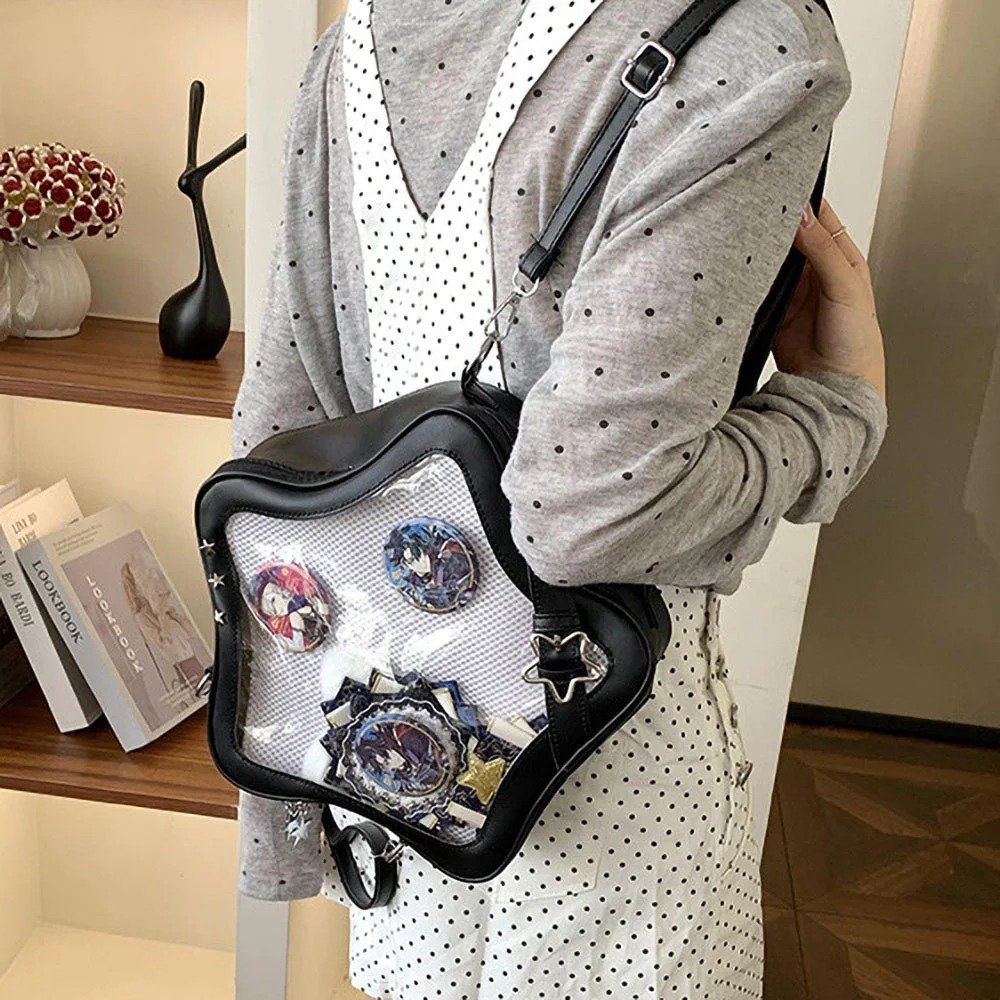
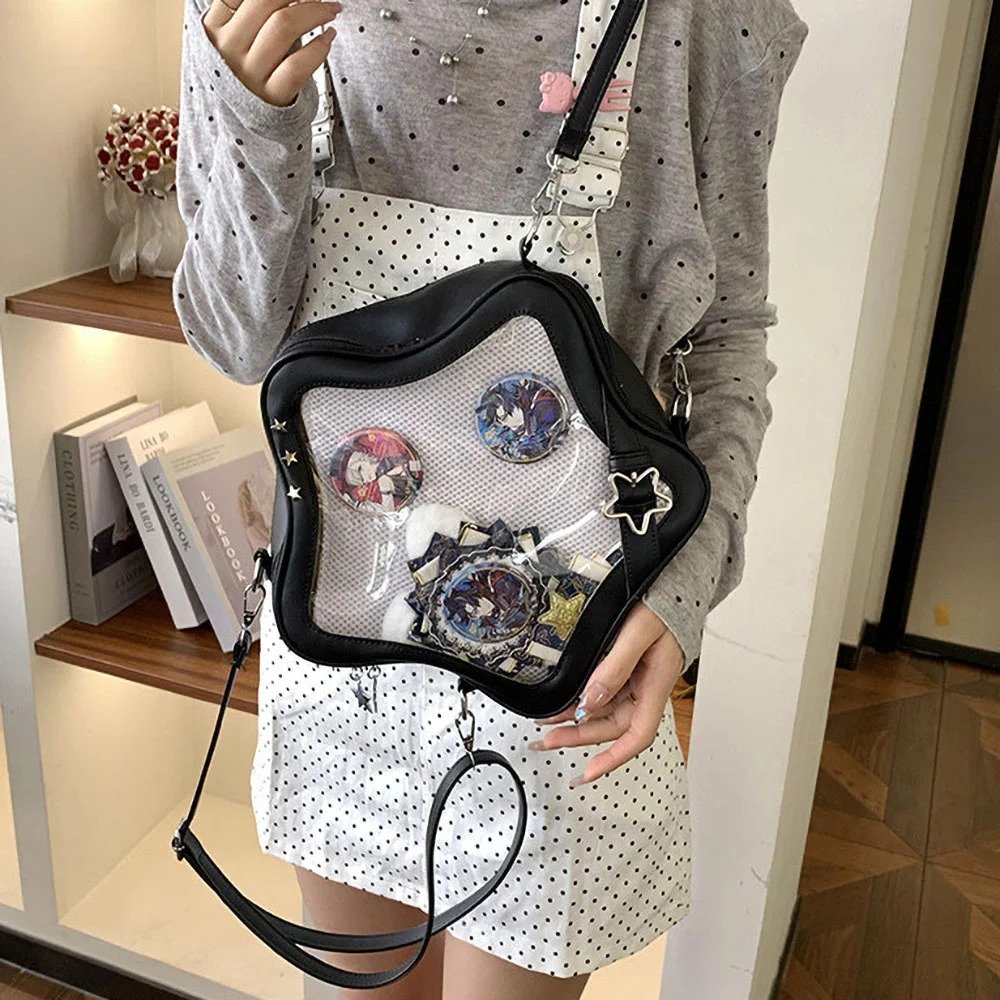
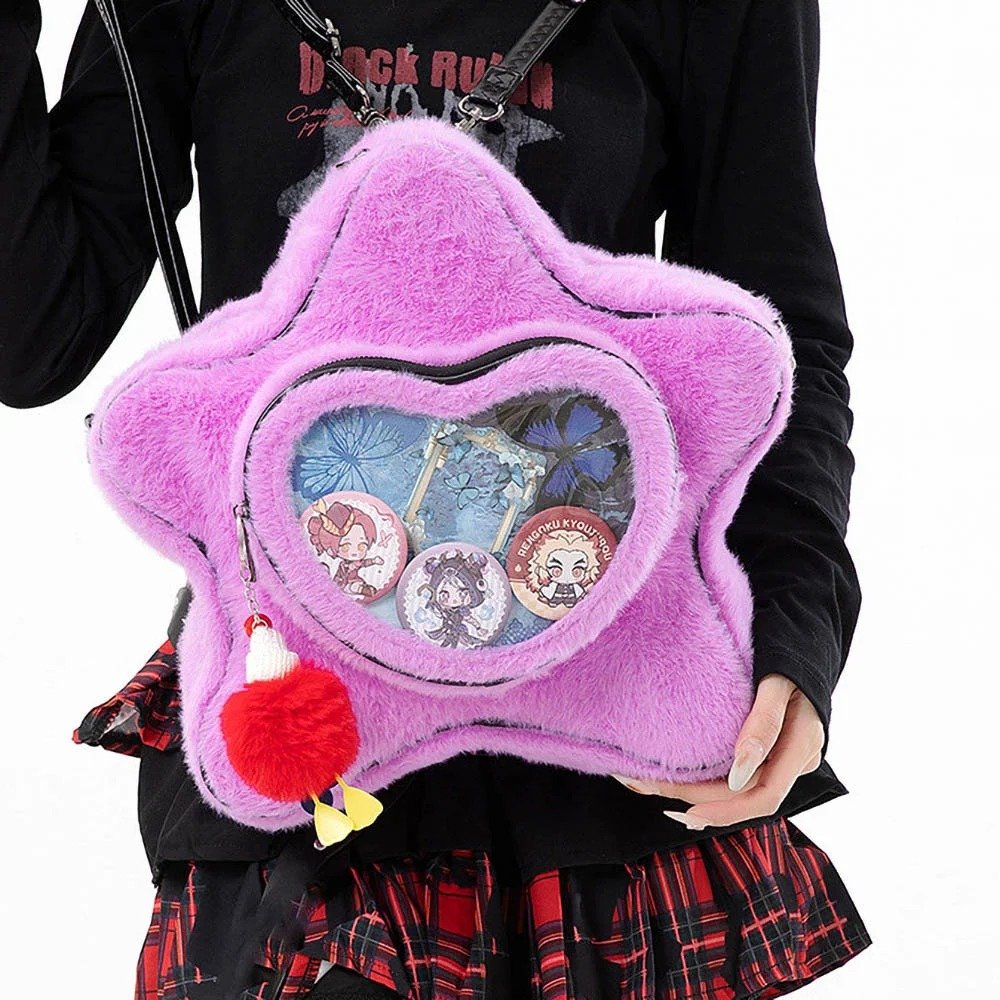
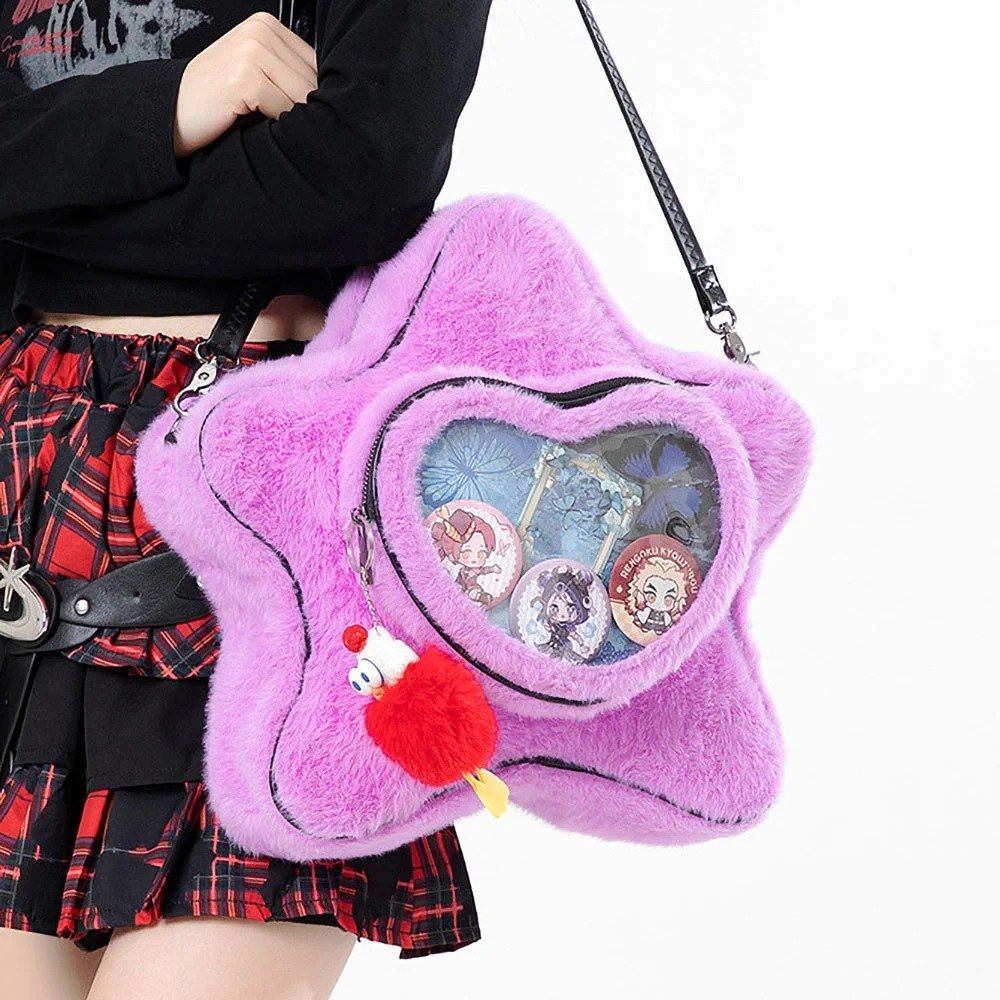
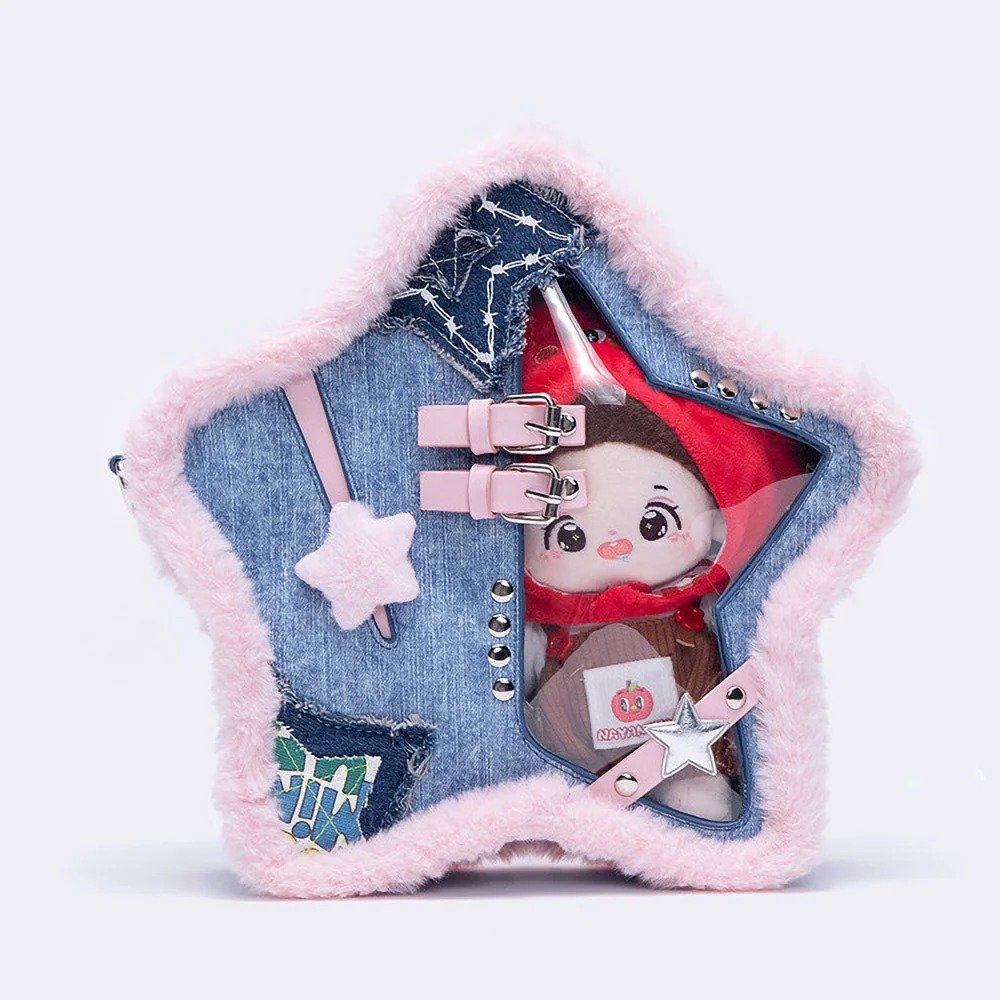
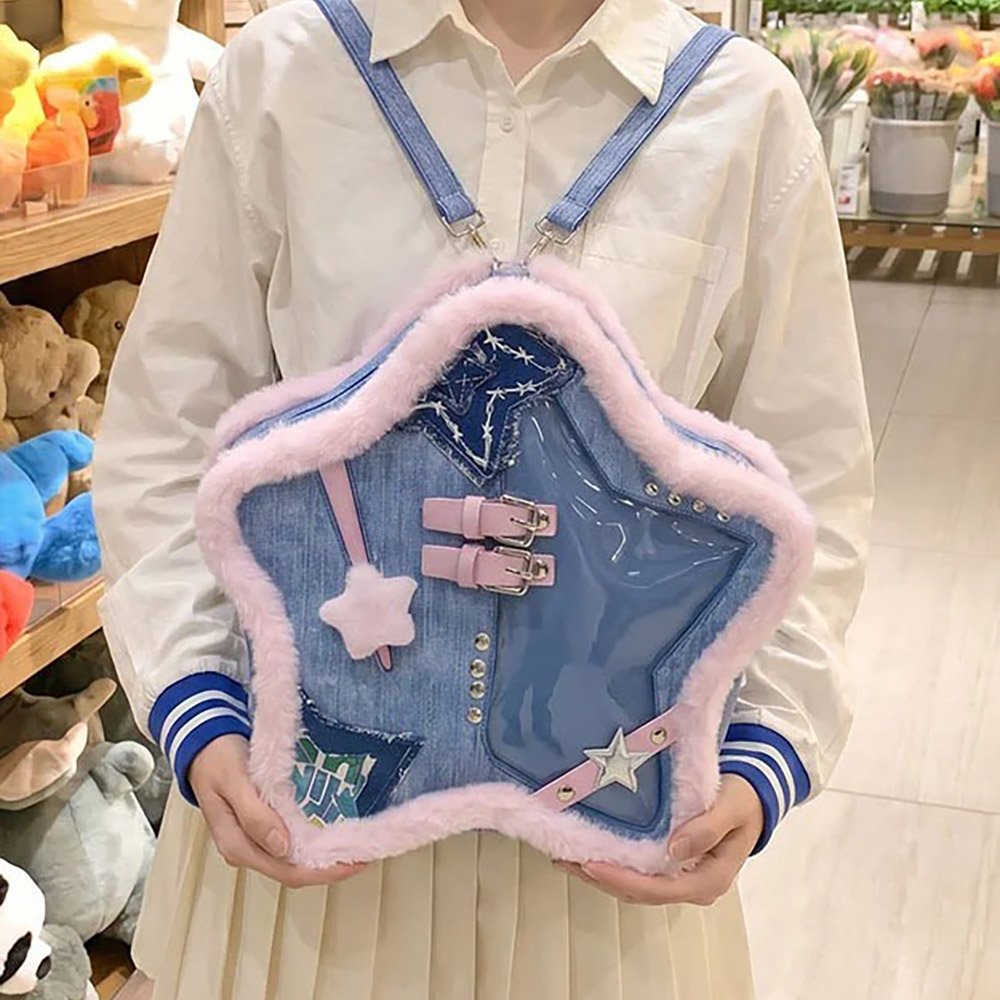
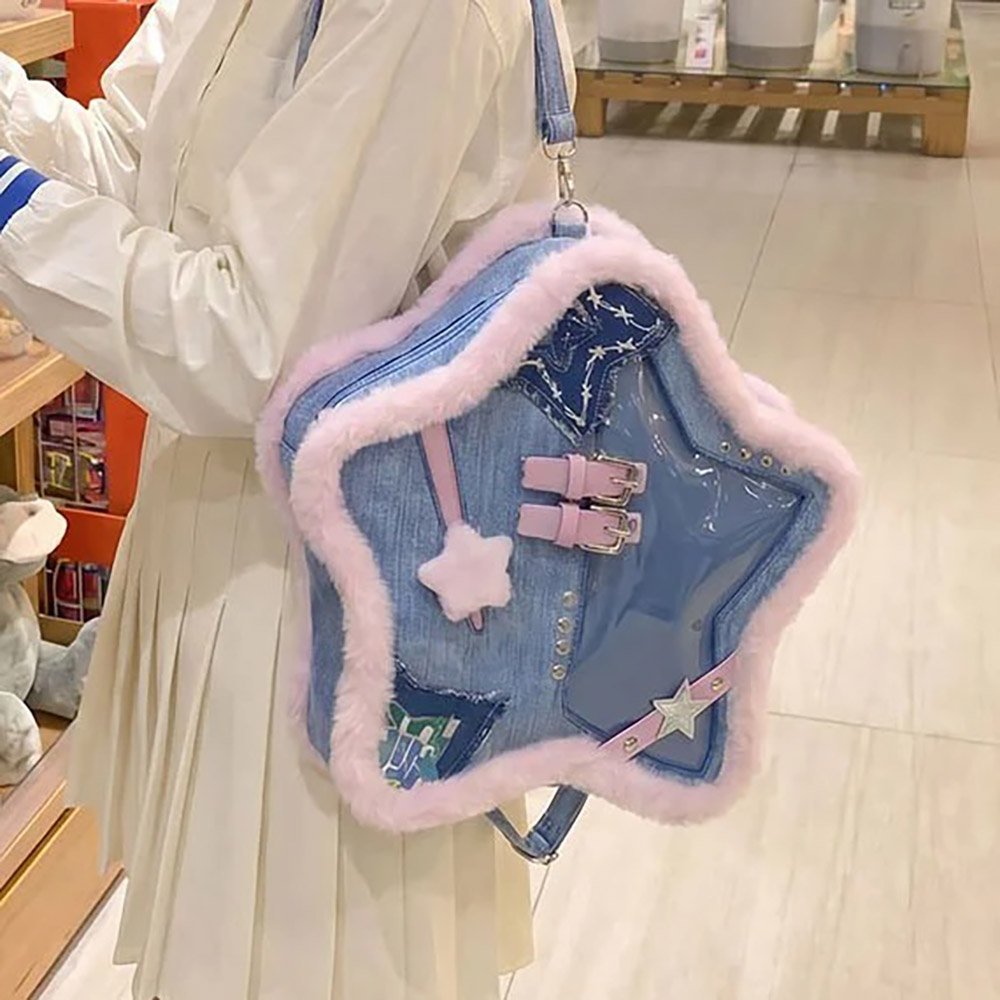
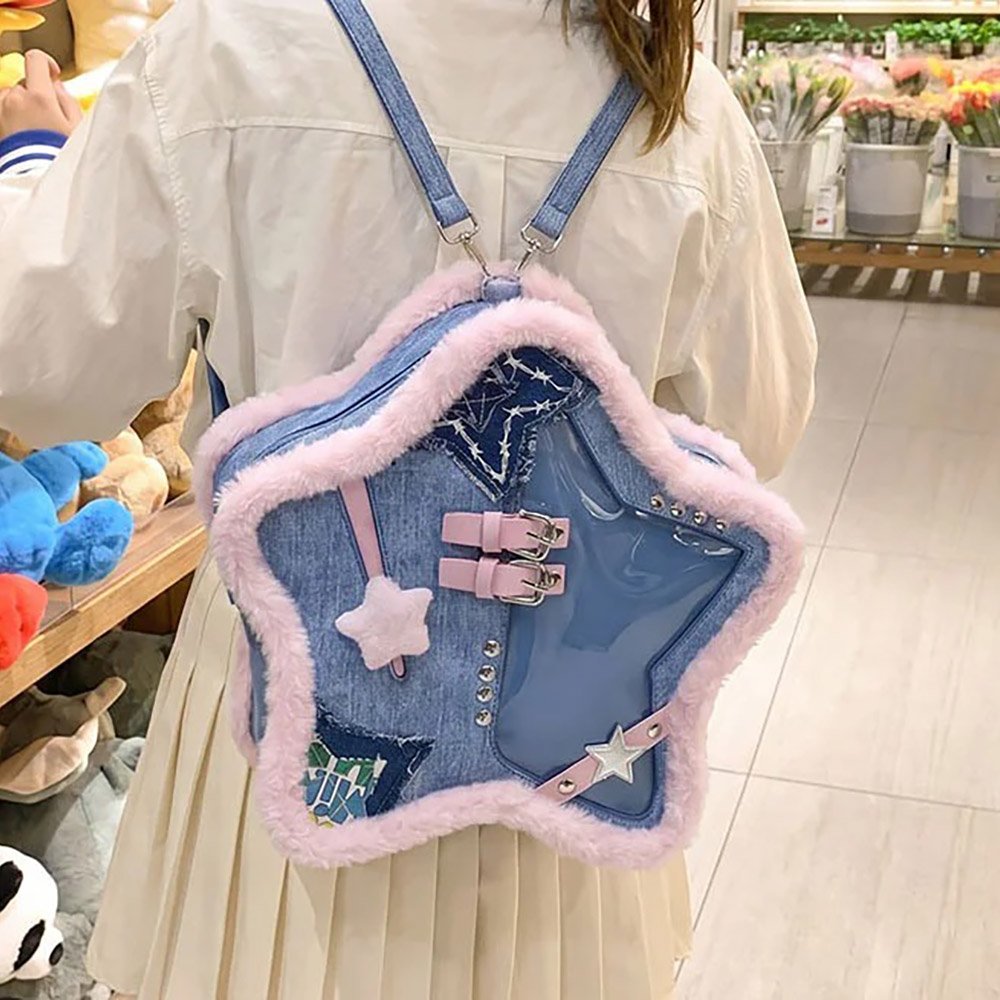
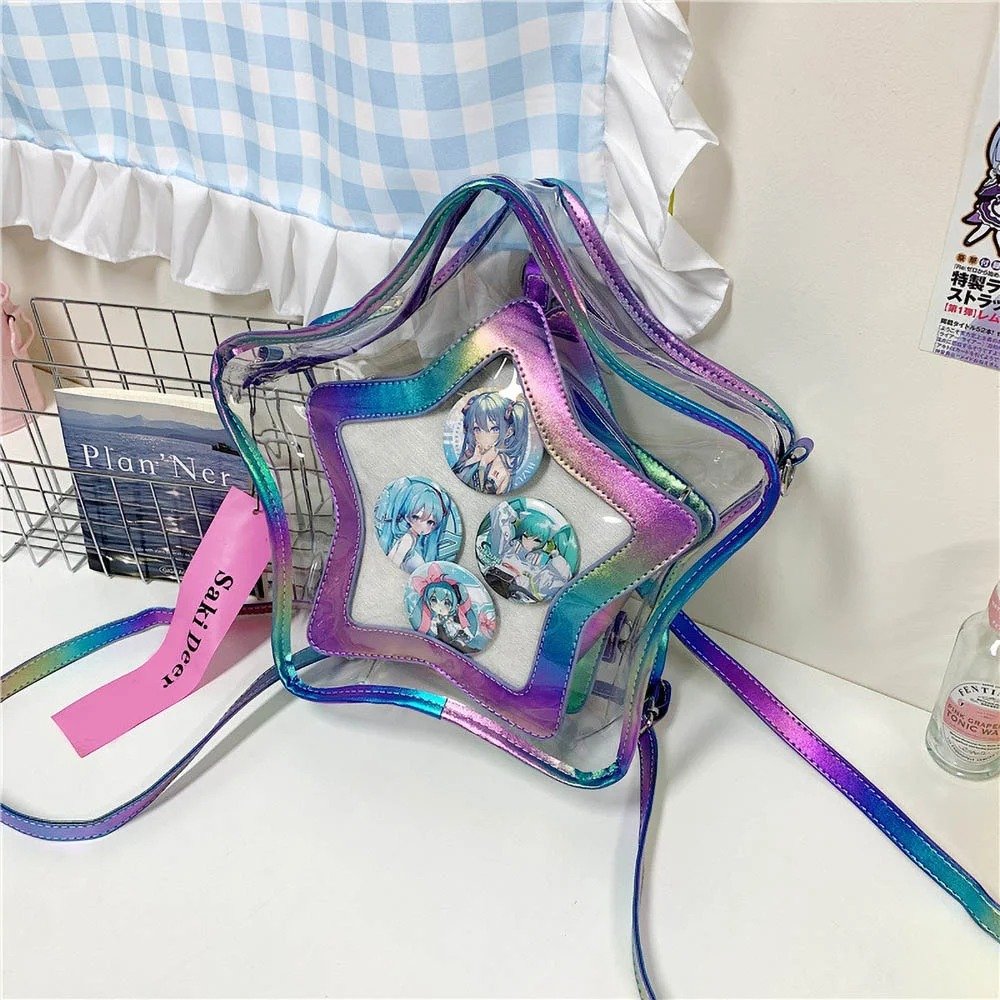
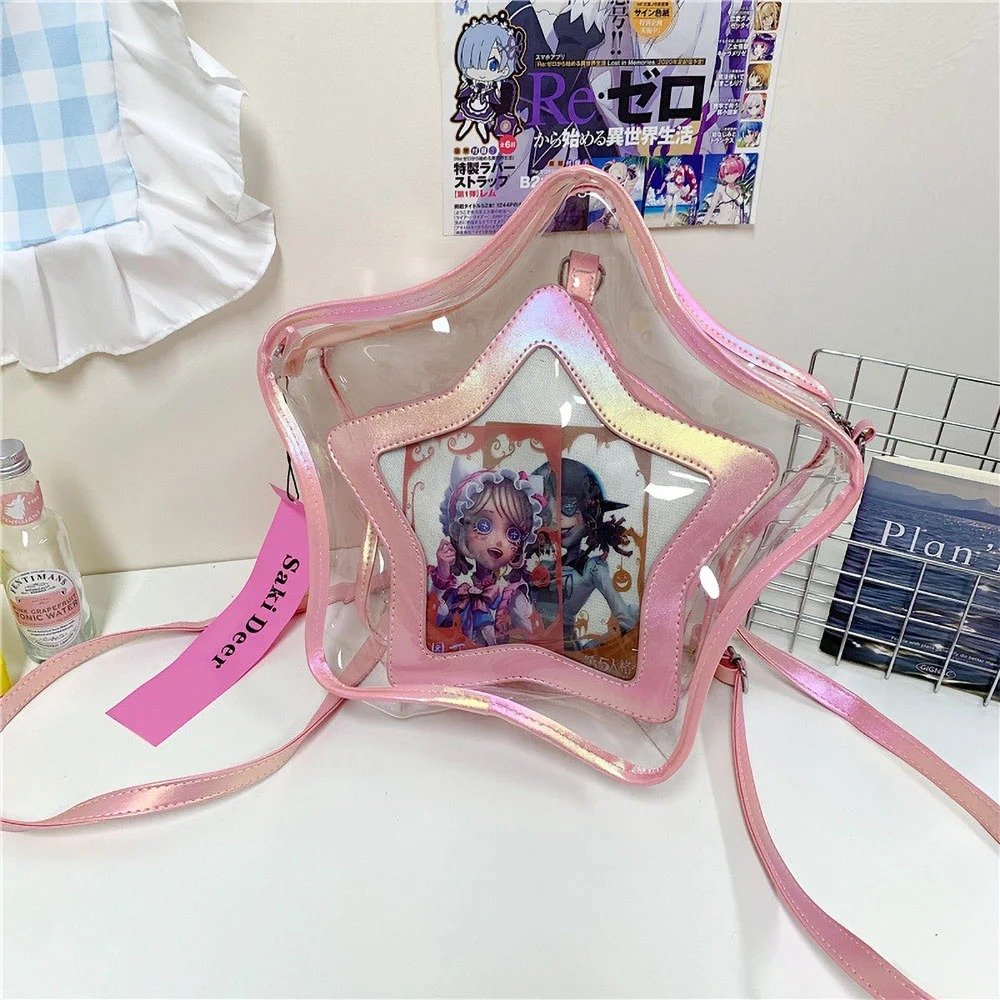
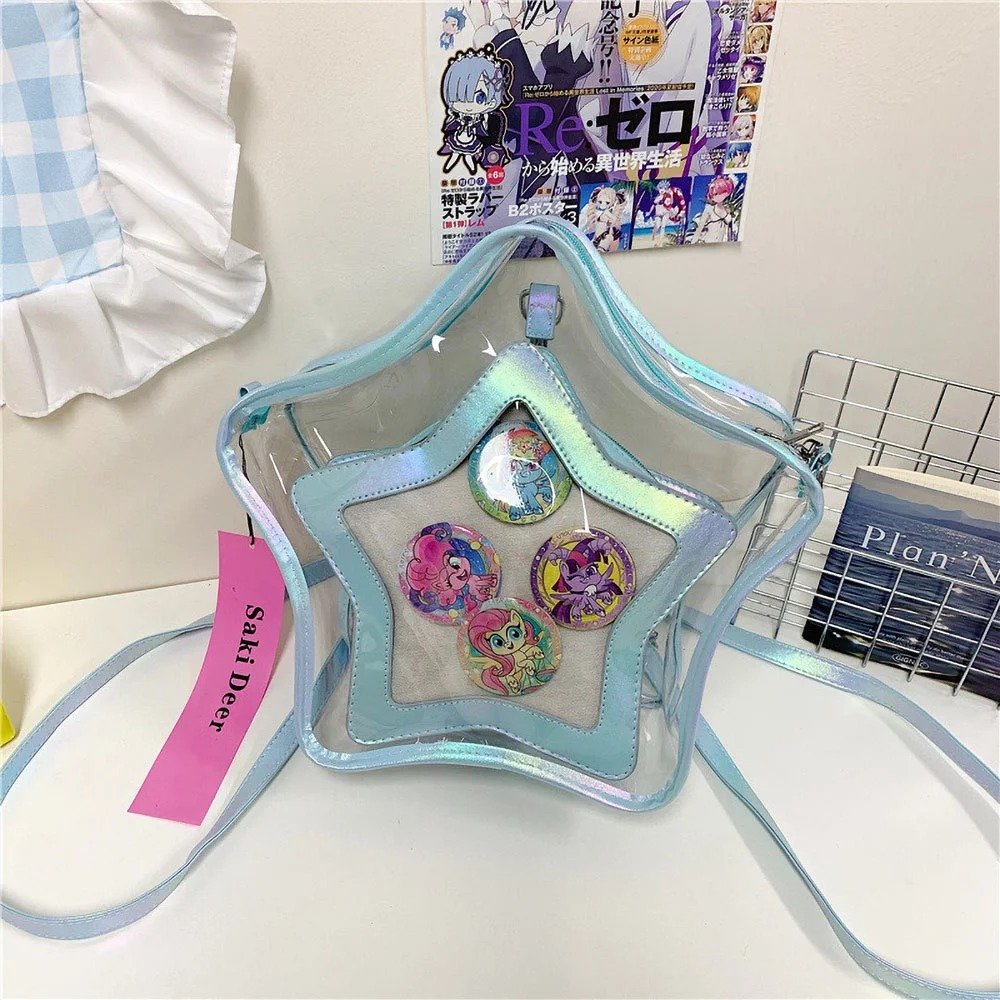
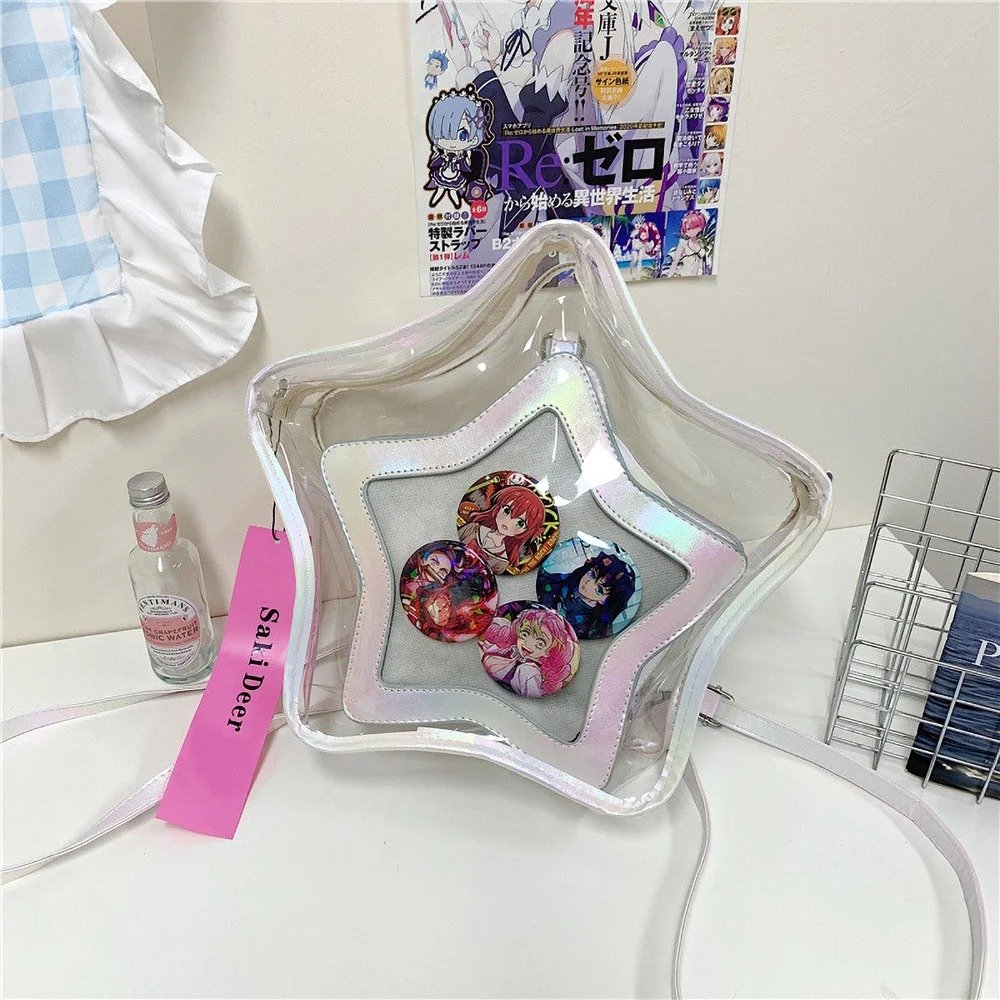
Whether an ita bag looks good comes down about 70% to the outer shell and 30% to the insert — but it’s usually that 30% that really sticks in people’s memory. Plenty of star-shaped clear ita bags on the market already have a clean silhouette on their own, like our own Ita Bag Star Crossbody — made of PU, with rounded edges on the five-pointed star outline and a row of metal star studs pressed along the top edge, available in three colors. If you already have a star-shaped bag with a similar silhouette, you can apply this insert tutorial directly. If you don’t have one yet, you can also make this insert first and pick out a suitable bag shell to put it in afterward.
Materials Checklist Before You Start
1. Base Frame and Support
Star-shaped rigid cardstock insert board: first measure the inner dimensions of your bag, then cut a star-shaped piece of cardstock slightly smaller than the bag’s window to use as the skeleton for the whole insert.
Vintage printed cardstock: used as the base background — we’d recommend choosing a style with European floral prints, vintage-style English lettering, or astrolabe motifs.
2. Adhesion and Fastening Tools
Strong residue-free double-sided tape: thinner and stronger than glue, used to secure the base and fabric together — much cleaner than glue, with no risk of bleeding or smudging.
Foam adhesive dots: used for securing small areas or corners, giving specific spots or decorations more of a three-dimensional look.
Scissors and tweezers: for trimming shapes and precisely picking up tiny accessories like pearls and small stickers.
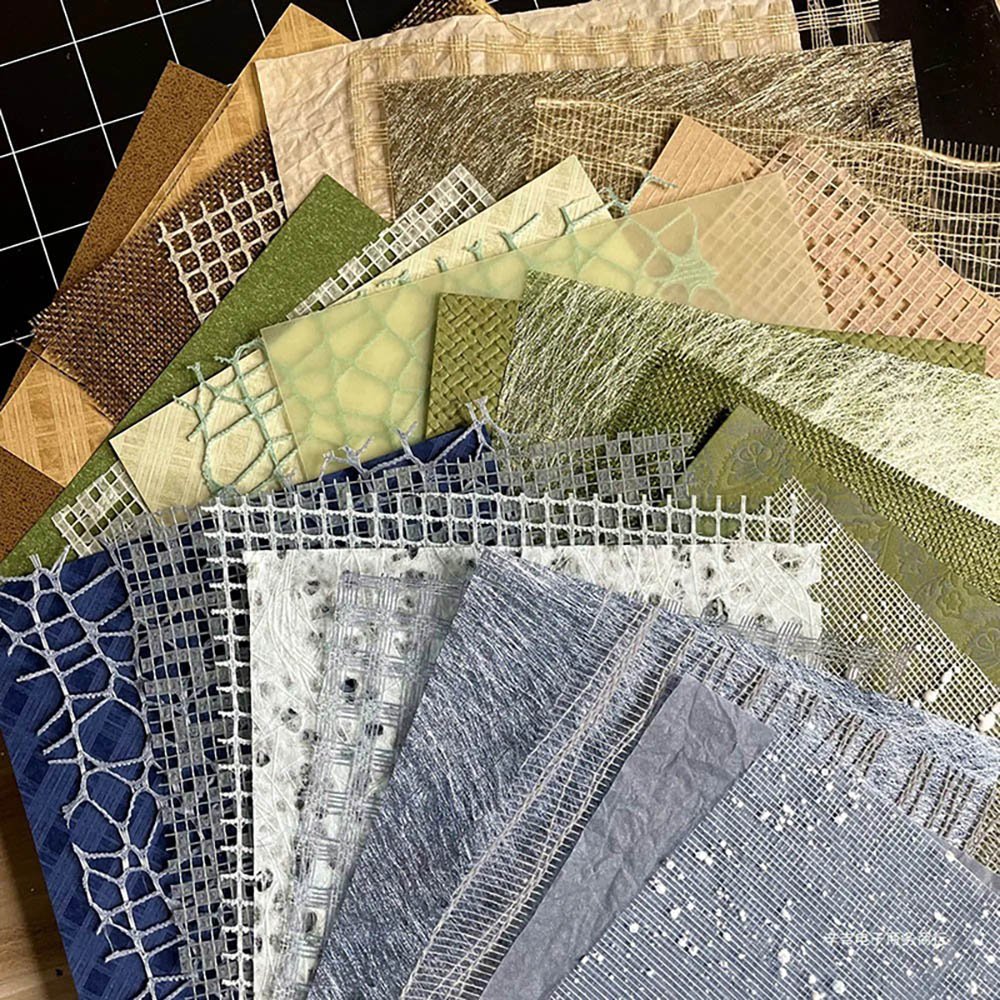
3. Lace and Texture Materials
Diamond-pattern and gold-edged ribbon: creates dividing lines so the overall look isn’t too plain.
Mesh hollow lace netting: adds a touch of vintage lace texture.
White round hollow lace paper doily: cut it apart or use the whole piece as a round decorative backing.
4. Decorative Highlights
Pearl and rhinestone chain trim: lay a strip along the dividing line for an instant boost of elegance.
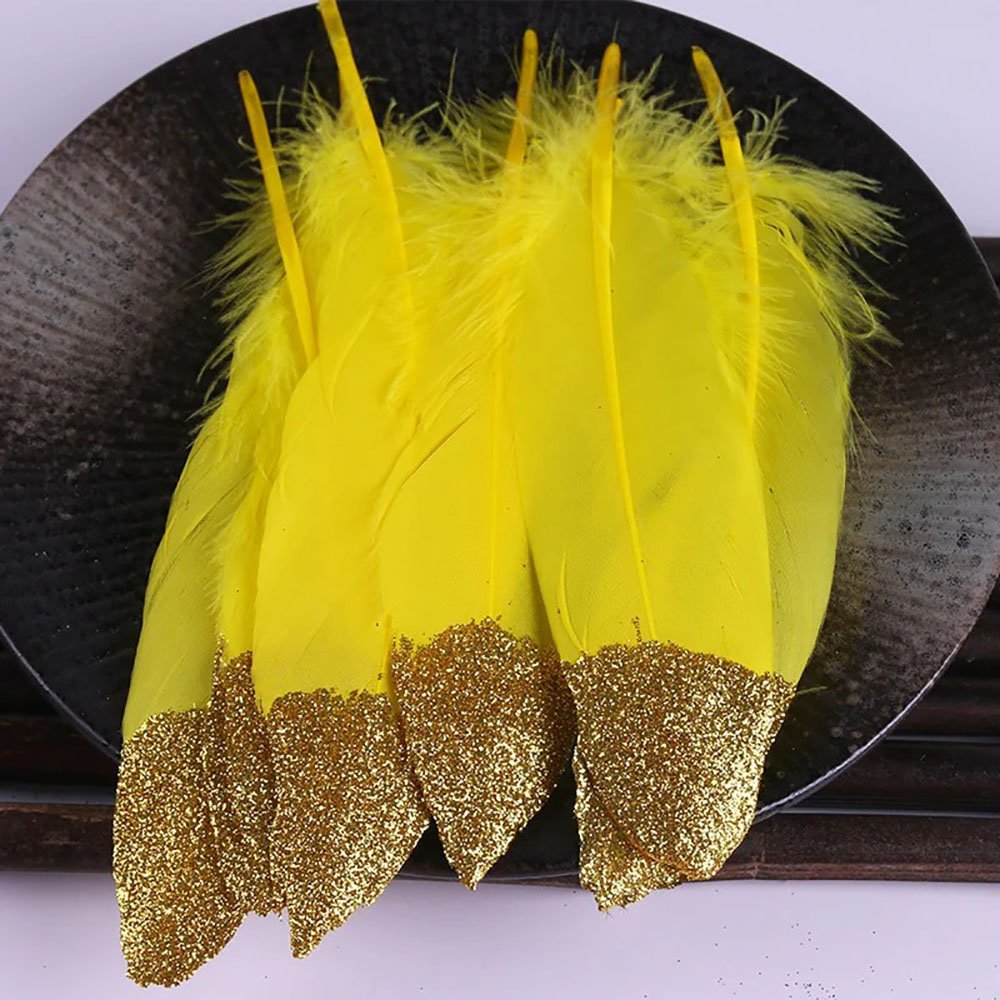
Feather: a three-dimensional accent — don’t overdo it, one is enough.
Vintage decorative stickers: add more depth on top of the original background.
Detailed Steps
Step 1: Make the Clear Rigid Base
1.Lay the clear rigid PVC sheet flat on the table.
2.Cut several strips of strong double-sided tape, and apply them along the five-pointed star shape on the PVC sheet, making sure it will hold firmly later.
3.Use tweezers or your fingers to peel off the red backing film from the tape one section at a time, exposing the adhesive side.
Step 2: Cut the Vintage Background Layer
1.Press the PVC sheet, now with its adhesive exposed, flat onto the vintage printed cardstock.
2.Carefully trim the cardstock with scissors along the edges of the PVC sheet so it matches exactly.
3.Once trimmed, apply two more strips of double-sided tape to the corner areas on the front of the cardstock, ready for later use.
Step 3: Layer in Rich Lines and Texture
1.Diagonal edging: stick a piece of diamond-pattern gold-edged ribbon diagonally across the top of the cardstock, then trim off the excess.
2.Layer on gold lace: right below the ribbon, add a strip of gold woven lace trim.
3.Pearl accents: use tweezers to pick up a long strip of half-round pearl stickers, and place them along the border between the gold lace and the background paper to add extra glamour.
4.Lay down hollow-weave fabric: apply double-sided tape to the middle of the cardstock, peel off the backing, and lay down a piece of large-mesh hollow lace fabric.
5.3D adhesive dots: stick foam adhesive dots on top of the mesh lace, pressing the hollow lace fabric down firmly to keep it from lifting up.
Step 4: Build the Visual Center and Arrange the Merch
1.Add the lace doily: take a white round lace paper doily, apply adhesive dots to the back, and fix it diagonally onto the lower right of the insert board, then attach a strong magnet on top of it.
2.Secure the badges: place the first Sakura badge diagonally toward the lower right. Place the second Sakura badge above the lace mesh fabric on the left.
3.Add detail: tuck a small gold feather accent next to the left badge, and use tweezers to place a few sparkly rhinestones in the gaps between the paper doily and the mesh lace.
Step 5: Vintage Sticker Decoration
1.Use tweezers to pick up letter stickers, and below the left badge, stick on a “LOVE” sticker.
2.Add a variety of clear vintage stickers with different designs to fill in any visual gaps on the board, making the composition feel full and story-rich.
Step 6: Assemble and Display
1.Unzip the clear display window of the star-shaped ita bag.
2.Place the finished vintage-style star insert board flat inside the bag’s inner layer, and adjust the position of all four corners.
3.Zip it back up, pick up the bag, and a delicate, vintage, richly layered insert board is now perfectly on display in the window!
A Few Crafting Tips
Double-sided tape works better than glue for this kind of multi-layer collage, especially with non-absorbent materials like pearl chains and lace — glue tends to bleed or fail to hold.
Loosely place everything first to test the layout, take a photo to compare, and only start fixing things down layer by layer once you’re happy with it — that makes redoing things much less costly.
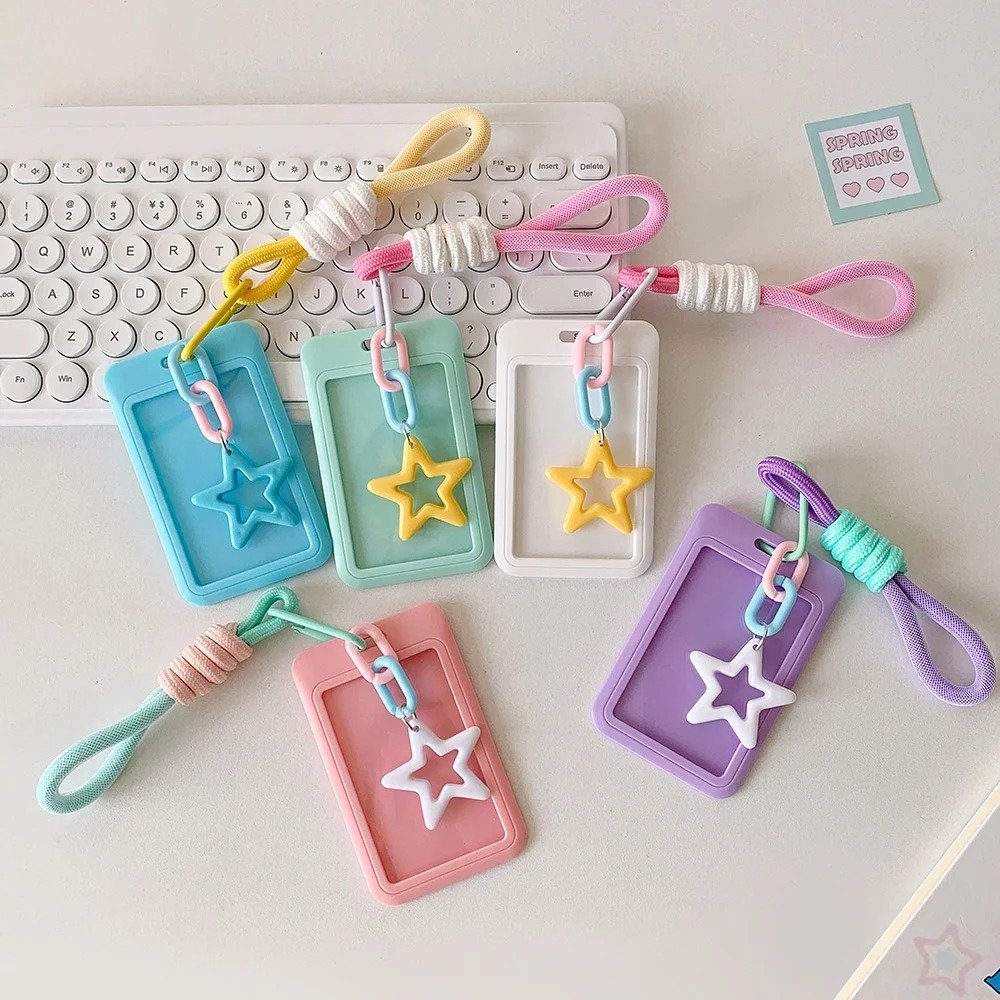
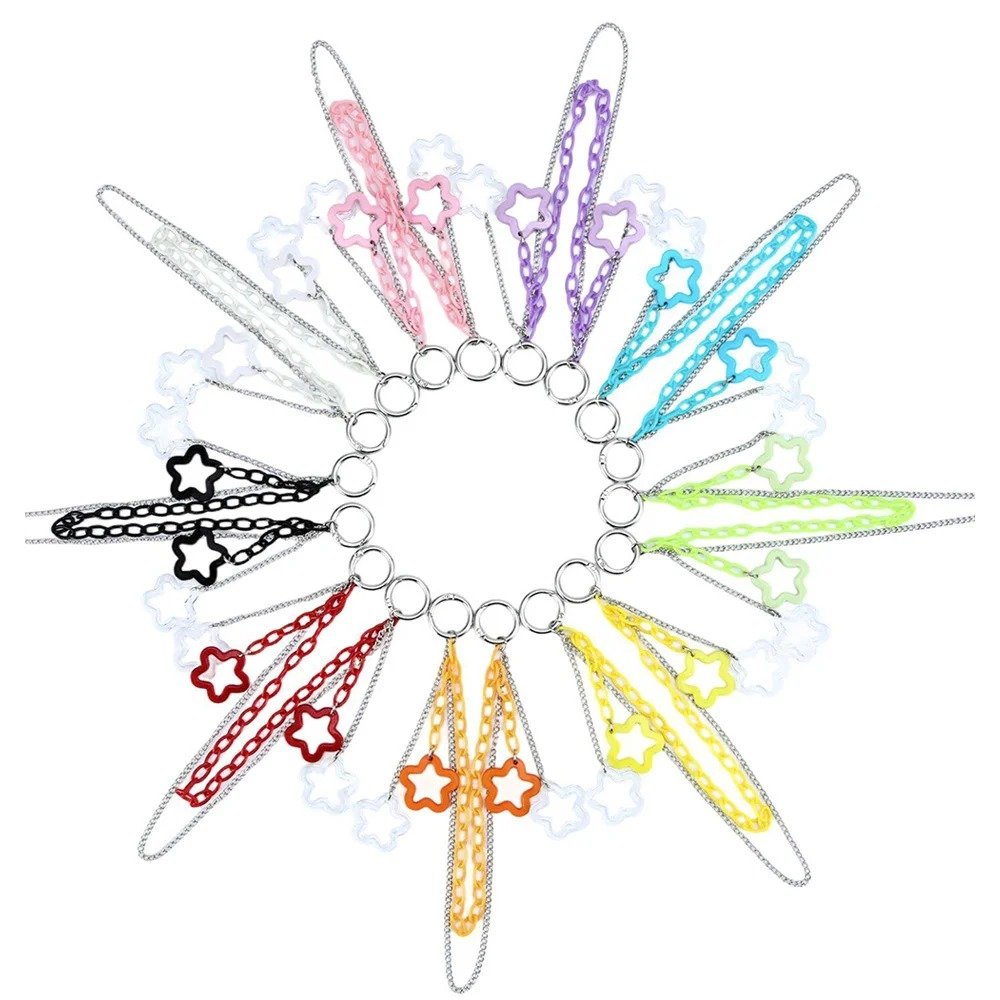
Finishing the insert doesn’t mean you’re done — the most fun part of an ita bag is that you can swap out badges or add charms anytime, like hanging a Hollow Star Photocard Holder Itabag Charm on the zipper pull, or wrapping a Star Decorative Chain for Itabag around the handle. These are both low-cost tweaks that make a big visual difference.
Alright, that wraps up this craft share. If you make one following along, feel free to take a photo and share the results with us — since everyone’s patterned paper and badges are different, no two inserts will ever turn out quite the same. That’s probably the most charming thing about ita bags.
FAQ
Once this insert is finished, can I take it out and swap it into a different bag?
Yes. As long as the board is cut slightly smaller than your target bag’s window, it can, in theory, be swapped between different star-shaped clear bags. When taking it out, gently lift it up from a corner — don’t force or yank it.
Where can I buy the same star-shaped bag shell used in the video?
The style used in our video — with the clear window plus metal star studs — is currently available in our shop as a matching star-shaped clear-window ita bag, available in three colors. The bag itself doesn’t come with badges — you’ll need to add your own.
If I don’t have special rigid plastic board, what can I use instead?
You can cut down a thicker plastic file folder, or use flat, rigid packaging cardstock. That said, rigid PVC sheet stays the flattest and is the least likely to warp even after being in the bag for a long time.