Cardcaptor Sakura Vintage Dreamy Ita Bag Styling Tips and Full Step-by-Step Craft Guide
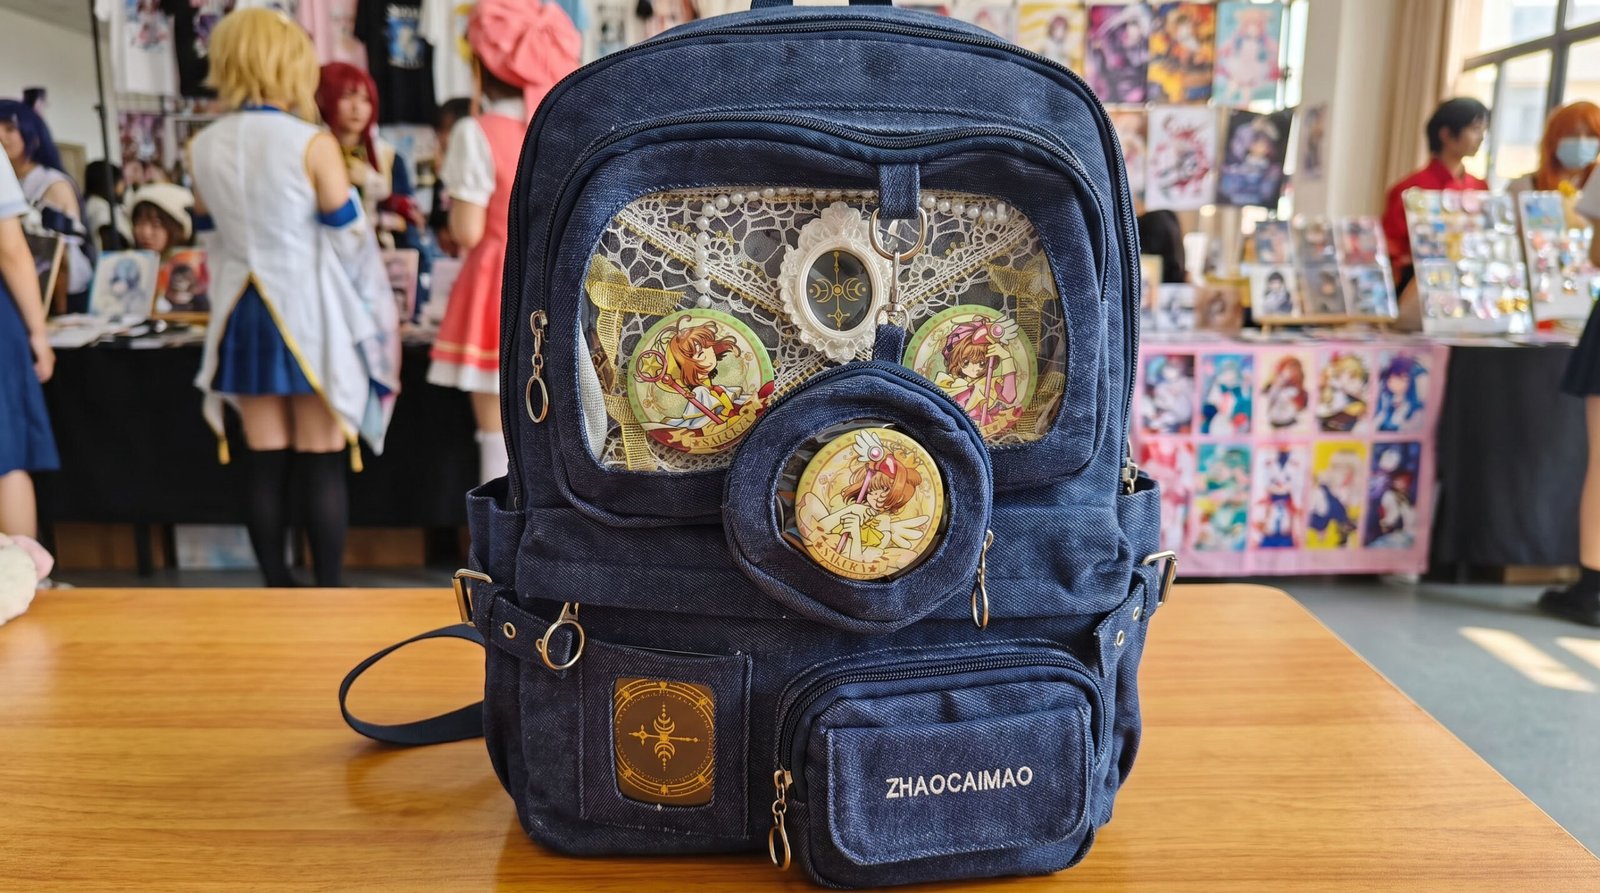
Table of Contents
We often get the same question in our messages: people have a whole drawer full of badges, but still can’t bring themselves to actually make an ita bag, worried about ending up with a messy layout, worried the glue will ruin the card backs, worried that after all the effort of putting together an insert board, it just won’t match the bag. That mix of excitement and hesitation is probably something every ita bag person has gone through.
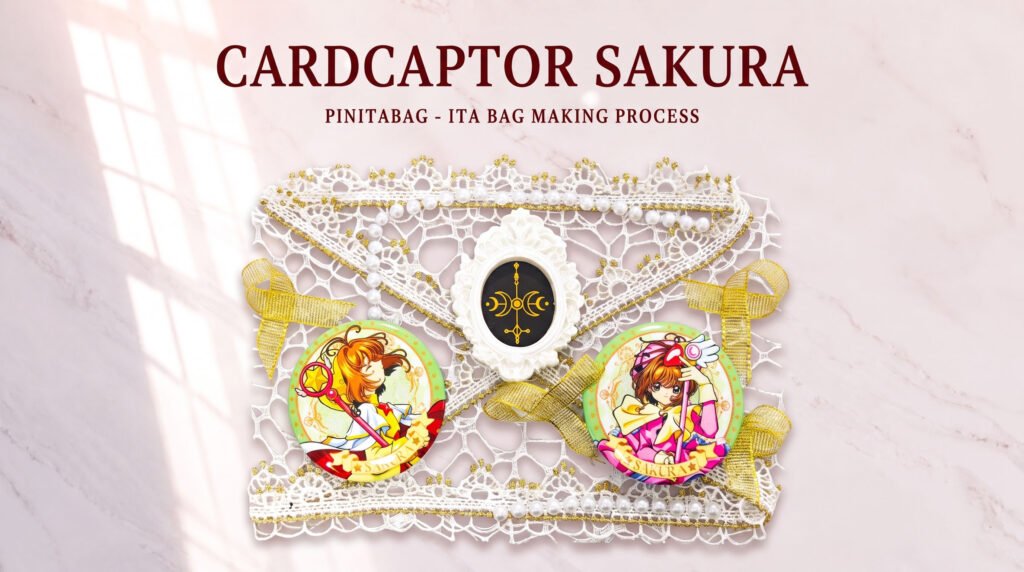
This time we’ve put out a brand-new craft video using Cardcaptor Sakura themed badges, going for a platinum-toned gothic style, not the usual black-and-red dark aesthetic, but the quiet, slightly mysterious look you get from lace, pearls, and embossed photo frames. The whole process can be done entirely by hand, without a hot glue gun, making it a great one to follow along with if you’re just starting out.
Before You Start: Decide Whether to Build the Insert Separately from the Bag
The most common beginner mistake is sticking all the decoration straight onto the bag itself, so that switching badges or themes later means starting completely over, wasting all that earlier effort. The approach in this video matches what we always recommend: finish the decoration on a separate, standalone ita bag insert board first, then slot the whole thing into the bag’s clear display window. If the insert gets messed up, or you switch to a new show or character, you just pull it out and redo it — the bag itself never has to be touched.
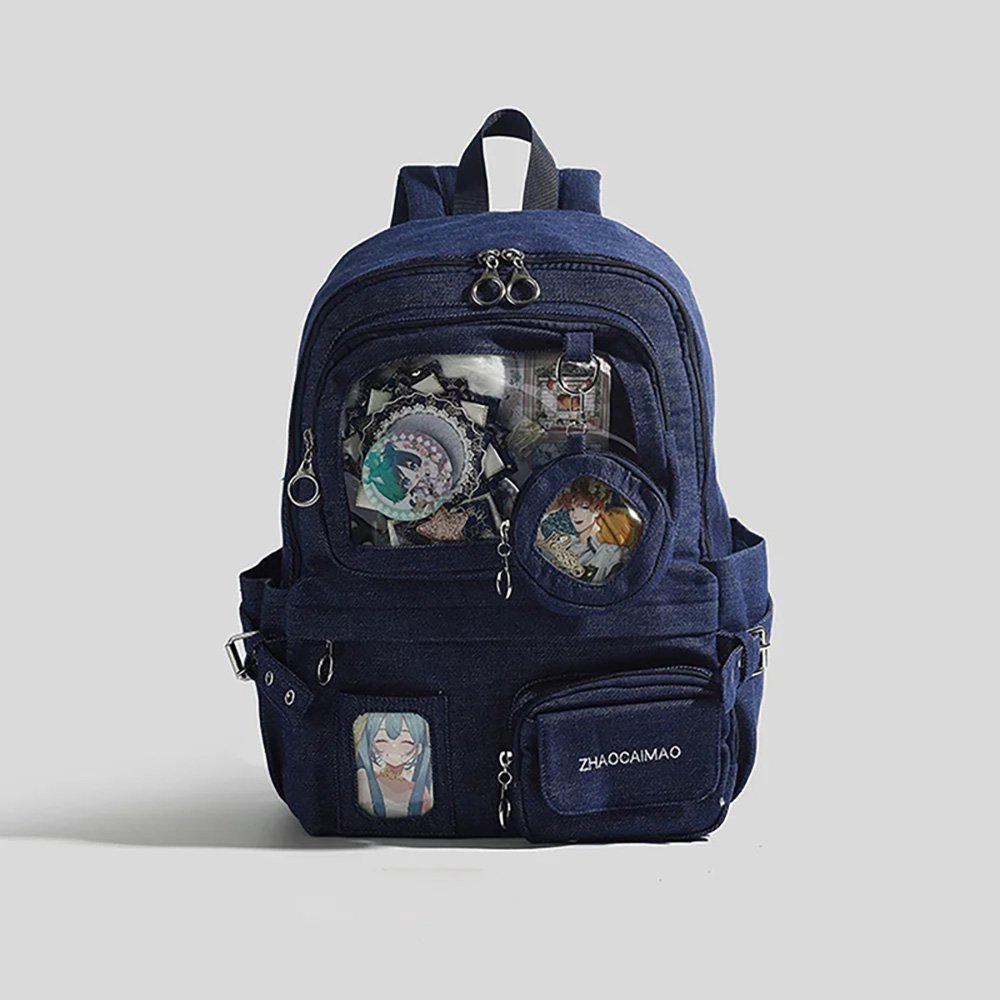
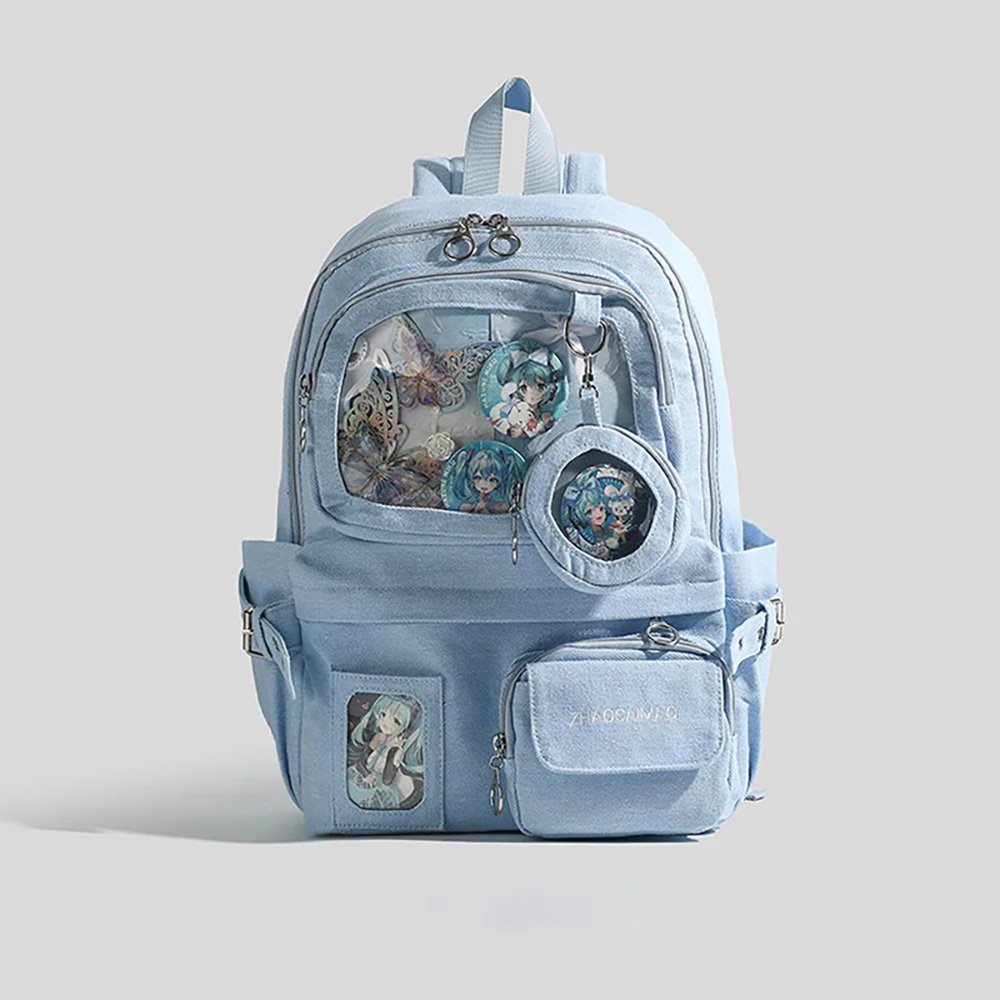
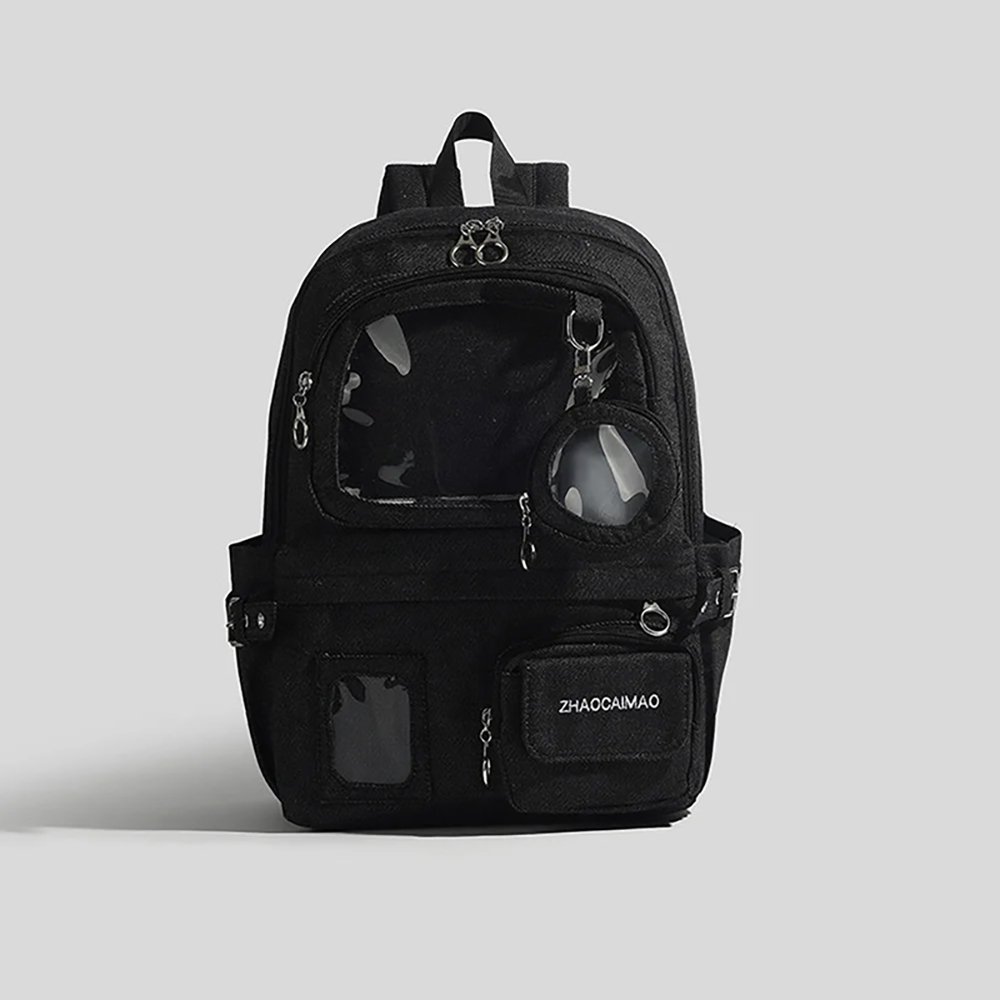
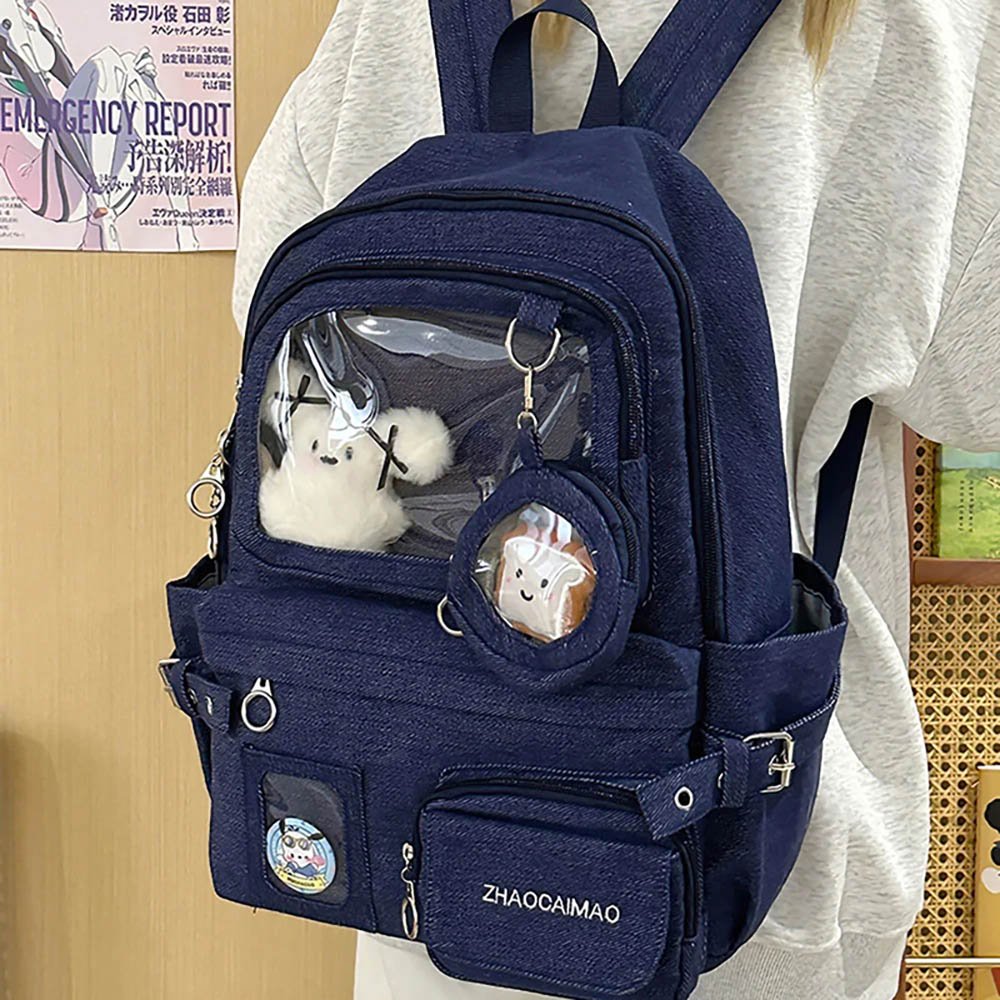
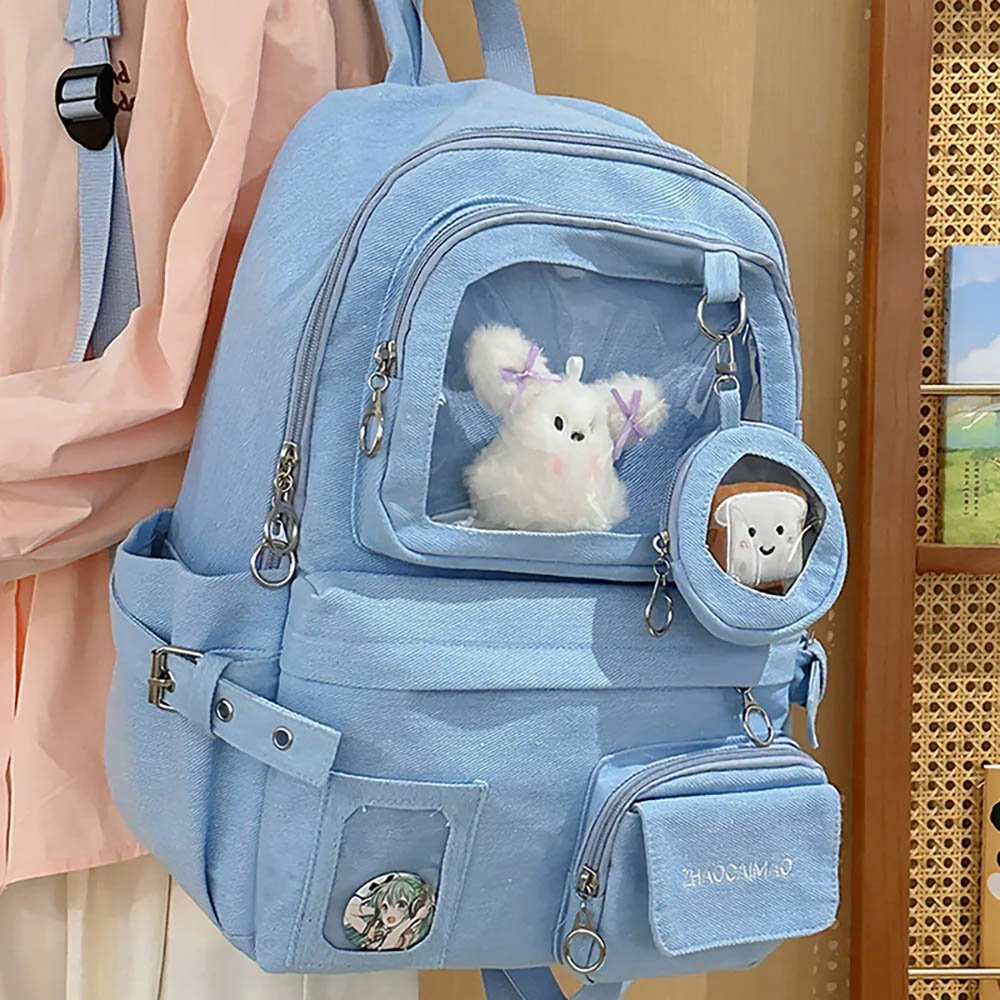
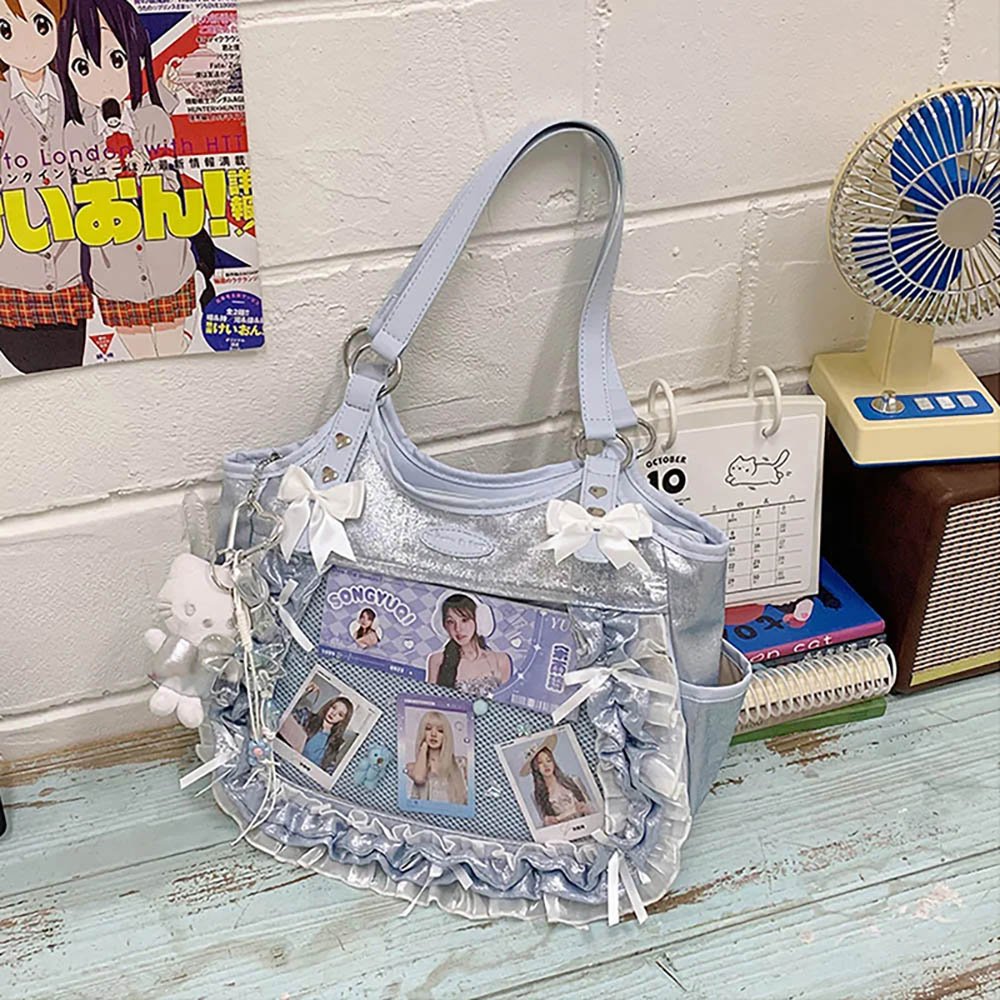
This time we paired it with the Blue Ita Bag Japanese Denim Clear Window Bag, whose main display window is generously sized, and which also comes with an independent round pouch on the side — perfect for showing off a single badge on its own without competing with the main insert for attention, and much more durable for everyday carrying than a purely decorative ita bag.
Materials Used This Time
The materials for this project are very beginner-friendly and don’t require any specialized craft tools.
- Clear ita bag insert board: the removable base for the whole design.
- Strong residue-free double-sided tapeand scissors: cut into small pieces to cover the board as a fixed base layer.
- Hollow lace mesh fabric: creates a raised, envelope-like vintage texture.
- Gold lace trim and small gold bows: bring out Sakura’s signature magical-girl glamour.
- Pearl stickers and tweezers: for fine edging and accents.
- Vintage white court-style photo frame charm: the central visual focus of the whole board.
- Cylindrical mini strong magnets: the secret weapon behind this damage-free build.
- Character badges.
Full Step-by-Step Breakdown: Making the Vintage Dreamy Insert Board
Step 1: Apply Tape and Lay the Base to Build the Foundation
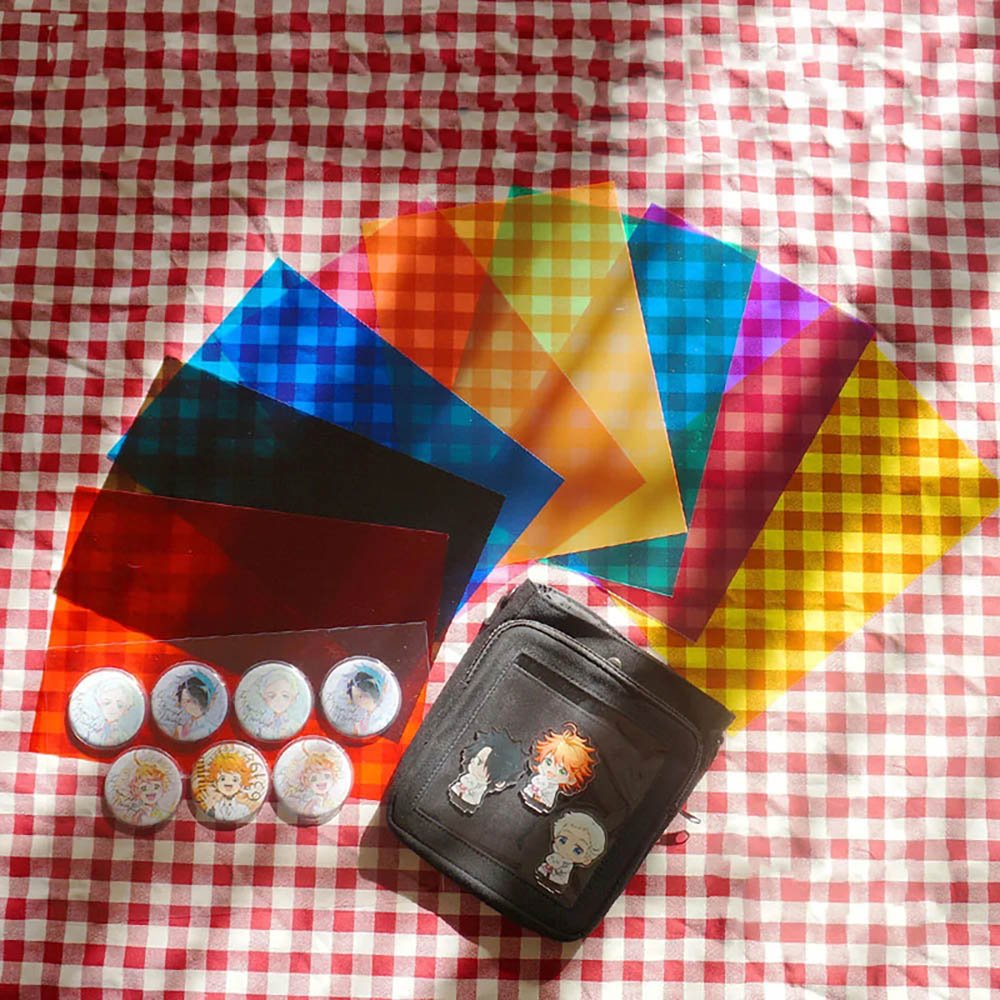
First, evenly cover the clear insert board with residue-free double-sided tape. Peel off the protective film, then lay the hollow lace mesh fabric flat and evenly across the board. Press it down firmly, then trim off any excess along the edges. Seen through the hollow lace, the clear board instantly takes on a soft, delicate texture.
Step 2: Outline an Envelope Frame to Build Depth
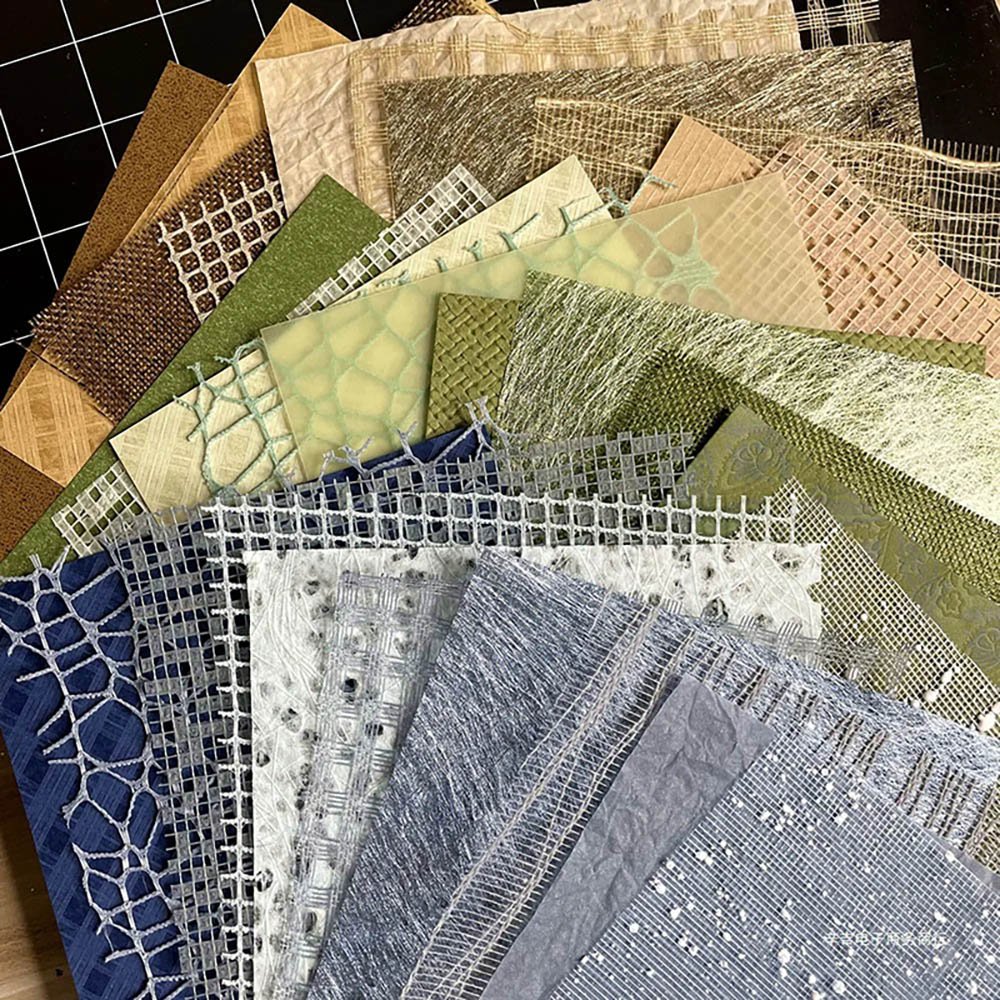
Use the gold lace trim to weave diagonal and horizontal lines across the mesh fabric, piecing together a folded, geometric shape reminiscent of a classic vintage envelope. The texture of the lace combined with the shimmer of the gold thread grabs the eye instantly.
Step 3: Add Bow Accents and a Pearl-Trimmed Edge
On both sides of the envelope frame, attach elegant little gold bows.
Use tweezers to pick up a strip of pearl stickers and attach them one by one along the bottom edge and the lace trim lines. The lustrous look of the pearls makes the whole piece feel a lot more high-end and custom-made.
Step 4: Place the Center Photo Frame to Anchor the Visual Focus
Firmly fix the white, court-style oval photo frame — with its mysterious magic-circle pattern — right in the center of the board. This step is key to establishing the overall composition axis; the frame acts almost like the seal clasp on a spellbook.
Step 5: The Core Technique, Magnetic Damage-Free Mounting
This is the go-to trick we strongly recommend to every ita bag maker. Stick the mini strong magnets onto the badge spots reserved on either side of the frame. Attach another magnet to the back of each badge, and the character badges will hover securely on the board, held in place purely by magnetic force!
The advantage: there’s no need to pierce the backing board with pins at all, and no glue ever touches the badge itself. You can swap badges out in seconds, anytime, and they stay in flawless, undamaged condition.
Step 6: Slide It Into the Window and Finish the Overall Look
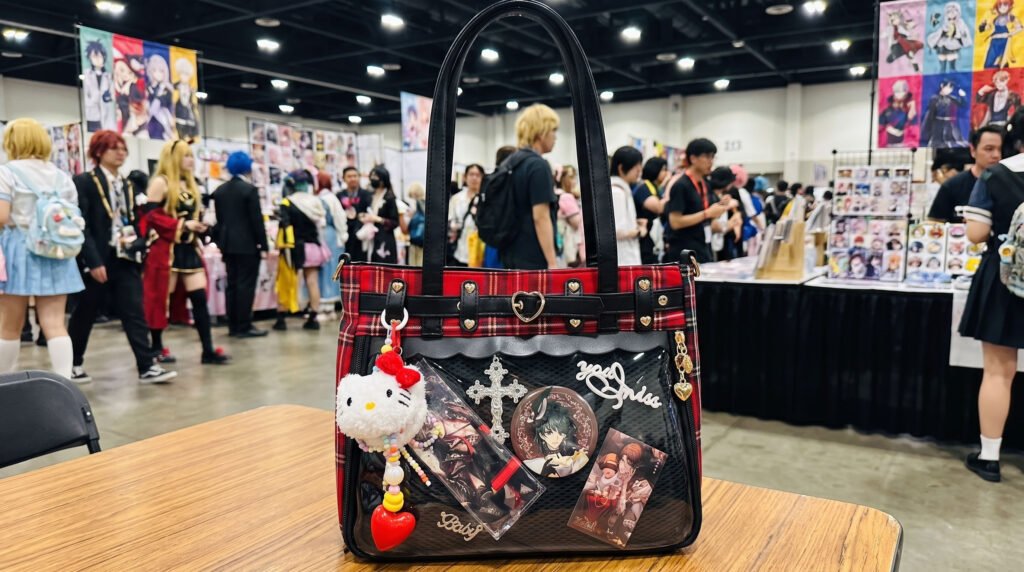
Slide the finished vintage Sakura insert smoothly and evenly into the ita bag’s clear window, then zip it up.Place the main insert in the primary display window, tuck the matching cards into the side pocket, and hang a coordinating round Sakura pouch charm on the front of the bag, and a magical-girl-themed ita bag full of narrative and cohesion is officially born!
A Few Practical Tips to Avoid Common Pitfalls
Stick with a removable insert board: don’t glue decorations directly inside the bag. Use a Pinitabag standalone clear insert board as your base — it’s easier to work with flat on a table, and if you make a mistake, you can always redo it.
Pay attention to how invisible your tape and glue dots are: use less rather than more when applying double-sided tape or glue dots, especially on clear areas — too much glue tends to leave visible marks in the light once it dries.
Use tweezers for pearls and trim: tiny pearl stickers and bows are easy to fumble with your fingers, which can block your view — tweezers let you align things much more precisely.
Match the bag’s features to the insert size: choose an ita bag with a highly transparent display window and a moderately thick display layer — one that can comfortably fit the thickness of a 3D photo frame and lace while still letting in plenty of light.
Find Your Own Style Language
There’s no single right answer in the world of ita bag styling — every style is its own expression of love for a character. Choosing an ita bag whose base color and structure fit your idea makes your creative work go twice as far.
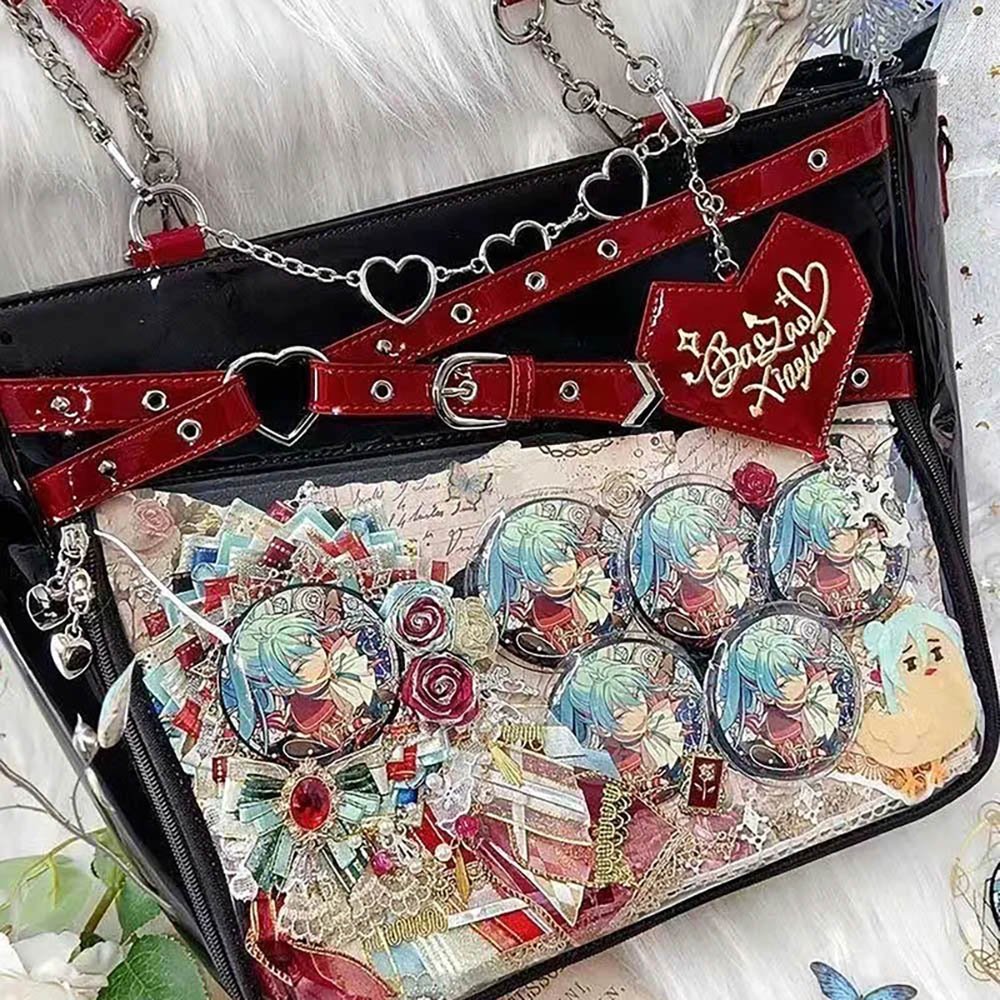
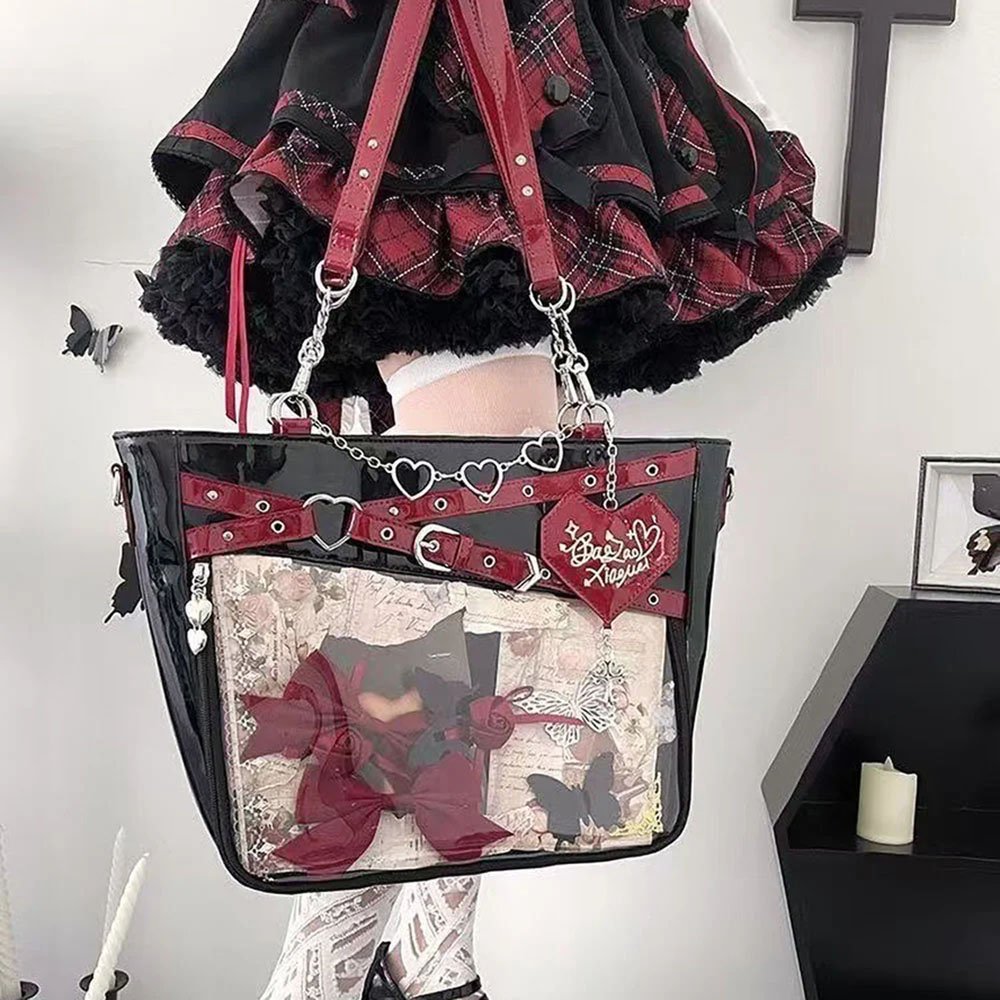
Glamorous Vintage / Magical Gothic Style
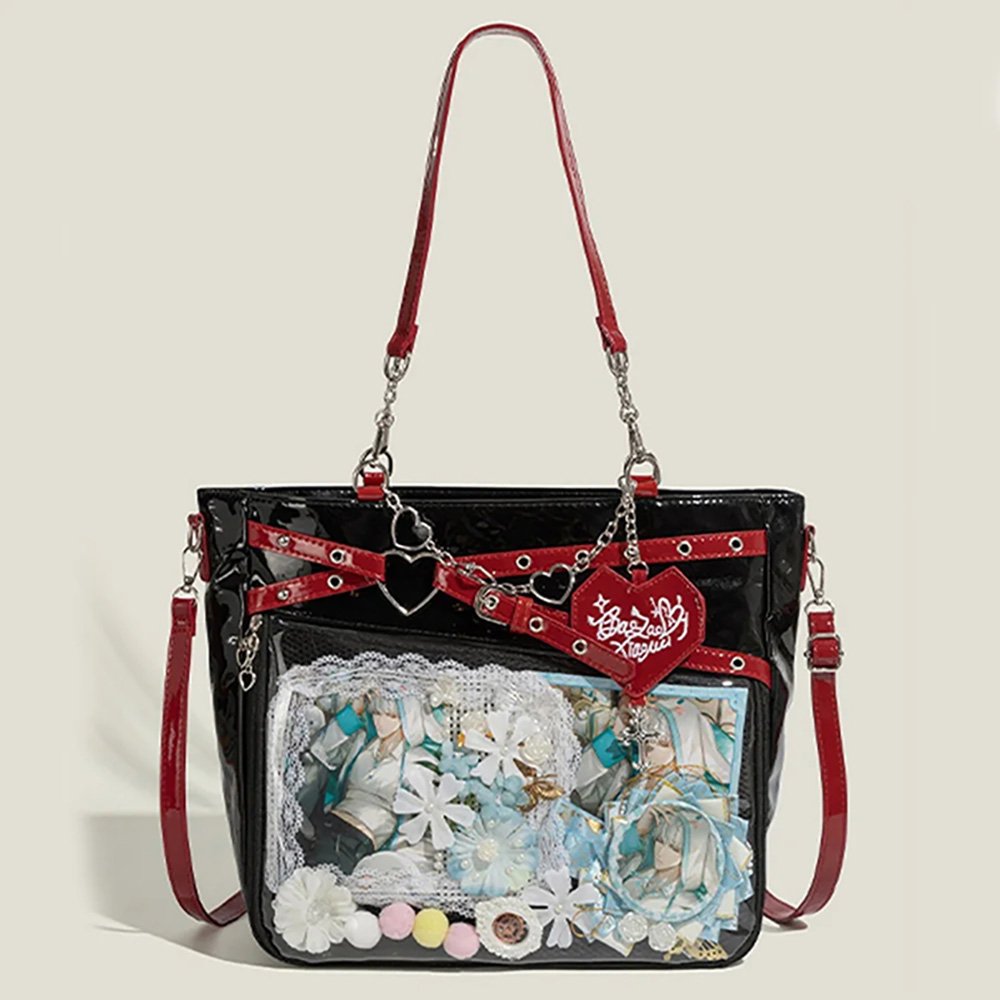
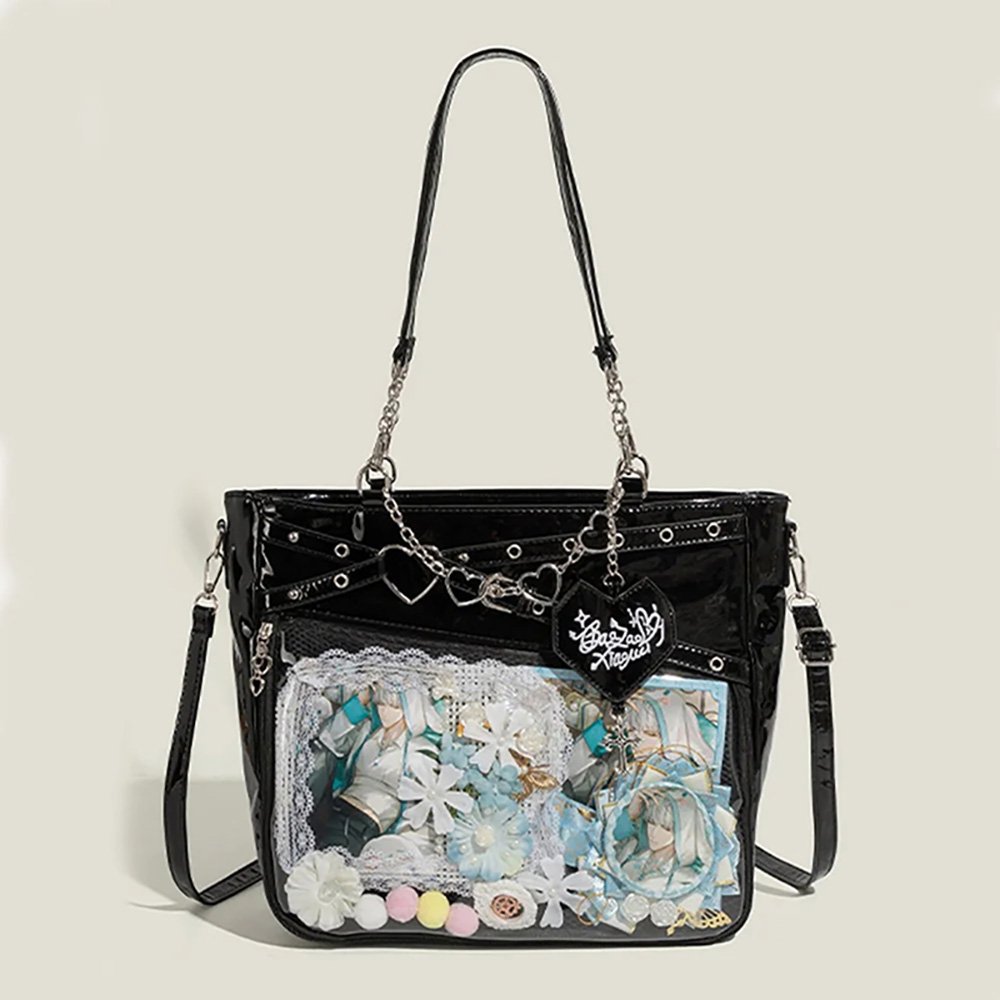
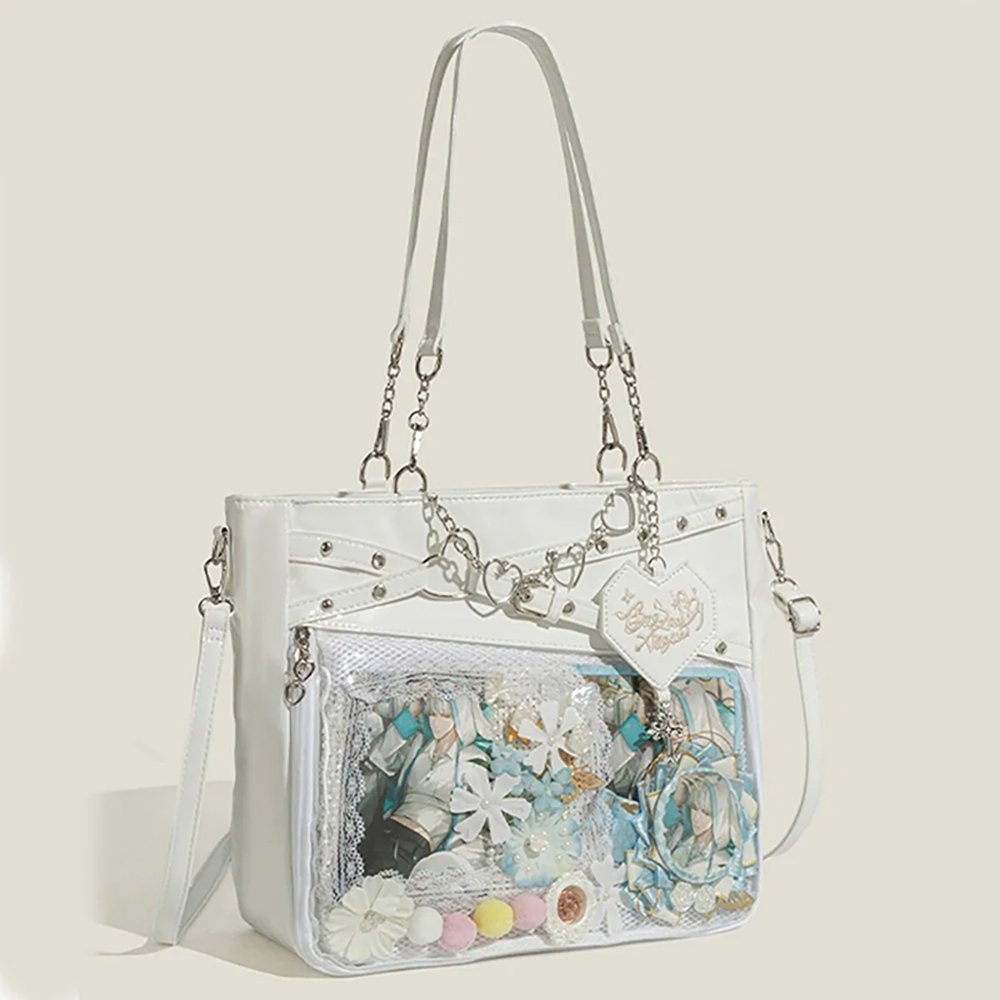
Design features: makes good use of lace, mesh, pearls, and metal photo frames — suited to characters with emotional intensity or fairy-tale flair, like Sakura, Black Butler, or Blue Lock.
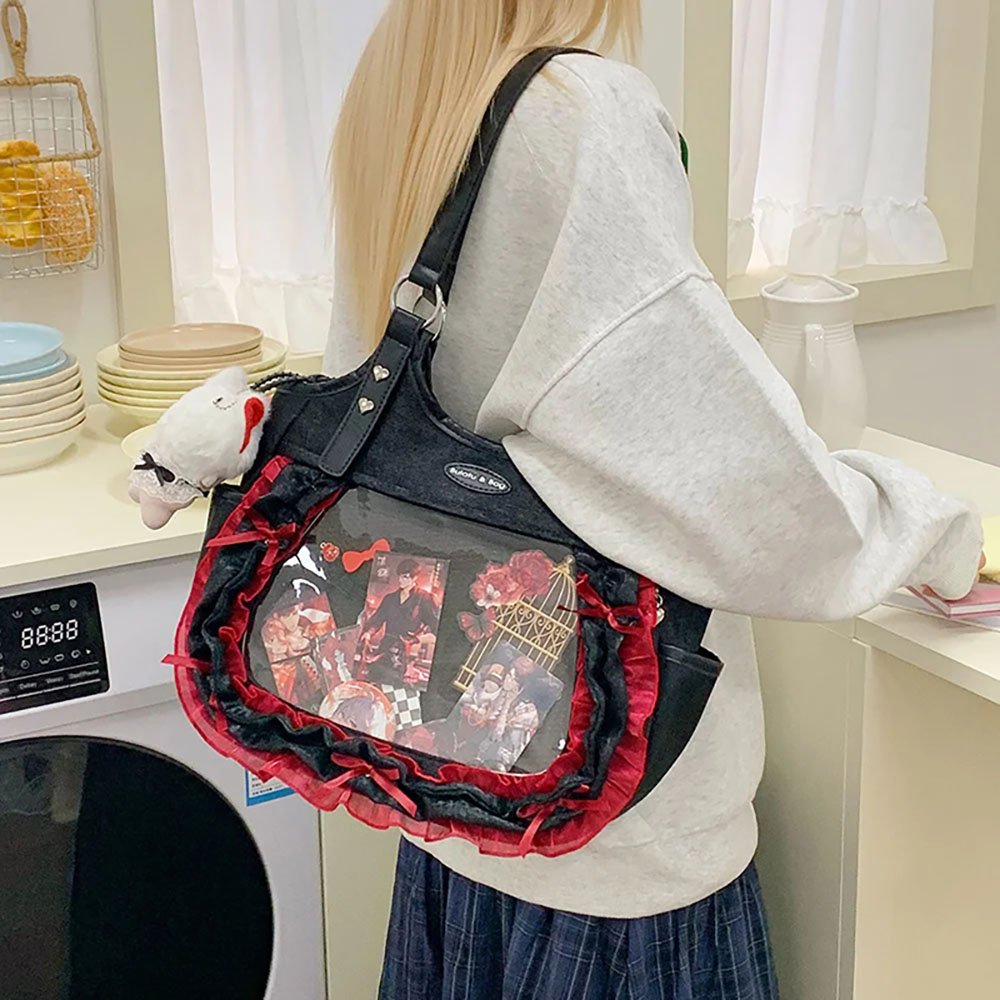
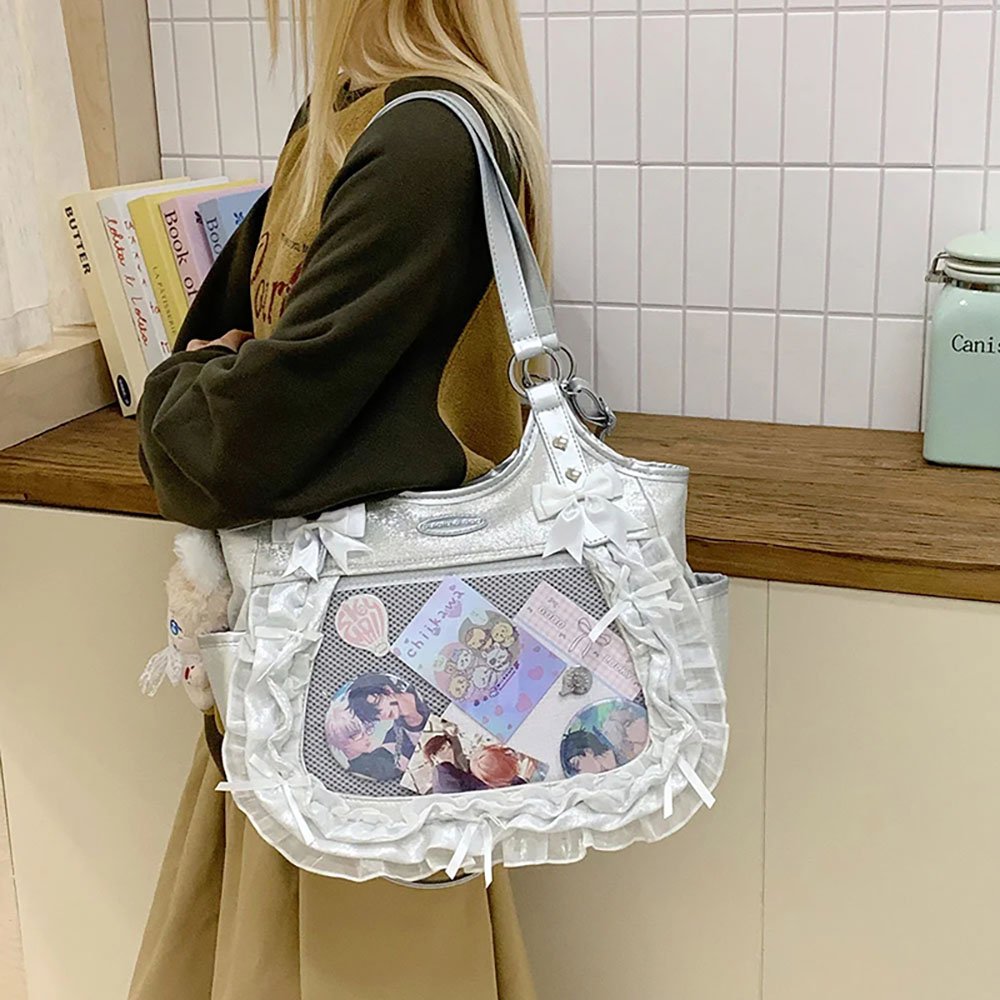
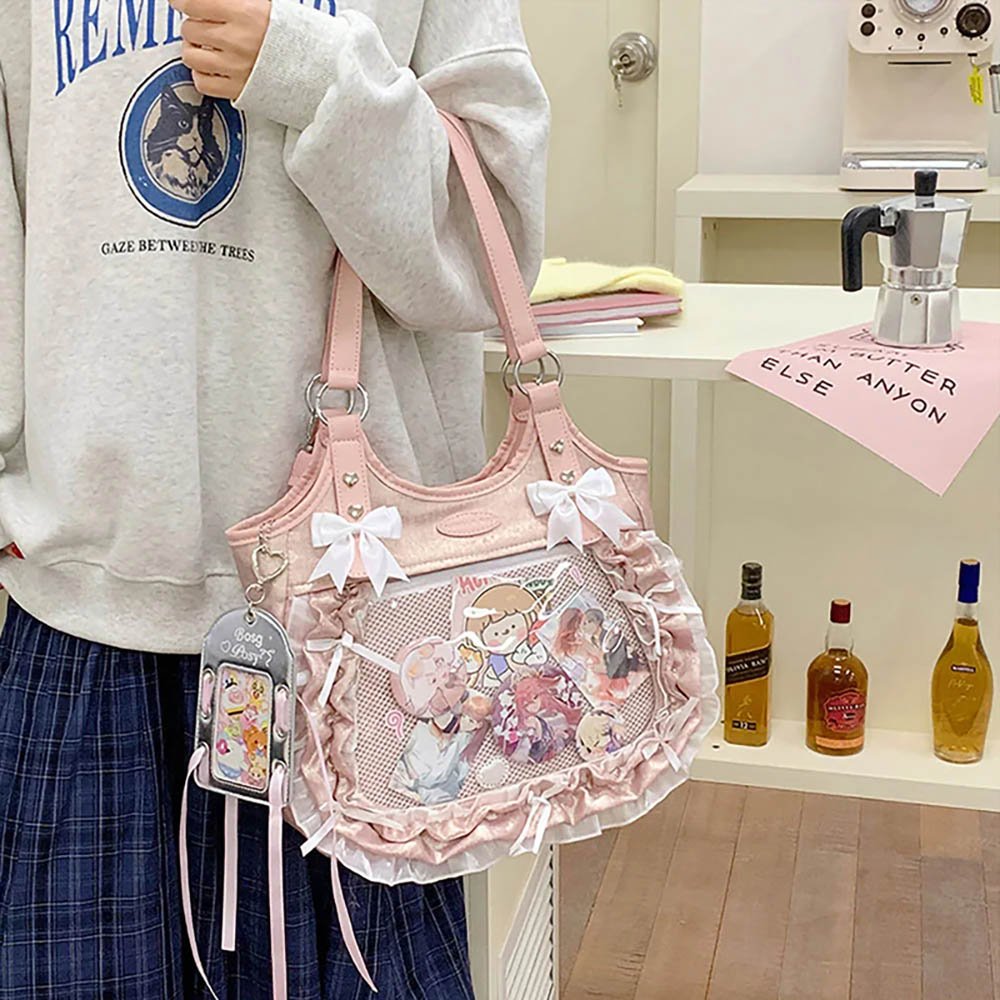
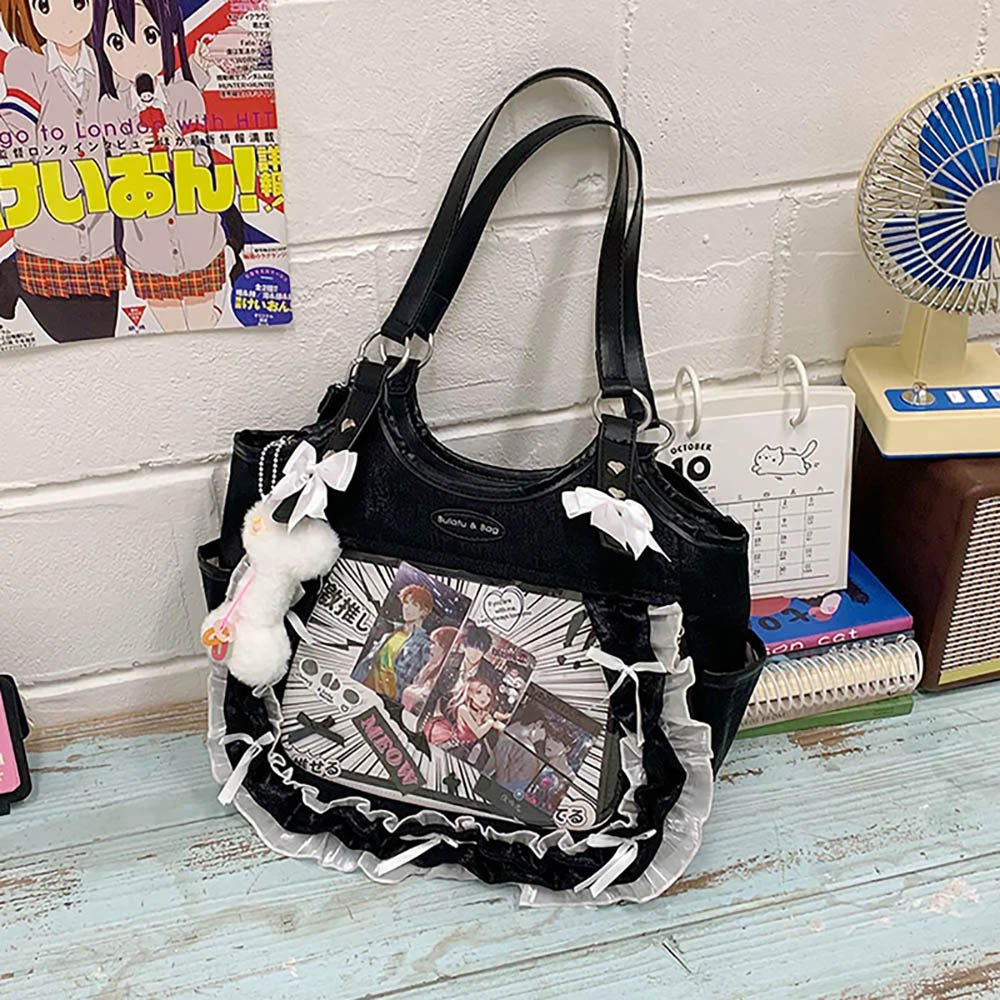
Pairing recommendation: for a handmade board that needs to carry a photo frame, 3D trim, and other rich layers, we recommend a large-capacity tote ita bag with generous space and a premium feel, or a vintage crossbody ita bag from that line. Its large, highly transparent window shows off delicate lace texture and metallic highlights in full.
Fresh Everyday / Gentle Healing Style
Design features: pairs a macaron-toned base with cross-stitch, plush accents, or fabric trim — a great match for healing-vibe characters like Animal Crossing or Sanrio.
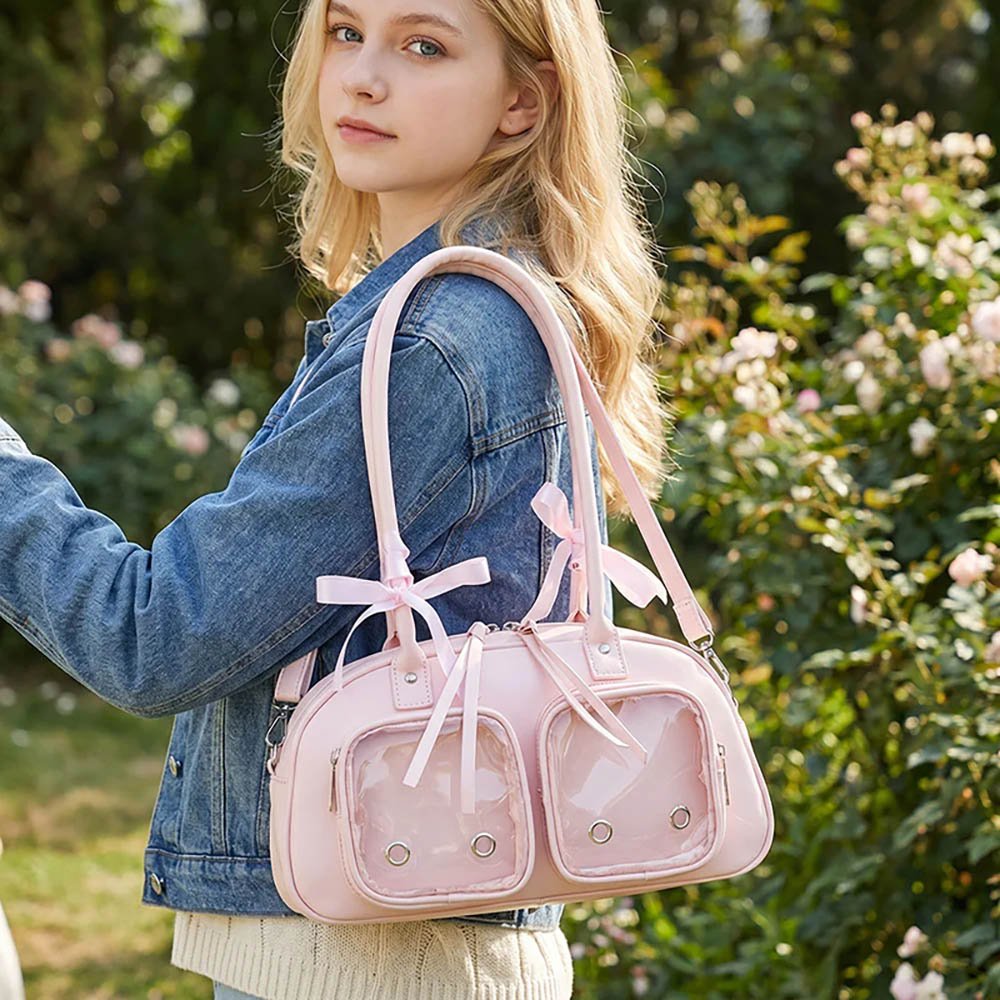
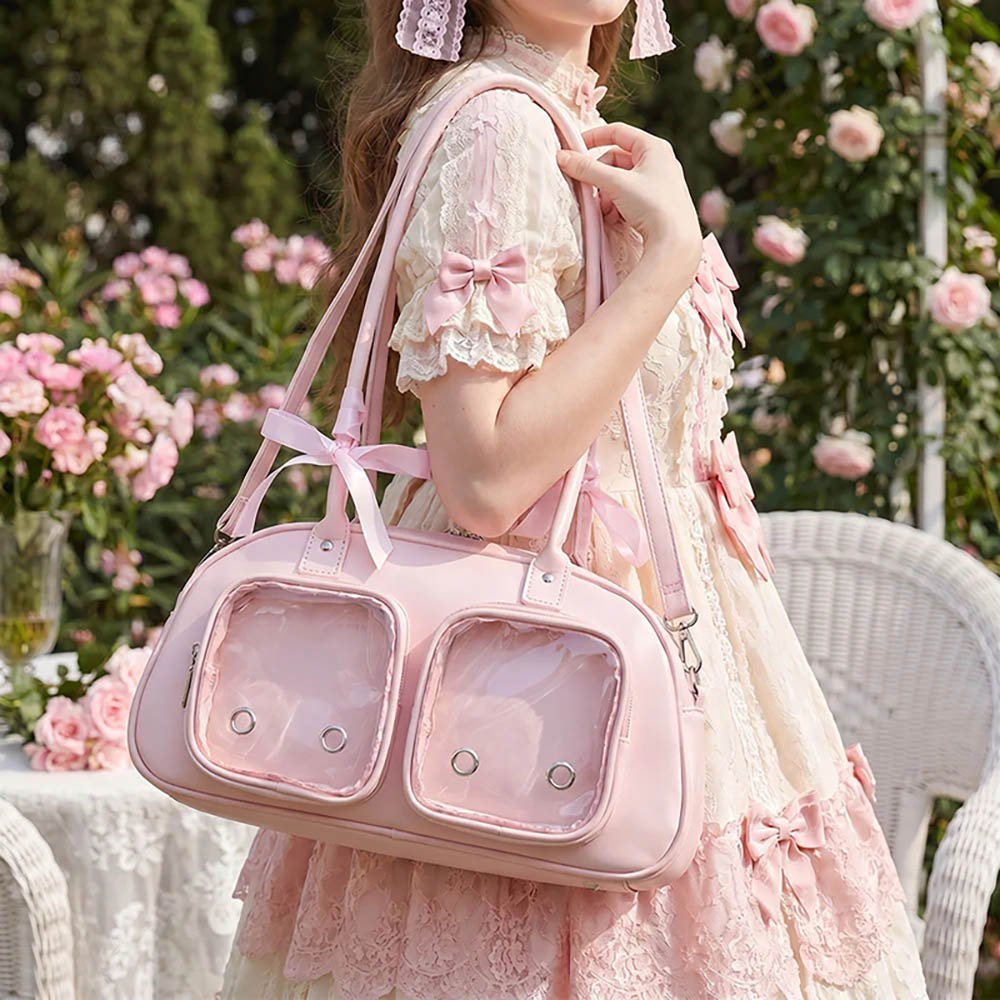
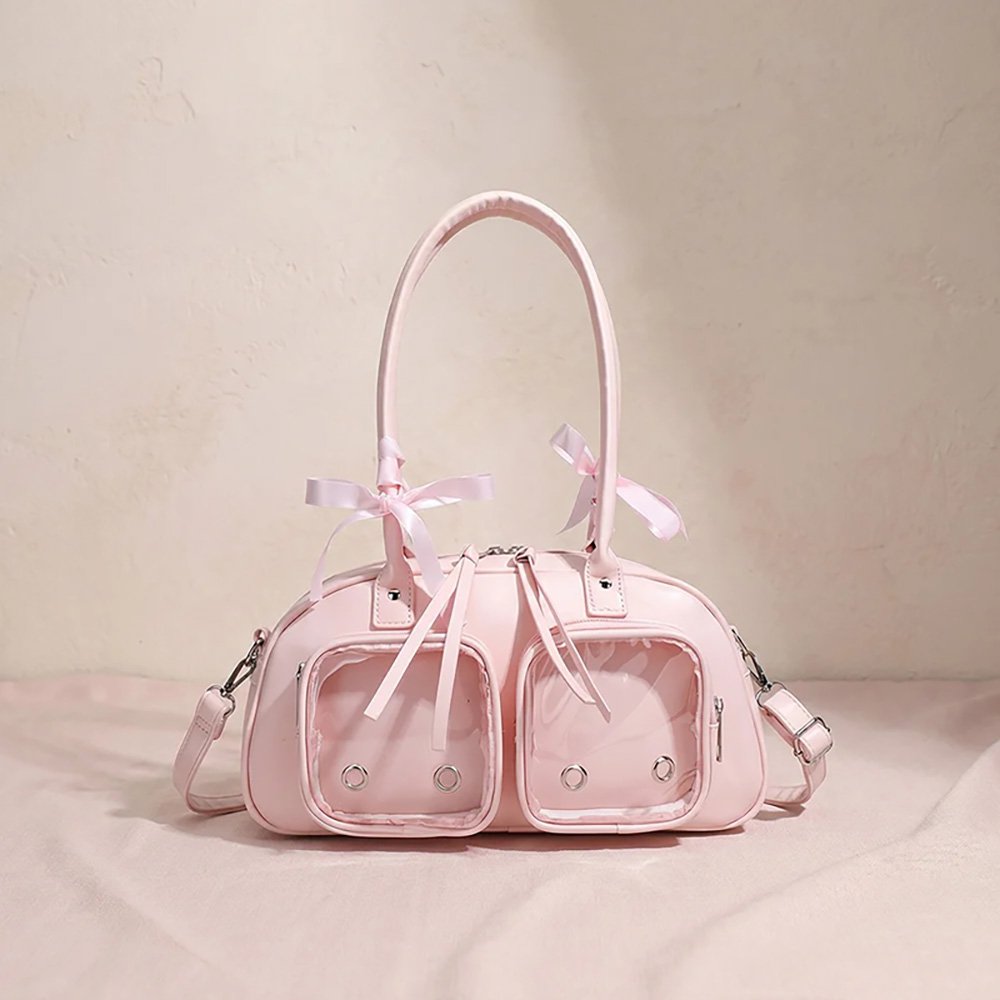
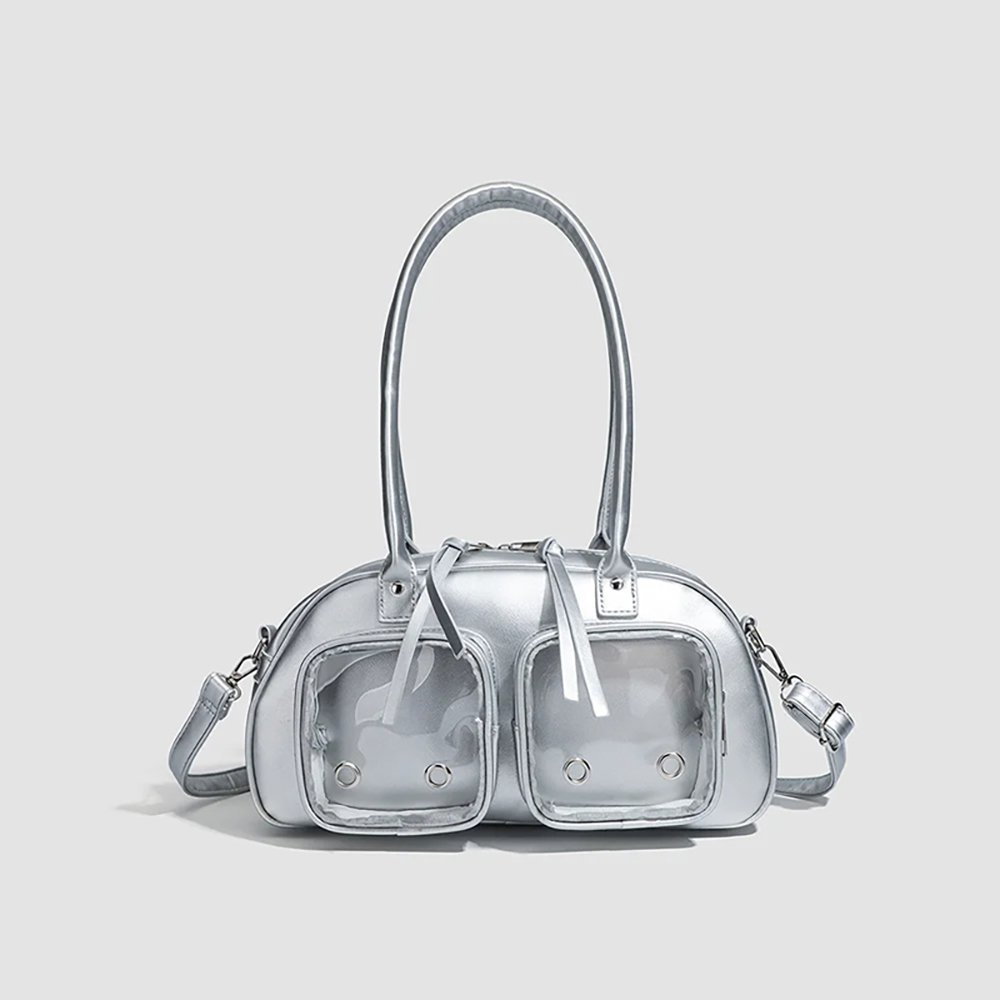
Pairing recommendation: to create this relaxed, soft, and cute feel, try pairing it with a macaron-toned backpack/crossbody convertible ita bag. The bag’s soft color palette blends perfectly with a linen-and-soft-light craft style, and it layers effortlessly into an everyday outfit for shopping trips.
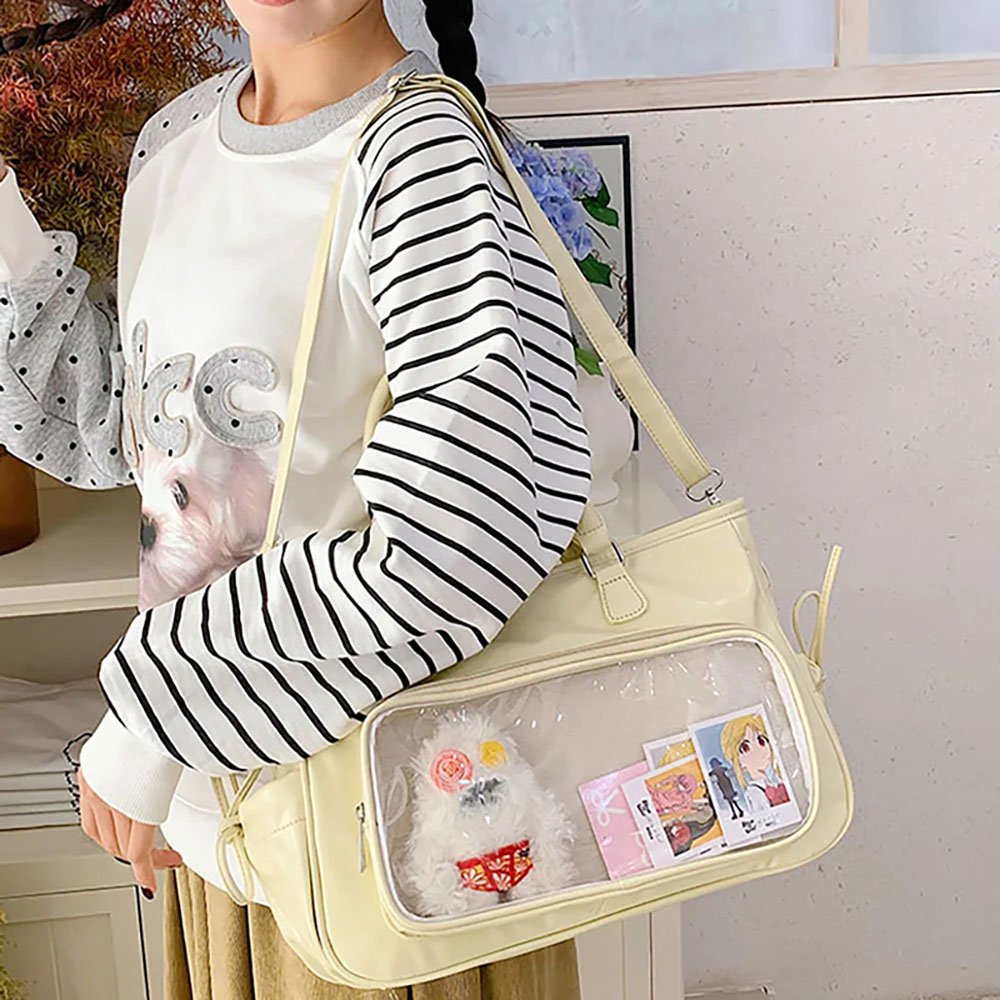
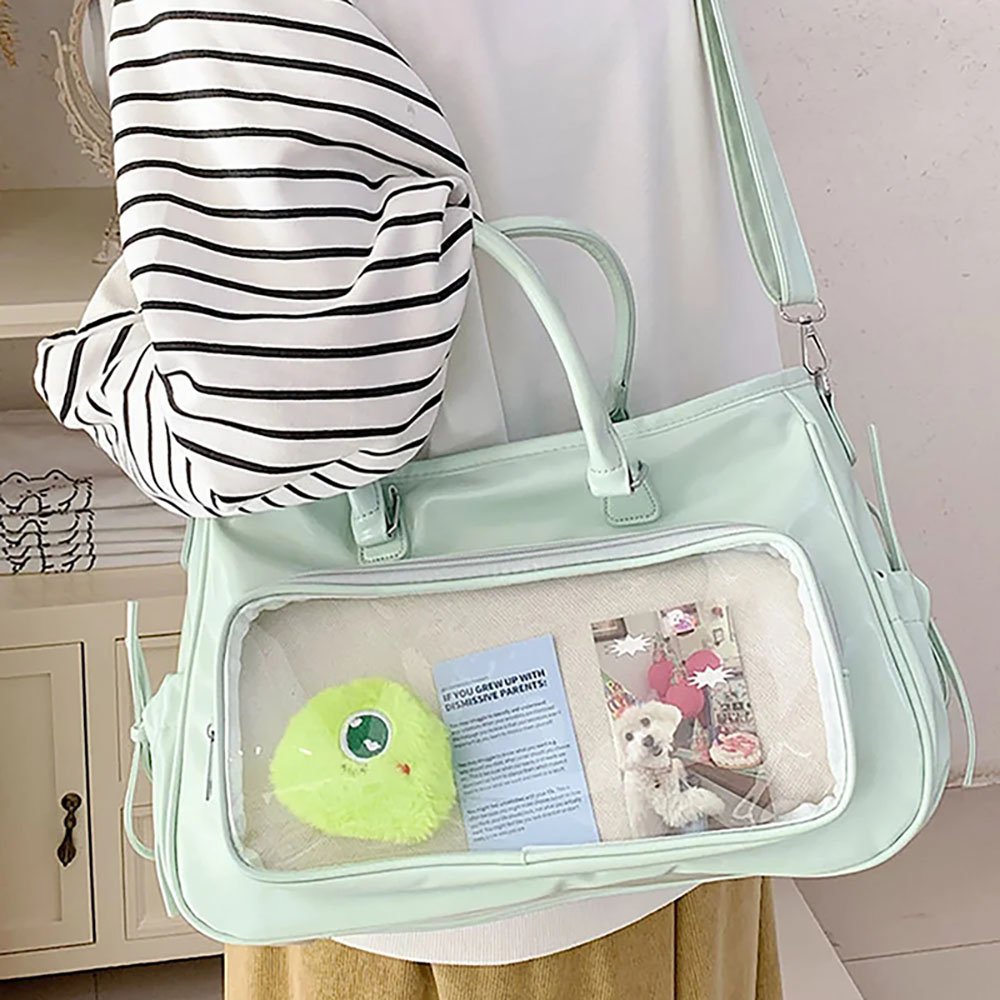
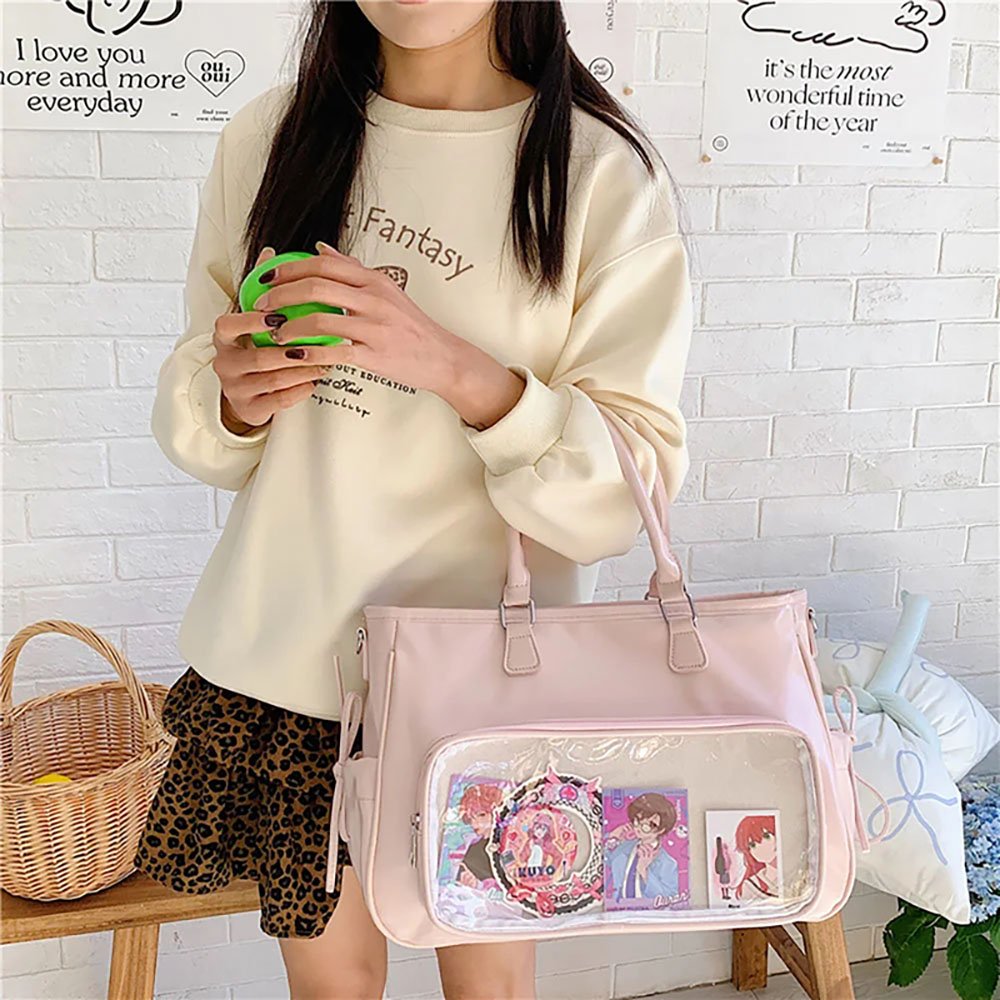
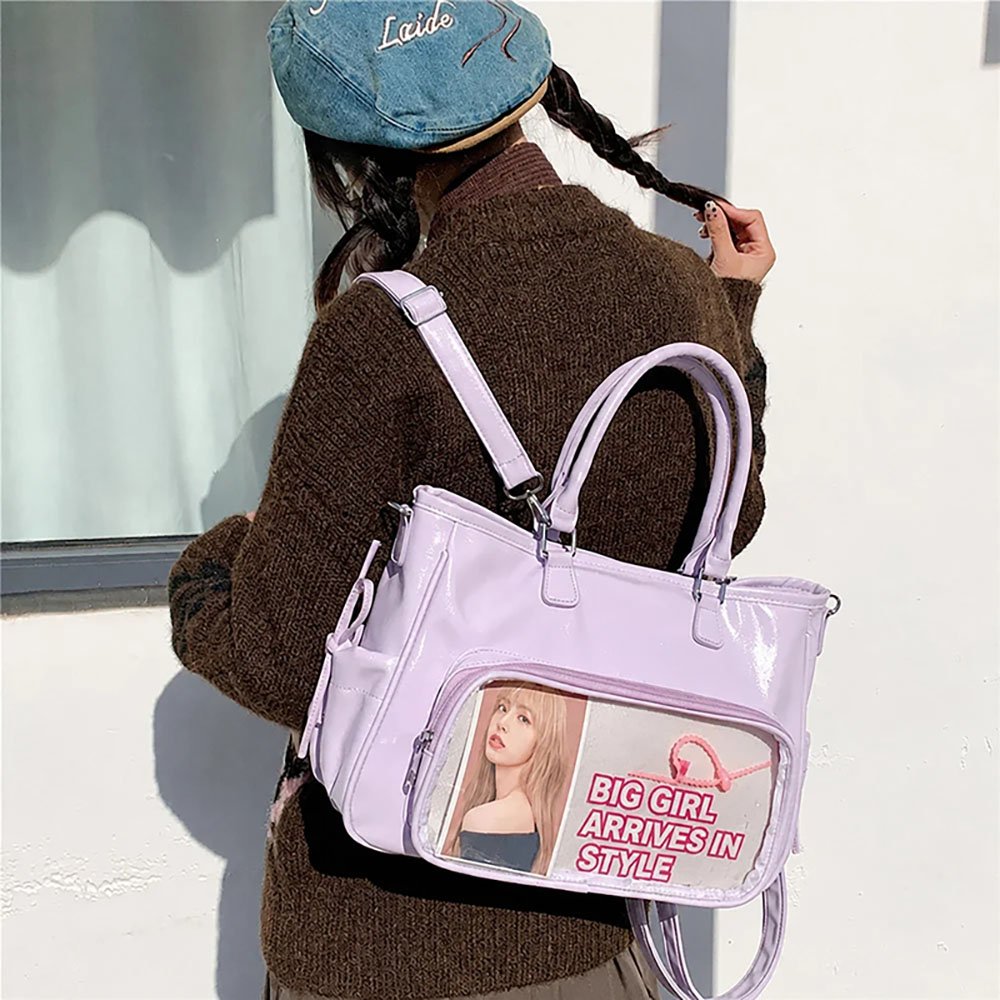
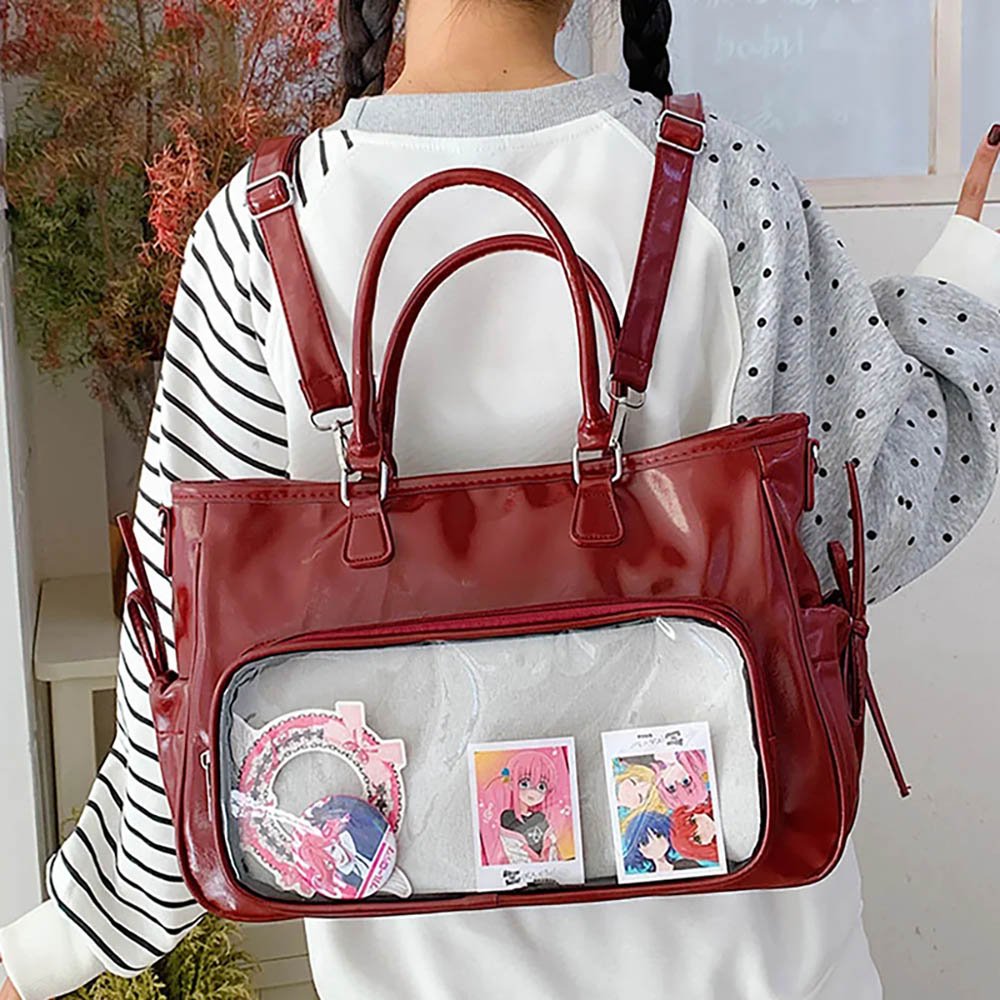
Design features: minimizes background clutter to highlight the neat arrangement and metallic feel of the badges themselves — ideal for showing off limited-edition merch, a complete lineup, or a matching badge set.
Pairing recommendation: if you’re after an ultra-flat, clean visual effect, use a dedicated removable rigid insert board paired with a bag that has a sharp, structured shape. The rigid board resists bending or warping, and combined with residue-free mounting, it lets every badge line up straight and even like items in a display case.
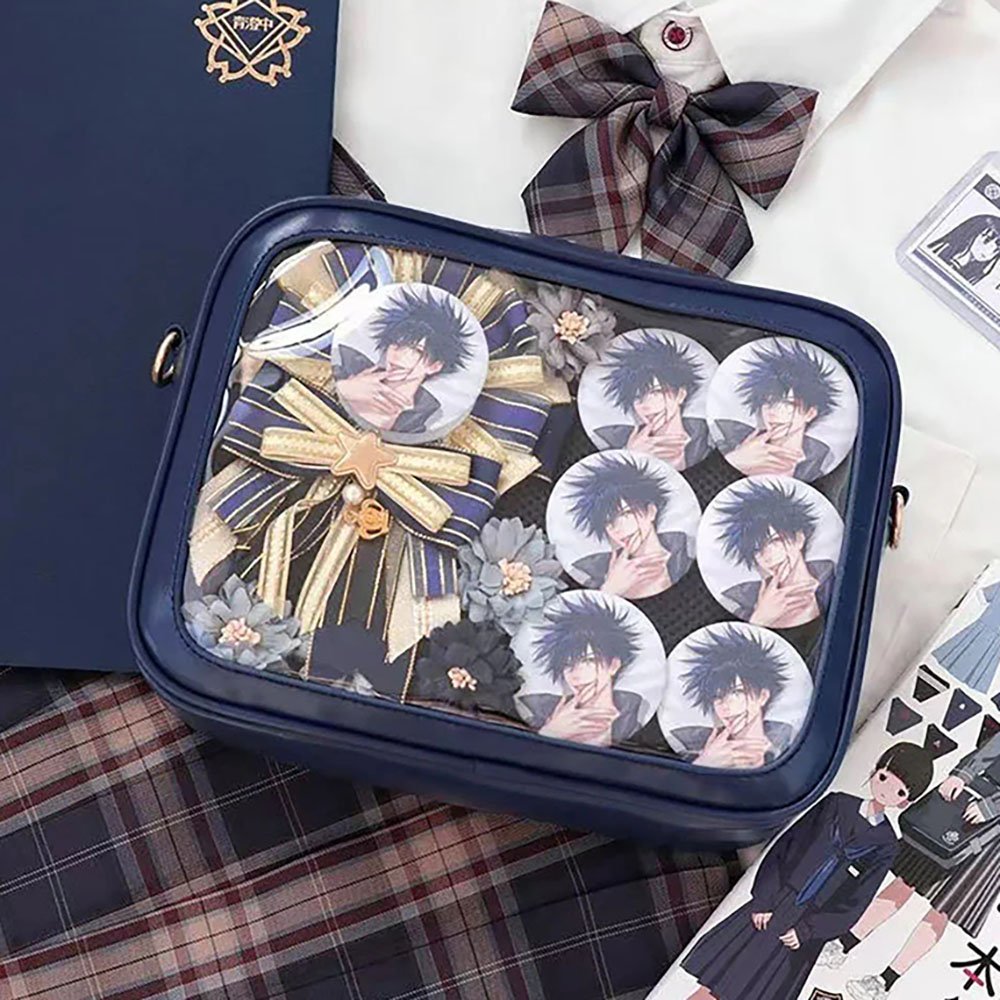
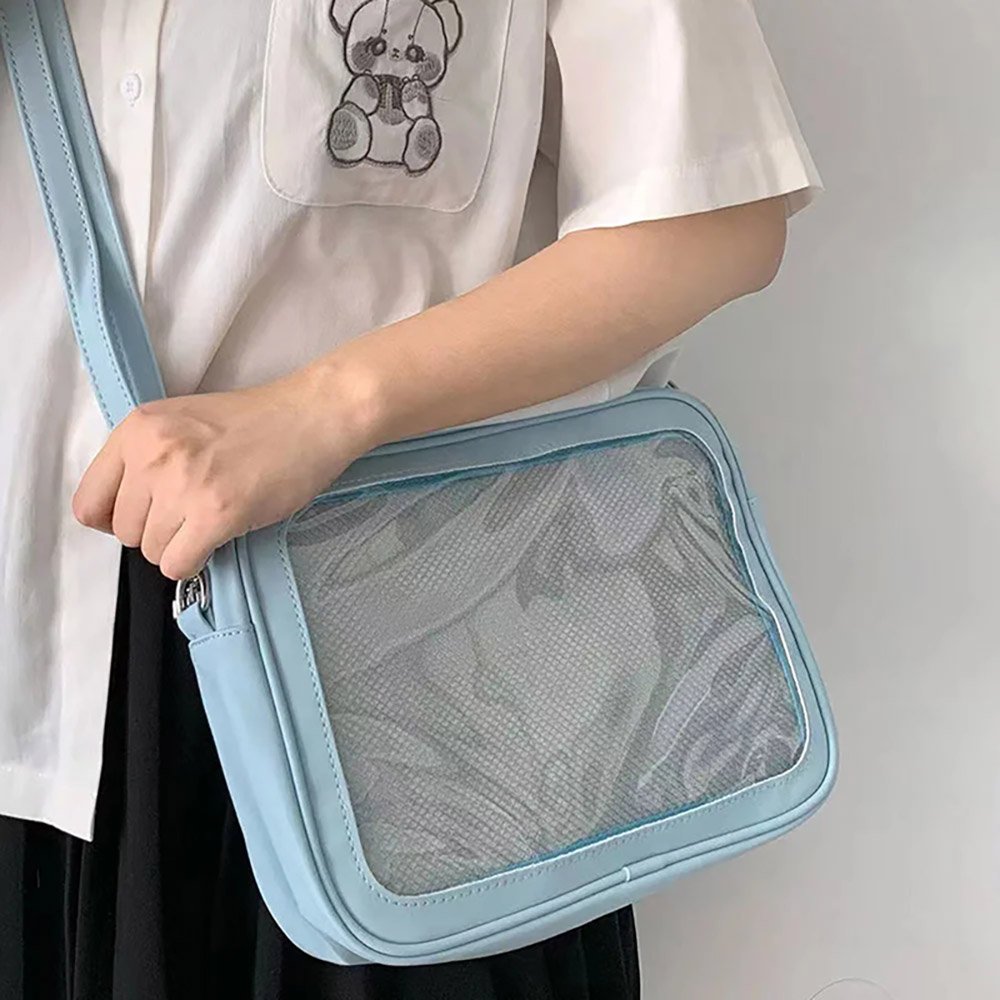
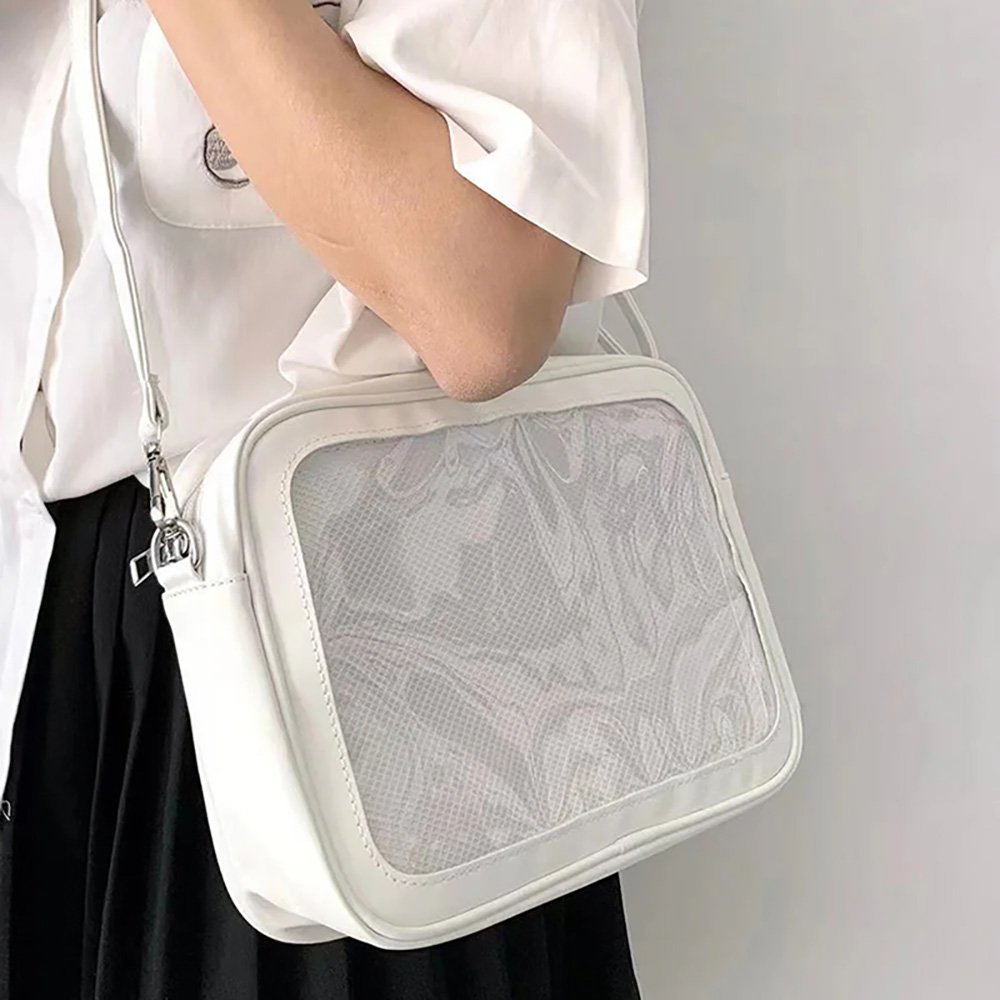
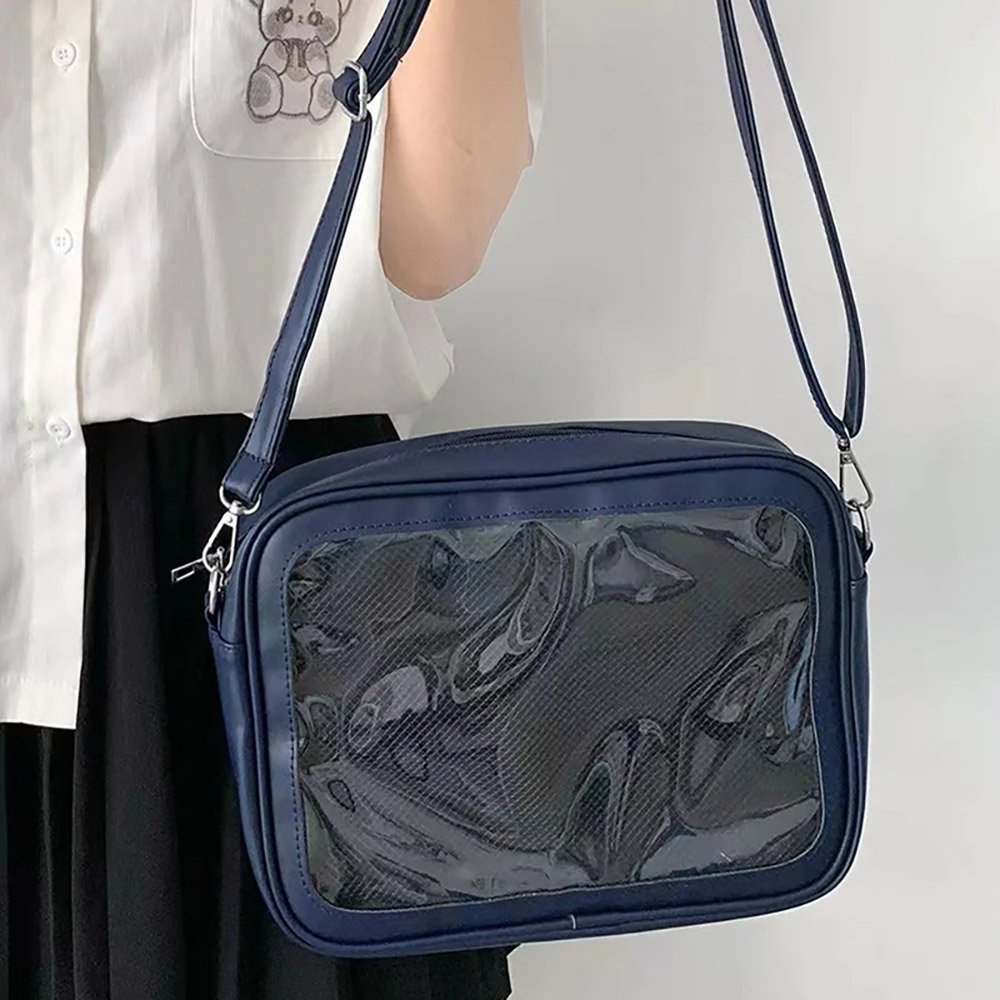
Once you’ve got the hang of the core logic — board composition plus style matching — you can pull off any style with ease.
If you’d also like to build a cozy, good-looking home for your favorite character, come check out Pinitabag! Whether it’s a durable, highly transparent ita bag itself, removable insert boards in all sizes, or protective accessories, we’re constantly updating our lineup, hoping to help you avoid detours on your ita bag journey.
Do you have any go-to tricks of your own, or pitfalls you’ve run into while making ita bags? Feel free to share in the comments!
FAQ
Is the magnetic mounting method really strong enough? Will badges fall off when you’re out and about?
As long as you’re using high-strength mini magnets, the pull through a thin insert board is very solid. Everyday movement or light bumps while you’re out won’t shift or dislodge the badges.
Will an insert board this dimensional, with lace and a photo frame, get stuck when you slide it into the ita bag’s clear window?
It depends on how thick the display window is designed to be. We’d recommend choosing an ita bag like the ones from Pinitabag, which is built specifically for this kind of styling and leaves enough depth in the display layer — it can fit dimensional decorations without squashing or warping them.
What if I accidentally stick the lace mesh fabric or pearl stickers in the wrong spot?
If you’re using a high-quality clear insert board and residue-free tape, just gently peel it off with tweezers and reposition it — it won’t leave stubborn glue residue on the board.
Why is using a standalone insert board recommended over pinning things directly inside the bag?
Pinning directly into the bag’s lining can stretch or deform it and leave holes, and it doesn’t allow for more elaborate background layering. Using a standalone ita bag insert board lets you take it out anytime to carefully arrange it on a table, and switching themes is much more flexible and quick.
Get Inspired on Instagram
Looking for inspiration for your next ita bag? Follow us on Instagram for more ita bag decoration ideas, styling inspiration, and creative ways to showcase your favorite pins, charms, and collectibles. We regularly share different styling ideas to help you discover new ways to decorate and personalize your ita bag.