Making a Blue, Pink, and White Cake-Style Cinnamoroll Ita Board from Scratch
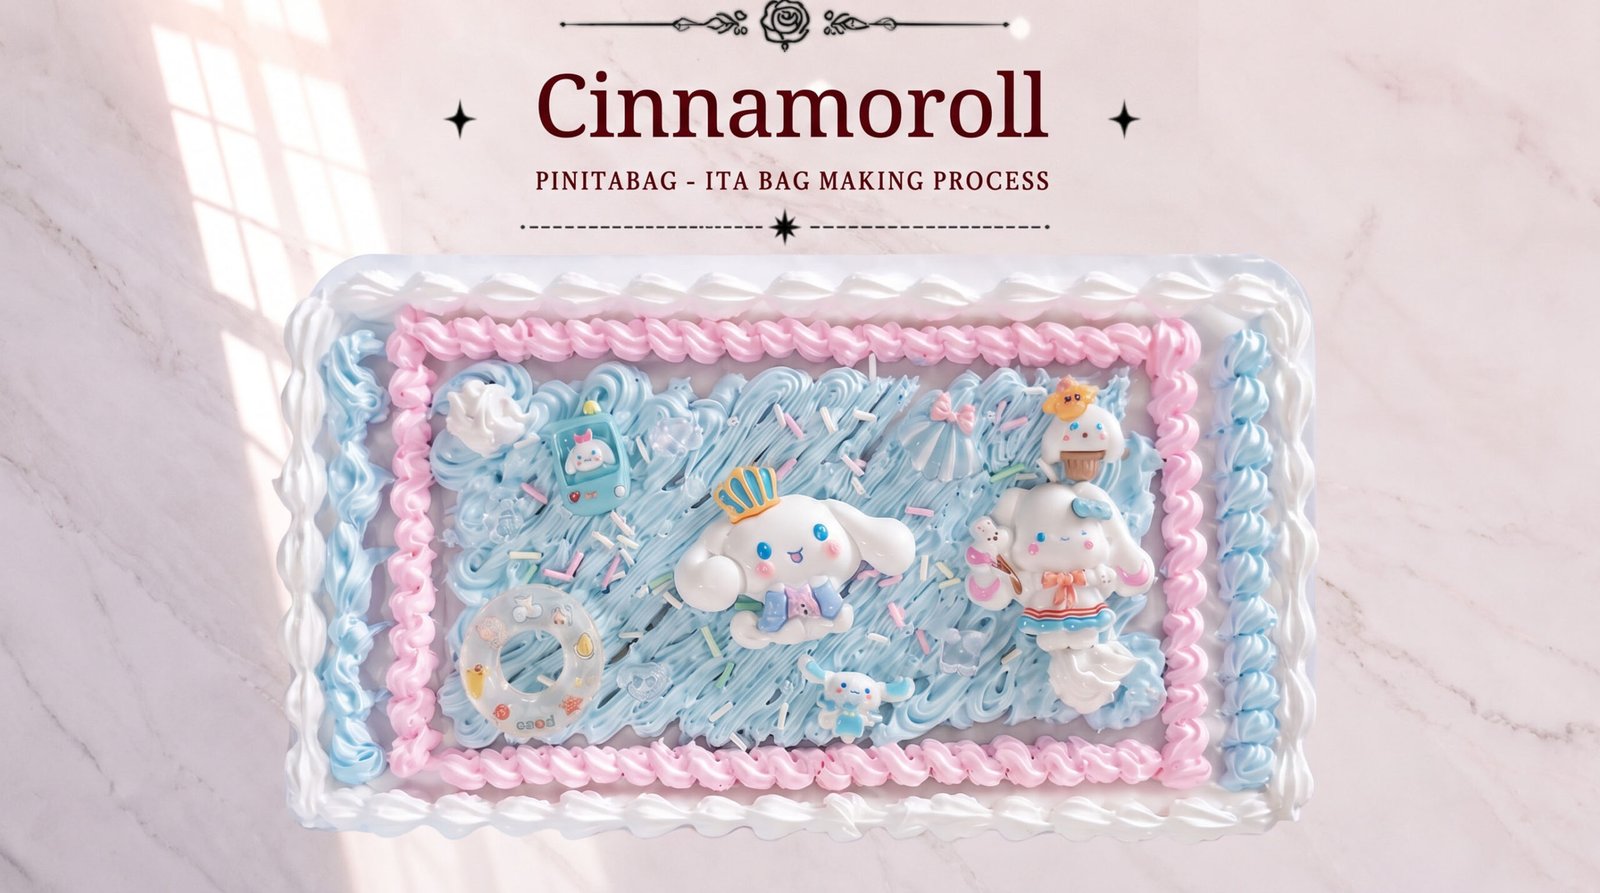
Table of Contents
Our latest craft video features an especially soothing ita board: a light blue base with pink and white cream glue piped in rings to form a cake-like border, and a soft, fluffy Cinnamoroll sitting in the middle. After the video went up, a lot of fans asked us: how do you pipe this cake style? How is that big blue area in the middle filled in? This article breaks down the whole board — the thinking, materials, steps, and pitfalls to avoid — so you can follow along and make it yourself.
Visual Structure and Color Analysis
When making a cream glue ita board, the thing most likely to go wrong isn’t technique — it’s color and structure. For this board we used a very reliable approach: the main character decides the main color, and the border does the framing.
Cinnamoroll himself is white with sky blue, so we chose light blue for the large background area in the middle, letting the white main character float out naturally; around it we wrapped a ring of pink, light blue, and white — pink to brighten, light blue to transition, white to finish the edge — so the whole thing looks like a cream cake. All three colors are low-saturation, so they don’t clash when put together and don’t easily look dirty.
Structurally, there are four layers from the outside in: white on the outermost ring, then blue, then pink, and the large blue area in the very center. This keeps the layers distinct, and each ring can also have its own texture.
Materials Checklist
Clear PVC base board: the size should match the clear window of your bag, ideally a touch smaller than the window edges to leave some slack for sliding it in. The board surface usually has a protective film — peel it off before you start.
Three colors of cream glue: white, light blue, and pink, each loaded into its own piping bag. Prepare plenty of cream glue ahead of time so you don’t have to stop mid-application and break the continuity of the whole piece.
Piping tips: you can prepare tips with different opening shapes; if that isn’t possible, you can use tips of the same shape and create different shapes through technique, but the downside is that the pattern shapes will be a bit less consistent.
Scissors and wet wipes: for cutting the bag tip and wiping off overflowing glue.
Decorative accessories: this time we used several Cinnamoroll resin decorations, plus a swim ring, seashells, colorful sprinkles, and other small accessories. Accessory sizes should be graduated — one large centerpiece with a few medium and small pieces — so the composition has a clear focal point and supporting elements.
The Full Cream Glue Ita Board Process
Below, we’ll walk you through how this board came to life, step by step.
Step 1: Preparation and Frame Positioning
First, cut open the bags of the three cream glue colors and fit each with its matching piping tip. Lay the trimmed clear PVC base board flat on your work surface. Take care to keep the board surface clean at this step so it doesn’t affect how well the cream glue adheres.
Step 2: Piping Three Frame Lines from the Outside In
For this board, we piped the frame lines from the outside in.
Outermost white: along the outermost edge of the clear base board, use white cream glue to pipe a continuous, neat ring of shell-pattern framing. The outer frame isn’t only for looks — it also establishes a clear physical boundary for the whole board.
Middle layer, light blue: right against the inside of the white frame, use light blue cream glue to pipe the second ring, a conch-pattern transition frame. The light blue acts as a transition color, linking the white on the outside to the pink on the inside. Note that this layer differs from the outermost frame: you only need to build the color transition along the two sides, since too many full-circle frames will actually make the colors feel messy.
Innermost layer, light pink: inside the light blue frame line, pipe the final ring in pink, a conch pattern frame — this ring lets people see at a glance where the visual focus of the board is.
With these three color-graded frame lines, the board’s three-dimensional framed look is instantly maxed out, while also leaving the perfect display frame for the central theme area.
Step 3: The Key Part! How to Fill the Large Blue Background
After watching the video, a lot of fans asked us: the video skips the part where the big blue background is piped — how did you get such beautiful lines?
Here we do a special deep dive to reveal and recreate the technique for you.
The center of the finished piece in the video shows extremely neat, flowing water ripples. To get this effect, you need to rely on a continuous piping technique from start to finish.
Starting point and path: start from the upper-left corner inside the pink frame. Keep your wrist steady in pressure and rhythm, and pipe continuous left-and-right S-shaped sweeps, moving from left to right, then right to left, pushing down row by row.
Thickness and overlap: keep your piping speed even, and let the top edge of each new row of waves slightly overlap the bottom edge of the previous row. This not only fully covers the clear base board so no gaps or bare spots show through, but also uses the texture of the cream glue itself to create rich light and shadow like folds in ocean waves.
Step 4: Decoration Layout and Fixing
Once the blue ripple background fills the center, place the accessories right away, before the cream glue sets.
Clear hierarchy: first, place the largest Cinnamoroll 3D resin figure in the very center of the board and press gently with your finger so its base sinks evenly into the cream glue.
Diagonals and surround: in the empty spaces around the centerpiece, stagger a swim ring, seashells, small Cinnamoroll figures and other supporting decorations to enrich the visual effect of the whole board.
Step 5: Magical Sprinkle Accents
To add to the board’s sweetness and polish, once all the decorations are fixed in place, gently pinch up a moderate amount of colorful sprinkles and scatter them evenly over the empty spots in the cream glue. Sprinkles in the same soft macaron-style pastel palette fill in the visual gaps, making the whole board even sweeter.
Step 6: Drying and Putting It in the Bag
Once the steps above are done, set the board somewhere ventilated and dry and let the cream glue cure completely.
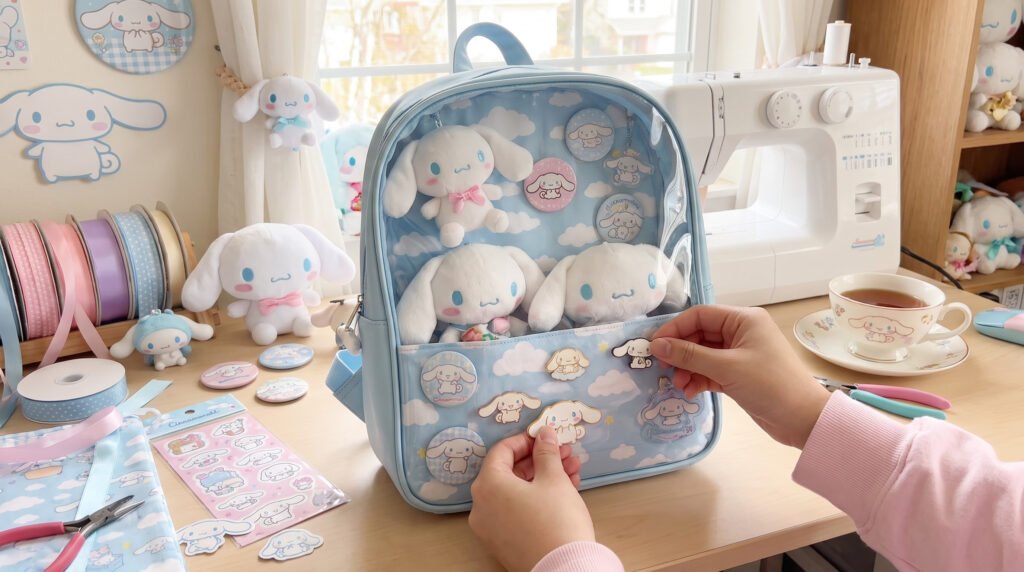
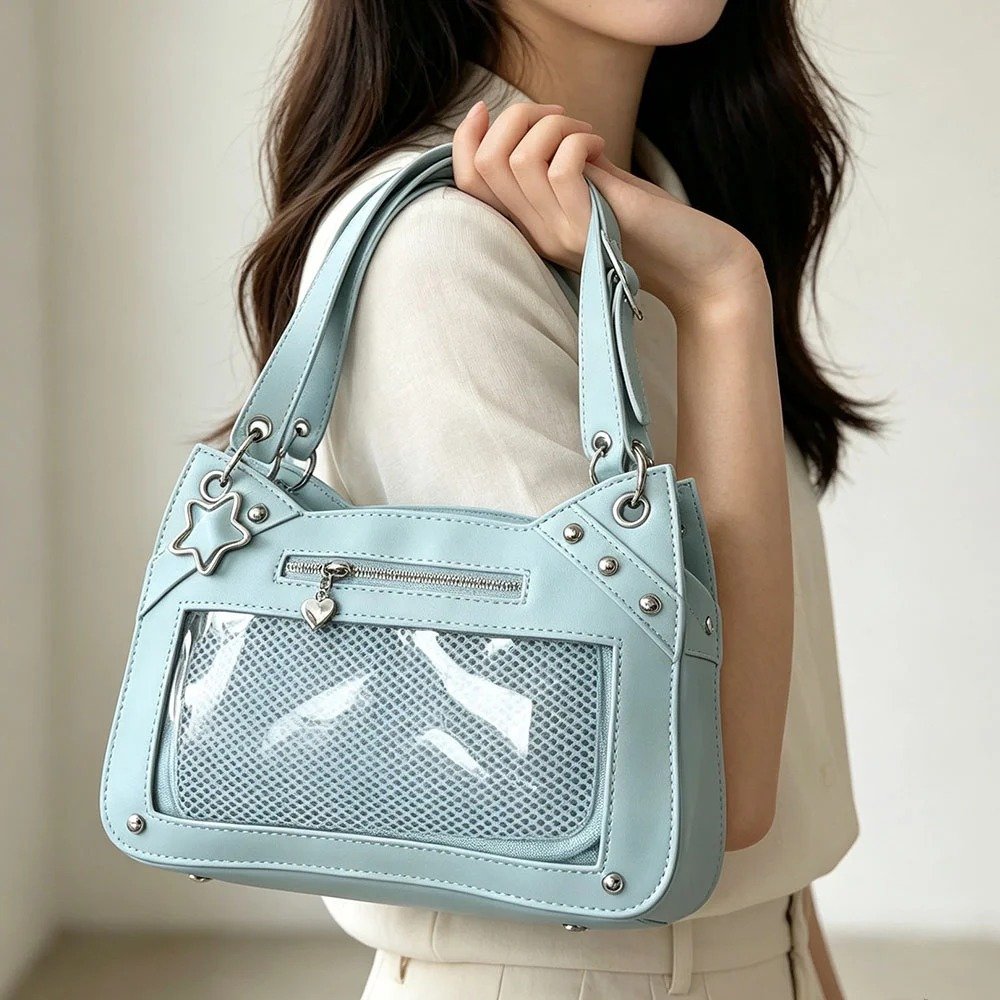
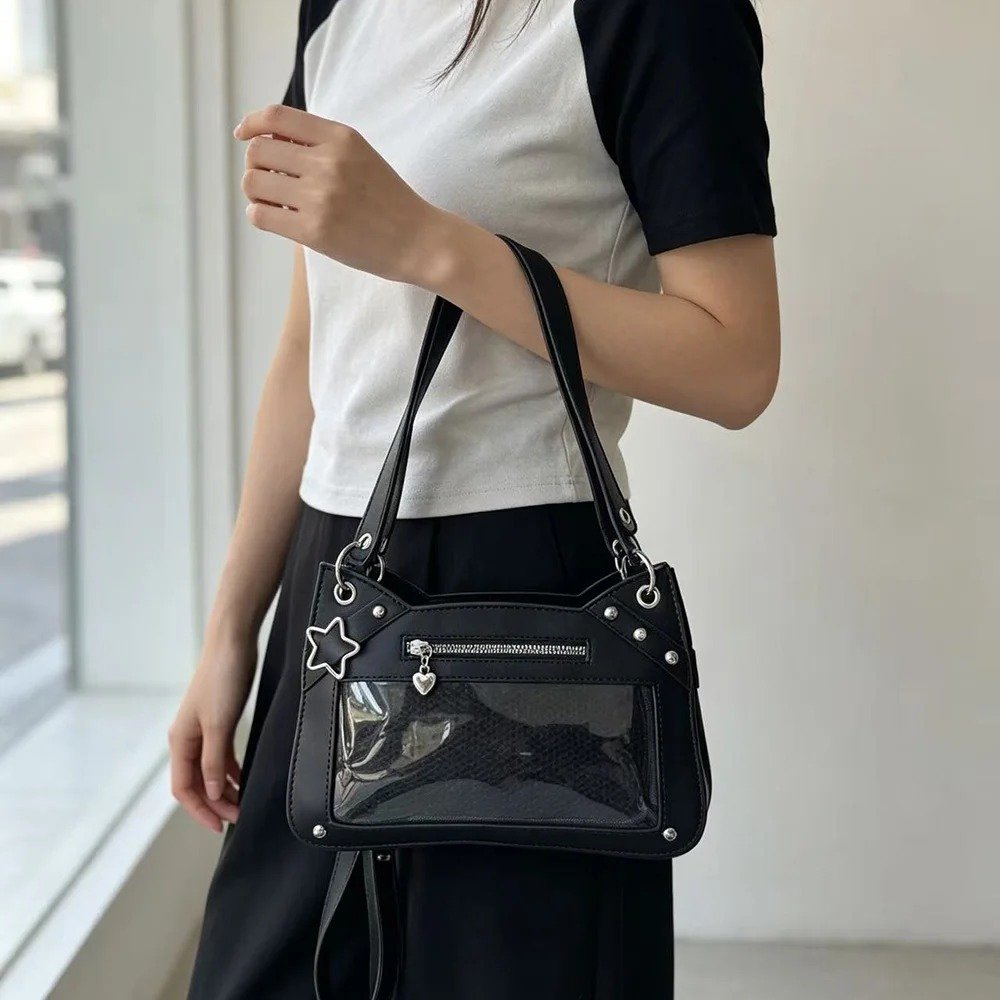
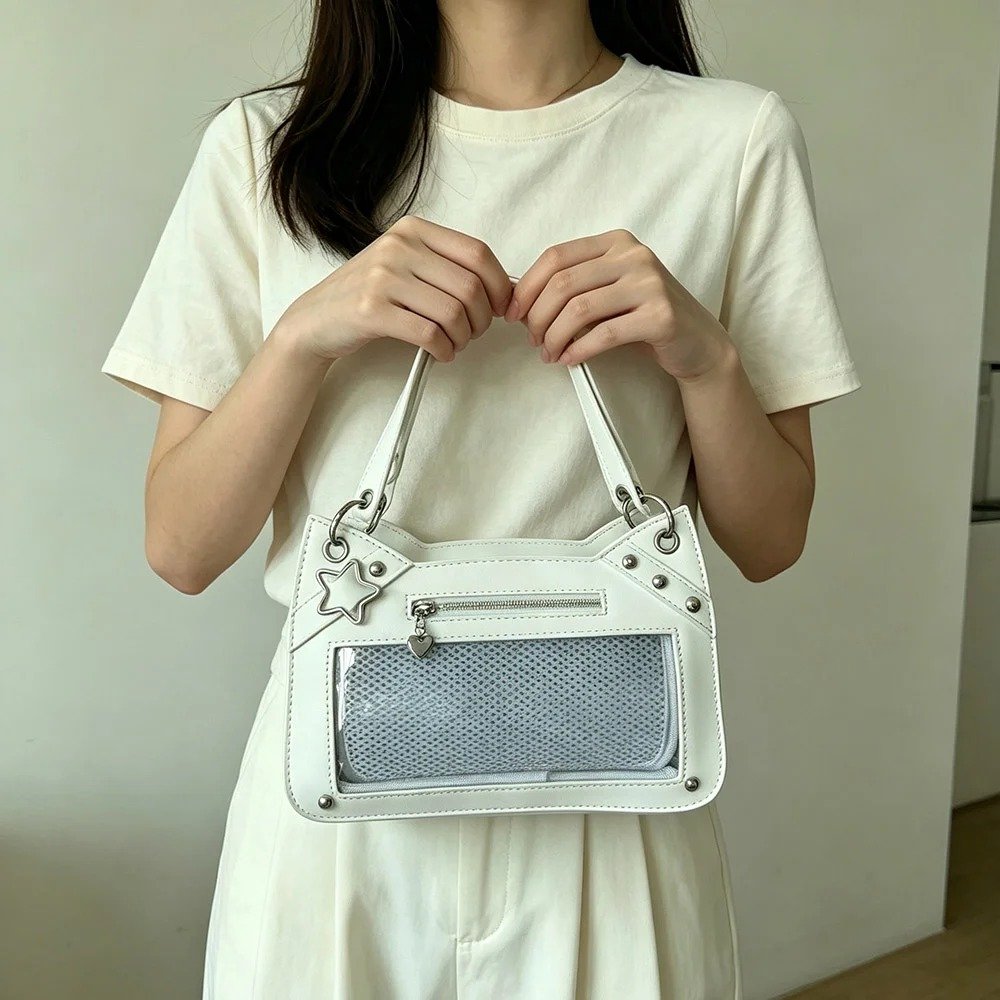
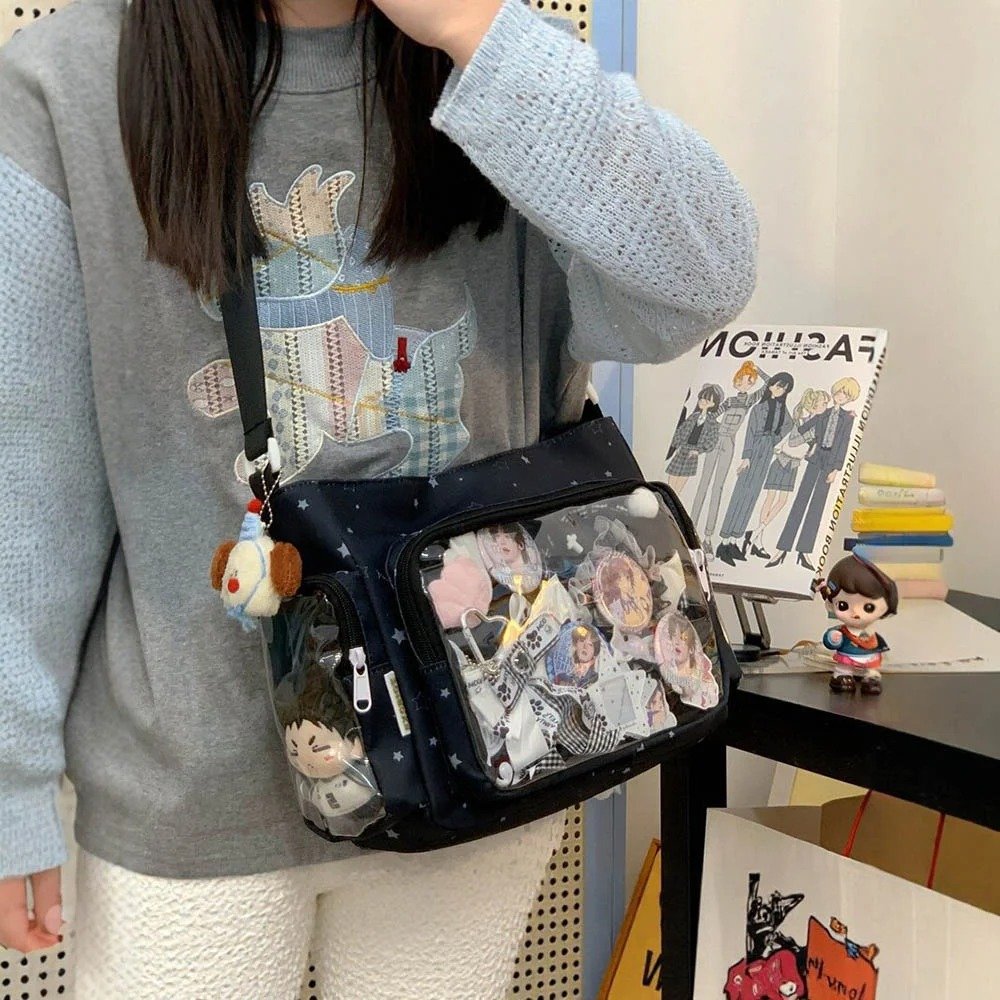
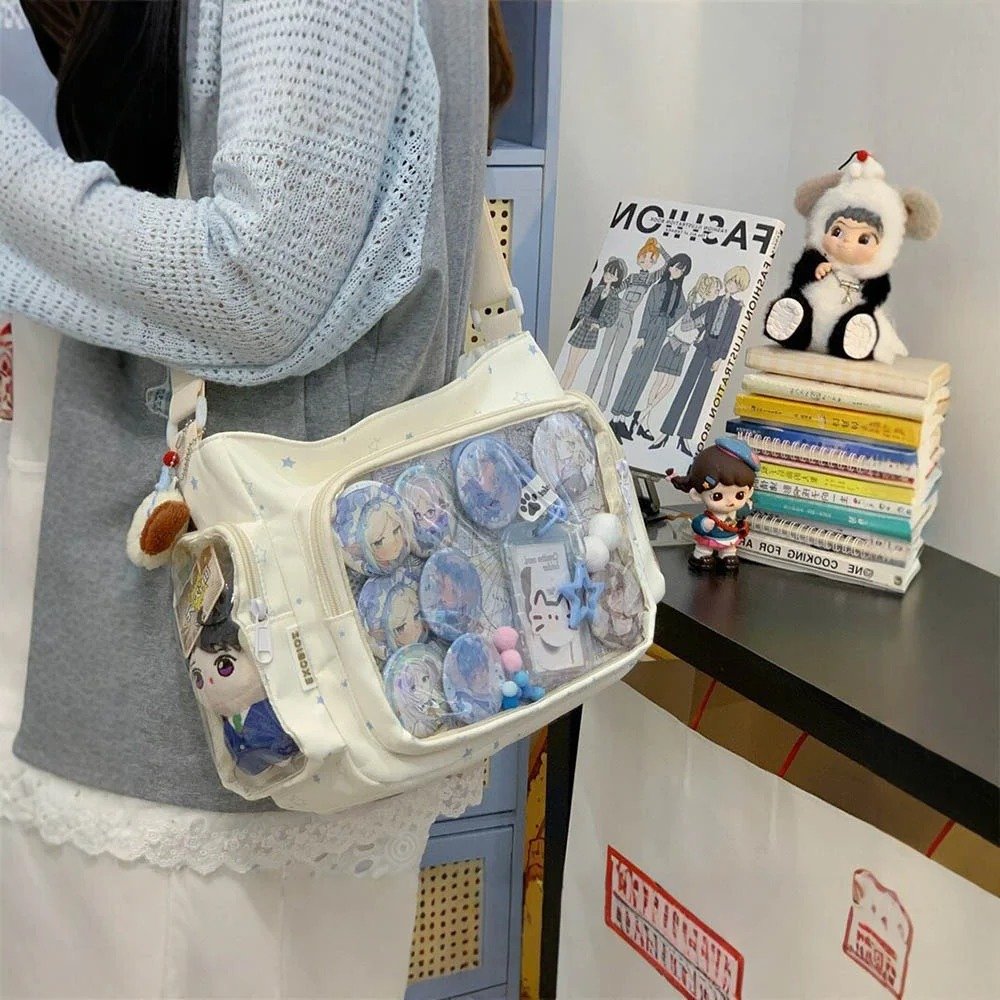
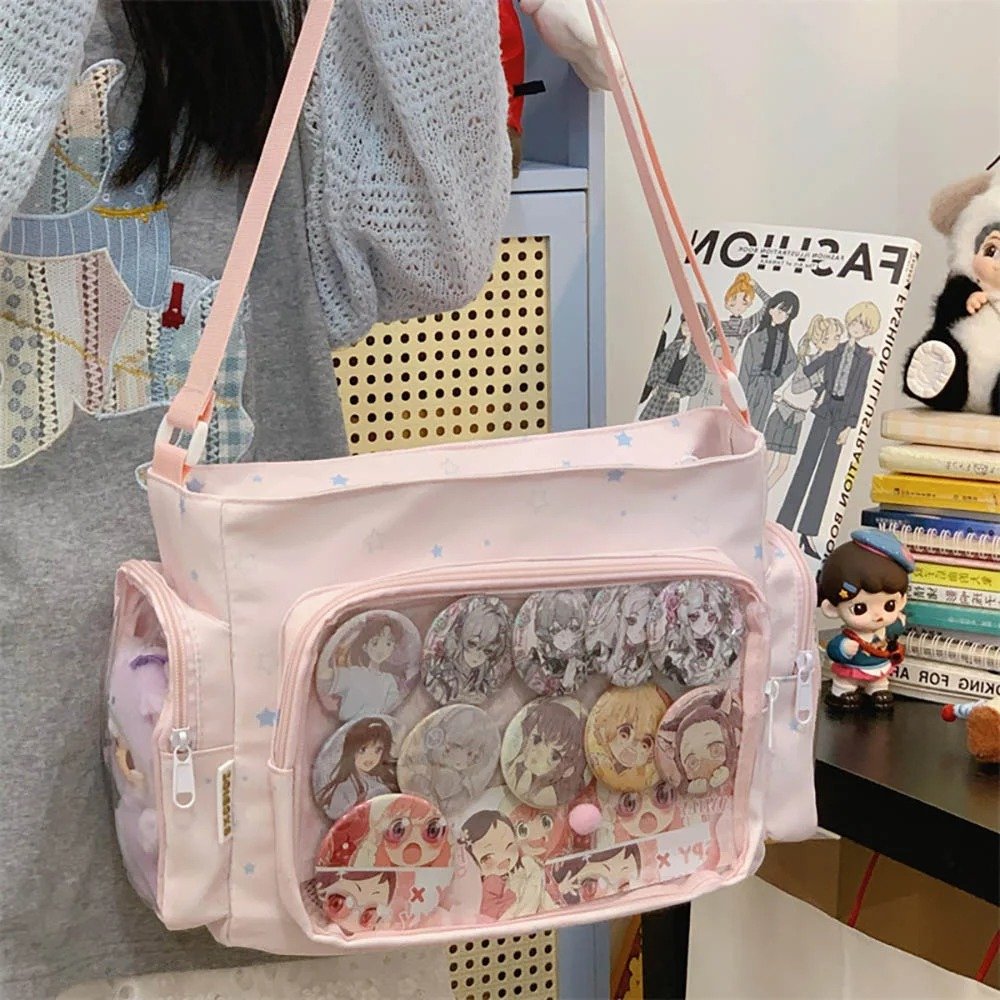
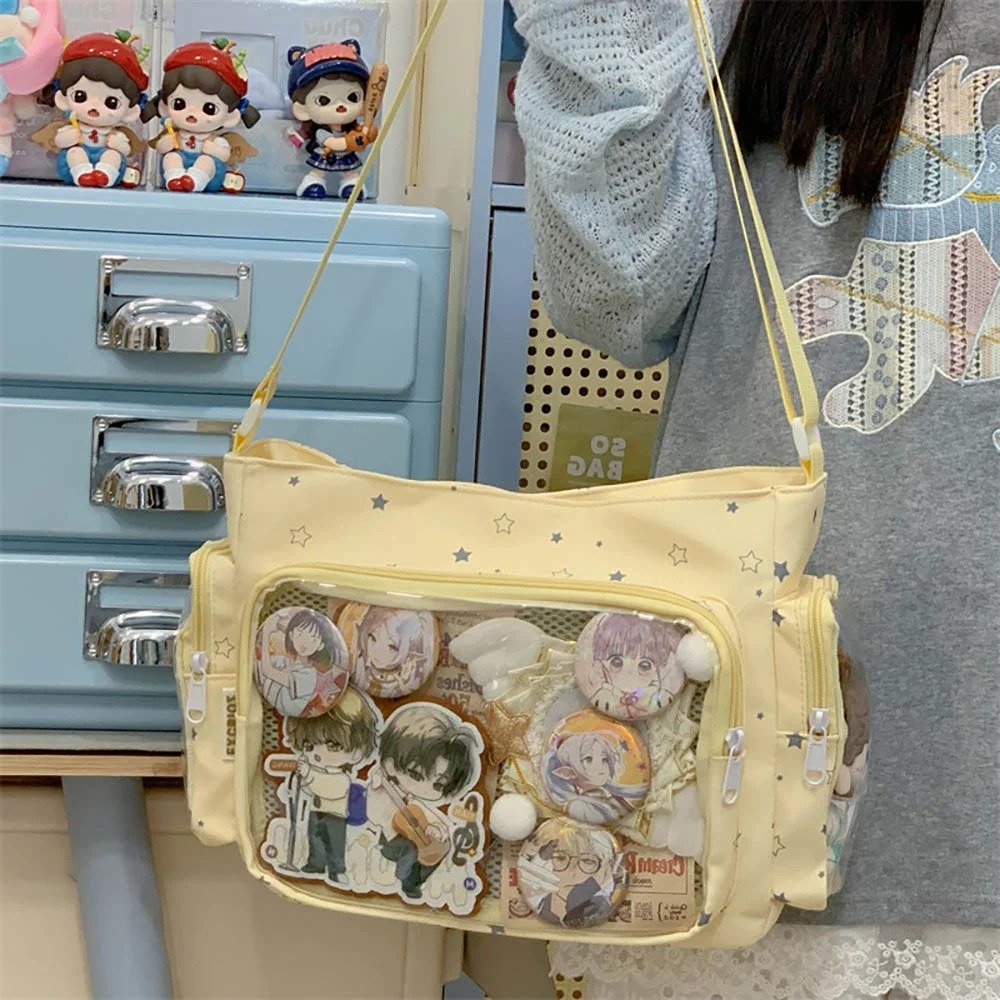
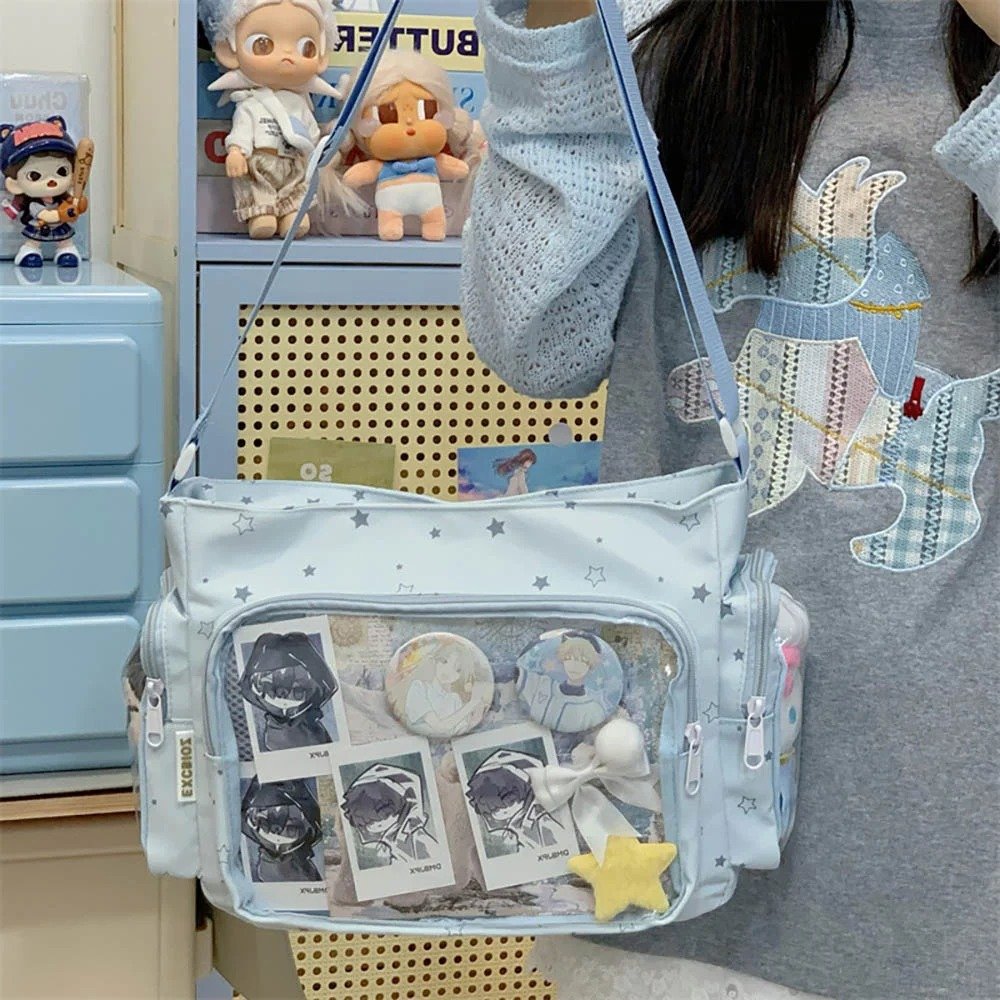
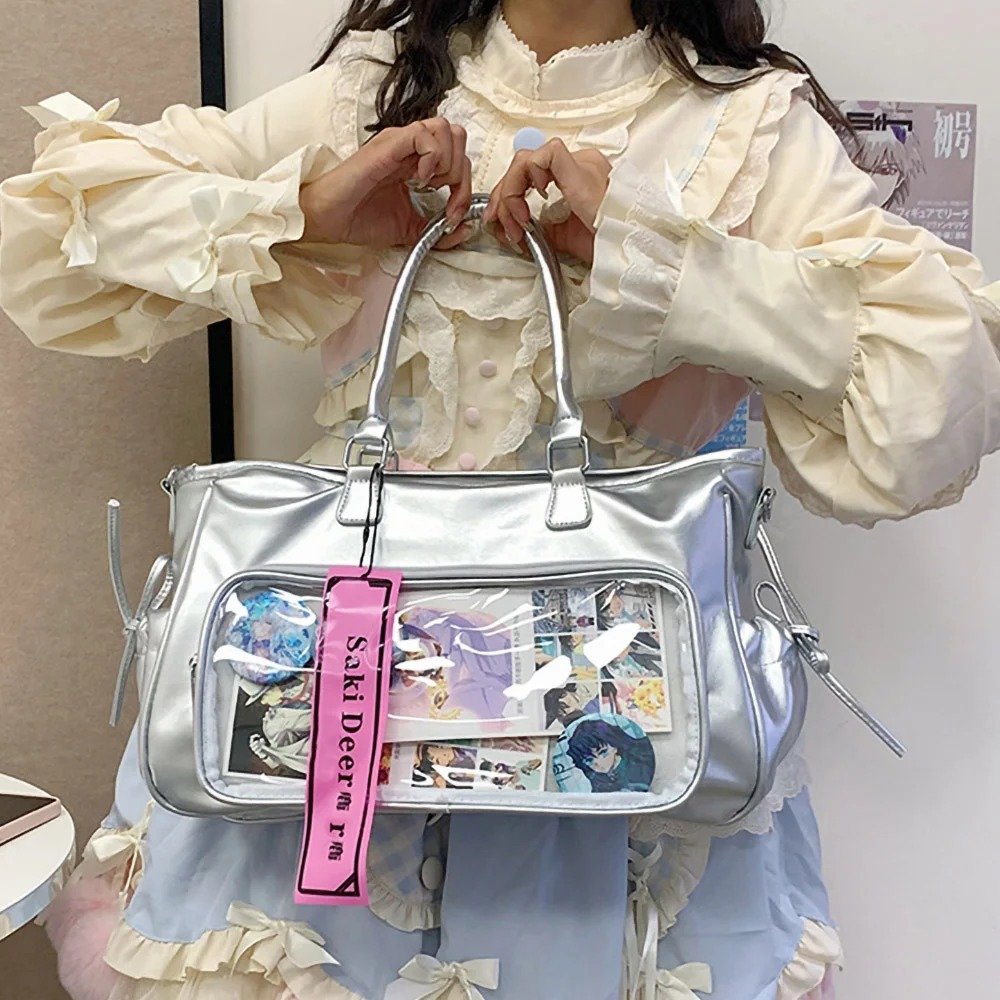
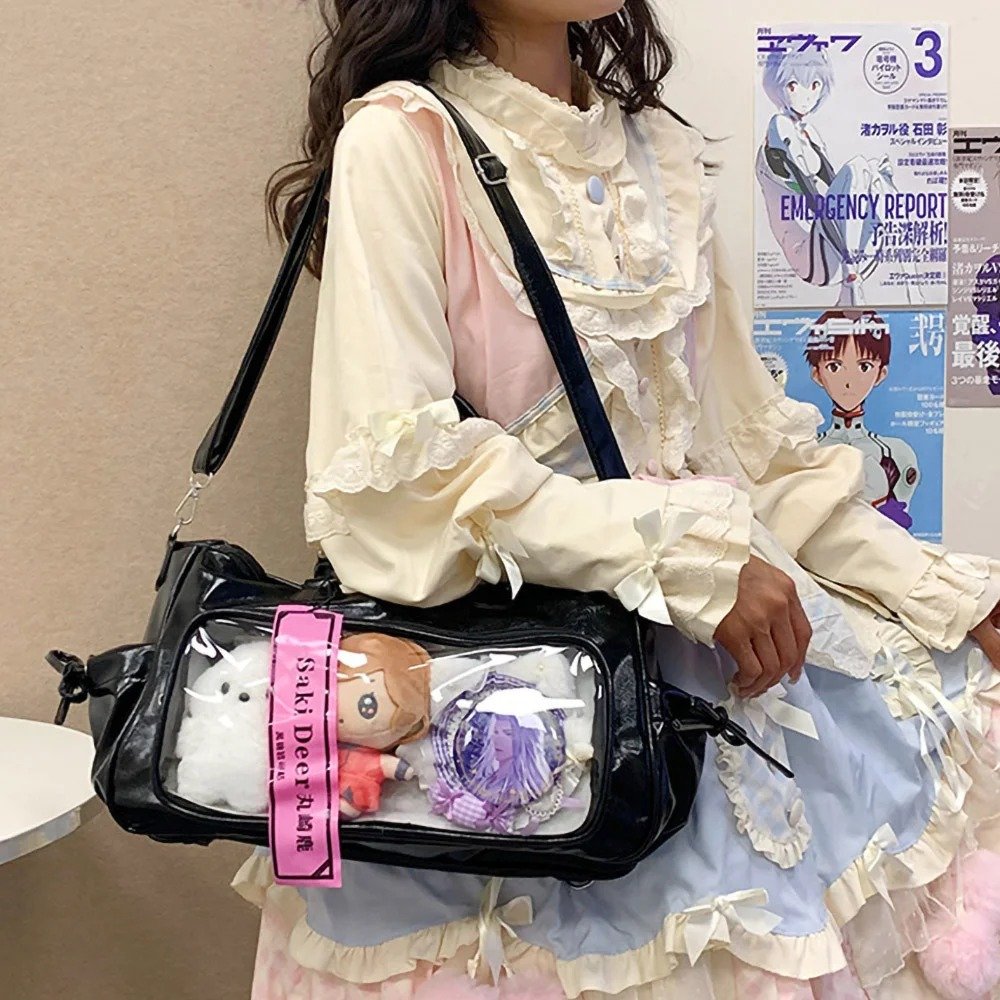
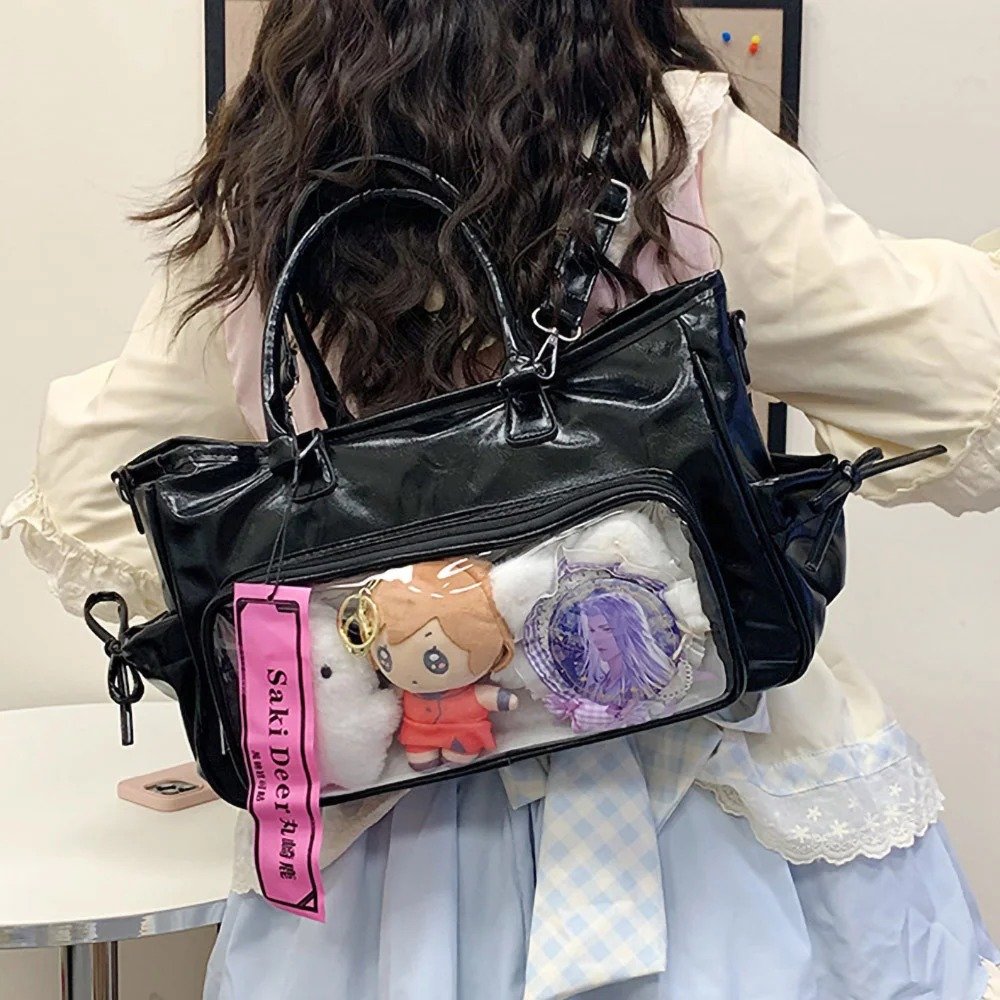
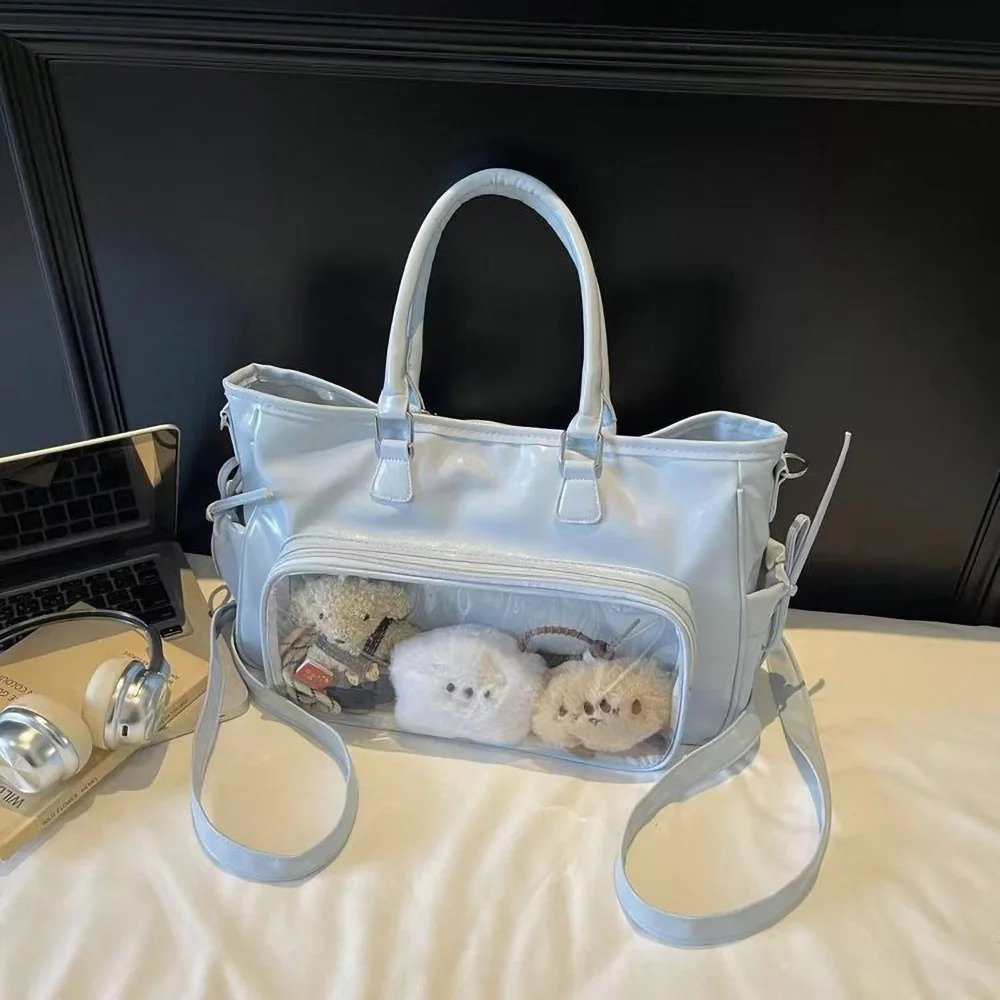
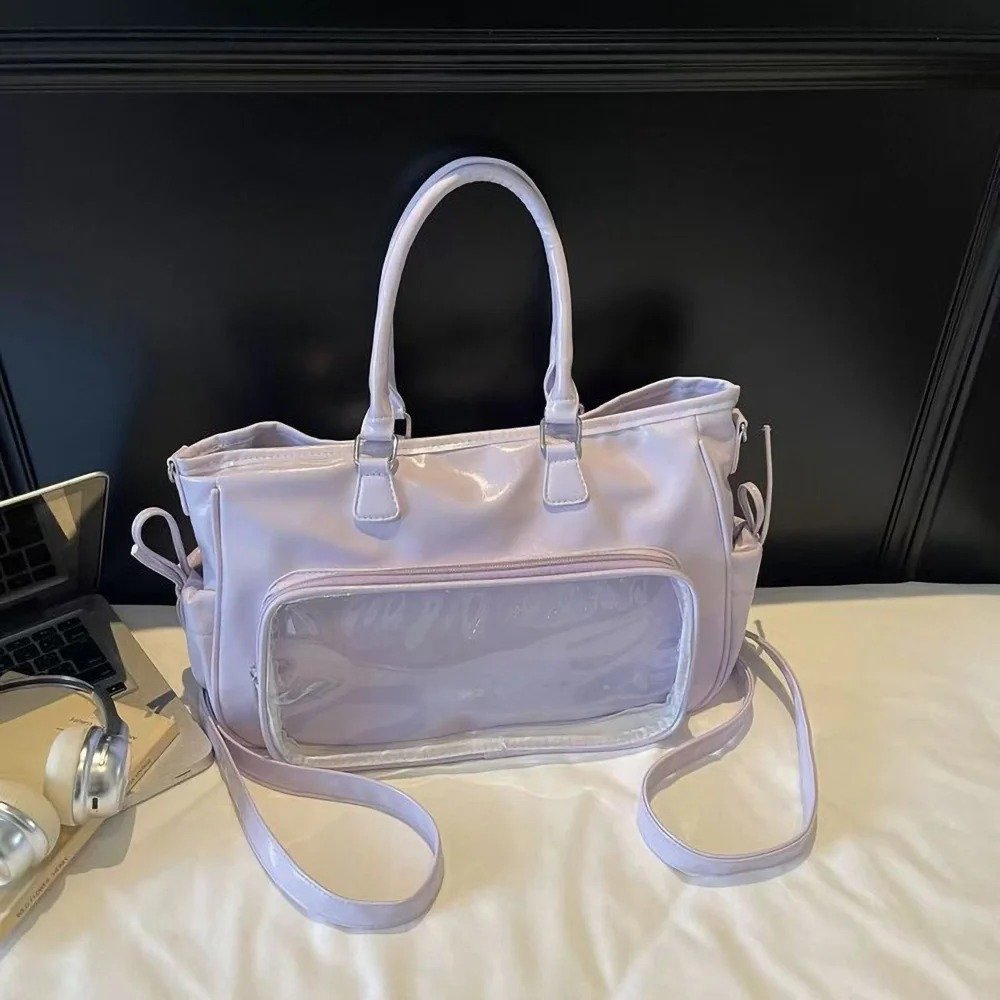
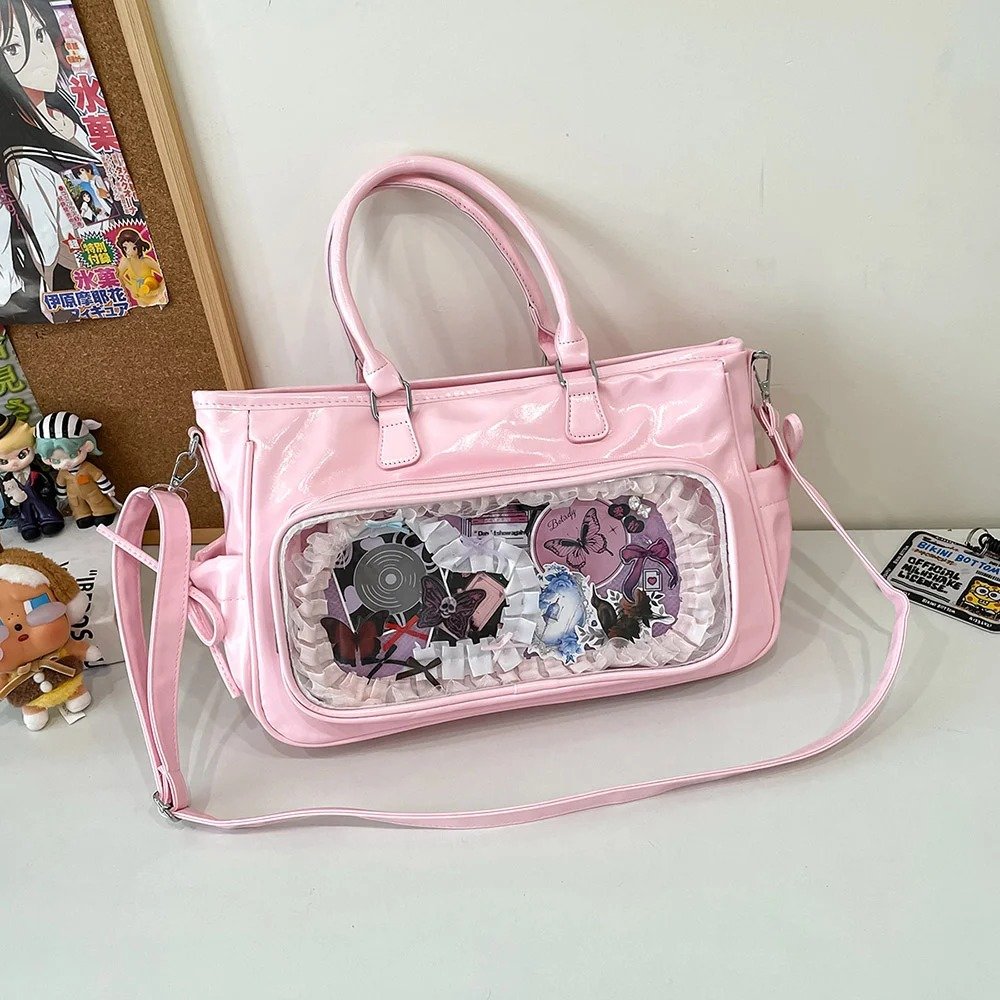
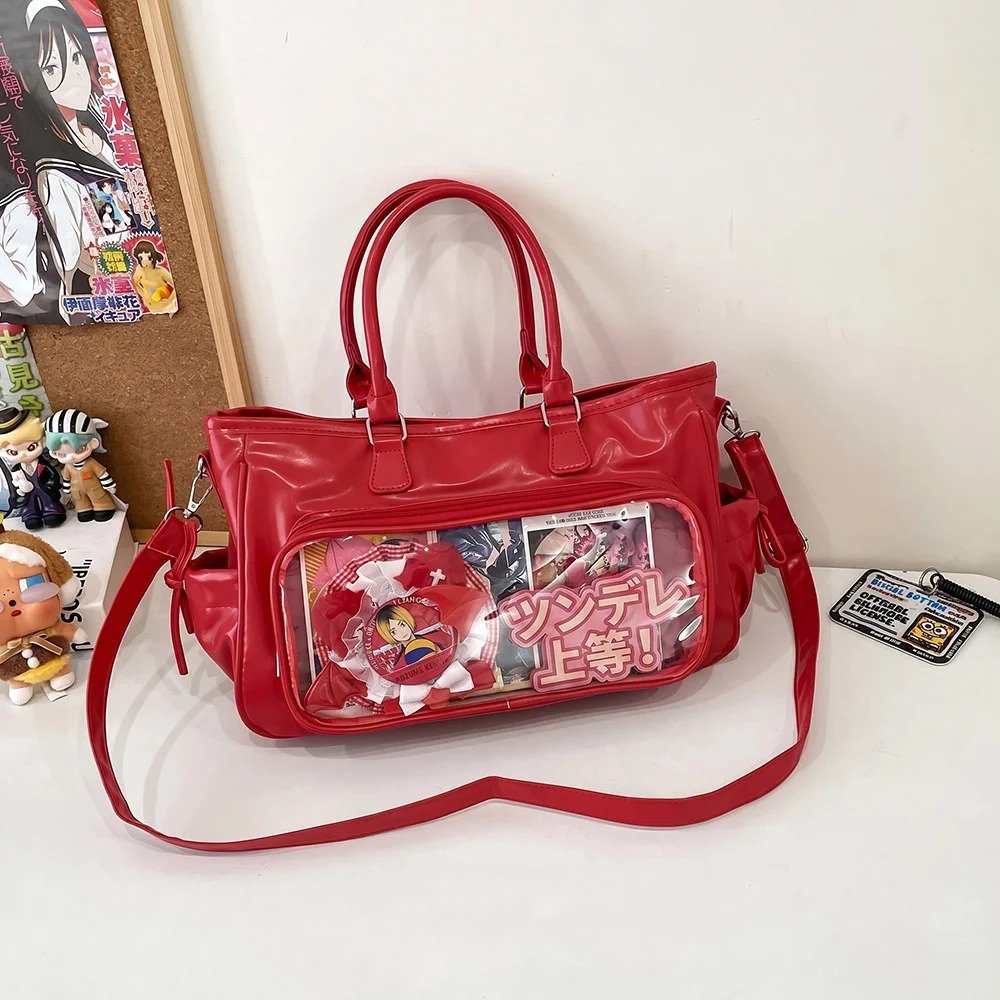
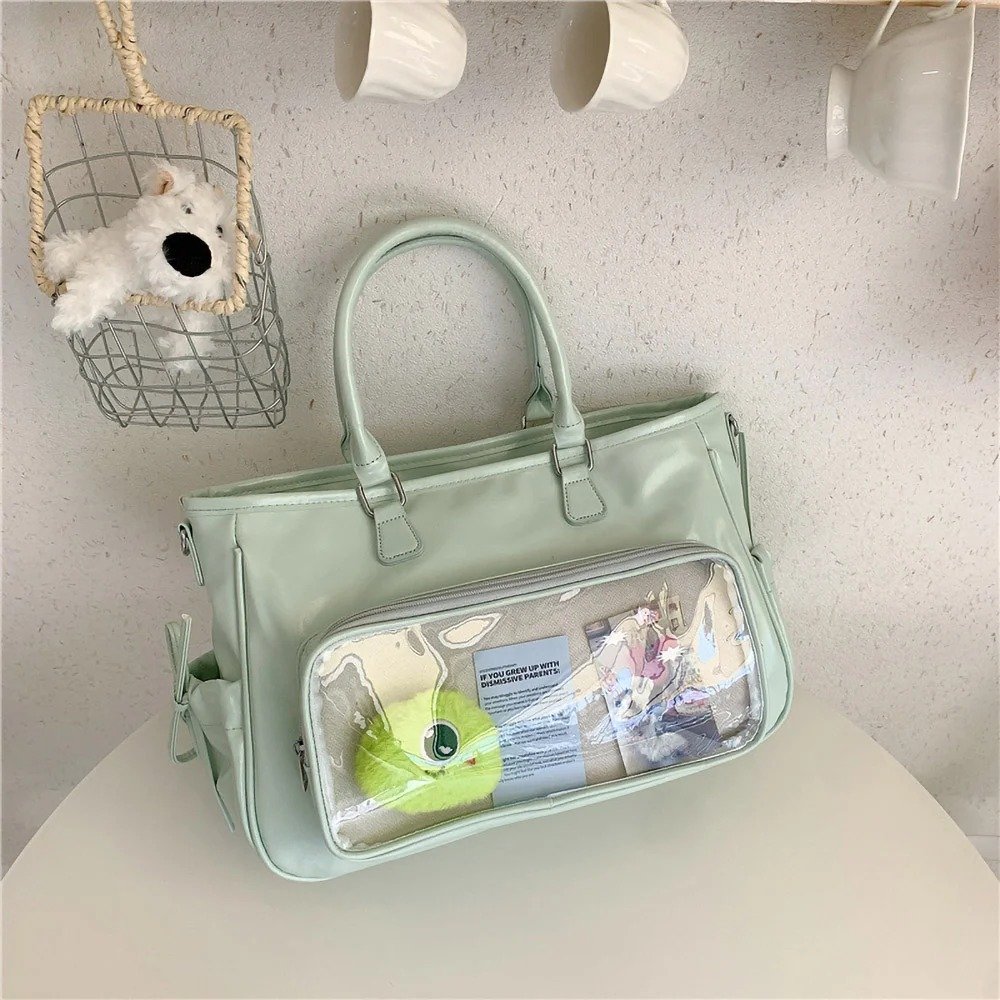
Once the board is completely dry, open the carefully prepared Blue Ita Bag Crossbody Large Display Tote and slowly slide the board in flat. The bag’s light blue leather exterior echoes the board’s color frame perfectly. Finally, hang the matching Cinnamoroll plush and charm, and a sweet, ocean-summer-vibes ita bag is done!
Common Problems and Pitfalls to Avoid
Corners not coming out neat? Ease off the pressure and pause for a beat before the corner, then change direction; you can also pipe a small dot at the corner first as a base.
Colors bleeding together? Always wipe the tip and the bag opening clean before switching colors — spots where pink and blue sit side by side pick up stray color most easily.
Accessories falling off? Just press small accessories in lightly; if a piece is heavy, add a small dab of glue underneath as a foundation.
Finished board too thick to fit? Measure the depth inside the bag window first, and don’t pile the large-area blue glue too high — leave some height allowance for the centerpiece too.
Final Thoughts
Cream glue ita boards look sweet, but the core really comes down to three things: restrained colors, layered structure, and steady rhythm. Get the outer border done first, then slowly fill in the large area, and place the main character last — follow that order, and even beginners can make a very polished piece.
If you make your own version following this, we’d love for you to snap a photo and send it to us, and feel free to tell us which character and what color scheme you used. In our next issue we’ll keep sharing more finished ita board looks, along with more pairing tips for beginners.
FAQ
What’s the easiest place to go wrong the first time making a cream glue ita board?
Most people actually stumble on color and layout, not technique. If you decide from the start which color is the main color and how the border will be layered, the whole thing won’t look messy even if your piping isn’t perfect. Before you start, we recommend planning the layout and lining up the color order from the outside in.
How do I fill the large background color without the clear base board showing through?
The key is a slight overlap between rows, with the top edge of each wave row slightly pressing over the bottom edge of the previous row, pushing down all the way. Also keep your speed and pressure as consistent as possible — when the amount of glue is even, there are no gaps, and the resulting texture has more depth too.
I only have one piping tip — can I still make different patterns?
Yes. Different border patterns can be distinguished by the angle, pauses, and motion of your piping; it’s just that different tip shapes make it easier to keep the pattern shapes consistent. If you want to keep things easy as a beginner, having a few tip shapes on hand will make it a bit smoother.
I finished and it won’t fit in the bag, or the accessories keep falling off — what should I do?
First measure the usable depth in the bag’s display window, then control the glue thickness accordingly — don’t pile the large background area too high, and leave height allowance for the centerpiece. For accessories, just gently press them into the glue when placing them; if a piece is on the heavy side, first add a small dab of glue underneath as a base, then set it on top.
Get Inspired on Instagram
Looking for inspiration for your next ita bag? Follow us on Instagram for more ita bag decoration ideas, styling inspiration, and creative ways to showcase your favorite pins, charms, and collectibles. We regularly share different styling ideas to help you discover new ways to decorate and personalize your ita bag.