From Inspiration to Gorgeous Gothic Handcraft
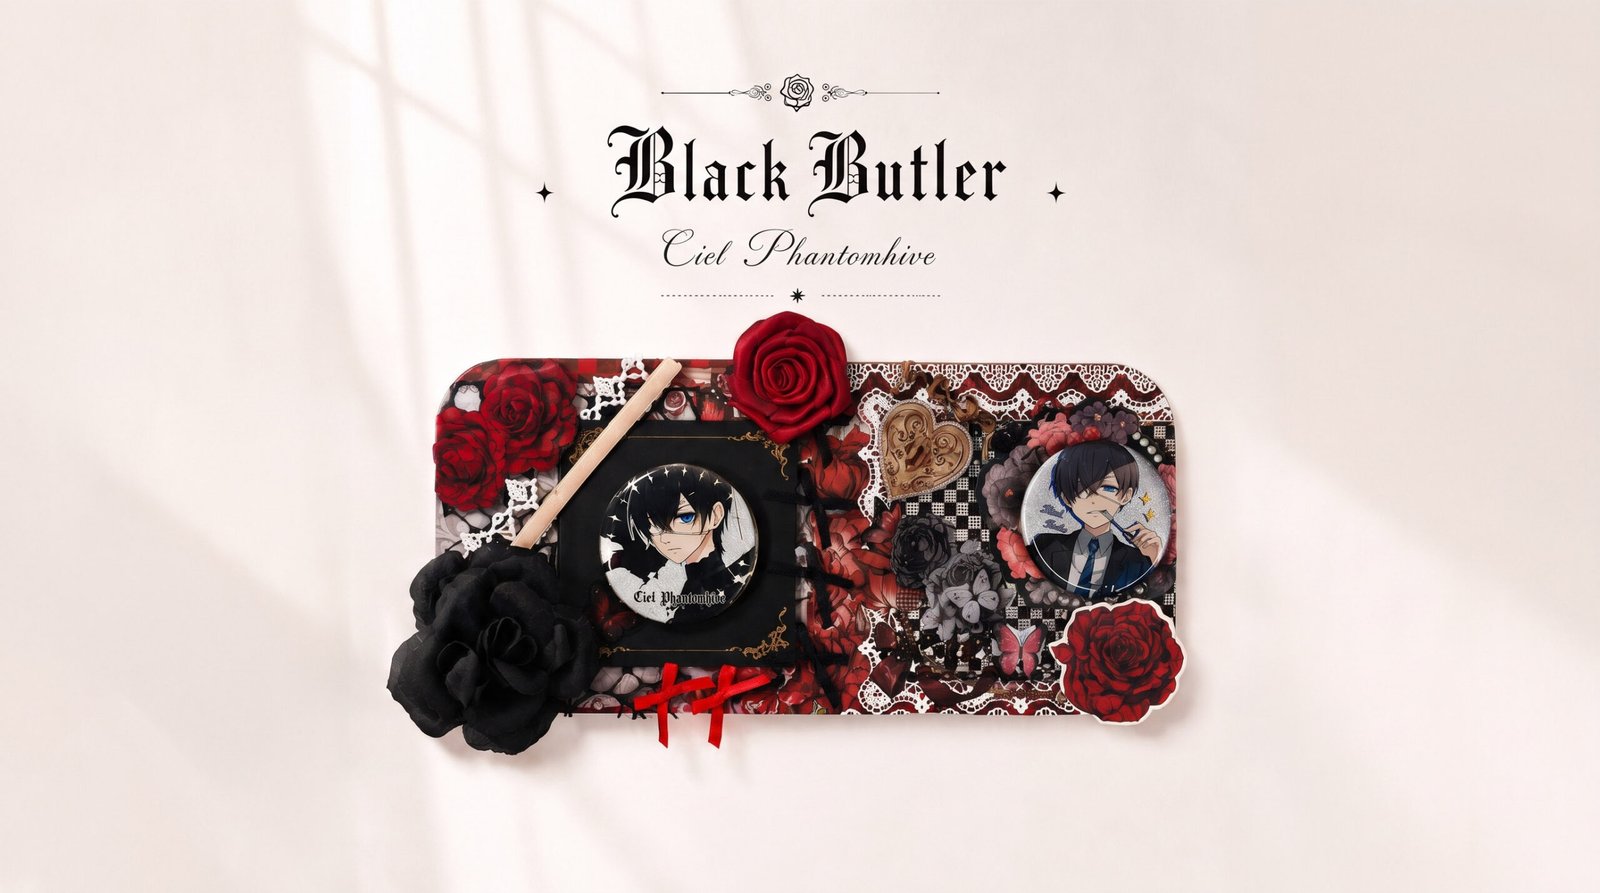
Table of Contents
In the world of ita bags, a well-designed Ita Board full of narrative and layered detail is the key to giving the whole ita bag its soul.
As a brand focused on displaying ita bags and fan merch, Pinitabag has always believed that an ita bag is more than just a way to store fan merch — it’s a visual love letter and an aesthetic statement that crosses dimensions between a fan and their favorite character.
Recently we’ve gotten a lot of messages from fans: how do you keep an ita board from looking like a flat, plain layout? How can a dark gothic style or a distinctive theme bring out a character’s personality?
To answer these questions, this issue takes a deep dive into ita bag making and its aesthetics. It includes the full tutorial our team published for a gothic, glamorous Black Butler Ciel ita board, plus a look at two real fan-made pieces from the ita bag community, giving you a complete breakdown of where the inspiration comes from, the rules of composition, and step-by-step guidance!
Inspiration and Concept: Why These Characters and Themes?
Whether you’re a crafter or a longtime fan of the merch community, the drive to start a new ita bag project usually comes from breaking a character’s personality and a work’s aesthetic down to its purest elements.
1. Our Creative Thinking: Black Butler’s Ciel
In Black Butler, Ciel is often described as a noble bird in a cage. He holds the cold, elegant status of the Earl of Phantomhive, yet remains trapped by the shadow of fate and the chains of a contract.
Color choice: instead of a single dark tone, we went with a high-contrast mix of bloody-mary red, deep black, and a black-and-white checkerboard pattern, showing off the aristocratic luxury of the Phantomhive family while hinting at gothic danger and mystery.
Visual language: we brought in elements like black cutout mesh, lace trim, gothic bows, and magic-circle cards to capture on the board Ciel’s cool, composed presence — a boy still in command even while bound by fate.
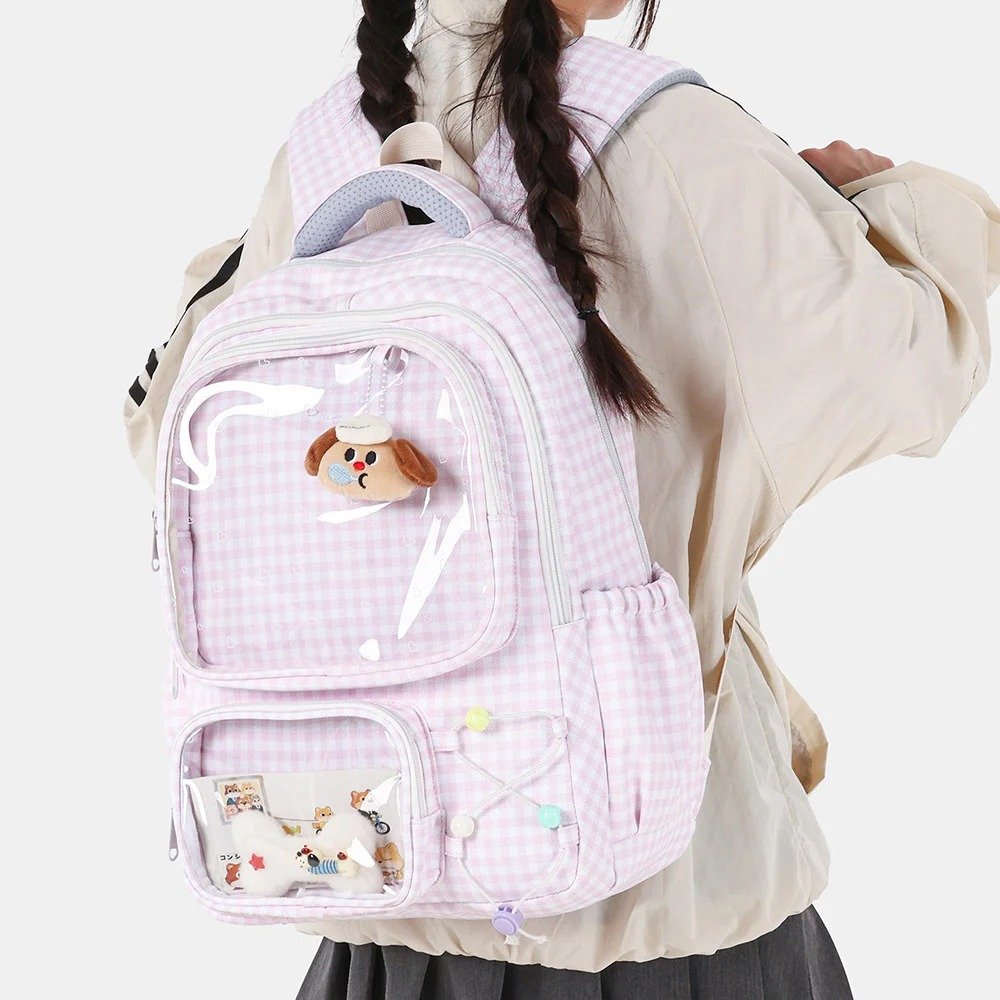
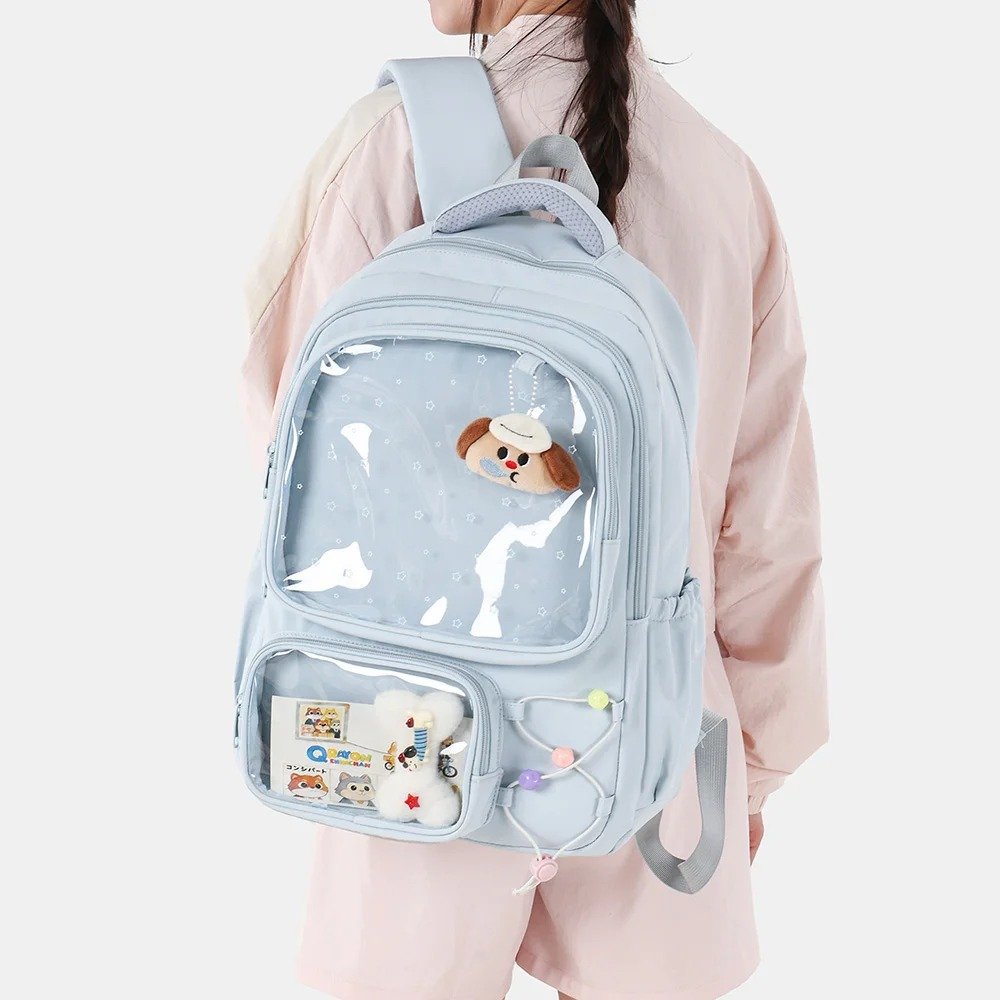
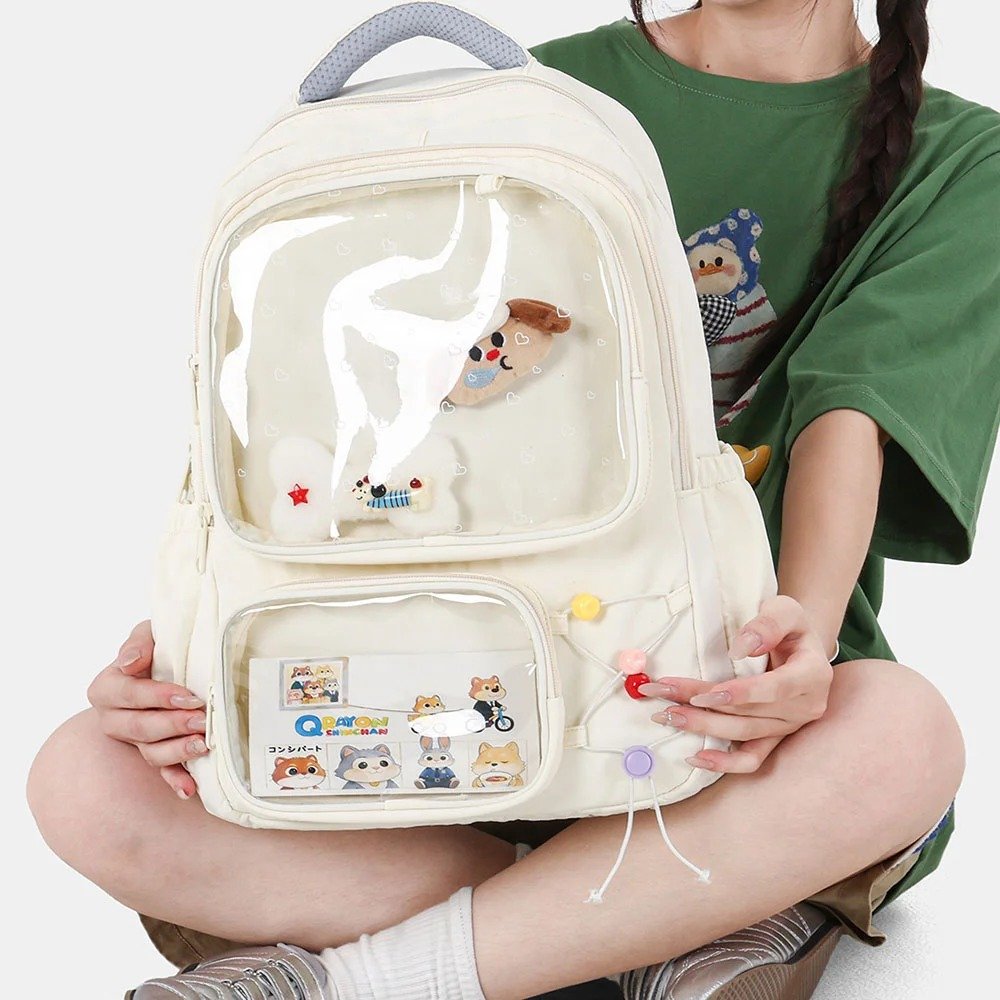
2. Player Case 1: A Layout Built Around Hand-Drawn Art and Accents
In the community, this player put their serious drawing skills fully on display.
Concept breakdown: unlike a traditional full-badge layout, this player leaned into pure craftsmanship. They wove in recent hand-drawn art and decorations, using small flowers and a pearl-and-lace trim to accent the visual centerline. The idea comes from folding an ita bag into everyday life — it doesn’t need to be extremely elaborate; refined handwork and a careful layout are enough to create a light, distinctly personal fashion piece.
3. Player Case 2: Black Butler’s Undertaker
Another player turned the spotlight on one of Black Butler’s most captivating characters, the Undertaker.
Concept breakdown: as a former top-tier grim reaper turned antique shop owner, Undertaker is full of madness, mystery, and dark humor. The player used a deep purple tone throughout the layout to strengthen the character portrayal, and paired one oversized main badge with smaller surrounding badges and theme-specific accessories to beautifully recreate Undertaker’s eerie, mysterious presence.
Pinitabag Tutorial: Ciel Gothic Glamour Ita Board
Based on the craft breakdown video we published, here’s a detailed materials list and step-by-step guide for this Ciel-themed ita board.
Tools and Materials
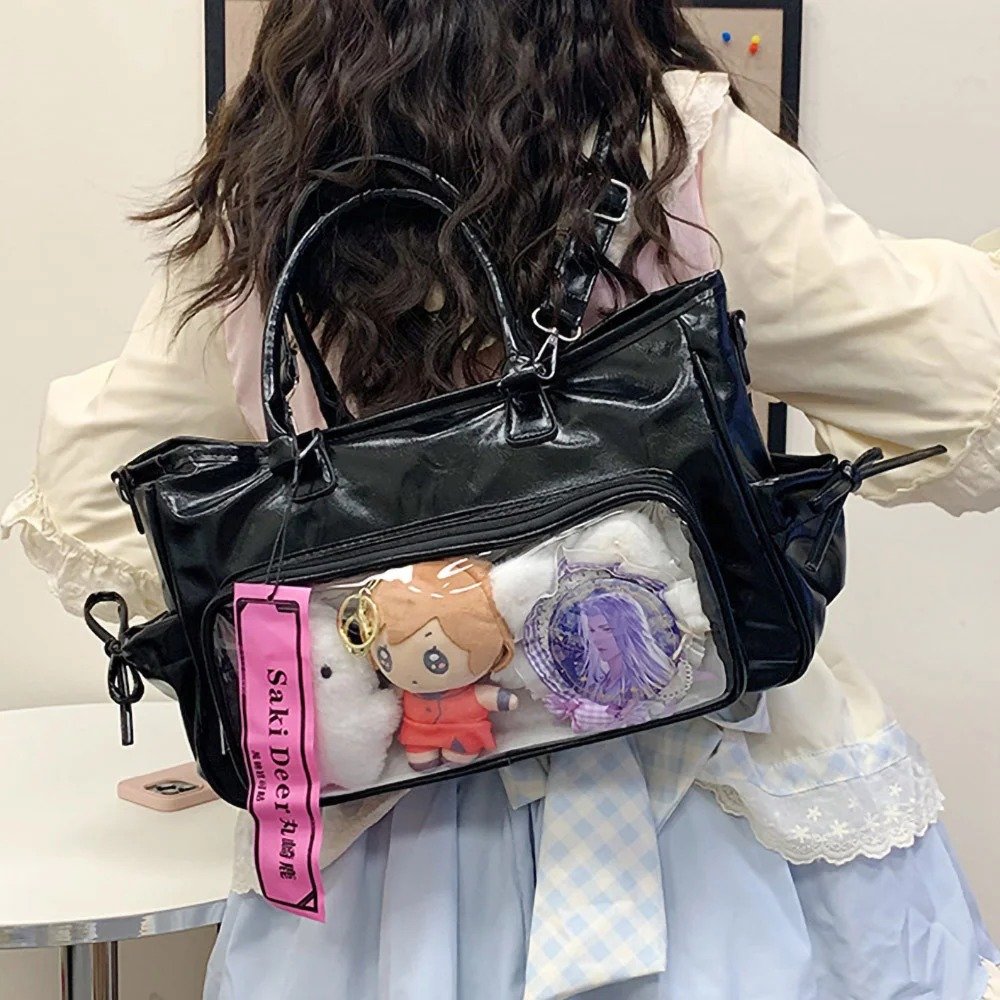
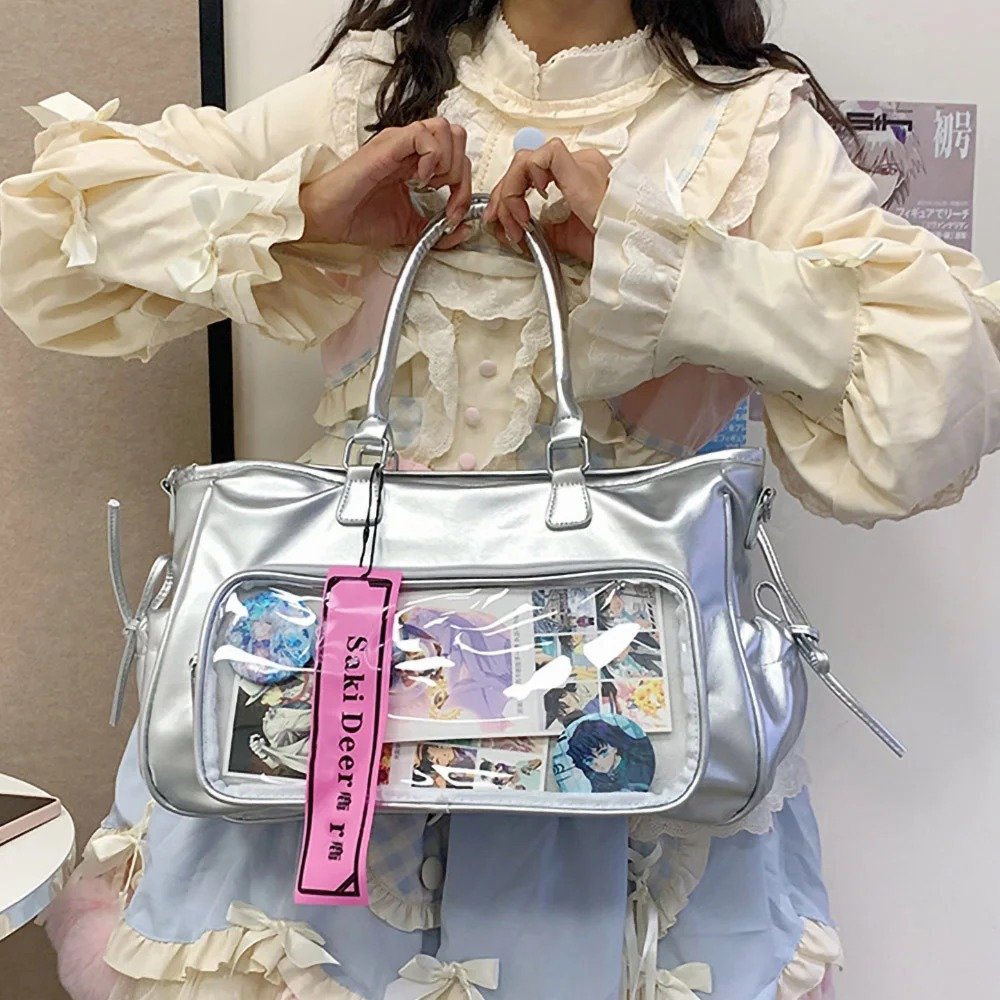
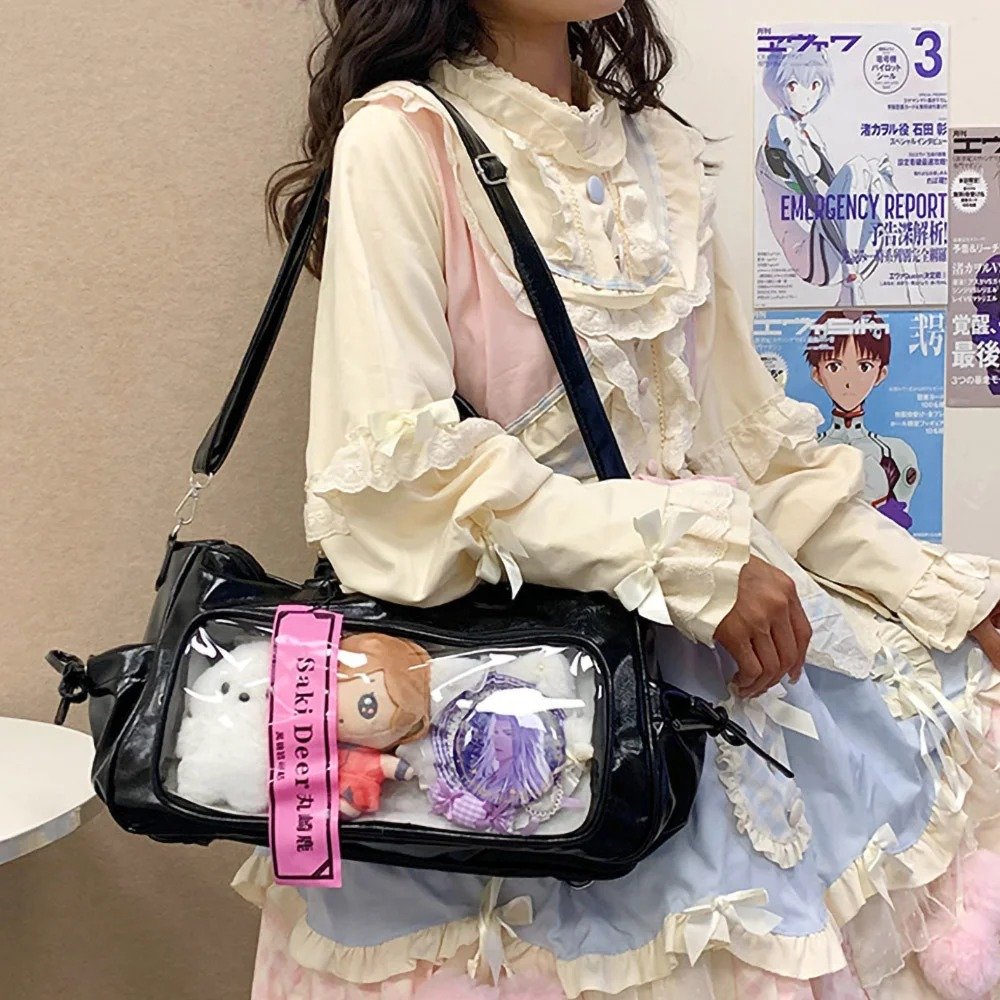
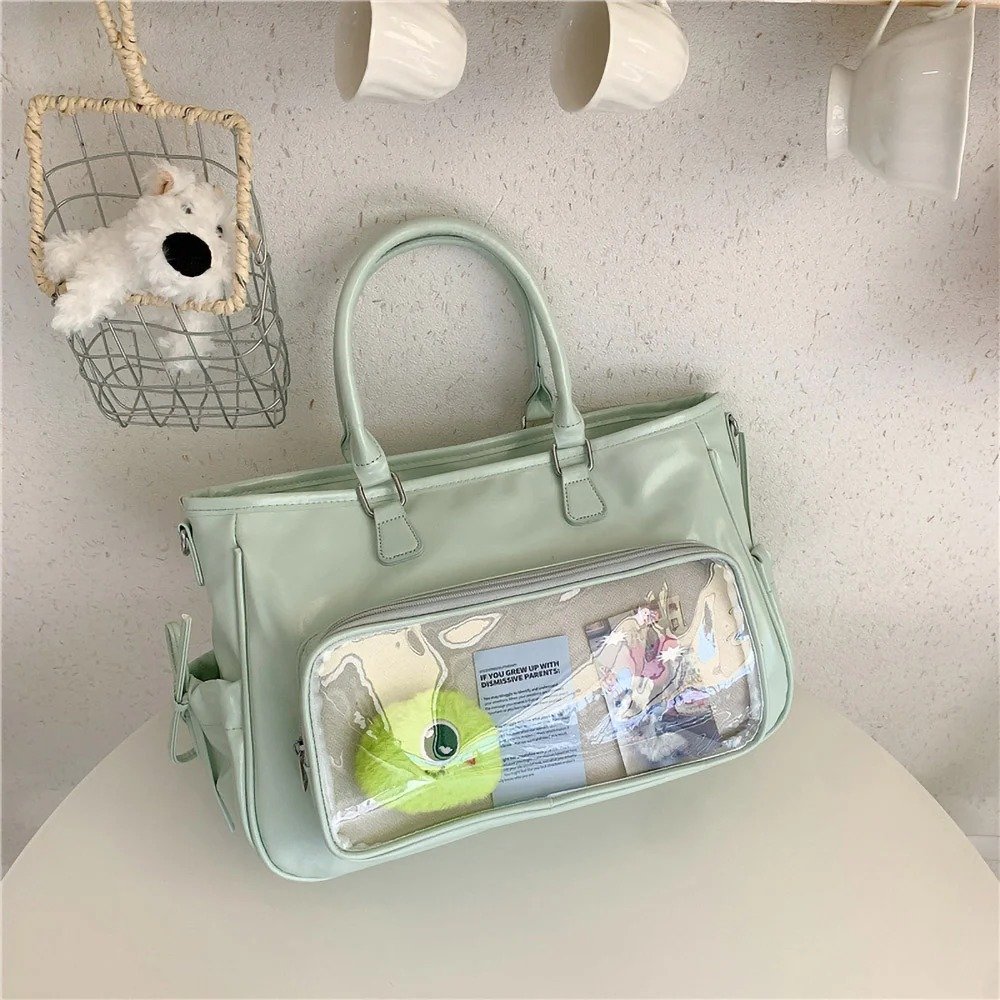
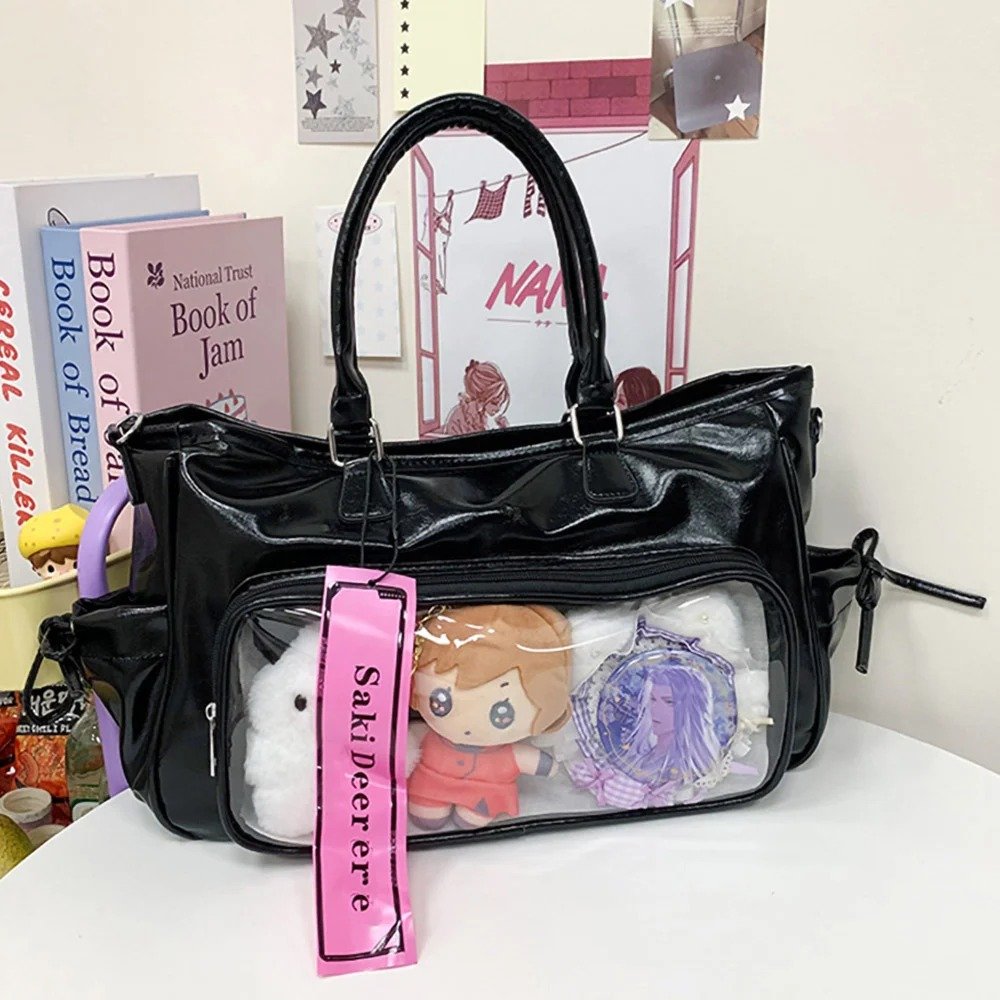
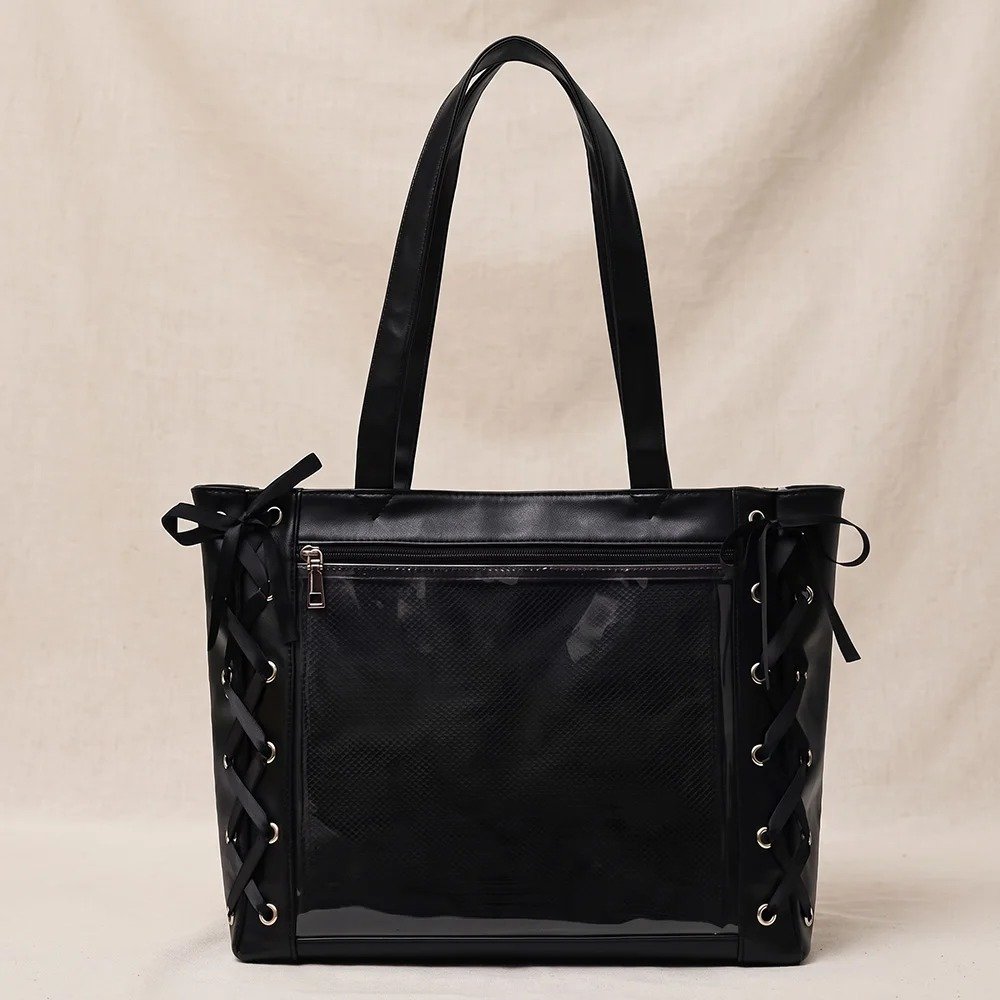
Core board and bag: clear PVC ita board, Black Ita Bag Crossbody Large Display Tote
Adhesion and craft tools: strong residue-free double-sided tape, foam adhesive dots, tweezers, scissors
Background paper and cut-paper backing: 2 sheets of black-and-red gothic vintage background paper, black cutout mesh, white polka-dot cutout mesh
Stickers and 3D flowers: gothic rose badge backing, magic-circle badge backing, black-and-red artificial roses, black-and-red bows, lace-trim ribbon, butterfly-and-rose stickers, pearl decorative patches
Step-by-Step Guide
Step 1: Base Layer and Attaching the Background Paper
Apply residue-free double-sided tape onto the clear base board.
Take the two sheets of black-and-red gothic vintage background paper you prepared, piece them together, and stick them onto the clear base board.
Use scissors to trim smoothly along the edge of the base board, giving you a neat background board with a vintage tone.
Step 2: Layering Textures and Laying Out Gothic Elements
Next, we’ll decorate the whole board by splitting it into a left and a right section.
Take the black cutout mesh and arrange it over the left section, adding a sense of visual decay and darkness.
Cut the white polka-dot cutout mesh and stick it onto the right black-and-white checkerboard section, breaking up the monotony of the background texture.
Step 3: Placing the Two Core Badges with Layered Height
Right-side badge: stick the gothic rose badge backing onto the right checkerboard section, attach foam adhesive dots on the back, and fix a Ciel badge at the center of the floral frame to create a clear sense of dimension.
Bow divider: apply dots of glue at the center dividing line, and place a black bow there, breaking up the sense of a single unit so each Ciel reads as its own individual figure.
Left-side badge: onto the black cutout mesh area on the left, stick the magic-circle badge backing, then fix another Ciel badge at the center of the card.
Step 4: Lace Trim, 3D Flowers, and Tiny Accents
Stick the trimmed white lace edging along the upper-left edge of the board, then layer a diagonal strip of ribbon over it as a visual extension.
Accent the badge in the left section with black-and-red 3D roses, and stick rose stickers into the remaining blank space, so the main badge on the whole board is immediately clear at a glance.
Add a similar light accent around the badge in the right section to set it off, and that completes the whole ita board.
Step 5: Fitting It Into the Bag
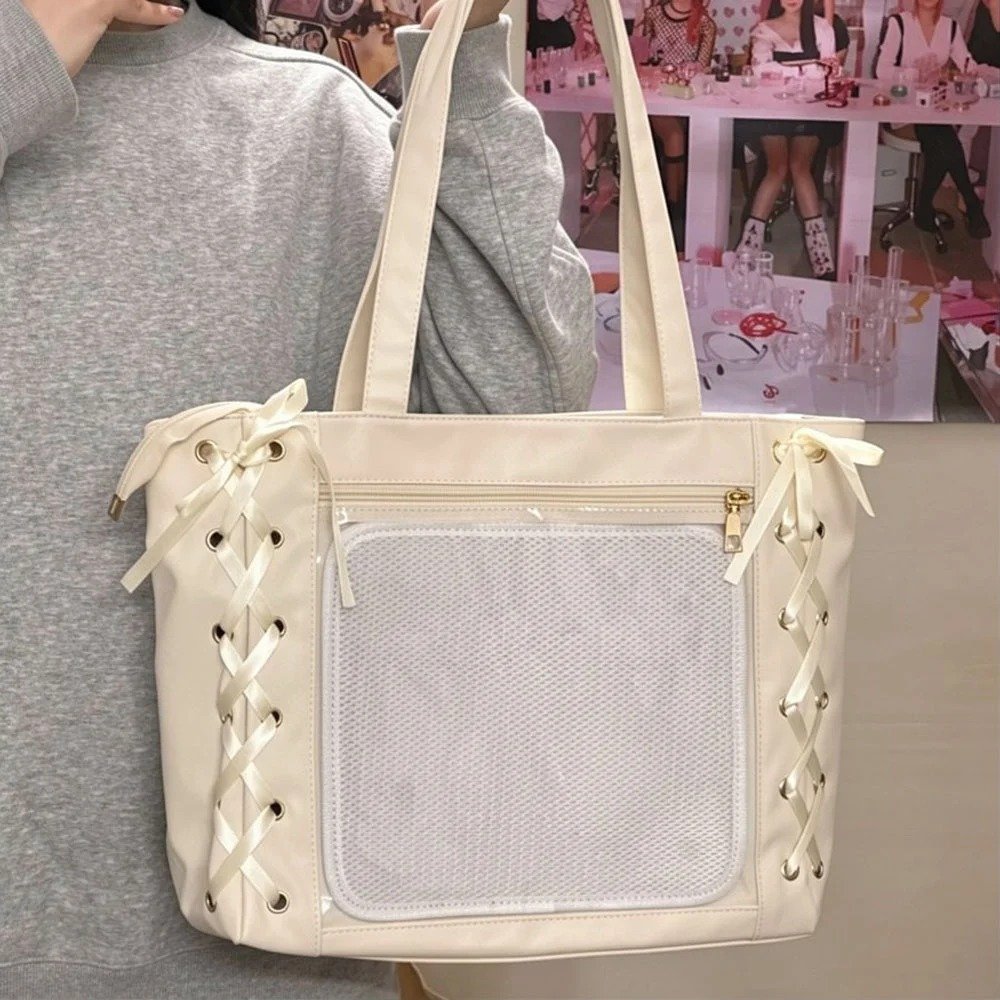
Unzip the clear display window on the black ita bag you prepared, slide the finished board in flat, and zip it back up — and just like that, a richly layered, gorgeously gothic Ciel ita bag is complete!
Deep Dive: Layout Highlights from Two Real Fan-Made Ita Bags
Now that we’ve gone through our own board tutorial, let’s look back at the earlier community pieces mentioned above and see what practical layout lessons we can pull from them.
1. Case 1: Hand-Drawn Illustrations with a Two-Tier Layout
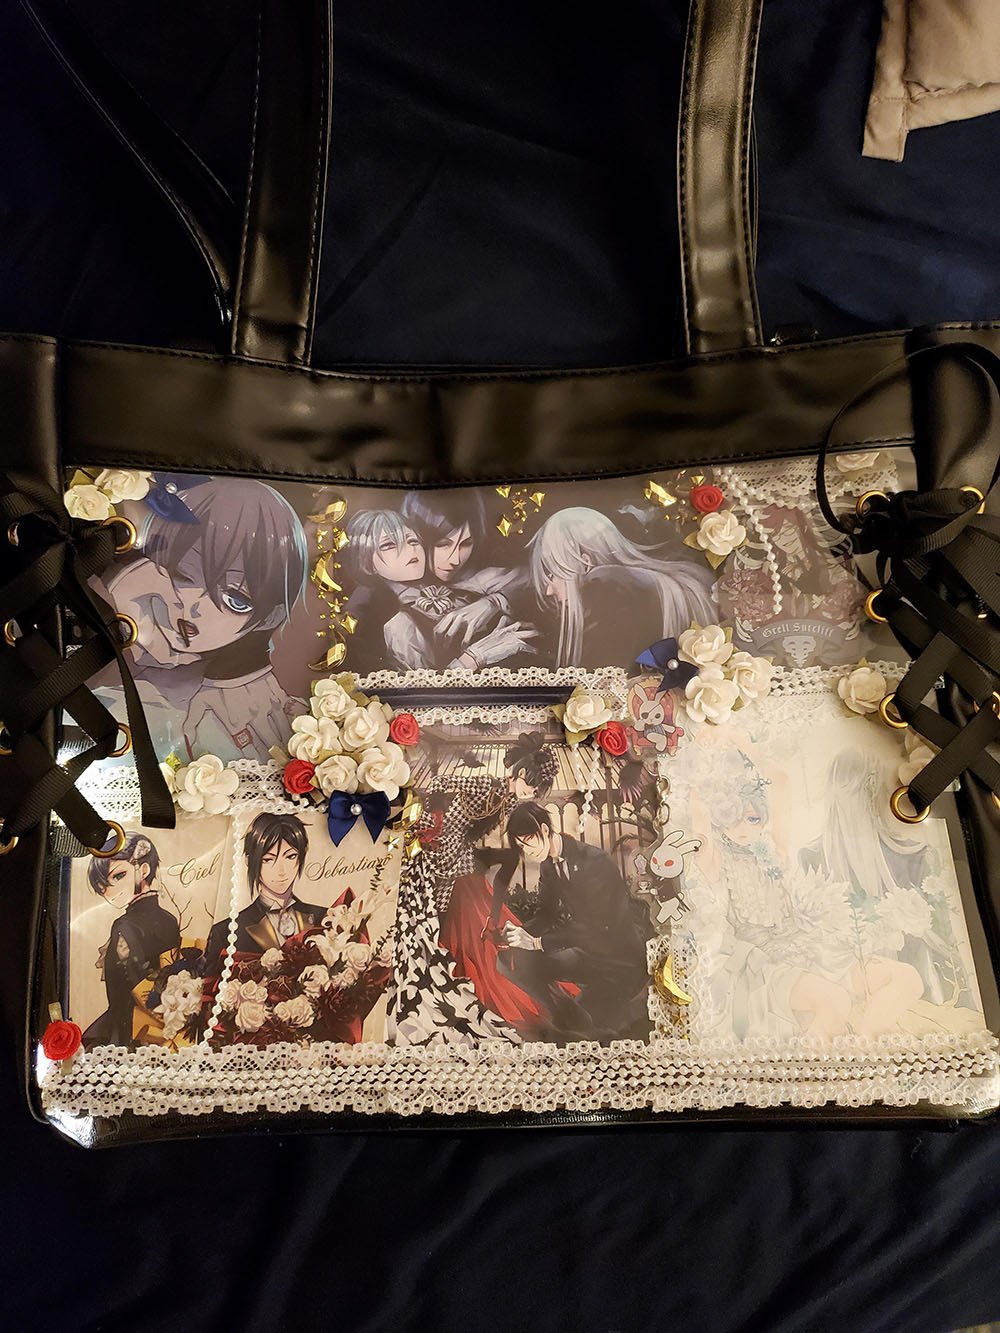
This player used their own hand-drawn illustrations and cards as the base, cleverly splitting the board into a top and bottom section.
Top section: dark grey-toned close-up illustrations of Ciel, Sebastian, and Undertaker, with gold star-and-moon accents along the edges, creating the feel of a vintage storybook.
Bottom section: multiple official scene illustrations and character cards laid out flat.
Window layout and materials: this ita bag ditches the traditional flat-badge layout for a 3D, frame-like composition combining flat illustrations with 3D handmade decorations.
Core materials
Lace trim: wide cutout mesh lace lines the bottom, and a strip of lace also marks the boundary between the top and bottom illustrations.
3D artificial flowers: a large cluster of small white roses is stacked horizontally across the middle, with a few tiny red roses mixed in — a perfect match for Black Butler’s red-white-black gothic palette.
Vintage accents: a small sapphire-blue bow representing Ciel sits at the center of the flower cluster, a naturally draping white pearl chain hangs in front of the cards, and small gold-moon patches accent select spots.
Composition logic
Start with the flat illustrations as the base layer, then layer 3D flowers, lace, and the pearl chain in front of the cards to create a strong sense of front-to-back depth.
The white flower cluster at the center runs horizontally across the whole window, organically connecting the top and bottom sections — visually rich, yet still well-organized.
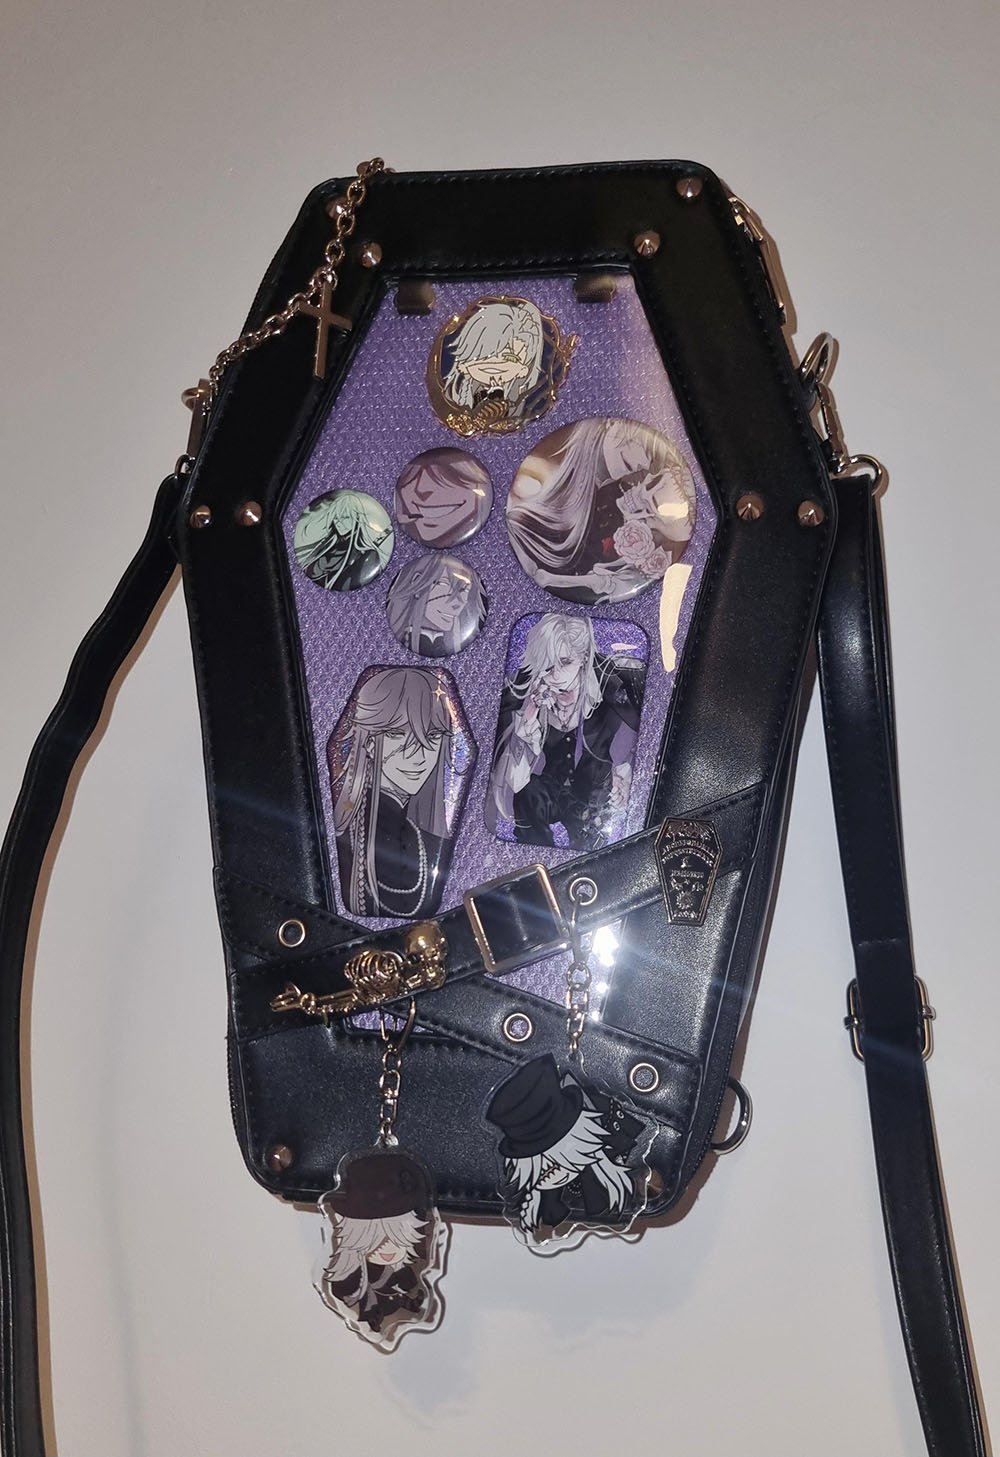
2. Case 2: A Coffin-Shaped Bag and Dark Gothic Style
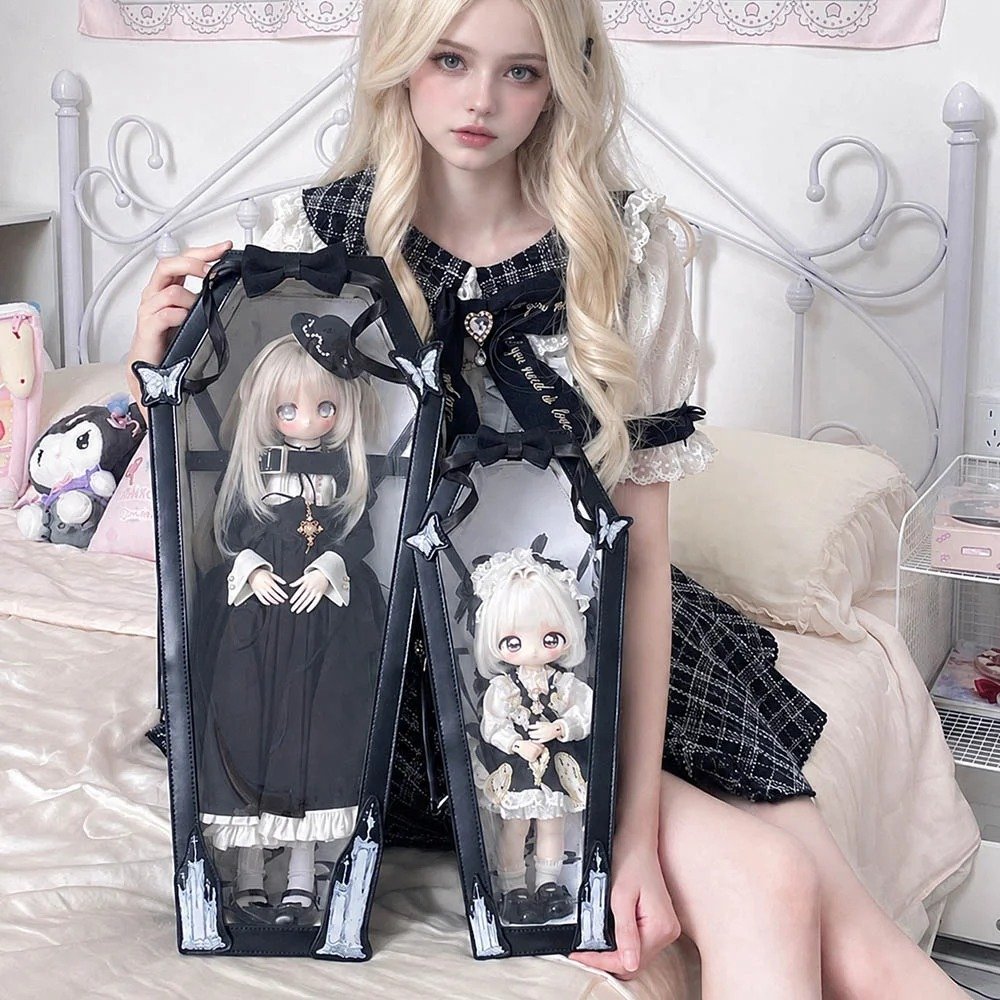
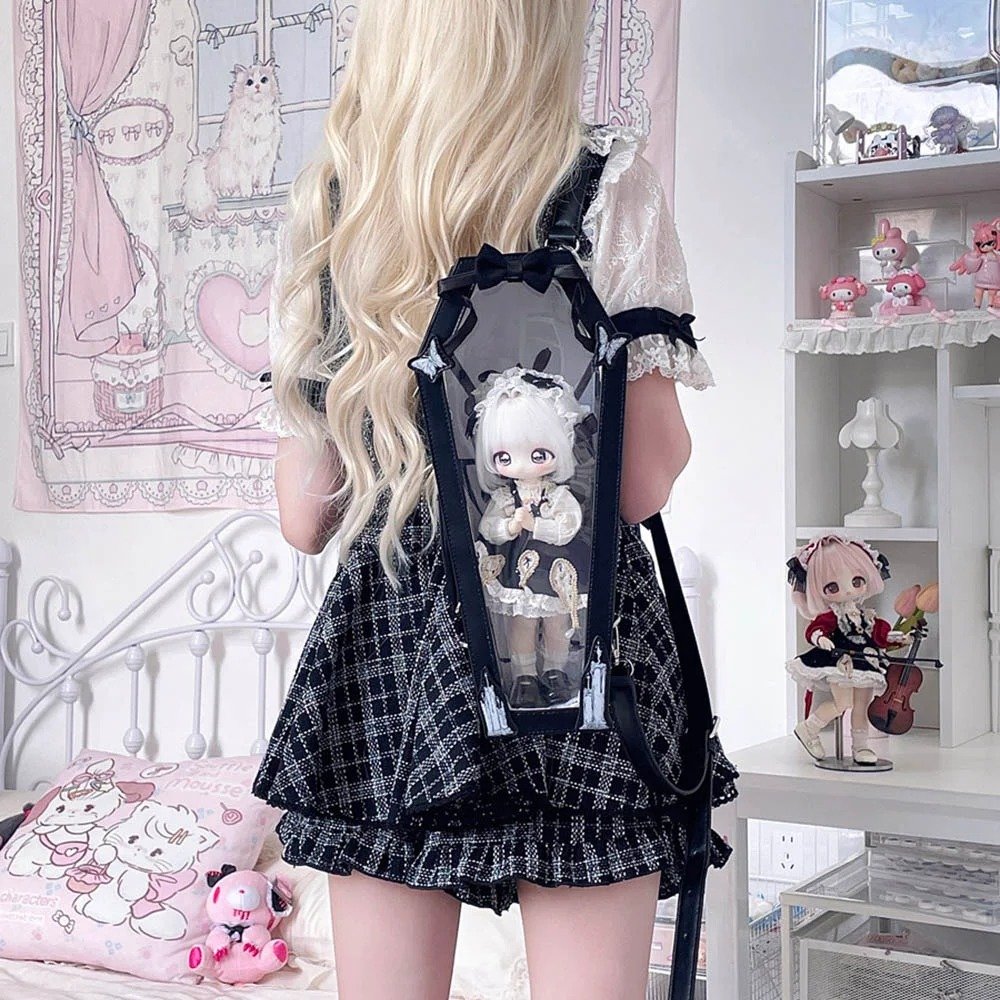
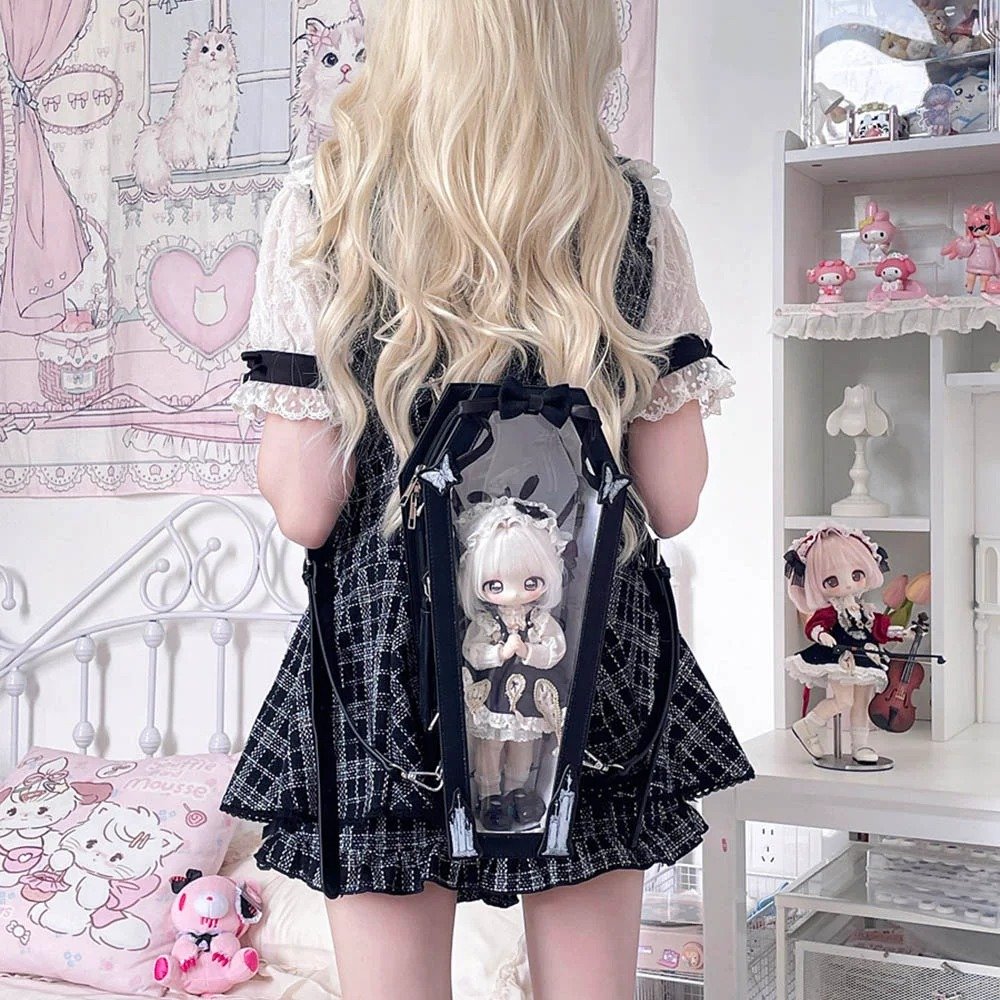
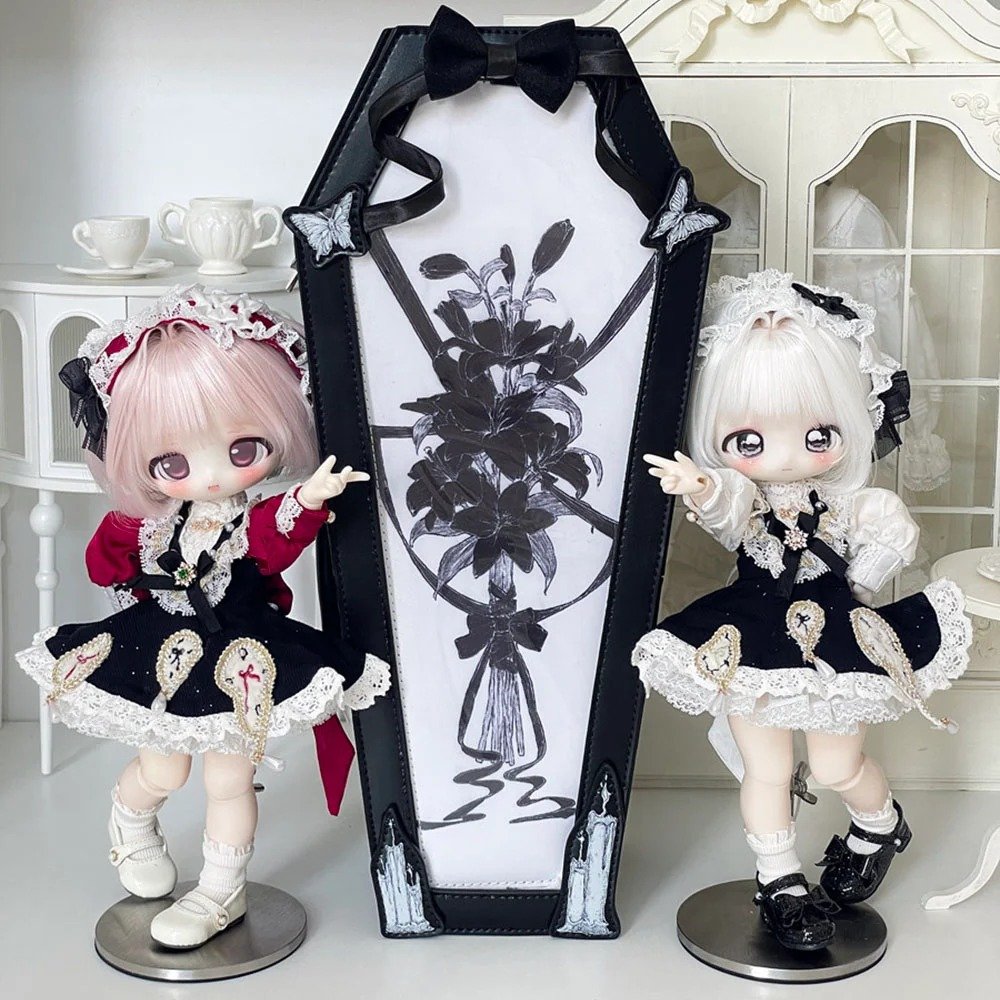
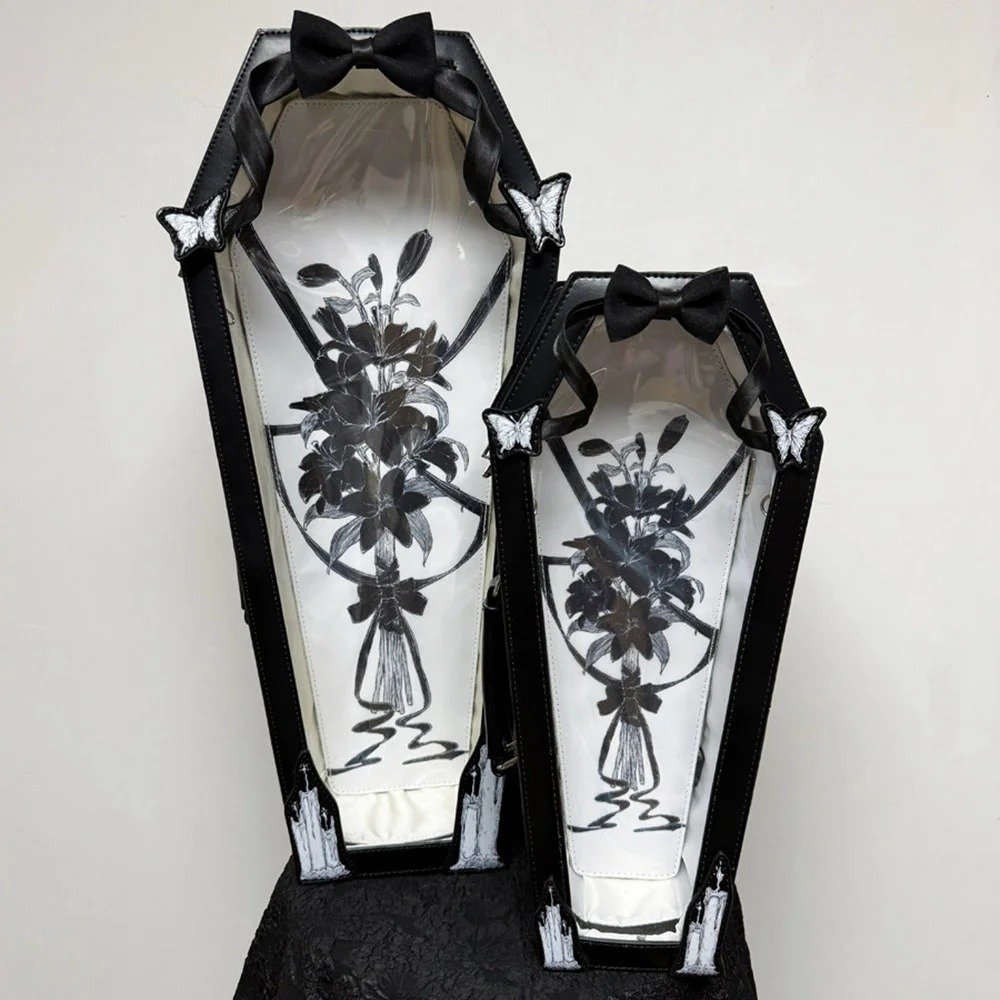
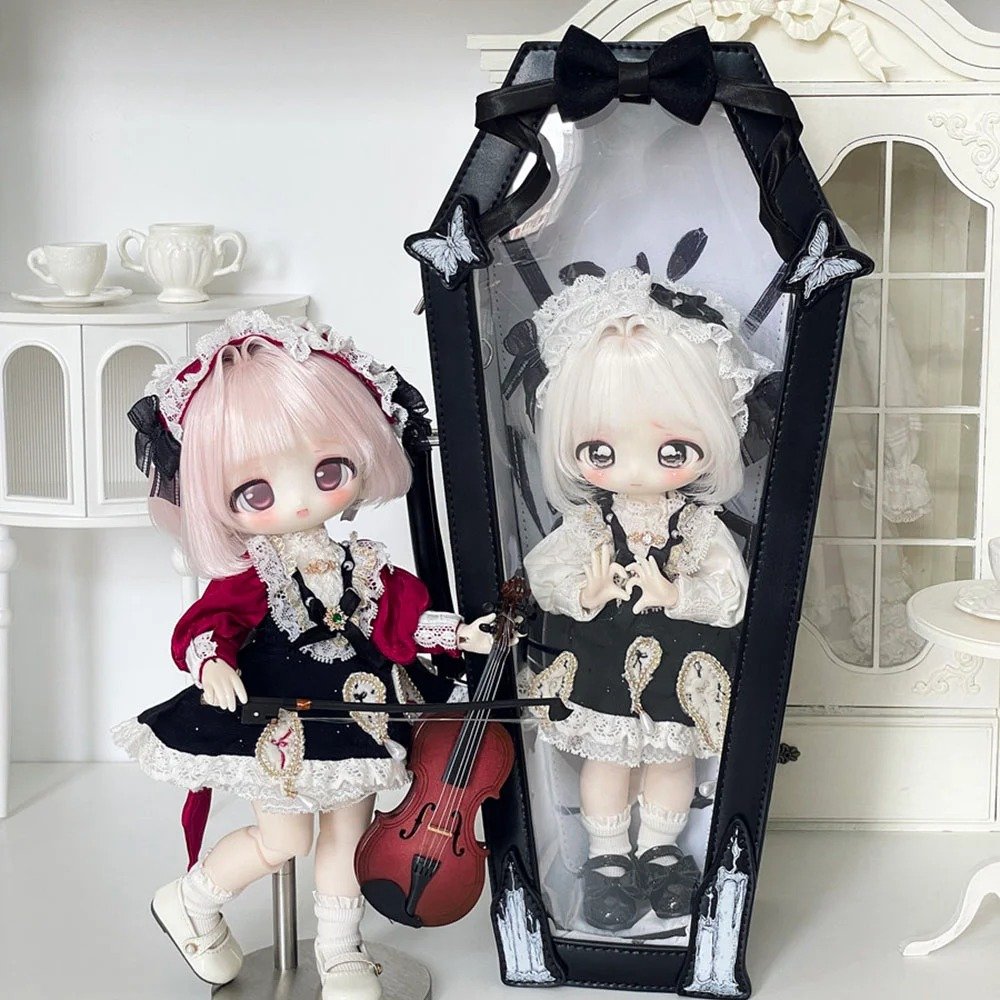
Coffin-shaped ita bag: made from black leather, metal studs, and belt buckles into a coffin-shaped bag, with a metal cross chain hanging from the top for a strongly dark gothic feel.
High-contrast purple and black: the inside uses a purple mesh base board, creating a sharp color contrast with Undertaker’s signature silver hair and black clothing.
Window layout and placement: this player followed the coffin bag’s narrow-top, wide-bottom geometry to build a staircase-style, fully-packed layout.
Top: a small chibi metal pin badge with a floral frame.
Core focal point: one large round main badge plus 3 small-to-medium round badges form the visual focus.
Bottom: a coffin-shaped badge cleverly echoing the bag’s own shape, paired with a rectangular, card-style glitter badge.
Exterior hanging extension: 2 chibi acrylic charms are hung with a metal chain from the black belt buckle on the bag, adding a dynamic, draping feel.
Advanced Design Thinking: How Do You Apply This Approach to Other Anime Characters?
After seeing our Black Butler board tutorial and these fan pieces, you might be wondering: if I want to make an ita bag for a character from a different anime, does this same approach still work?
The answer is absolutely yes! The core of a handmade ita board isn’t about copying specific props — it’s about pulling out a character’s symbols and turning them into visual elements. Master these three design dimensions, and you can custom-tailor a one-of-a-kind board for any character you love.
1. Extract the Character’s Visual DNA
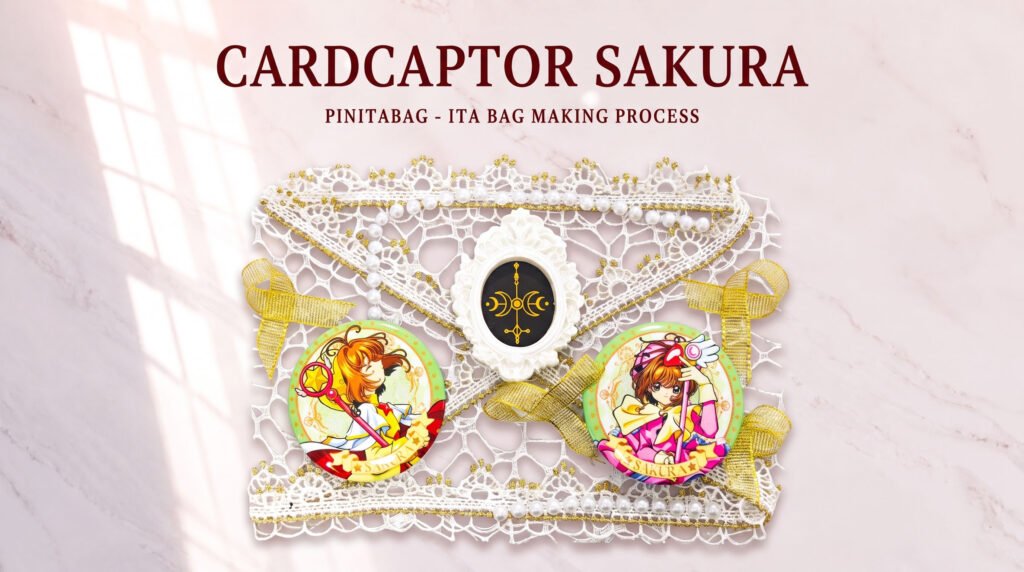
Color scheme: for example, on Ciel’s board we pulled out black and red to express the gothic mood and the contract; for an Undertaker theme, we’d pull out dark green and silver-grey; for a sweeter character like Cardcaptor Sakura, pink-and-white or macaron tones would work well.
Iconic symbols: turn a character’s classic elements into small cutouts or stickers. Gothic styles might use spiderwebs, lace, and roses; sci-fi styles might use geometric wireframes and laser stickers; fantasy styles can work in magic-circle cards and star-and-moon elements.
2. Swap Out the Core Textured Materials
Base layer and frame: in the tutorial we used black cutout mesh and white lace to build a vintage-style frame. For a streetwear or sporty character, you could swap the lace for a metallic-look chain or reflective webbing; for a Japanese-style character, you could use gold-foil rice paper, cherry-blossom-textured paper, and washi tape as the backing.
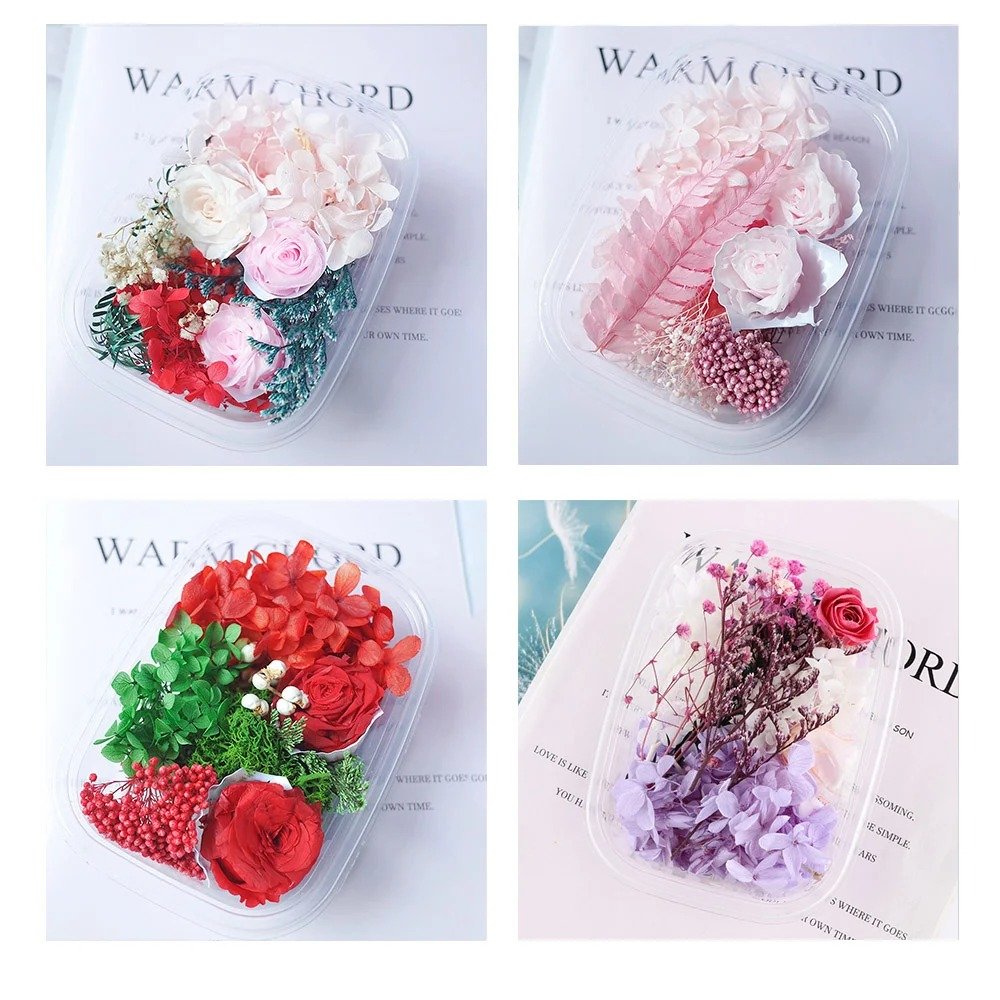
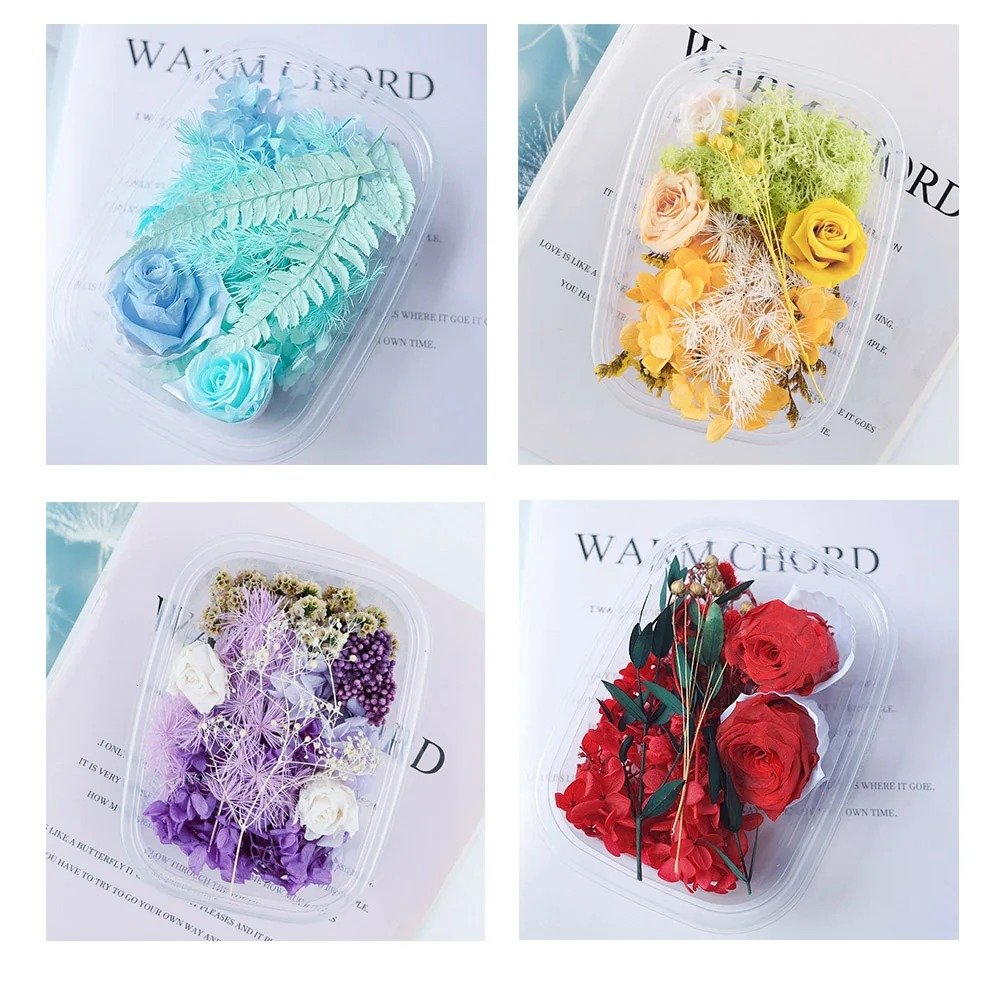
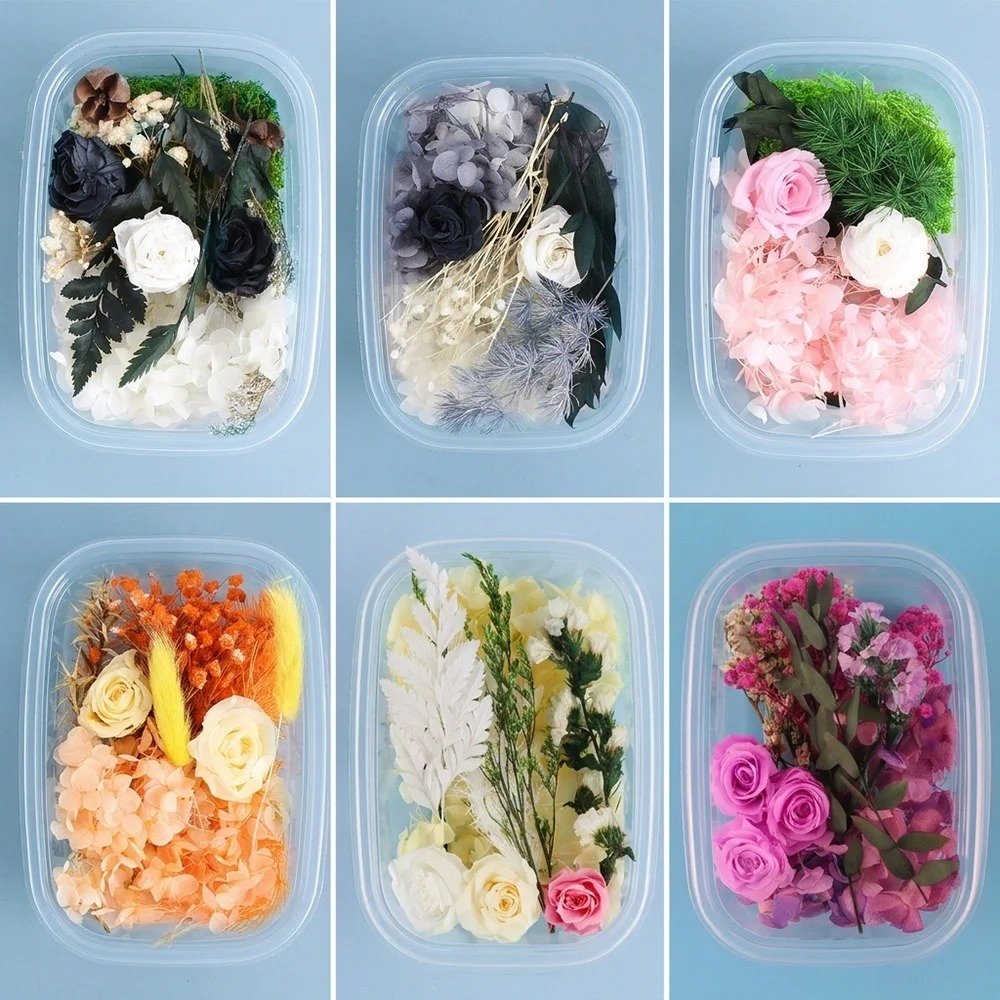
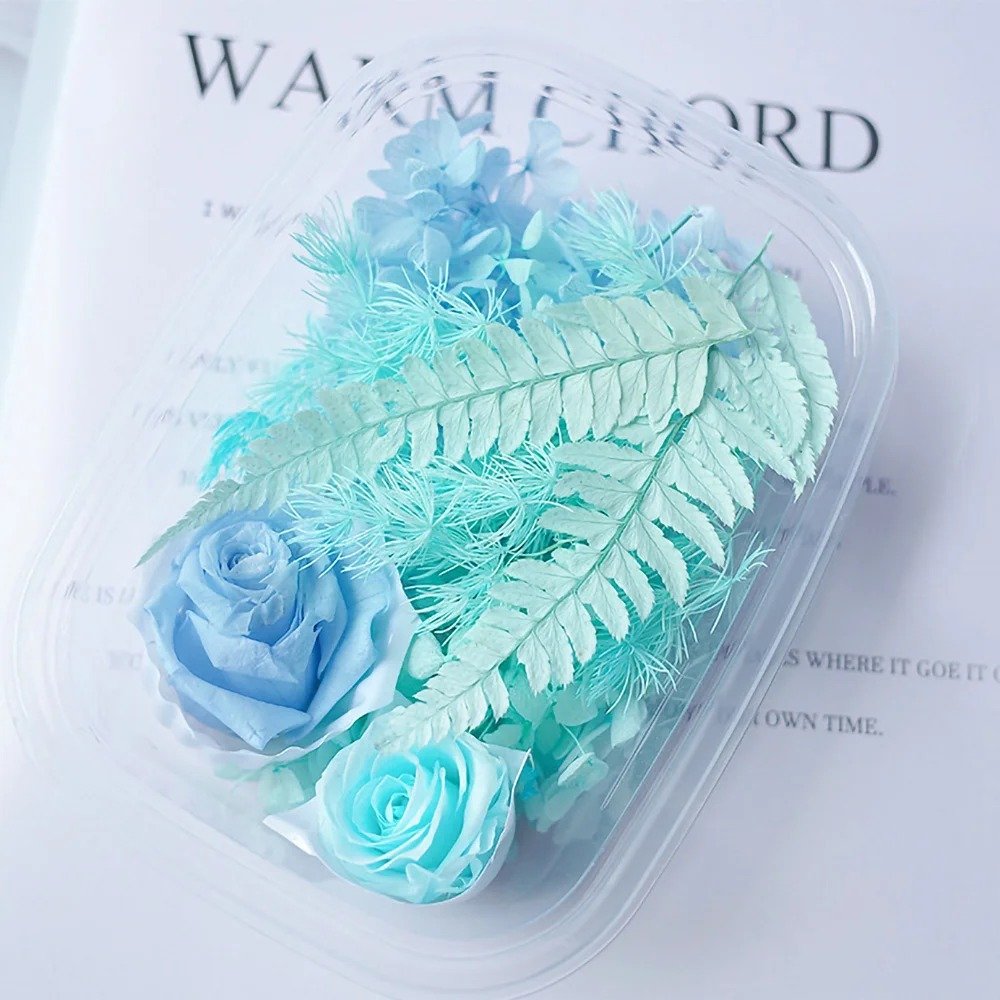
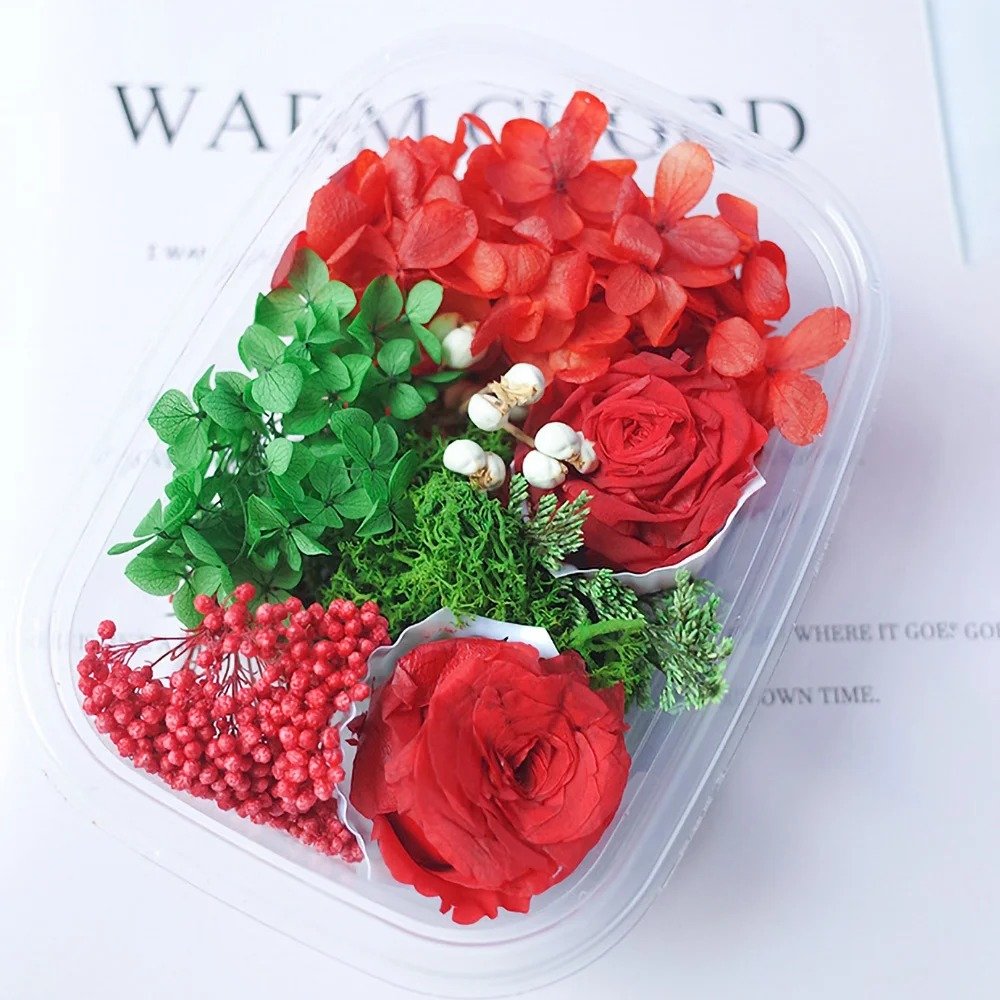
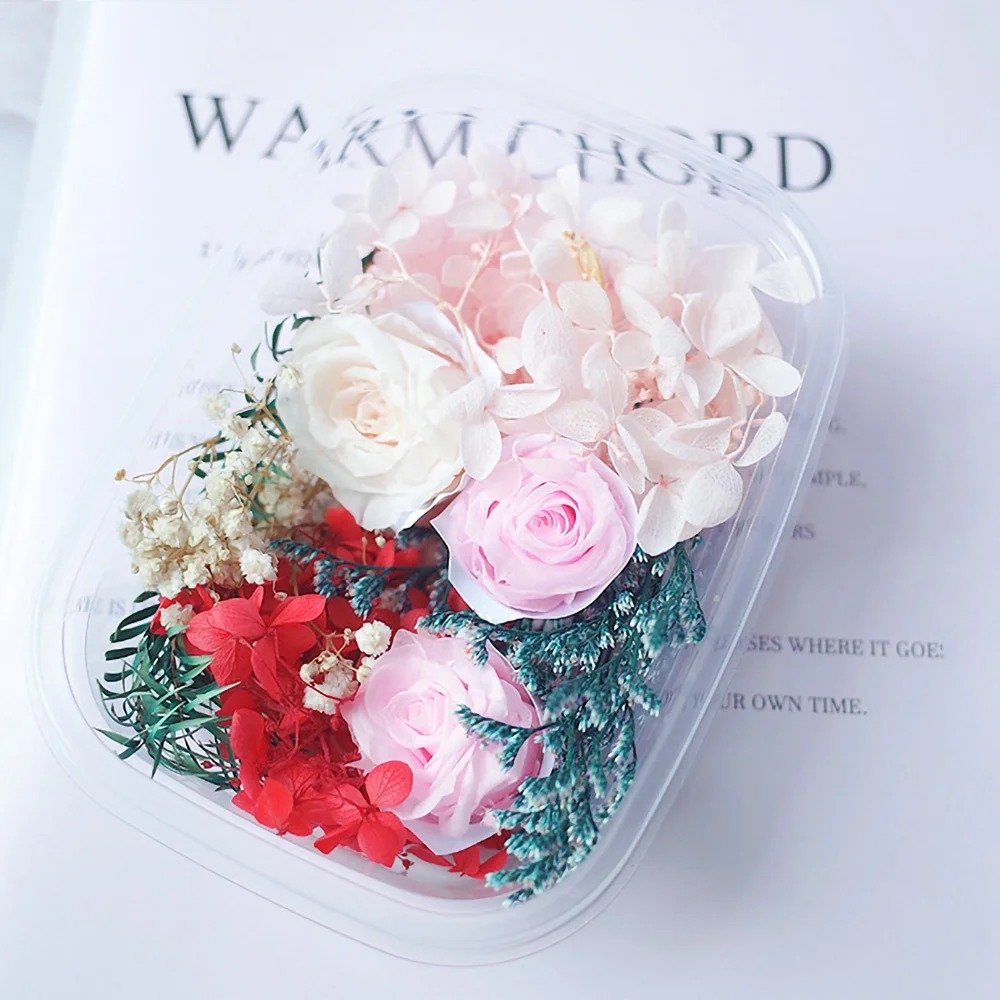
3D decorations: we used 3D artificial roses to match Ciel’s status as an earl. For other characters, you can swap the artificial flowers for plush charms, soft rubber badges, metal feathers, or small pendants, and still get an equally layered visual effect.
3. Find the Balance: The Art of Negative Space and Density
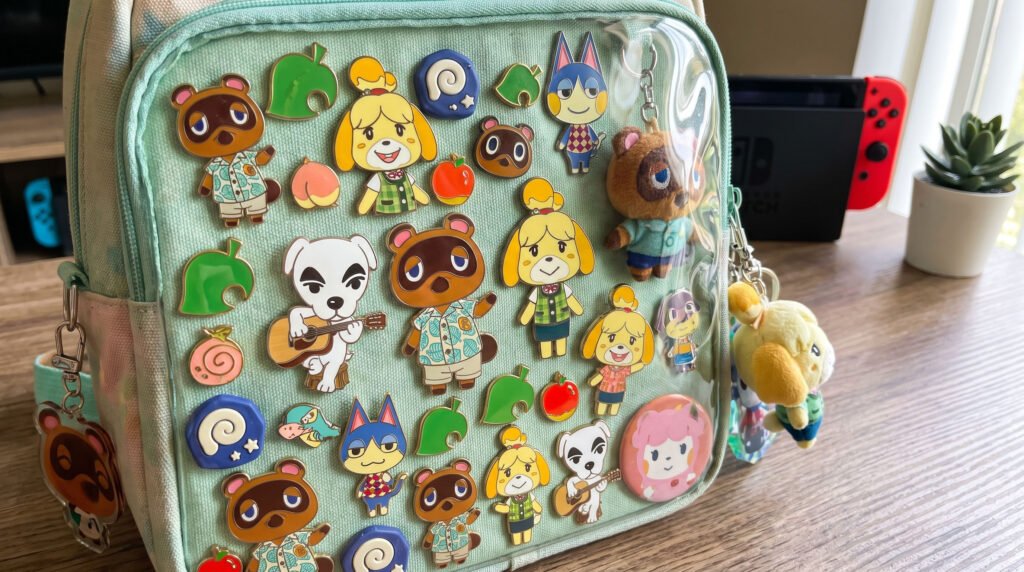
High-density minimalism: following the approach players use for densely packed ita bags, when you have a lot of merch to fit in, keep the board design as simple as possible and let your merch itself take center stage, using tiny accents to fill in the gaps at the edges.
Narrative display: if you don’t have much merch, you can fully follow the logic of our official tutorial video, using cards, ribbon, pearls, and 3D flowers to build a mini display with a real sense of a story scene, so that even a single badge can have a strong visual presence!
We hope this issue’s tutorial and case breakdowns bring you some fresh creative inspiration! Which character are you making an ita bag for right now? We’d love for you to share your work with us!
FAQ
Why is a red-and-black palette with gothic elements recommended for a Black Butler themed ita board?
Because color and symbolism are the core of extracting a character’s visual DNA. Ciel holds both the noble status of an earl and the chains of a contract, so a high-contrast palette of bloody-mary red, deep black, and a black-and-white checkerboard captures both luxury and mystery, and pairing it with cutout mesh, lace, roses, and magic-circle cards instantly maxes out the gothic storytelling feel.
If you’re not using traditional badges, what other materials can make a great-looking ita bag?
You can follow the hand-drawn-illustration-plus-3D-craft model: use hand-drawn art or collected character cards, layer scene illustrations as the base to create a top-and-bottom split, then layer wide cutout lace, a horizontal cluster of small 3D artificial roses, a pearl chain, and tiny metal patches in front of the cards to create a glamorous ita bag with real handmade warmth and a storybook feel.
How do you apply this same approach to other anime characters?
The key is flexibly swapping three dimensions: for a sweeter style, swap in macaron tones and star-and-moon stickers; for a sci-fi style, swap in laser stickers and geometric wireframes; textured materials can be swapped for metal chains, reflective webbing, or gold-foil rice paper; and 3D decorations can be swapped for small plush charms, soft rubber badges, or metal feather pendants.
Get Inspired on Instagram
Looking for inspiration for your next ita bag? Follow us on Instagram for more ita bag decoration ideas, styling inspiration, and creative ways to showcase your favorite pins, charms, and collectibles. We regularly share different styling ideas to help you discover new ways to decorate and personalize your ita bag.