Cream Piping Ita Board Tutorial: A Complete Guide to a Sweet-and-Edgy Kuromi Style
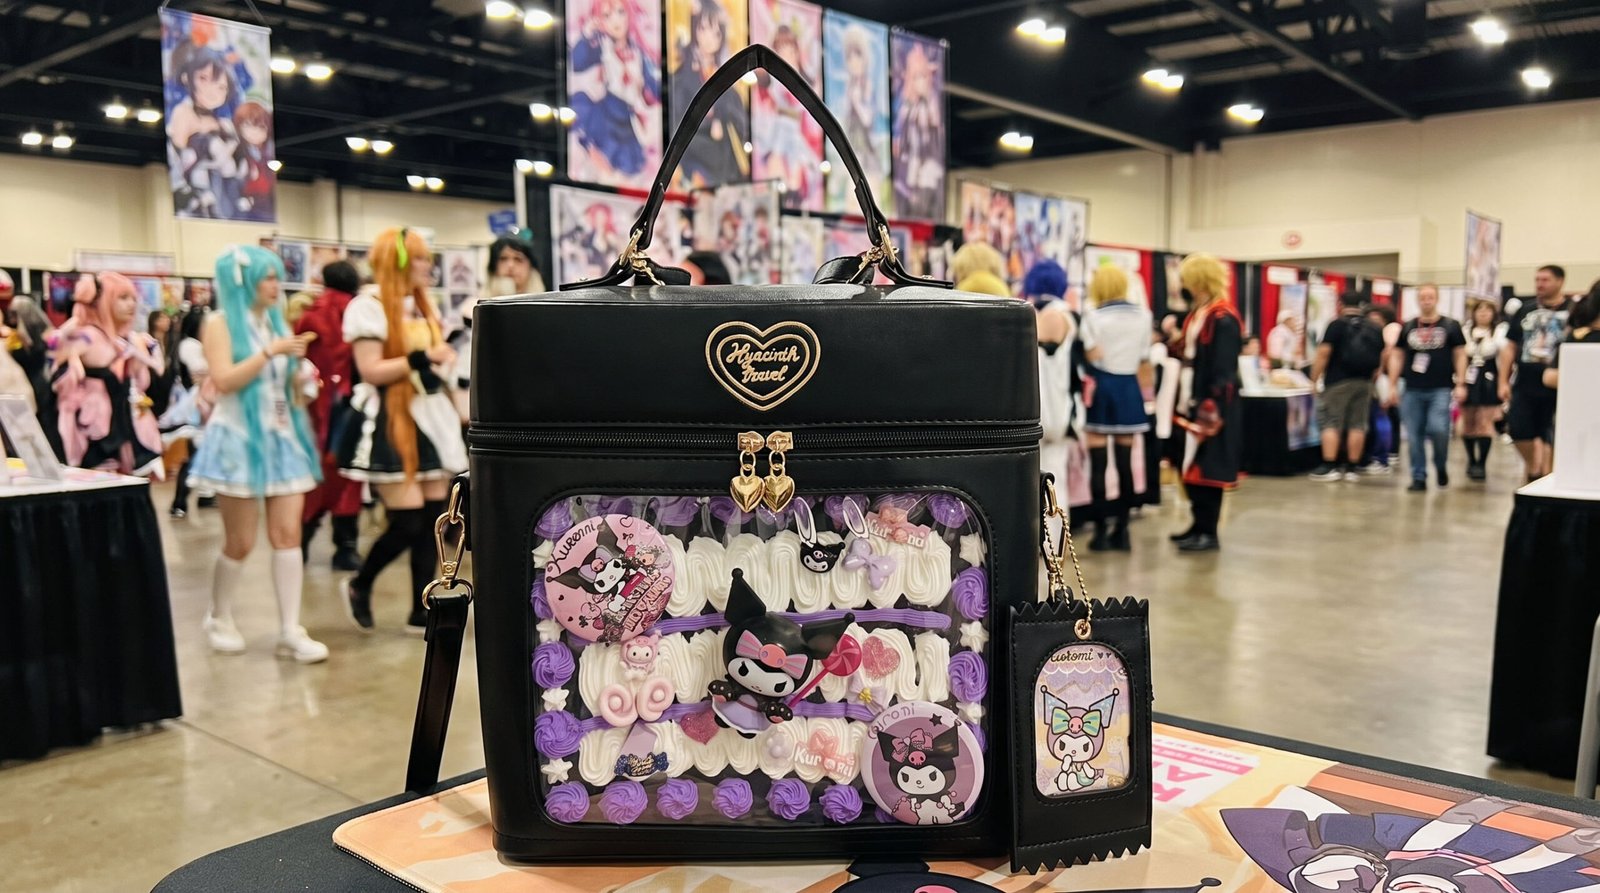
Table of Contents
Looking at the cute badges and acrylic stands in your hands, you want to make an ita bag but don’t know where to start? Worried about pins puncturing the lining, worried the finished look will be too one-note, and even more worried that working directly on the bag itself might ruin it for good? Actually, once you get the hang of how three-dimensional cream piping (ita board) works together with a standalone clear display base, even a total beginner can turn into an ita bag pro in no time! Based on a recent hand-made video featuring a purple three-dimensional sweet-and-edgy Kuromi-themed piece, this article breaks down the entire process step by step, from piping the cream to packing in the dense filler details.
The tutorial video featured here uses purple-and-white two-tone cream piping, paired with Kuromi-themed badges and a figure charm, going for a look that’s gentle with a hint of mischief, not the heavy frosting-and-sugar sweetness of a candy-girl style, nor a fully dark, gothic look, but a restrained palette of white wave textures as the base with purple rosebuds along the edges. The whole thing is done entirely by hand, with no oven-baking or hot glue gun involved — just snip a small opening in a piping bag and you’re ready to go. It’s a great one to follow along with if this is your first time trying cream piping crafts.
Before You Start: Work on a Separate Base Board, Not the Bag Itself, So Your Effort Isn’t Wasted
The biggest risk with cream piping is that it’s irreversible, once the gel is piped out and air-dries into shape, you can’t just peel it off and reposition it the way you would with lace or stickers. So the most common beginner mistake is working directly on the bag’s clear insert sleeve — one shaky hand, one crooked line, or colors that don’t separate cleanly, and you’re left watching an entire insert go to waste.
A safer approach is to pipe out your entire cream design on a separate, flat, non-stick base board first and let it dry completely. Once it’s fully set and the colors won’t run anymore, you insert the whole piece into the ita bag’s display sleeve. If something goes wrong, you just swap in a new base board and start over — the bag itself is never affected. And whenever you want to switch up the theme or the colors, you just make a new insert.
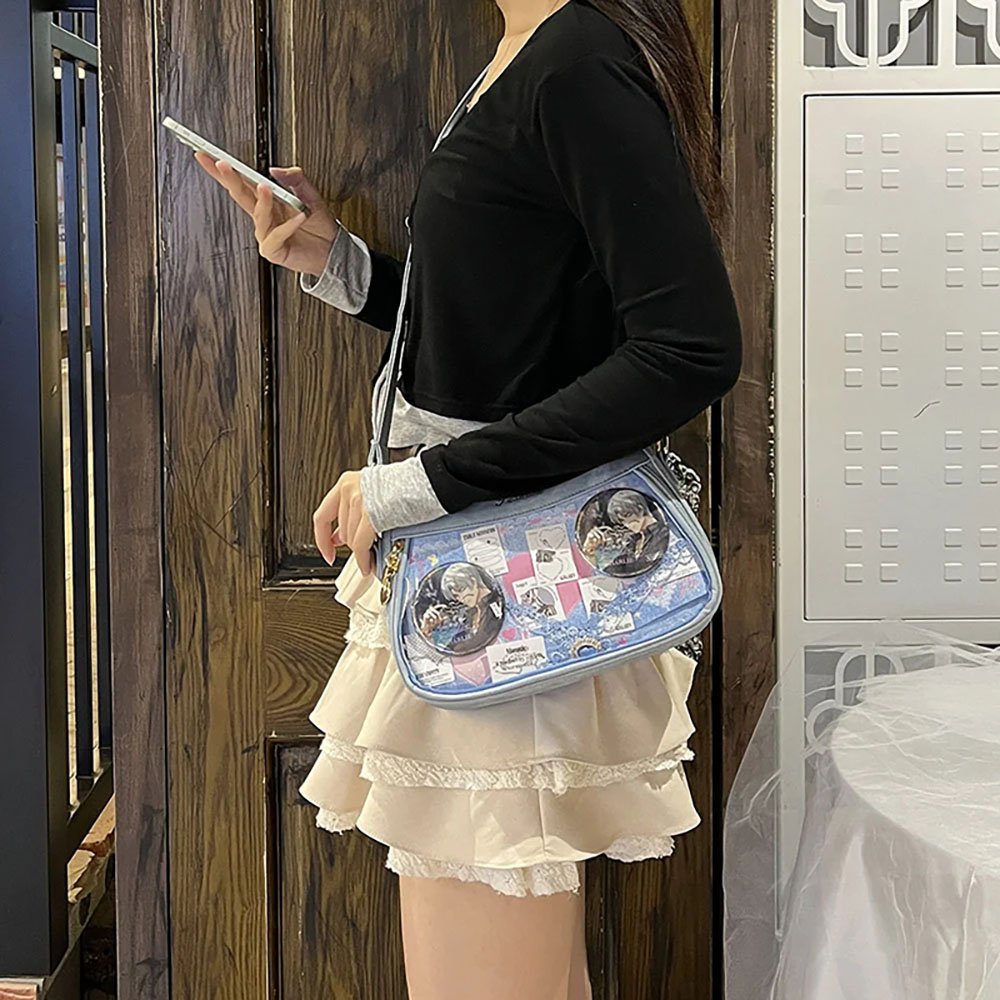
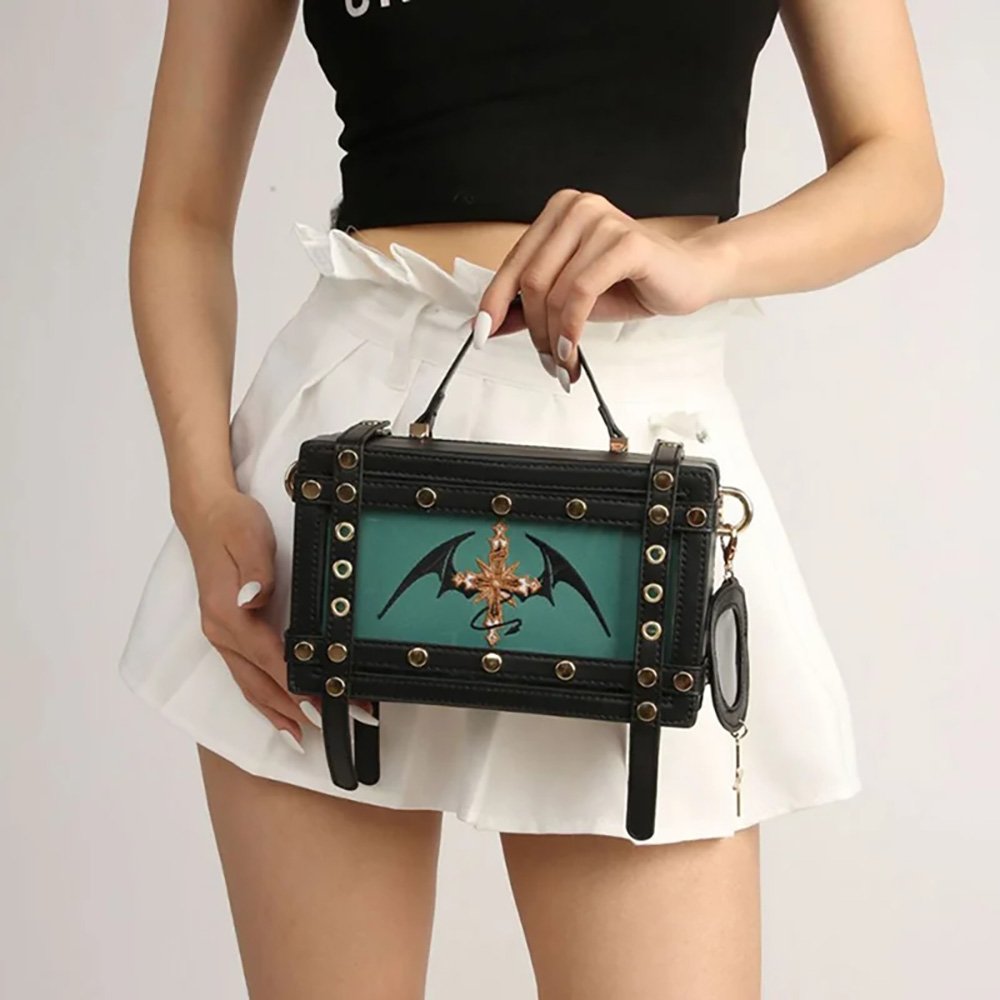
For this project, the Black Ita Bag Multi-way Square Crossbody was used, whose main display area is a neat square panel of a clear window, framed in matte black for a hint of mischief — a nice cool-on-the-outside, warm-on-the-inside contrast with the purple-and-white cream piping. It’s also sturdier for everyday crossbody wear than a purely decorative ita bag.
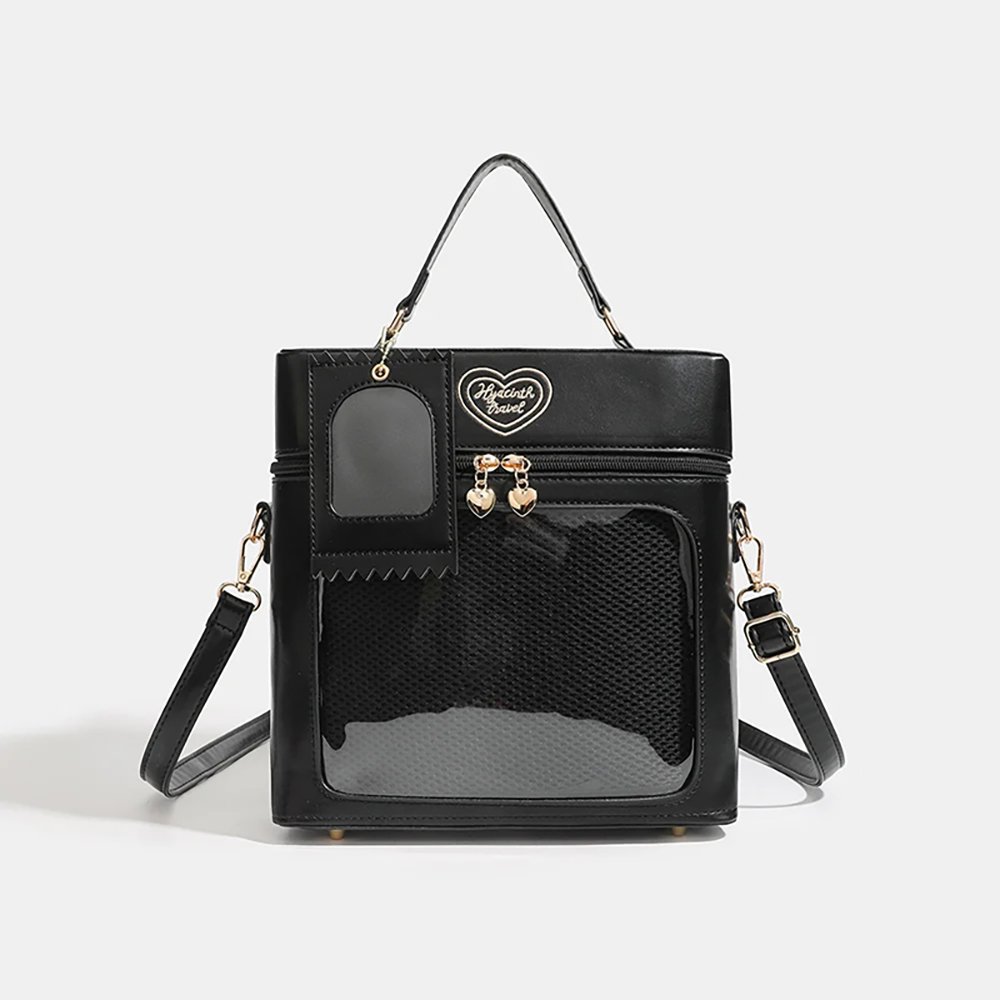
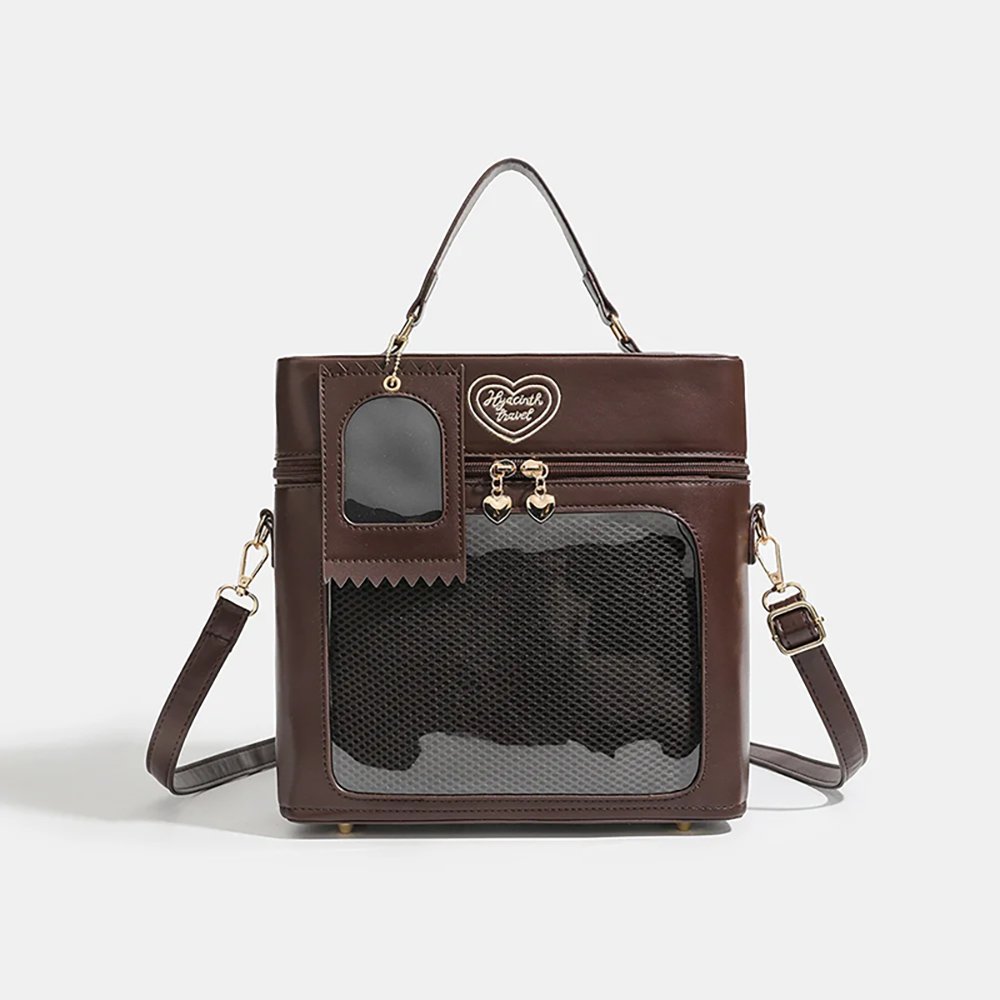
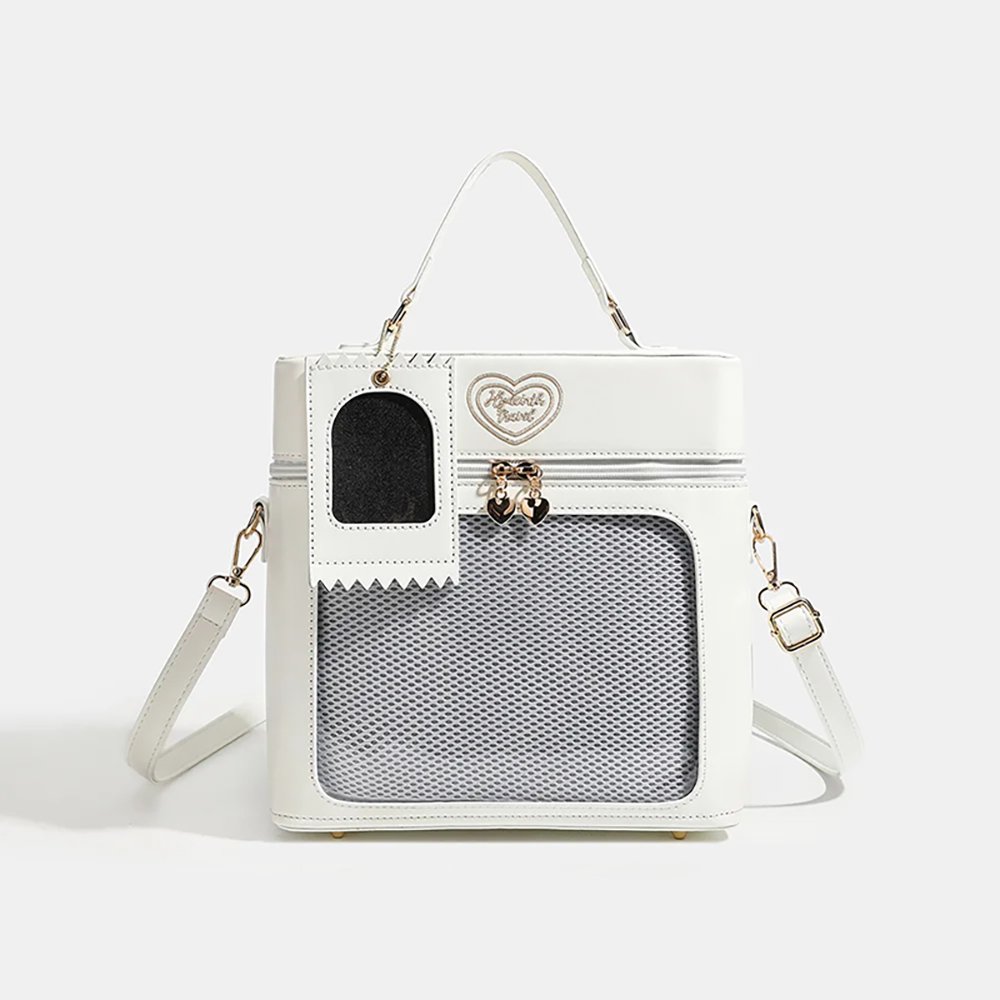
Materials Used in This Project
The best thing about cream piping crafts is that they don’t require special tools — a piping bag and scissors you already have at home are enough to get started.
Purple and white cream gel (in piping bags): one tube each as the main and accent color. It’s best to use slightly more white than purple, using purple mainly for edging, for a cleaner overall look.
Scissors: for snipping the tip of the piping bag. The size of the opening directly determines how thick your piped lines come out, so start with a smaller cut and gradually go bigger if needed.
A flat clear ita board that won’t stick to the gel: this serves as the whole design’s removable base. If it’s your first time and you’re worried about wasting materials, you can also cut a trimmable clear base board down to match the size of your bag’s display window for practice — and save the scraps for small accents.
Resin decorative charms: used to fill in the gaps between the wave texture and rosebuds. Small charms in various colors and shapes — hearts, bows, candies, stars — save you the time of hand-cutting and painting your own; you just position and secure the ready-made pieces.
Strong, residue-free double-sided tape: once the cream piping board has fully dried, this is the most reliable way to attach it to the bag’s insert sleeve, without leaving marks on the clear parts the way ordinary glue would. Nano double-sided tape cut into small strips along the edges is all you need.
Themed badges and figure charm: this project uses round Kuromi-series badges and one three-dimensional figure charm.
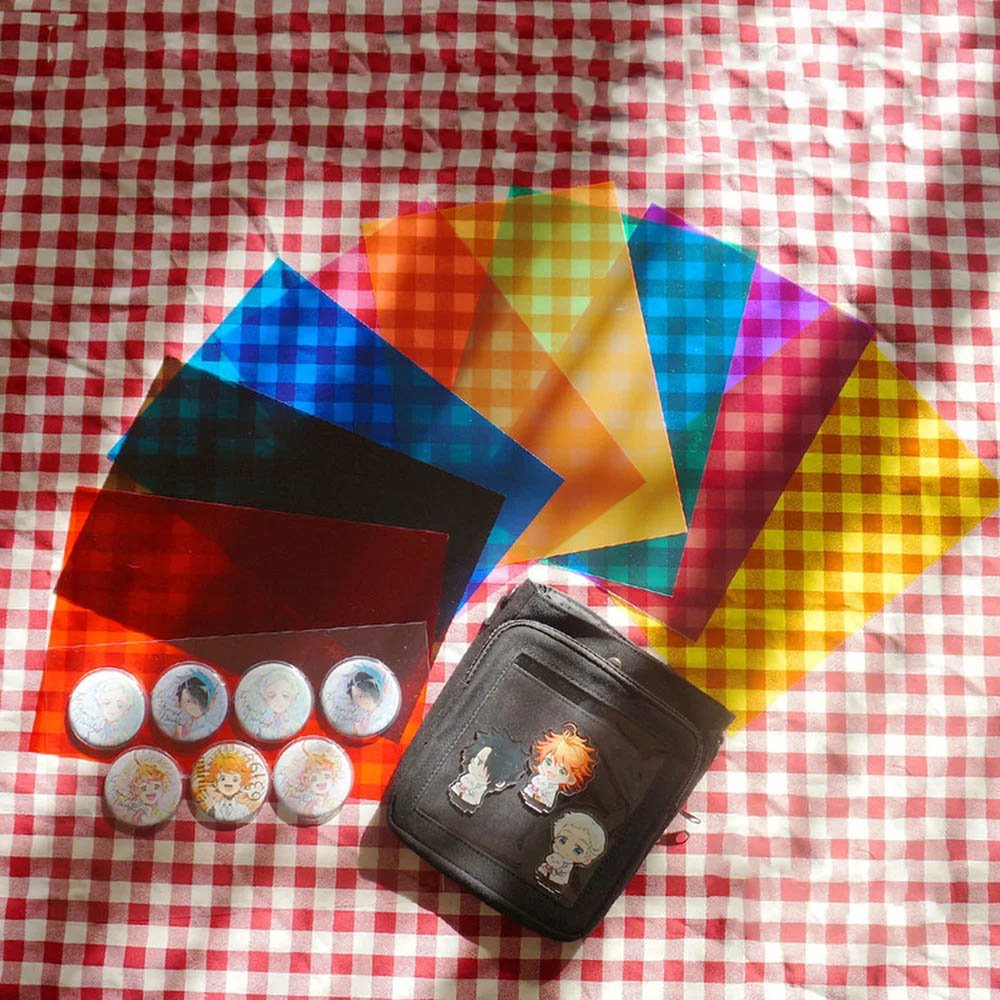
Full Step-by-Step Process for the Purple Cream Piping Ita Board
Step 1: Trim the Piping Bag Tips and Do a Test Squeeze to Get a Feel for It
First, snip a small diagonal opening in the tips of both the purple and white cream piping bags — don’t cut it too big on the first try, since too large an opening will make the later wave patterns blur together and lose their sense of depth. After cutting, don’t dive straight in — test-squeeze a few shapes on scrap paper or the edge of a mat first, to get a feel for your hand pressure and the gel’s consistency. Skip this step and you’ll most likely mess up when it’s time for the real thing.
Step 2: Pipe the Outer Ring of Rosebuds First to Frame the Board
Using the purple cream gel, pipe a ring of round rosebud shapes around the edge of the base board to form the frame for the whole ita board. You don’t need every single rosebud to look identical here — part of the charm of handmade work is that slightly varied bud sizes actually add more depth. You’ll notice the purple flowers along the edge were piped in batches with visible spacing between them.
Step 3: Pipe the White Wave Base to Anchor the Main Visual
Once the frame is done, switch to the white cream gel and start piping continuous wave patterns from one side, laying them out row by row — this is the part that carries the most visual weight in the entire ita board. Keep your wrist moving side to side at a steady pace as you pipe — go too fast and the lines will thin out and get stringy, too slow and the gel will pile up too thick, and just piping the gel is fairly tiring on your hands. Beginners don’t need to rush through it in one go — it’s completely fine to break it up into a few sessions.
Step 4: Purple Divider Lines + Small Snowflake Accents
Between the rows of white waves, pipe a thin purple dividing line with the purple gel to break up the flat white areas and give them some rhythm. Then use tweezers to pick up the resin charms and place them one by one into the dips of the wave pattern. This step is what turns the whole ita board from flat to three-dimensional — the simple act of adding these decorative accents has a weirdly satisfying, stress-relieving quality once you get into a rhythm with it.
Step 5: The Core Step — Embedding the Main Character in the Center
While the cream gel is still not fully set and hardened (roughly at the stage where the surface is slightly dry to the touch but no longer sticky), gently press the three-dimensional Kuromi figure charm into the ita board’s center area, then surround it with a few round badges. Timing matters a lot here: press too early and the gel is still soft, so it’ll deform or sink; press too late once the gel has fully hardened, and forcing it in risks cracking the piece.
Step 6: Let It Dry Completely, Then Insert It Into the Ita Bag to Finish
Set the finished ita board somewhere well-ventilated to air-dry, cream gel doesn’t mind sunlight but does mind being sealed away without airflow. Leave it for at least a full night to make sure the inside dries and sets completely — otherwise the sleeve won’t breathe once it’s in the bag, and it can turn damp and discolor. Once it’s fully dry, insert the ita board into the display window sleeve of the ita bag, zip it up, and your soothing purple-toned Kuromi-themed ita bag is complete.
A Few Practical Tips to Avoid Common Mistakes
Don’t pile the cream gel on too thick in one go: if the layer gets too tall, the surface may look dry while the core underneath is still soft, and over time the center will sink and crack. It’s better to build it up in two or three thin layers, giving each layer a bit of time to set before adding the next.
The size of your piping tip opening determines how fine the texture looks: cut it too big and the waves blur together, losing that handmade look; cut it too small and the tip clogs easily while tiring out your hand. Always test it a few times on scrap material before starting the real thing.
Timing matters when pressing in the character charm: the ideal window is when the surface is slightly dry and no longer sticky, but there’s still some give underneath. Press too early and it’ll sink and deform; press too late and it won’t go in easily and may crack instead.
Don’t skip or rush the drying time: a lot of people finish and immediately stuff the piece into the bag the same day, only to have any not-fully-dried areas smear or deform from the jostling of transport or wearing the bag out. Let it dry for at least a full night, and only assemble once it feels completely non-tacky to the touch.
Choose a bag with a display sleeve that has some depth and a clear display window: since cream piping is inherently three-dimensional, if the sleeve is too shallow or the window isn’t clear enough, the depth and shine of your work will get lost. Pay attention to the depth and clarity of the display window when choosing a bag.
Finding Your Own Cream Piping Style
There’s no single right answer with cream piping — the possible combinations of colors and textures are nearly endless. Finding a color scheme that matches the personality of your favorite character is really the most enjoyable part of the craft.
Purple-and-white healing style: a white wave base with purple rose edging, well-suited to characters like Kuromi and My Melody — soft and cute on the surface with a bit of rebellion underneath. Since this style relies on showing off depth in a three-dimensional design, it pairs well with an ita bag that has a deep base color and a large display window, like the one used here — a dark background makes the white-and-purple cream piping pop even more.
Macaron frosting style: use pink, mint green, or pale yellow as the base and pipe out plumper, rounder rosebud shapes. It suits sweet-style characters like the Sanrio family or Animal Crossing, and pairs well with a pink-series ita bag, since a light-colored bag blends more naturally with a frosting-toned palette.
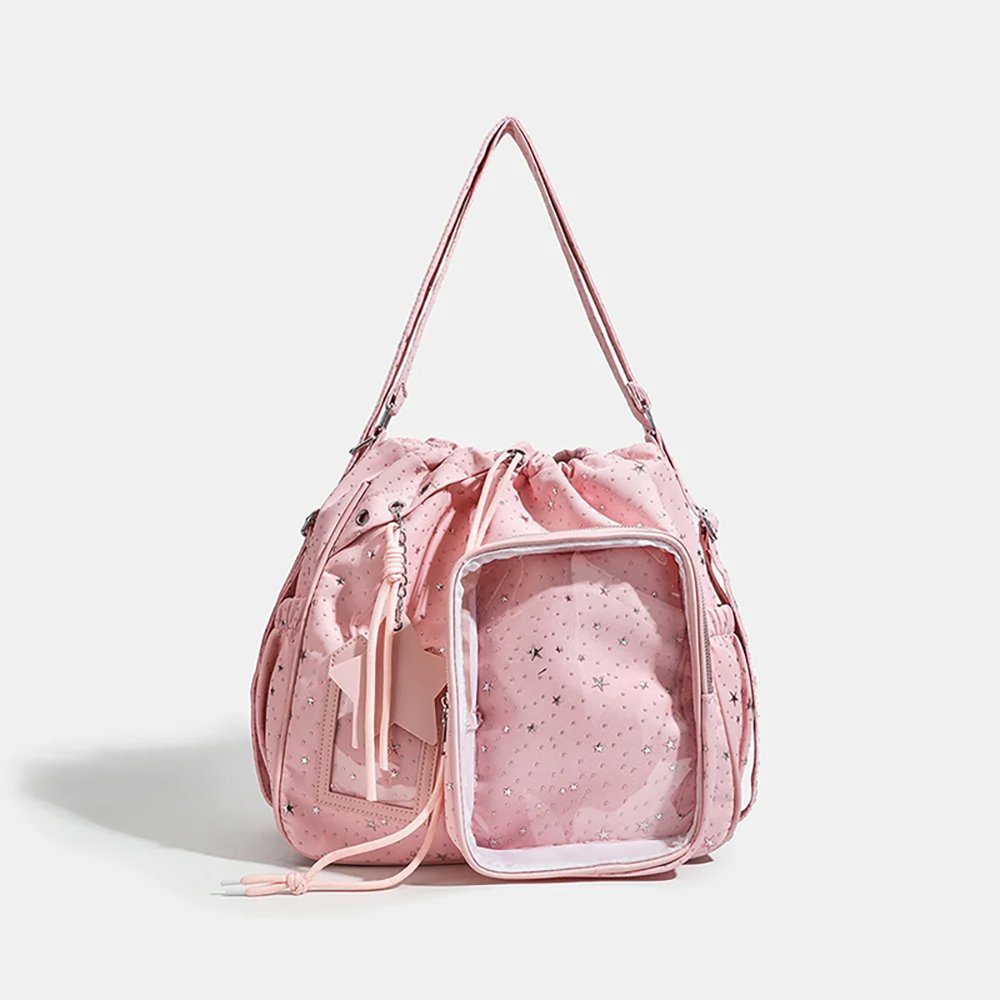
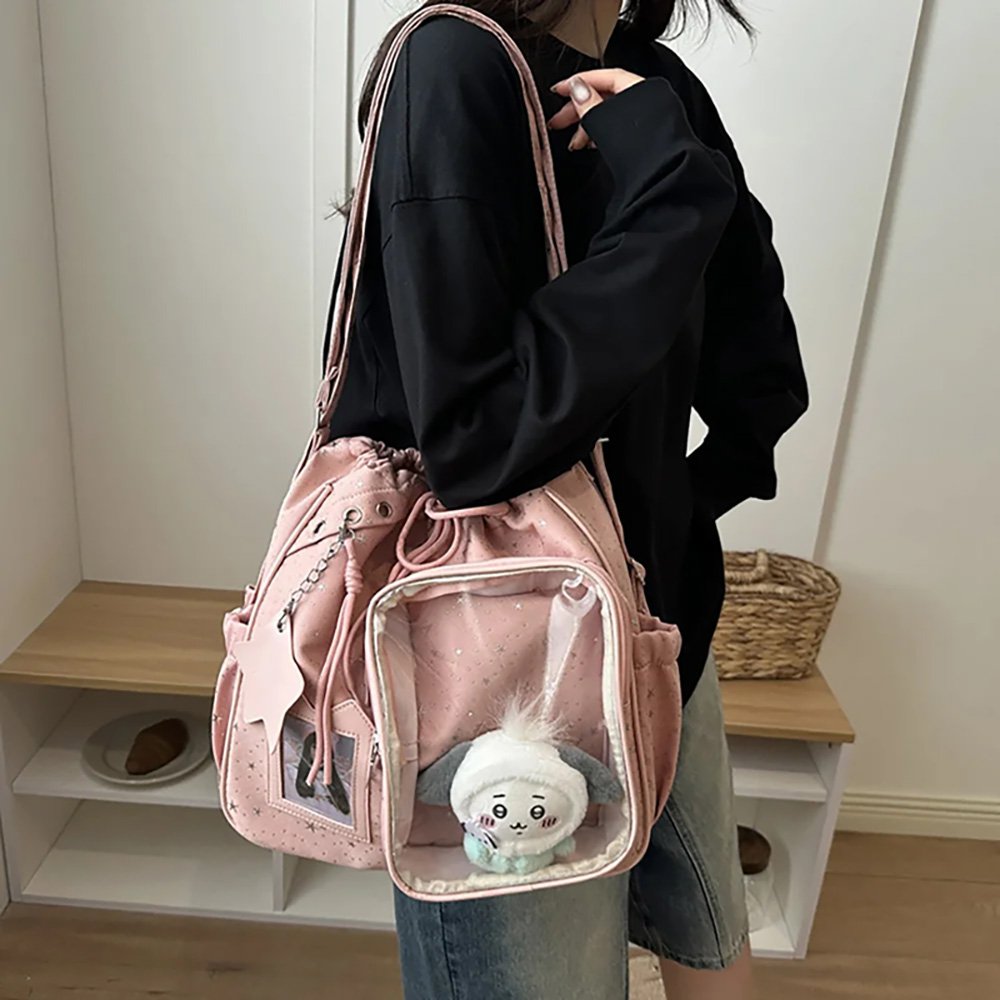
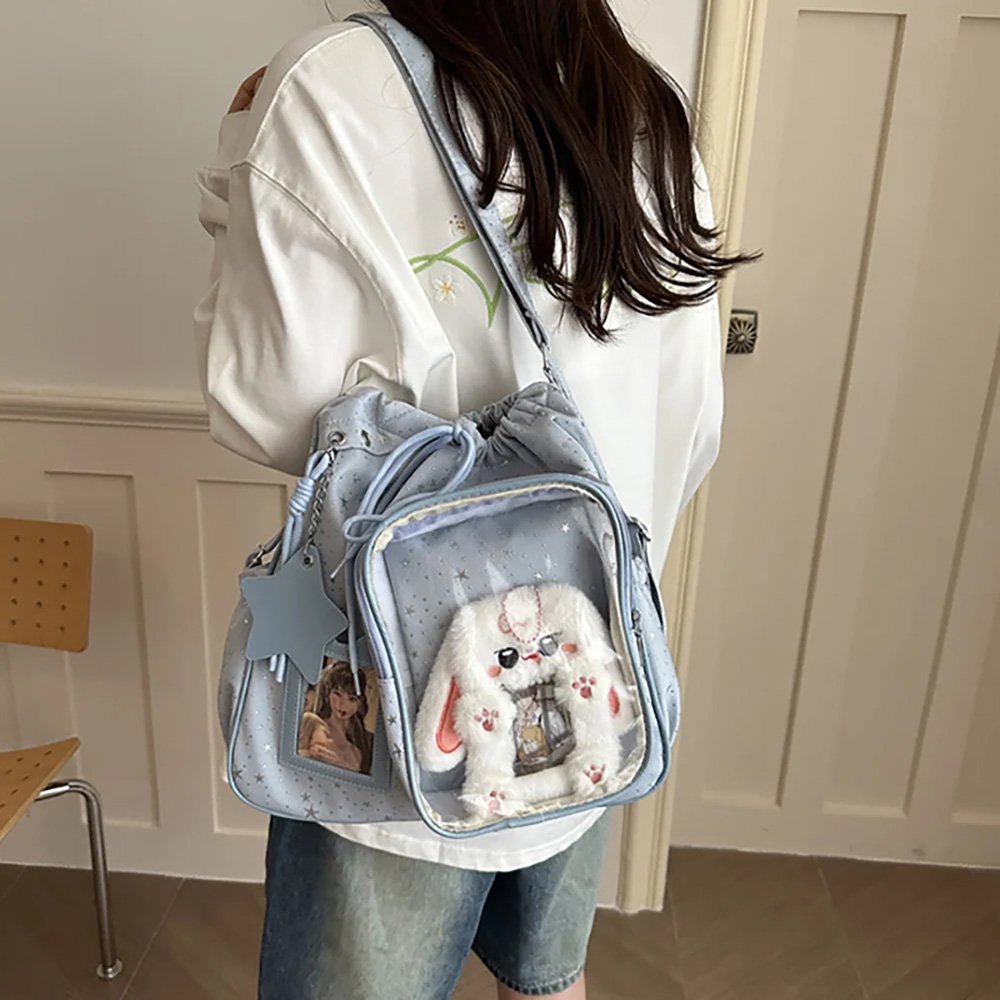
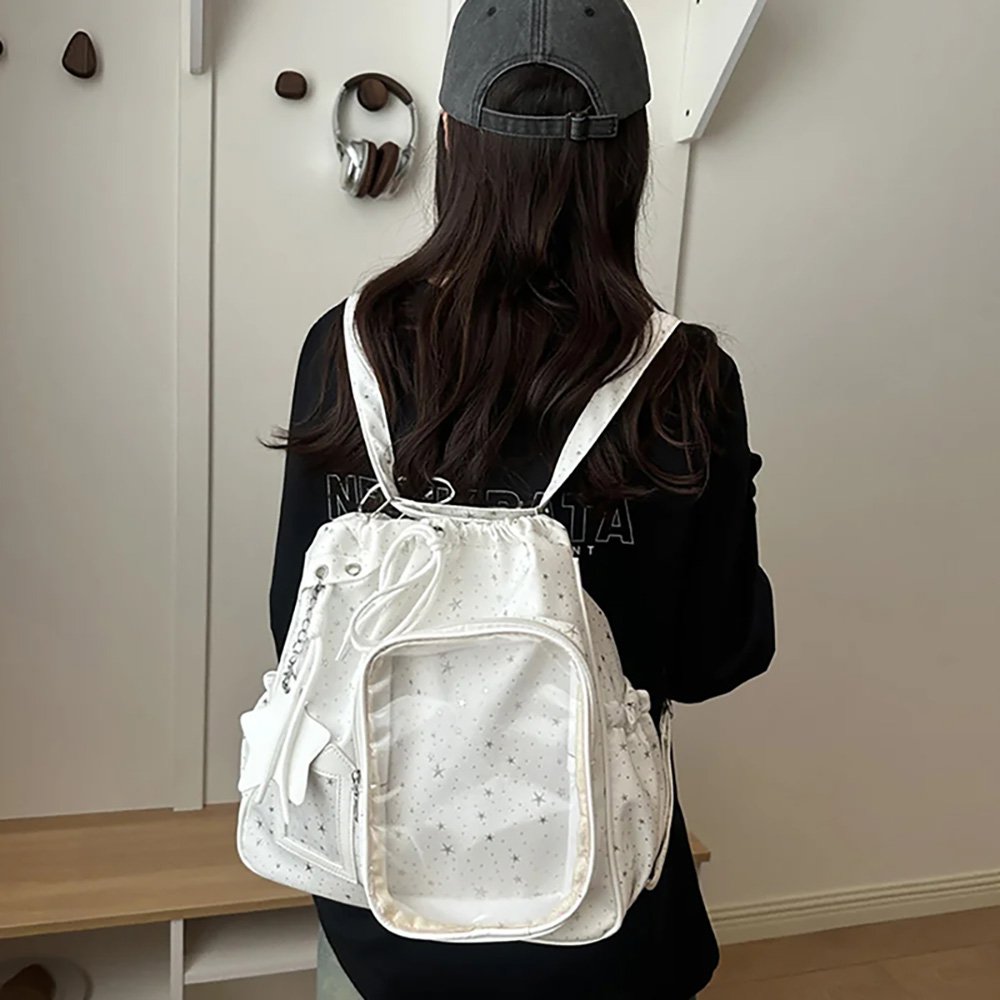
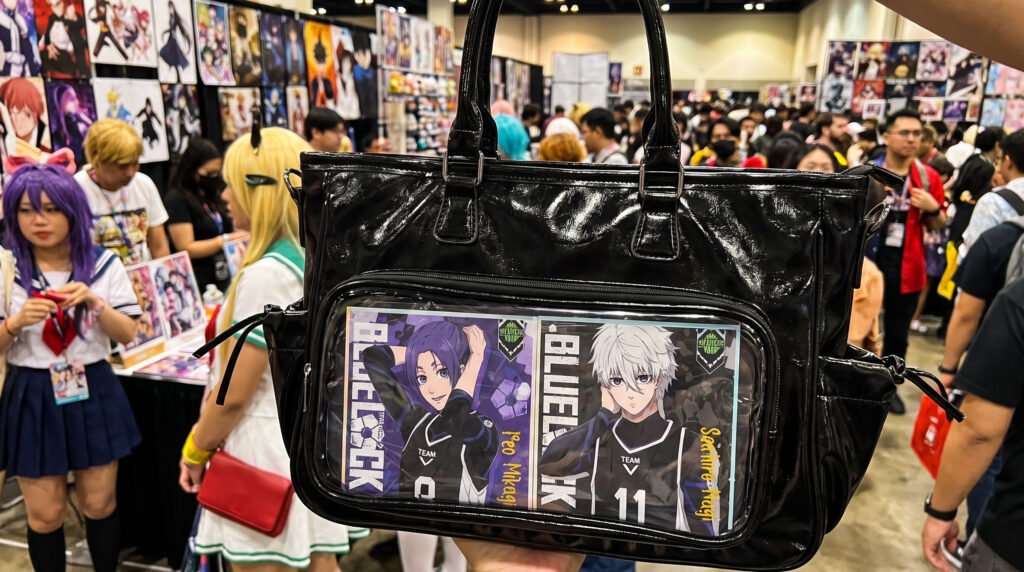
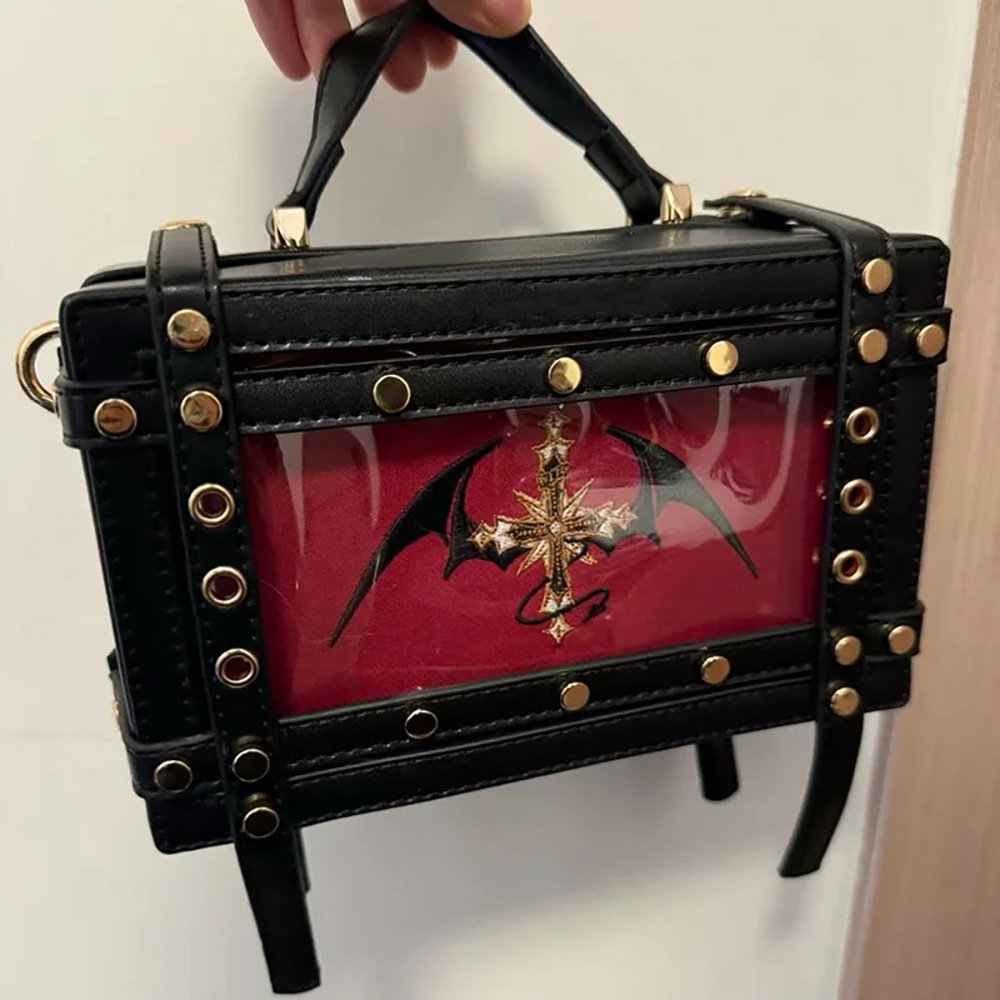
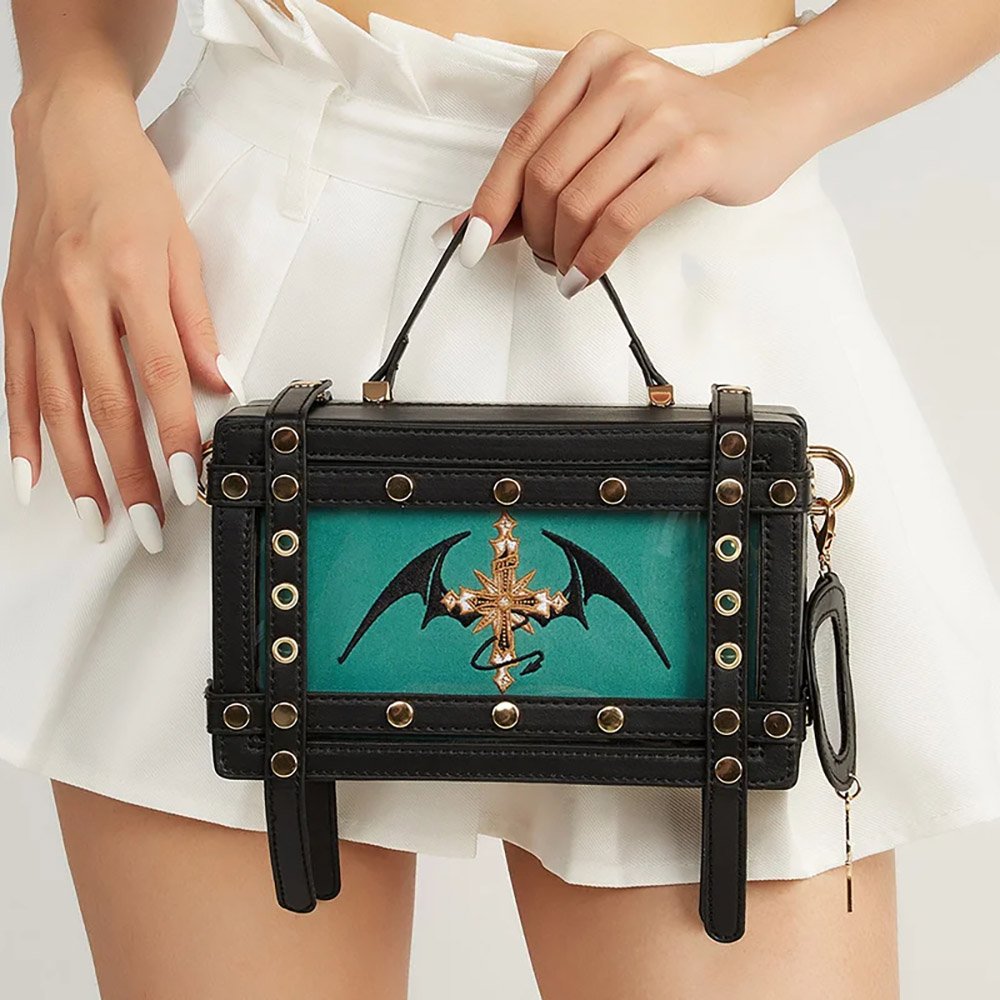
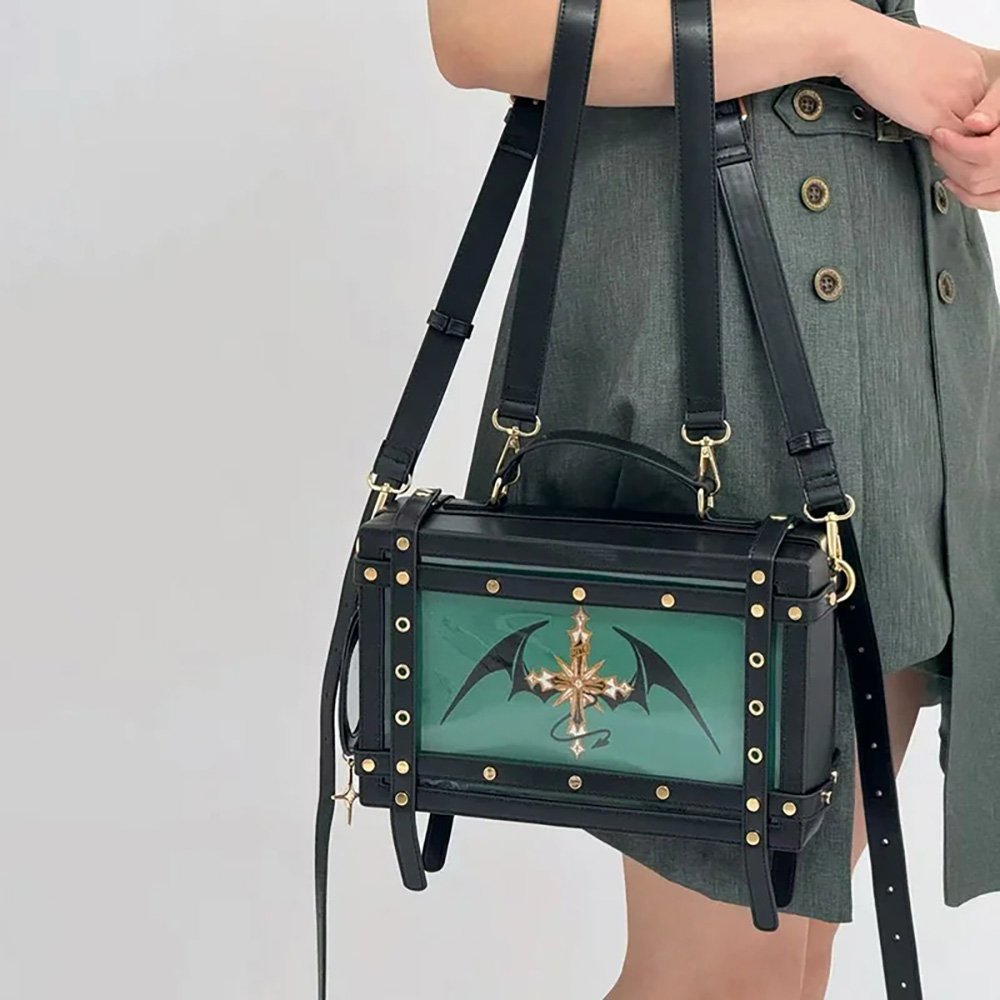
Dark Gothic cream piping style: a black-and-red or black-and-purple color scheme, with sharper, cleaner lines — fewer rosebuds and more geometric dividing lines. It suits characters with a stronger presence, like Black Butler or Blue Lock, and pairs well with a Gothic-style ita bag for a more unified overall look.
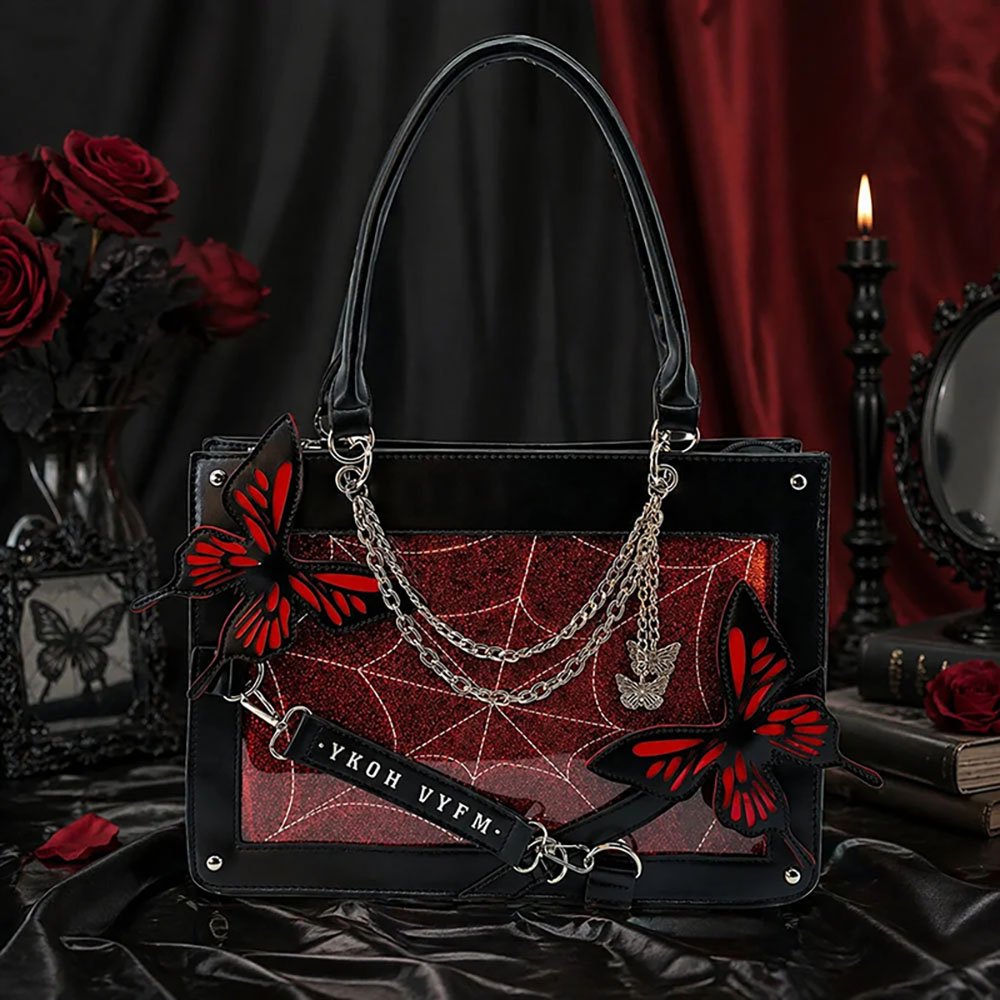


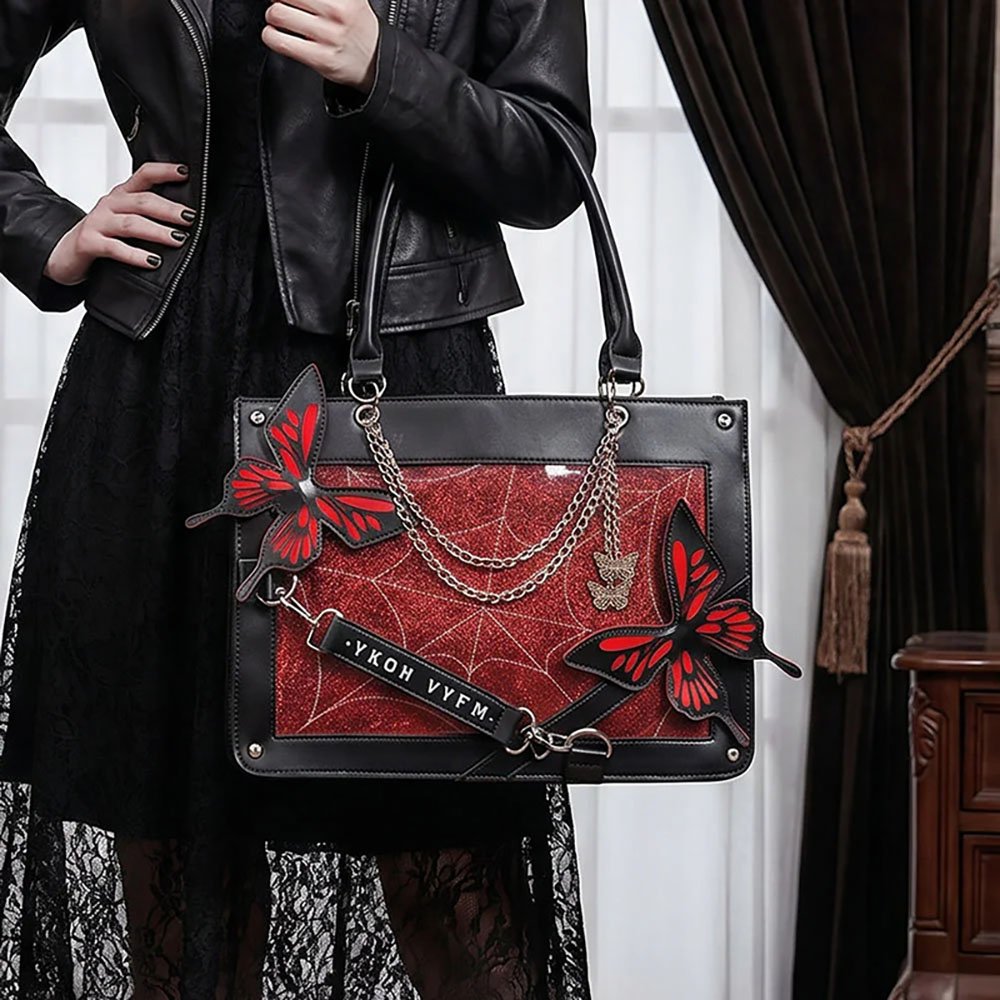
Once you’ve got the logic down — base texture, accent details, and a central character — you can make your own cream piping ita board in whatever color and theme you like.
If you’d like to try making a custom cream piping ita board for a character you love, come check out Pinitabag — from ita bags with generously sized display windows, to removable ita boards in various materials, to matching badge charms — new items are being added all the time, and we hope it helps you avoid a few detours along the way.
What pitfalls have you run into while making cream piping crafts, or do you have any tricks of your own? Feel free to share in the comments!
FAQ
Why does my cream piping keep sinking and losing its shape?
It’s most likely because the gel was piped on too thick, or the piping tip opening was too large, releasing too much gel at once. Pipe it in layers instead, letting the surface of each layer set a little before adding the next, and keep your hand pressure even rather than squeezing out too much at one time.
About how long does cream piping need to dry completely?
The exact time depends on the thickness of the gel and the humidity of your environment, but it’s generally recommended to let it sit for at least a full night. You’ll know it’s ready when a light touch leaves absolutely no tackiness and pressing it doesn’t leave a fingerprint. If there’s still a soft core inside, give it a few more hours to avoid discoloration or sticking once it’s sealed in the bag.
How do I attach badges and figure charms so they don’t fall off easily?
The most reliable way is to gently press the charm in while the gel’s surface is just slightly dry but still a bit tacky, letting the gel naturally wrap around the base of the charm. If the gel has already fully hardened, you can add a small dab of fresh gel or some residue-free double-sided tape to the back of the charm as extra reinforcement, rather than forcing it in after everything has dried, which risks cracking.
The cream piping ita board went wrong partway through — can it still be fixed?
If the gel is still only half-dry, you can carefully scrape off the mistake with a tool and re-pipe that section. But once it’s fully dried and hardened, it’s usually very hard to fix seamlessly — in that case it’s best to just switch to a fresh base board and start over, which is exactly why it’s worth practicing first on a trimmable, soft base board — it’s cheaper, so mistakes don’t sting as much.
Get Inspired on Instagram
Looking for inspiration for your next ita bag? Follow us on Instagram for more ita bag decoration ideas, styling inspiration, and creative ways to showcase your favorite pins, charms, and collectibles. We regularly share different styling ideas to help you discover new ways to decorate and personalize your ita bag.