BLUE LOCK Gothic Ita Bag: A Complete Hands-On Assembly Guide and Tips
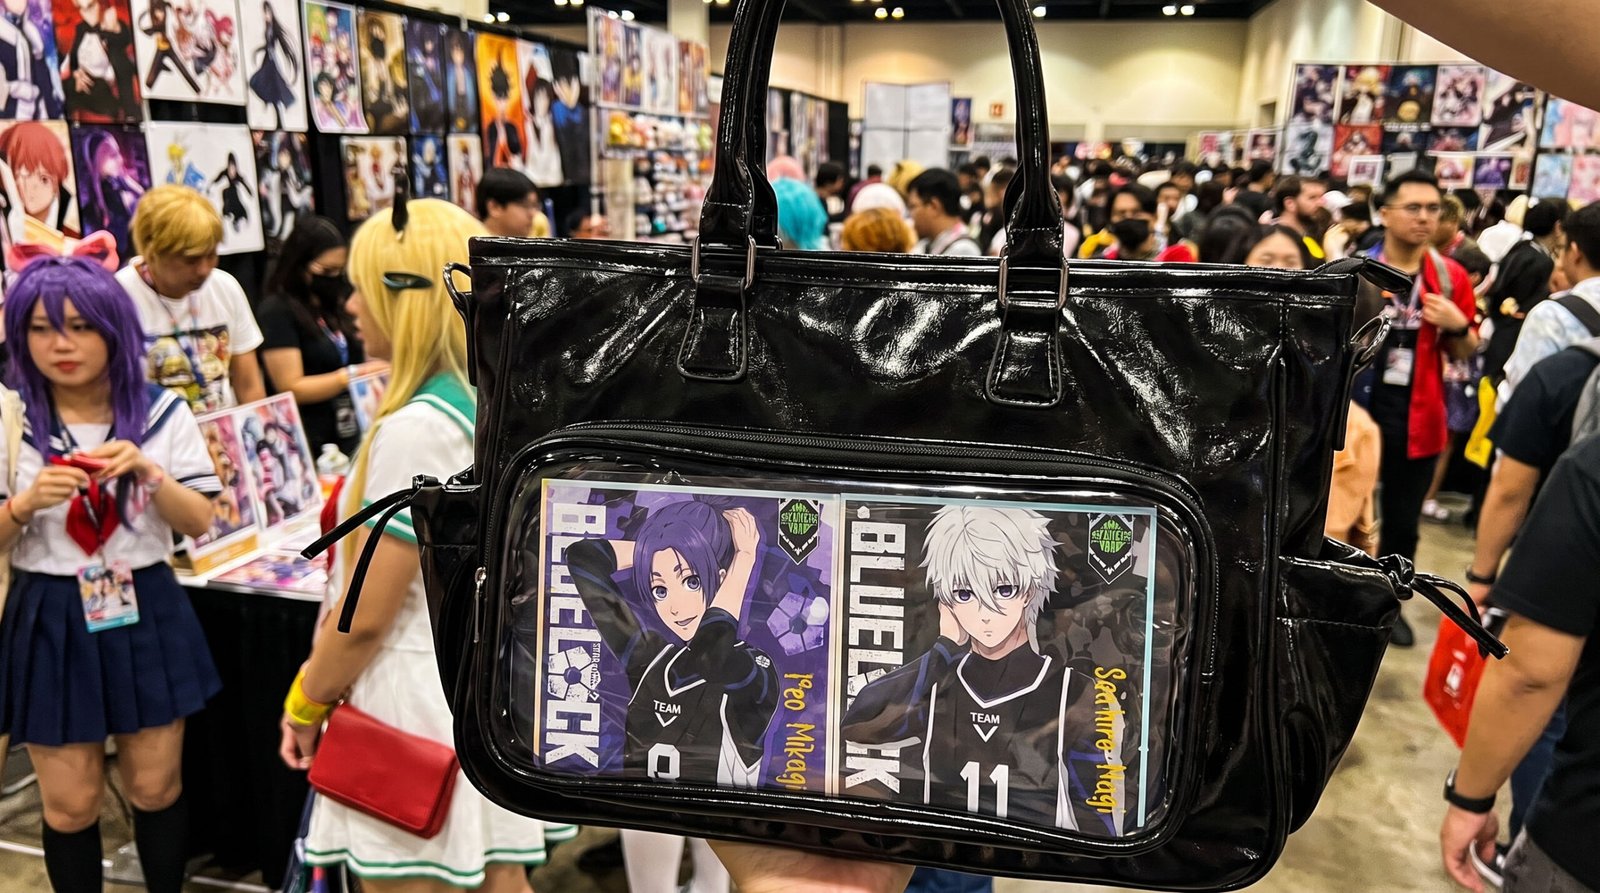
Table of Contents
At Pinitabag, we get almost the exact same message nearly every week: “I want to make an itabag for my favorite character, but I have no idea where to even start.” Honestly, we know that feeling of indecision all too well, holding a limited-edition badge in your hand, staring at a blank insert board for ages — wanting to carry your favorite character out and show them off, but also worried a pin might damage the backing card, or that glue will leave a mark that never quite comes off. That mix of love and hesitation is probably a shared memory for anyone who’s ever assembled an itabag.
That’s exactly the pain point we wanted to solve, so we put together a new hands-on video called Hand-in-Hand Teaching You How to Pack an Ita Bag With the Simplest Tools, using merch from the wildly popular sports anime Blue Lock as an example, to bring you a visually striking and completely damage-free step-by-step guide to building a Gothic-style itabag. We hope it can serve as a reference the first time you make your own itabag.
Ⅰ. Before You Start: Get Two Things Clear First — Atmosphere and Protection
Whether an itabag looks good rarely comes down to how much decoration you used — it comes down to whether you’ve balanced two things: how focused your visual center is, and whether your merch is genuinely well protected.
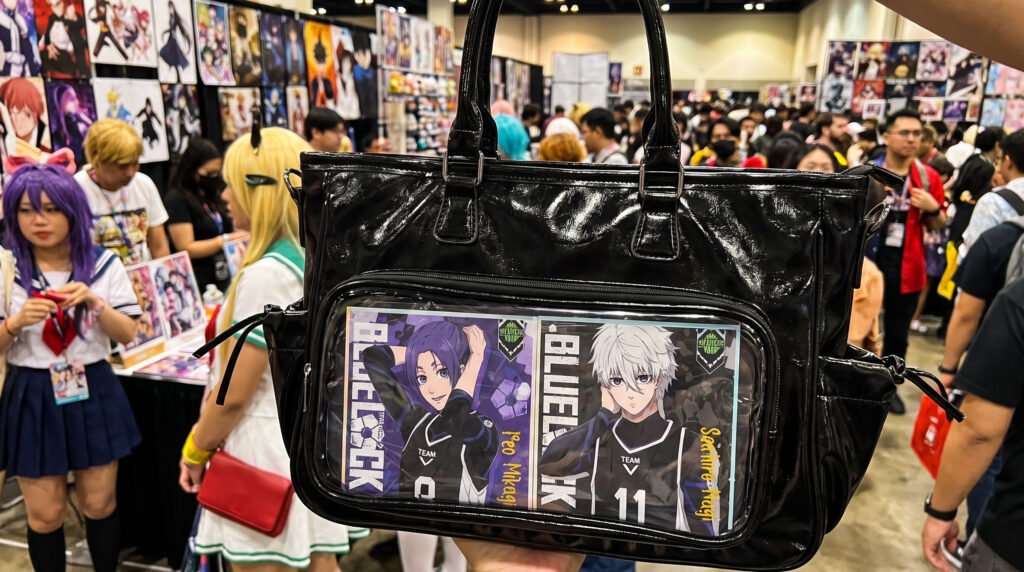
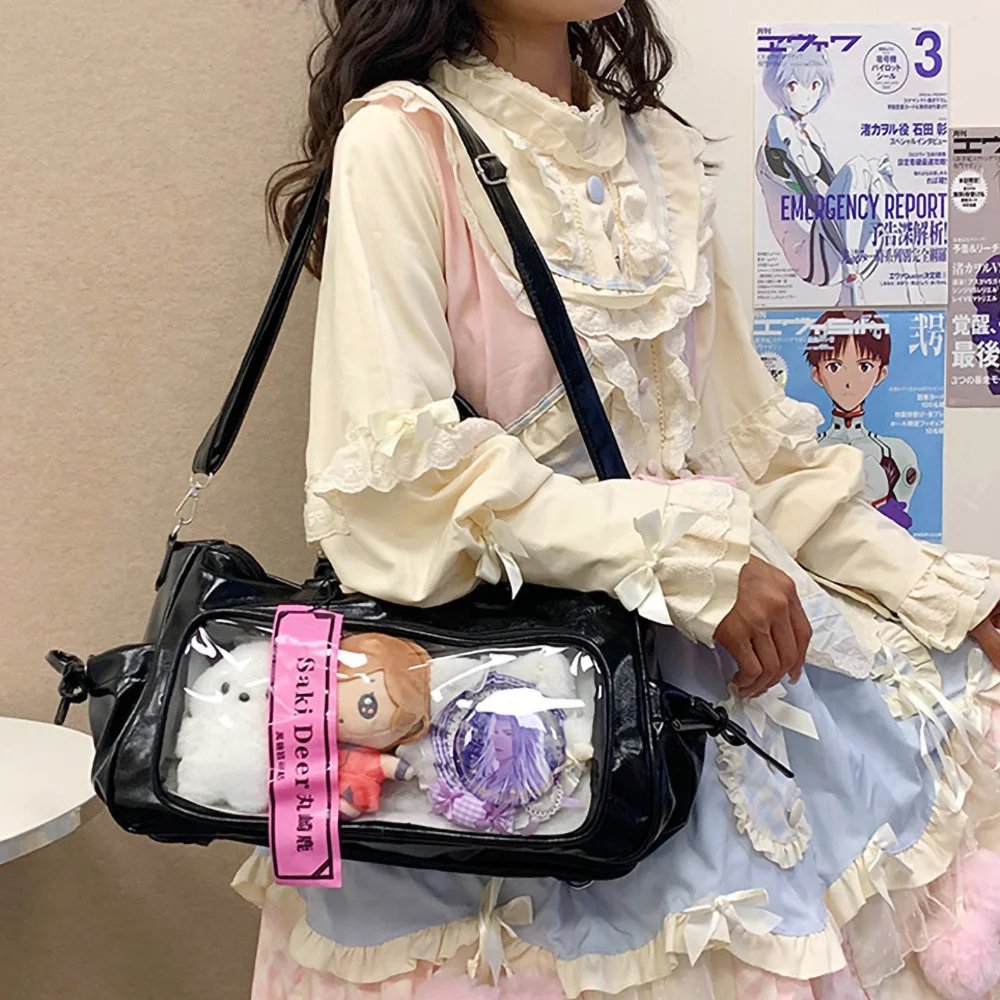
The most common mistake beginners make is starting to decorate right away with no plan at all, which ends up either looking scattered and cluttered, or with badges tilting every which way because the insert board itself is too soft and sags. This time, the itabag we chose is the Black Ita Bag Crossbody Large Display Tote, whose base bag comes with a removable clear insert board — decorate on the standalone insert board, then slot the whole thing into the display pocket, and that’s actually the approach we most want to recommend this time: build a decoration board that you can pull out and swap anytime, instead of permanently fusing everything onto the bag itself. The benefit is straightforward: later, when the show you’re following changes, or your favorite character changes, you can just make a new base board and swap it in — the bag itself never has to change, which makes it much easier to keep your enthusiasm going long-term.
Ⅱ. The Materials for This Build Are Genuinely Simple
- One clear ita board, used as the removable decoration base
- Red lace rose-pattern decorative card stock, used as the background color
- Black-and-red lace trim, used to create a three-dimensional border
- Butterflyand silver border decoration pieces
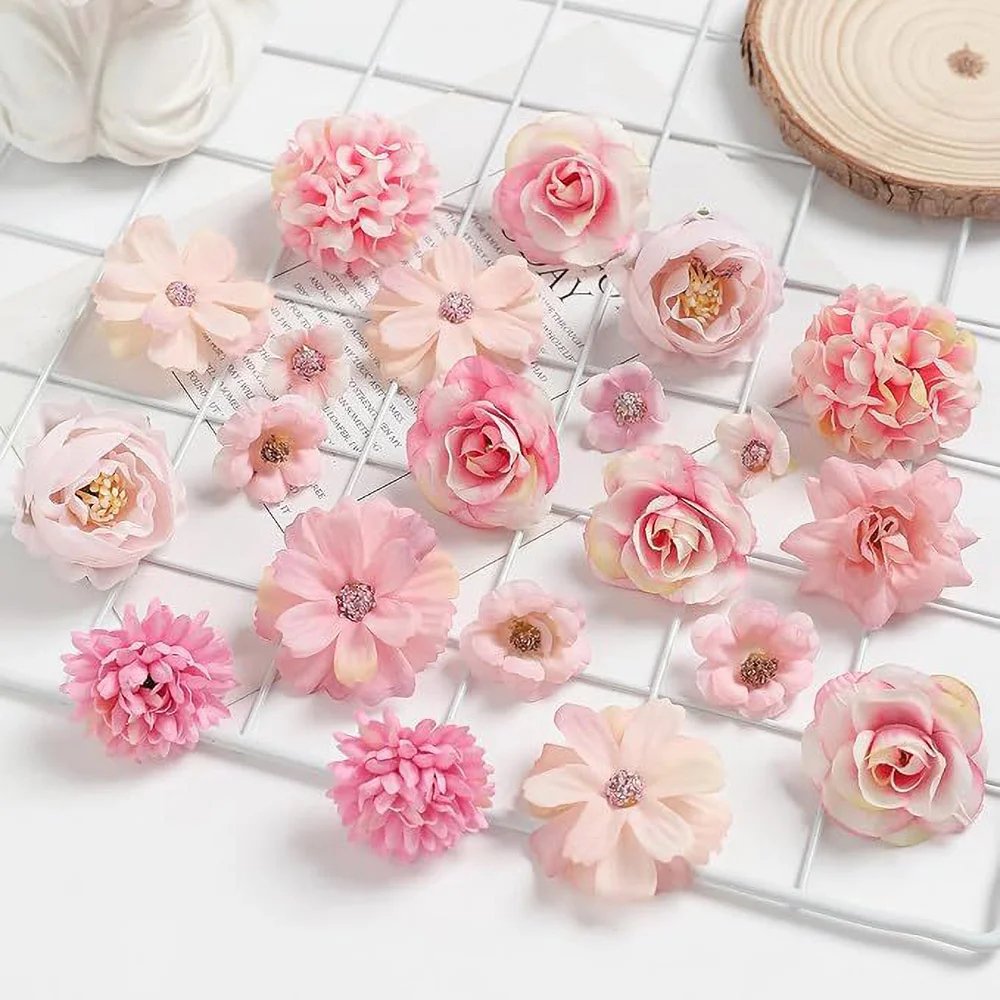
- Black and red rose flower andbow decorations, and a few small rhinestones
- Cylindrical mini strong magnets— the hidden star of this build
- Precision glue,double-sided tape, and a small pair of scissors
No hot glue gun, no professional paper cutter — the whole thing was done by hand with just precision glue and double-sided tape. We want this example to show that making an itabag by hand really doesn’t require stockpiling a pile of specialized tools before you can start — try it once with whatever you already have on hand, and you’ll find it’s a lot simpler than you’d expect.
Ⅲ. Breaking Down the Full Build Process
Step 1: Lay everything out before you commit — plan your composition.
Do a trial arrangement of all your materials on the insert board: Use two pieces of lace fabric in matching tones layered together, to add depth to what would otherwise be a flat background, then place the two BLUE LOCK badges apart, on the left and right, with the main badge on the left, richly decorated with lace trim, black roses, and a red bow around it; the secondary badge sits on the right, and compared to the main badge, it skips the heavier lace and instead uses a silver 3D decorative border and a small black bow as an accent — this doesn’t steal the spotlight from the main badge, while still keeping the visual weight balanced between the left and right sides. Finally, rose stickers and rhinestone accents fill in the remaining gaps. Gothic-style composition is all about sharp edges, a sense of mystery, and a stable center of gravity — which actually fits really well with the ambitious, intense energy of the BLUE LOCK characters themselves.
Step 2: Cut the lace card stock and fasten the background.
Trim the red lace-pattern card stock to fit the insert board exactly, cutting off any excess paper flush with the edge of the board. The cleaner the edges, the less likely they’ll curl up and hurt the look once you slot it into the itabag’s clear window.
Step 3: Layer the lace border and accessories on with precision glue and double-sided tape.
Use double-sided tape to fasten the lace trim, creating a picture-frame-like sense of dimension; then use precision glue and double-sided tape to gradually glue on the silver border charms and rose-and-bow decorations along the edges. The advantage of precision glue is that the output is extremely small and controllable — unlike regular white glue, which comes out in one big blob and ends up smeared everywhere before you’ve even placed it, which makes it especially well suited to this kind of detailed backing-board decoration work.
Step 4: The Core Technique — The Damage-Free Magnetic Fastening Method.
This is the trick we most want to share this time — the one we consider our secret weapon: use precision glue to fasten a mini magnet to the corresponding spot on the insert board, then attach a matching magnet to the back of the badge at the corresponding spot, and the character badge gets held firmly in place between the two magnets. This way, there’s no need to poke pin holes at all, and no glue ever touches the badge’s backing card directly, and it holds up well against shaking. Later, if you want to swap badges or rearrange the layout, you can pop them off and on in seconds, and your merch stays in perfect condition. Compared to pinning or gluing badges permanently onto the board, this method has become pretty much the standard approach we use for every itabag insert board we make now.
Step 5: Fill in the gaps, layering on rose and rhinestone details.
Step back, look at the overall picture, and fill in wherever it looks empty — black and dark-red rose stickers and a few rhinestones, adjusted purely by feel, with no fixed formula. By this point, you can already start to picture what the finished piece will look like once you take it out with you, and that anticipation is honestly one of the most addictive parts of the whole hands-on process.
Step 6: Close up the bag and put it on display.
Slide the finished insert board smoothly into the fastening slot inside the itabag, zip it up, and smooth out the clear window. A highly transparent window can fully bring out the fine texture of the Gothic dark color palette alongside the highlights on the badges, with the two red-haired characters’ badges set into either side of the lace background — and just like that, Itoshi Sae and Chigiri Hyoma officially moved into their new black itabag home. Holding it up to the light for that first look genuinely feels worth it.
Ⅳ. A Few Lessons We Learned the Hard Way
- Make your decorations removable — don’t permanently fuse them onto the bag. This is basically the first piece of advice we give every beginner;a standalone insert board plus magnetic fastening lets you revise and update as many times as you want, and it takes a lot of the pressure off.
- When it comes to precision glue, less is more. Too much glue not only looks bad, it can also leave marks on the inside of the clear pocket once it dries, which shows up especially clearly against a dark-colored bag.
- Symmetry isn’t mandatory — breathing room matters more. At first we were also obsessed with lining up badges in perfect symmetry, but later found that leaving a bit of staggered space, and letting the flowers anddecorations vary in density, actually makes the finished piece more visually interesting.
- Remember to pad and protect sharp corners. Hard items like metal charms and rhinestones can leave scratches over time if they sit directly against the inside of the clear pocket — it’s a good idea to put a small piece of tape over sharp corners first, or choose accessories with more rounded edges.
Ⅴ. Find Your Own Style Language
In the world of itabag-making, every theme has its own way of expressing itself, and Gothic is just one possibility among many.
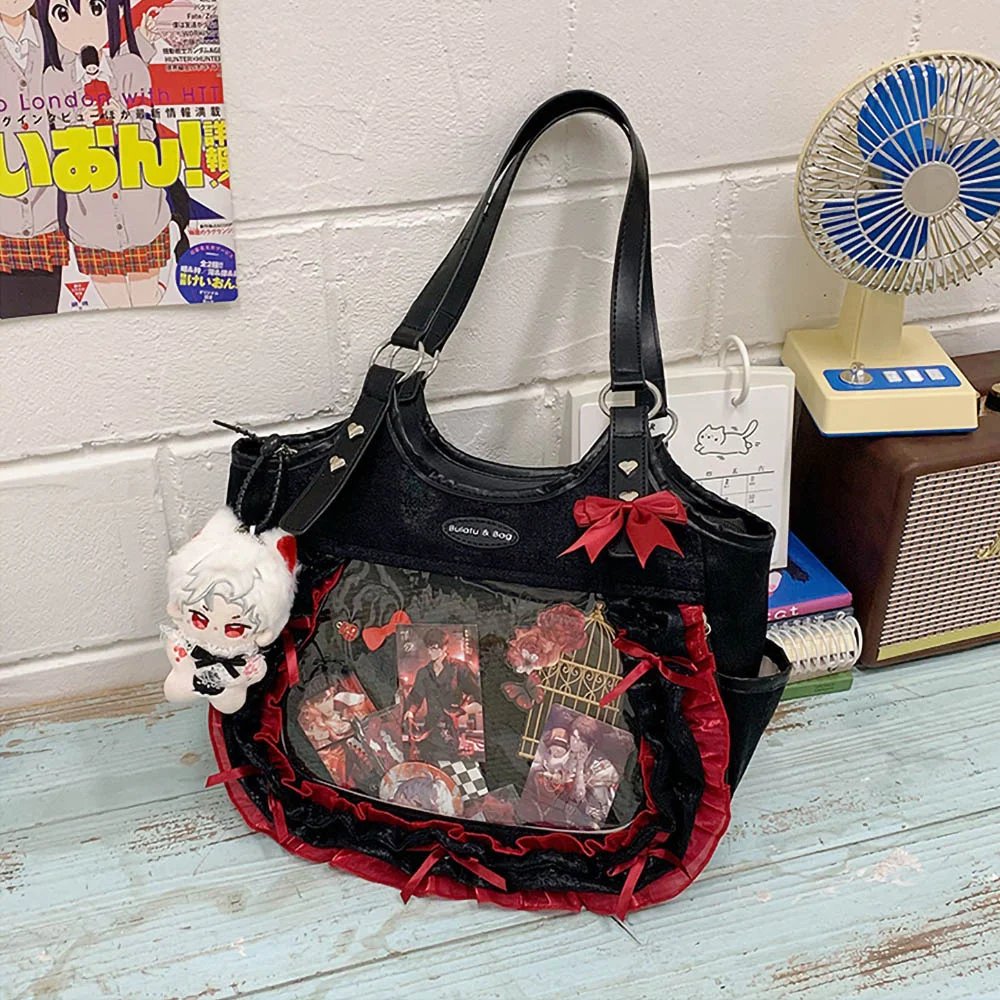
Dark Gothic: suits dark, textured bag bodies and linings, highlighting a metallic sheen and intense emotional tension — a great fit for characters with a competitive, ambitious energy like the ones in BLUE LOCK.
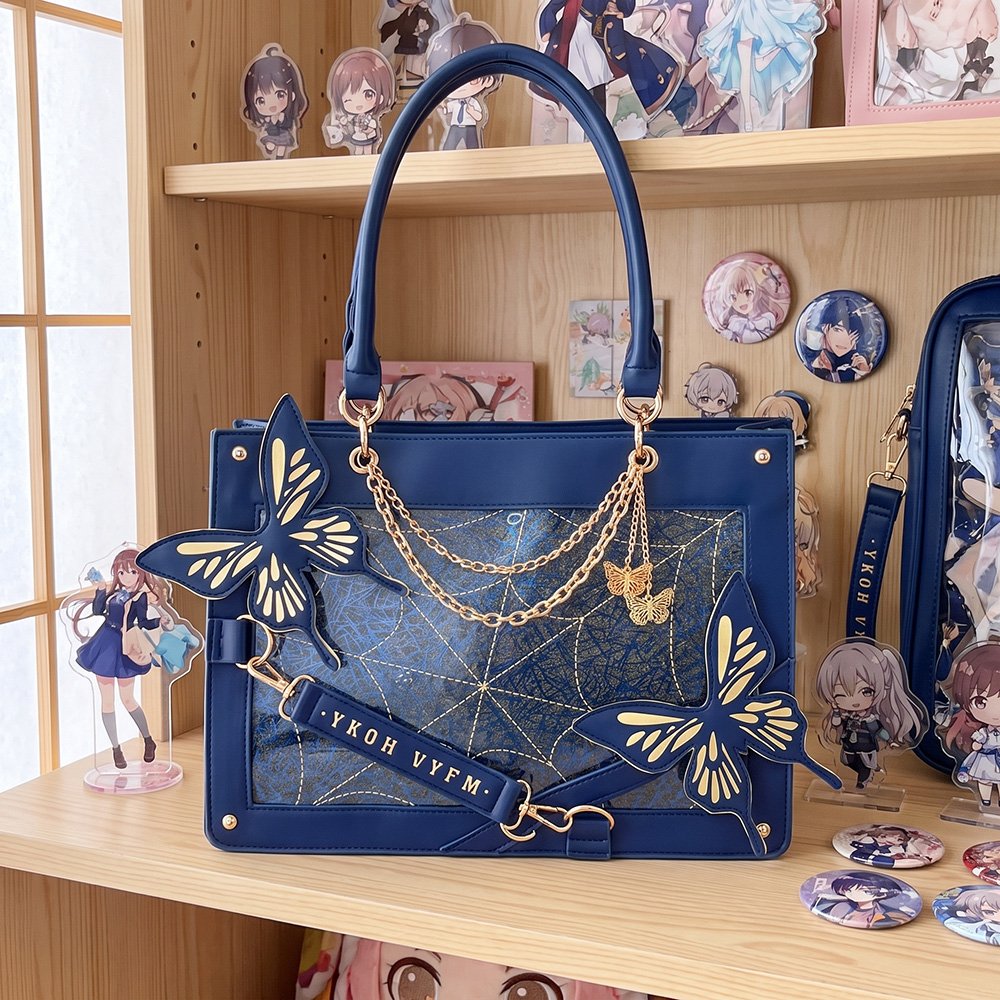
Sci-fi Shimmer / Glow-in-the-Dark: if your favorite character has a strong sense of motion or a tech-forward feel, a glossy deep-blue bag body, a black shimmer backing board, or even a style with built-in lighting can make your merch really stand out at a night convention or in dim lighting.
Soft and Healing: a light, soft color palette paired with a cross-stitch-textured background or macaron tones works great for cute-style characters, giving the whole thing a much gentler atmosphere.
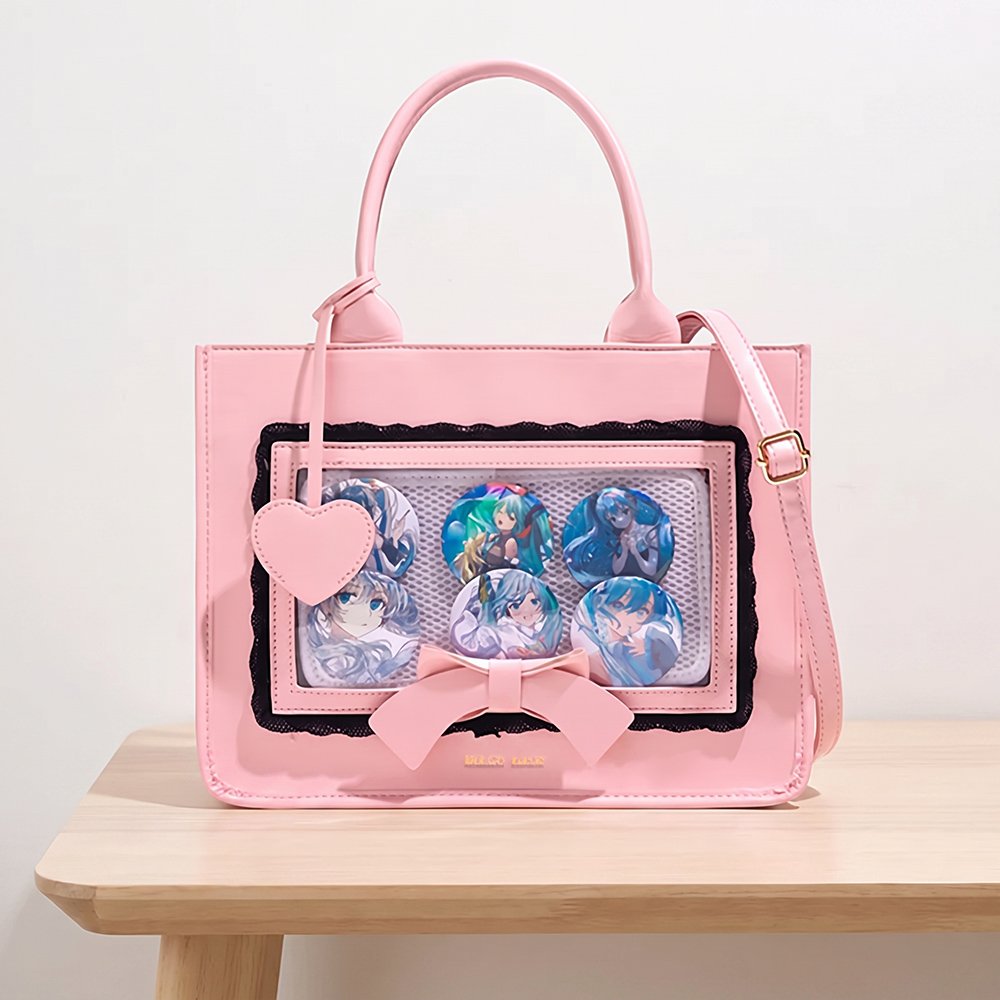
No style is better than another — finding the one that lets you and your favorite character click is the right direction for you.
Ⅵ. Summary
For us, making an itabag was never a complicated, rigid task — it’s a conversation about love, aesthetics, and intention. Watching a character you love shine on this little transparent stage you built with your own hands is a sense of accomplishment that’s hard to replace.
If you also want to build a dedicated home for your favorite character, come take a look around Pinitabag — whether it’s the Gothic-style itabag body used in this build, removable itabag insert boards, or badge protective accessories, we’re constantly updating our lineup, hoping to keep you company through a few rounds of trial and error until you find the one that’s genuinely, truly yours.
Have you run into any funny mishaps or discovered your own secret tricks along your itabag-making journey? Feel free to leave a comment and chat with us!
FAQ
Does the magnetic fastening method really not damage the badge’s backing card?
No, it doesn’t. Throughout the whole process, glue only ever touches the insert board and the magnet itself — it’s never applied directly to the back of the badge. The magnet also relies on magnetic attraction rather than any kind of physical piercing, so badges can be swapped in and out repeatedly and stay in perfect condition long-term.
Why make a removable insert board instead of decorating directly on the bag itself?
Because the shows you follow and the characters you love change over time, a standalone insert board can be pulled out and redone anytime, without the bag itself ever having to be retired — letting that enthusiasm carry on for much longer.
Is there anything to keep in mind about how much precision glue to use?
Less is more. Using too much glue not only hurts the look, it can also leave marks on the inside of the clear pocket once it dries, which is especially noticeable against a dark-colored bag — so it’s best to build it up in small amounts, layer by layer.
Is the magnet’s hold strong enough — will badges fall out during everyday carrying?
The magnets mentioned in this article are cylindrical mini strong magnets, which hold up well against shaking and rarely come loose during everyday wear, while still letting you pop badges off and on in seconds whenever you need to.
Get Inspired on Instagram
Looking for inspiration for your next ita bag? Follow us on Instagram for more ita bag decoration ideas, styling inspiration, and creative ways to showcase your favorite pins, charms, and collectibles. We regularly share different styling ideas to help you discover new ways to decorate and personalize your ita bag.