How to make an ita bag

Table of Contents
1. Traditional tutorials look simple, but reality is often more complex
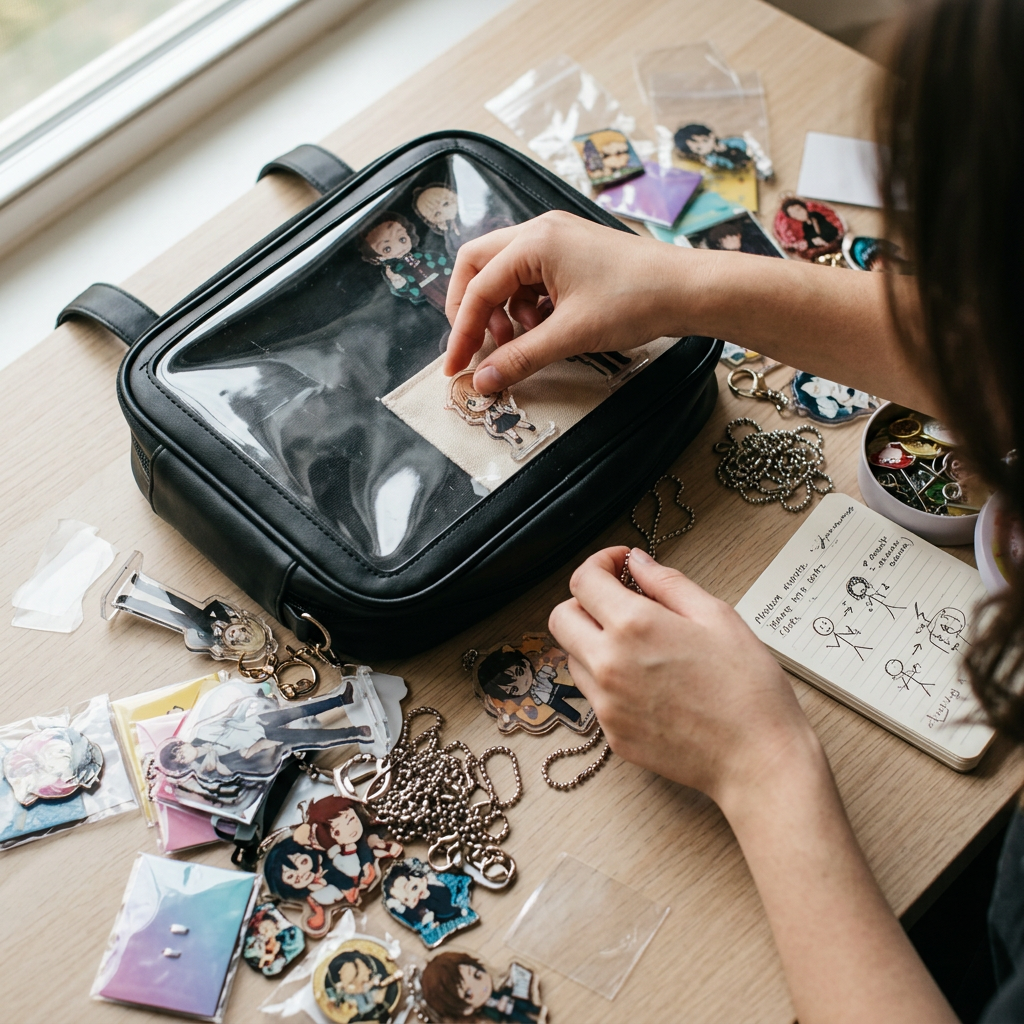
There are many tutorials online about how to make an ita bag. Step one: pick a bag. Step two: prepare your merchandise. Step three: arrange and fix them in place. It sounds simple and clear—but anyone who has actually sat down with a pile of acrylic stands, a handful of charms, and a brand-new bag knows that reality is often much messier than any checklist.
The stands won’t stay upright. Charms get tangled with each other. The layout that looked perfect in your head feels awkward once it’s actually against the window. By the time you’re rearranging for the third time and notice the first accidental scratch, you start to wonder if you’re doing something fundamentally wrong—or if everyone else just finds it this difficult and nobody talks about it.
This is exactly why we wanted to write this article in a different way. Instead of providing a step-by-step tutorial from an outsider’s perspective, we hope to present the process as it actually happens.
2. We chose "real stories" to explain the making process
We found several real customers—people who came to us with their merchandise, their ideas, and their very specific problems—and asked them to reconstruct the process from their own perspective. What did they face initially? Where did things go wrong? How did they finally solve it?
These processes are often closer to the real experience than “step-by-step instructions”. From this, the following two stories were born. They are real and specific, and we believe they offer more reference value than any generic tutorial.
Whether you are making your very first ita bag or looking to refresh an old one, there is a story here that likely sounds just like your situation. Let’s get started!
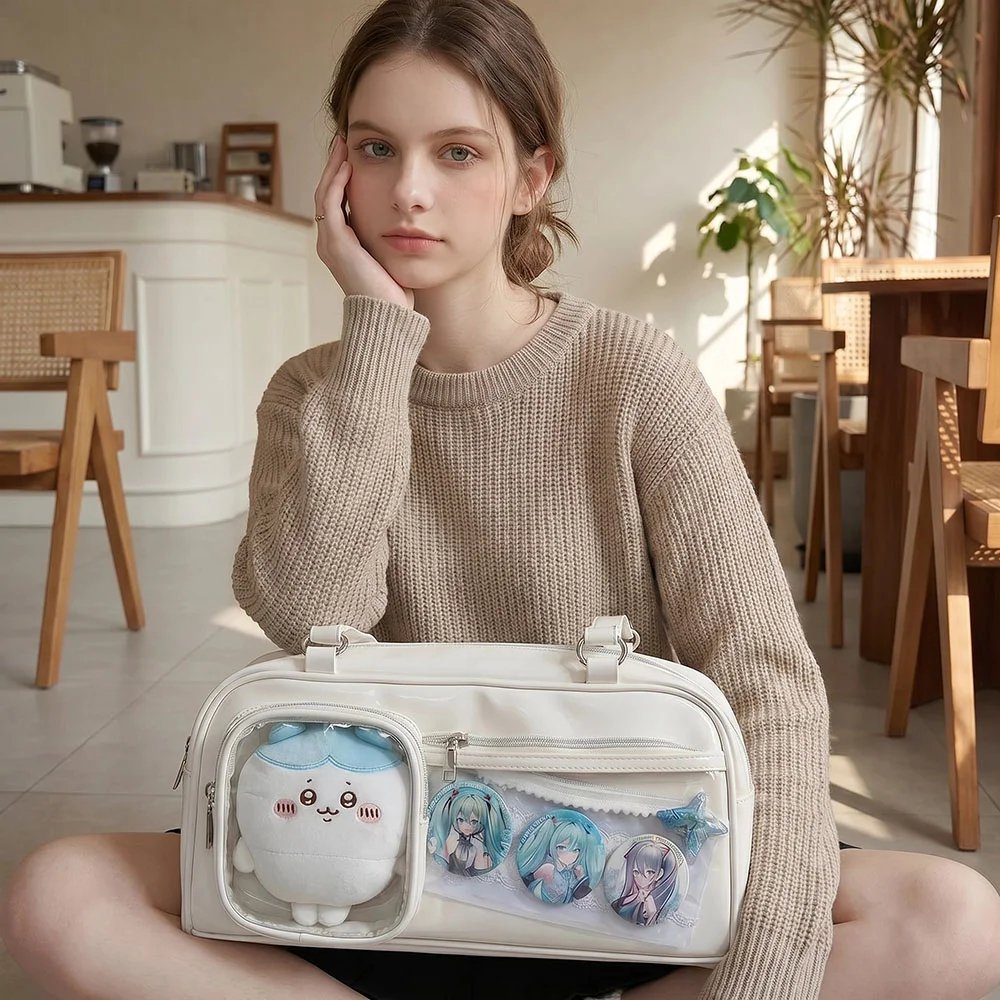
2、Case 1: The First-Time Ita Bag Novice
"After attending a few conventions, I fell in love with ita bags and decided to start collecting merchandise"
The Starting Point
Fan A, a beginner, chose a classic backpack with large transparent windows, assuming the space would be more than enough for her collection. However, her first attempt ended in frustration: after hours of effort, the items simply slumped into a mess as soon as the bag moved. Defeated, she packed everything back into storage.
What Went Wrong
The failure stemmed from a lack of planning and stabilization. Without a layout, her placement was impulsive; without fixing measures, the merchandise had no support on the smooth PVC surface. Furthermore, a typical “novice mindset” led her to cram too many items inside, resulting in a cluttered display where nothing stood out.
The Method That Finally Worked
Before her second attempt, Fan A reached out to us, and we provided two key strategic adjustments:
- Secure Fixing: We suggested using Velcro to anchor each item to the inner wall, ensuring they stayed in place regardless of movement.
- Paper Layout: We guided her to cut out paper scraps to scale, allowing her to experiment with different arrangements on a flat surface before touching the bag.
With our guidance, she embraced the “less is more” philosophy and finished the assembly in just 40 minutes. “Thanks to these professional tips,” she admits, “I realized that the paper scrap step—though simple—was the ultimate game-changer.”

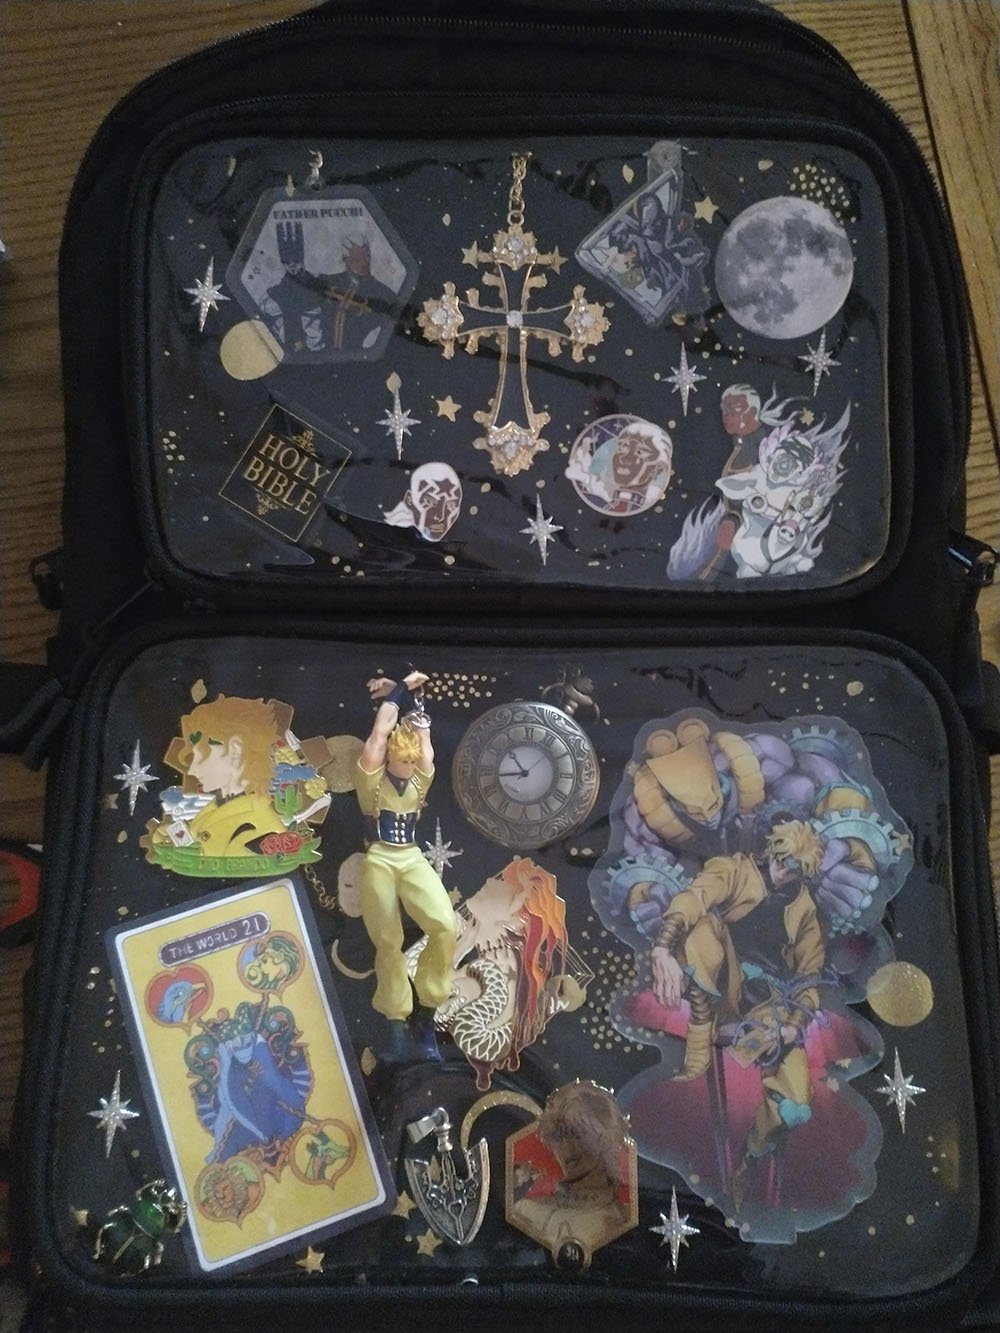
3、Case 2: The Pro Player's Refurbishment
"My bag is still usable, but it’s becoming incredibly worn out"
Fan B has carried the same ita bag backpack for years, through daily commutes and countless conventions. Over time, as new merchandise was constantly added, the display became a cluttered “mess of emotional value,” where even forgotten charms left permanent dents in the corners. Rather than replacing this weathered companion, Fan B turned to us to help him renovate it—wanting his cherished bag to finally feel like a true reflection of himself again.
The Starting Point
Before starting the renovation, Fan B performed his most thorough inventory yet. While the bag’s structure remained sound, the primary issues were the worn PVC window and the stained lining. The process became a conversation with his memories: as each item represented a specific moment or mood, he found that “letting go” was unexpectedly moving and far heavier than he had anticipated.
The Transformation Process
With our assistance, the renovation was carried out in two stages:
- The Decision Phase: We guided him in categorizing his collection, selecting items with the deepest emotional value for display while retiring the rest to storage.
- The Redesign Phase: We replaced the worn-out PVC with fresh material and relined the interior. We then worked together to sketch a new layout and establish a harmonious color scheme.
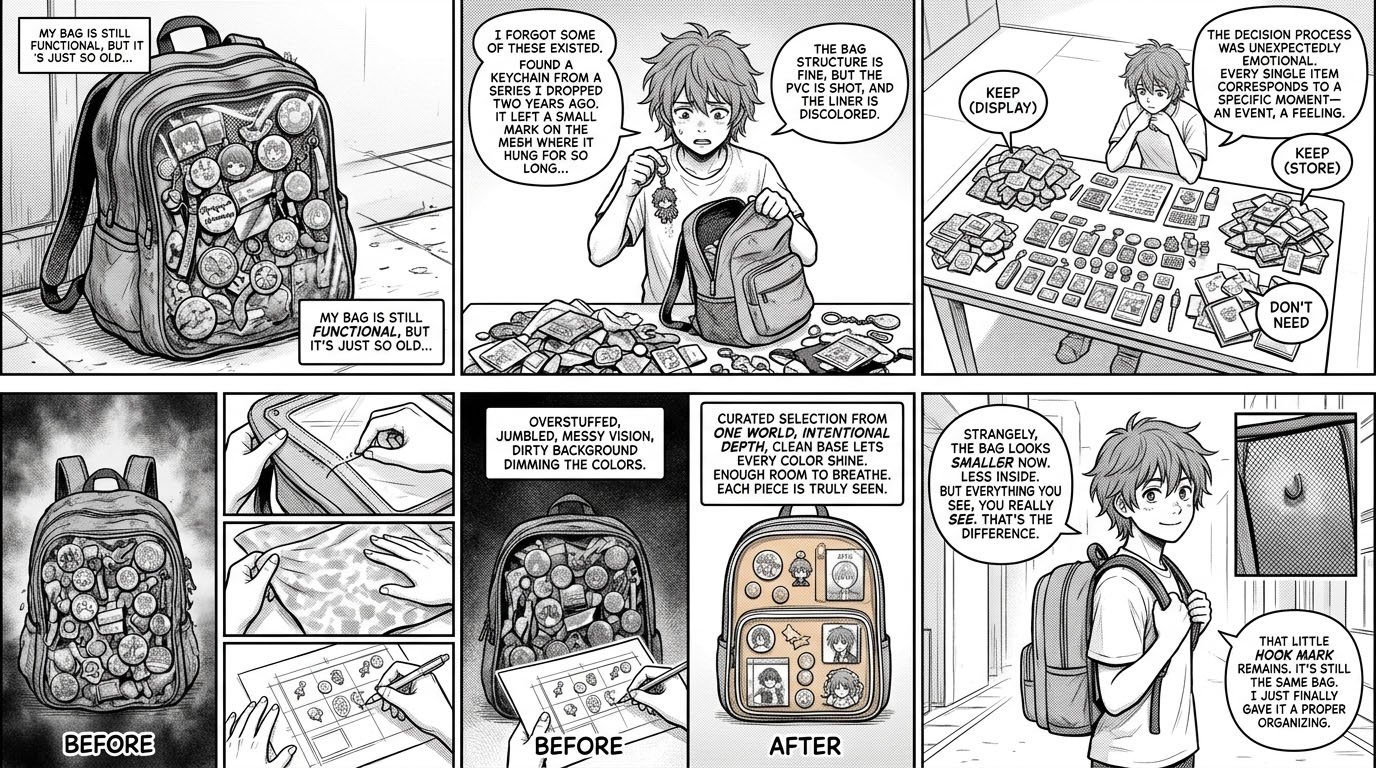
Before and After
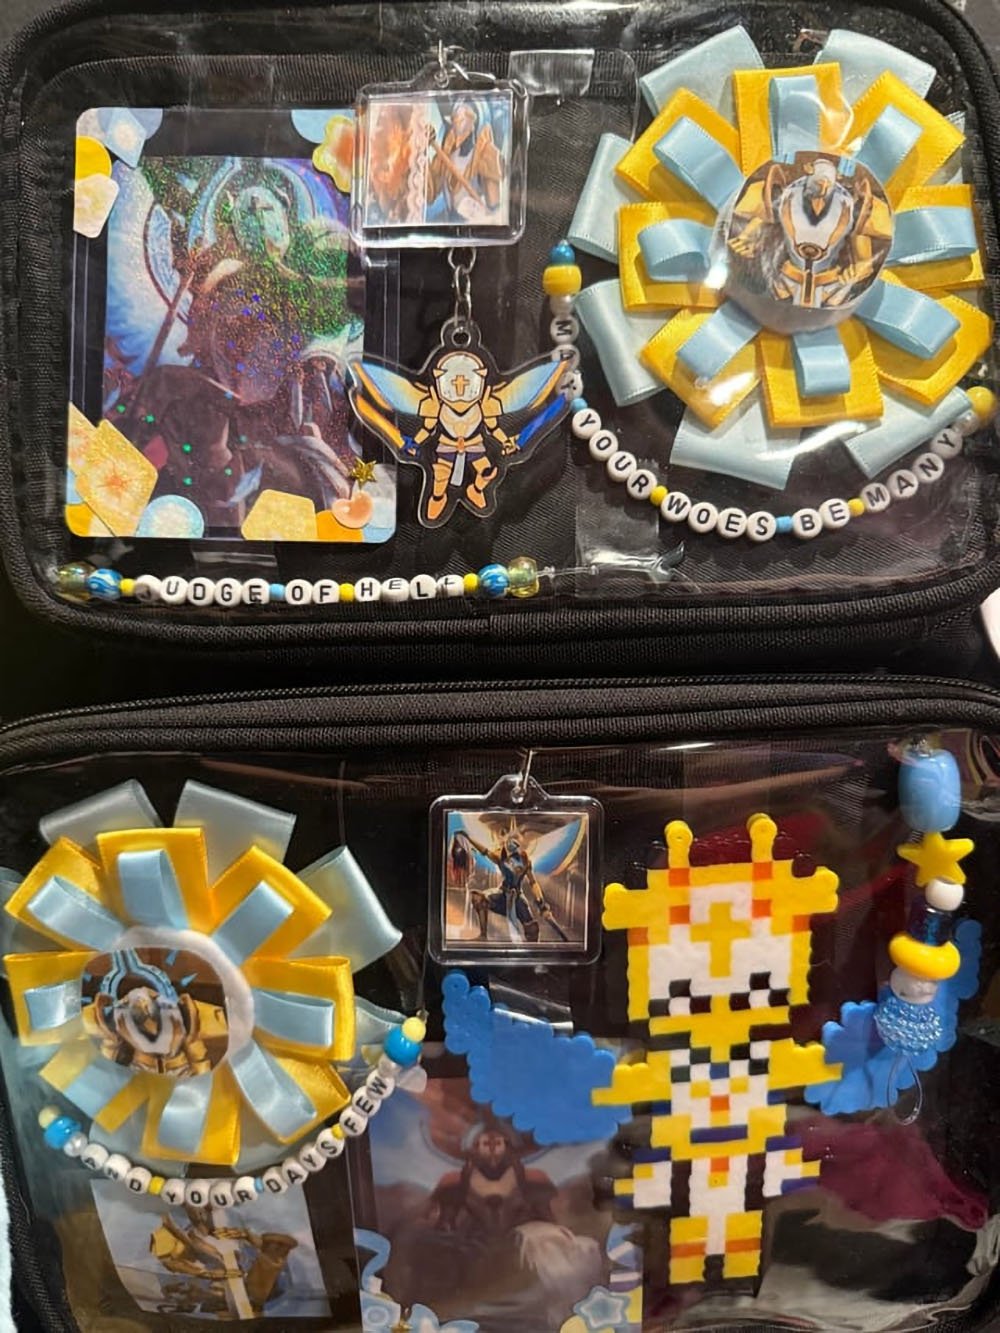
The renovation transformed the bag from a “cluttered mess” into a “breathable gallery.”
The Contrast: Where the window was once suffocatingly packed and visually chaotic, it is now themed and orderly. A deliberate, staggered layout paired with a neutral background allows every piece of merchandise to truly shine.
B remarked that while there is “less” inside, every item can finally be “seen.” Though he chose to keep a small original dent as a witness to the bag’s history, the professional renovation plan we provided gave the bag a new life, making it a true reflection of his current self once again.
4、What we learned from these stories
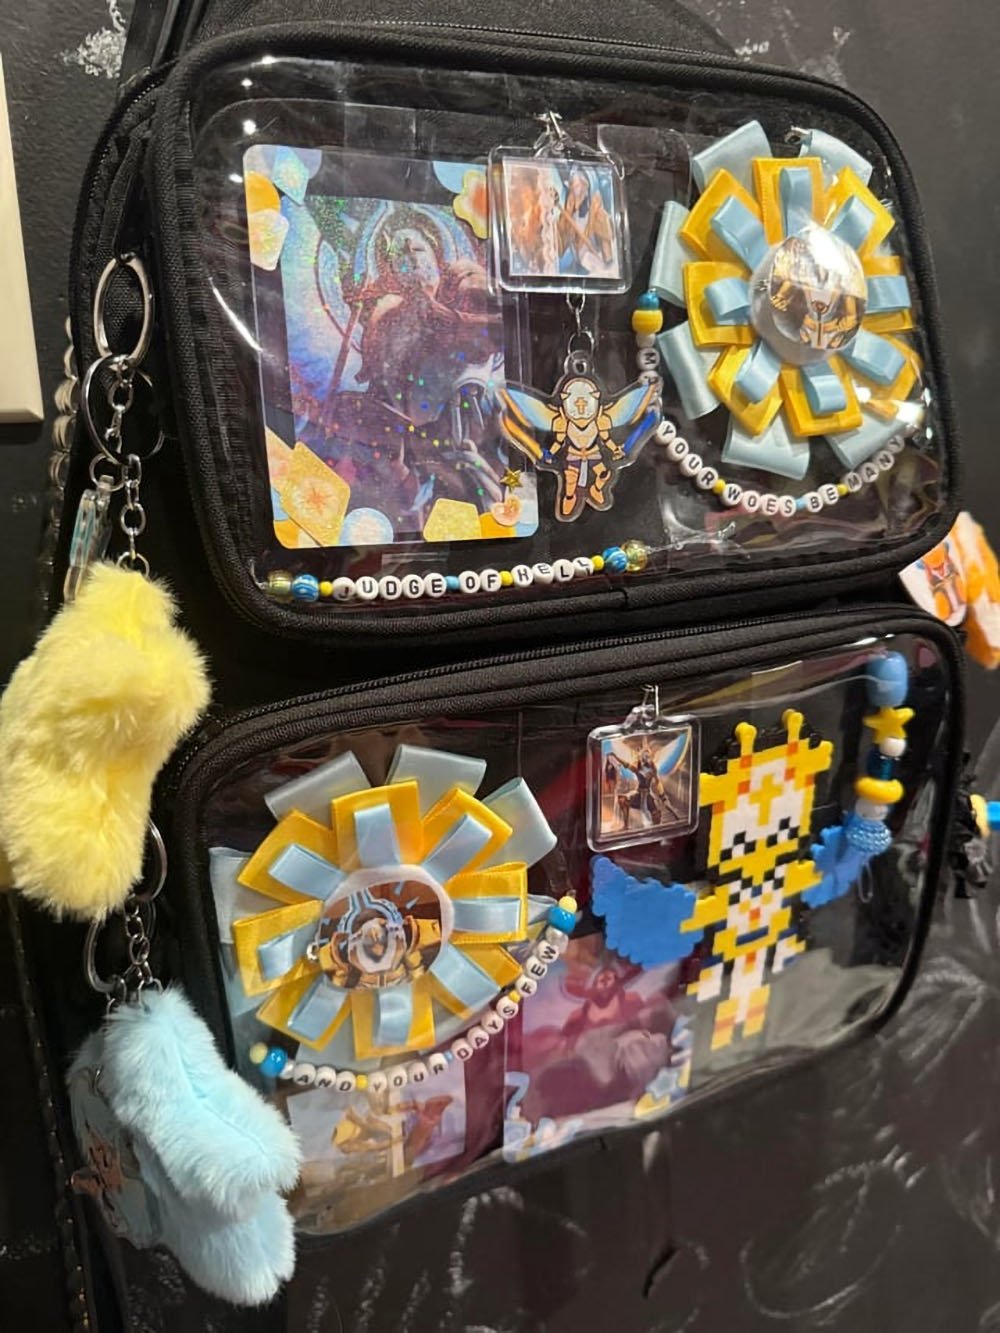
Two bags and two different people, yet both discovered the same core truths through their own process: plan before you start, master the art of “leaving things out,” and never overlook the small details.
If you are preparing for your first ita bag, don’t let the fear of mistakes or imperfection daunt you. Slips, tangles, and trial-and-error are all part of the journey. The moment your vision finally comes to life, that sense of achievement will make every bit of frustration worth it. We can’t wait to see what you create—feel free to share your finished bags with us!
FAQ
Q: I’m worried my charms will slide around and get messy inside the window. How do I keep them in place?
This is a common concern! For items that don’t naturally stay put, we recommend using small pieces of self-adhesive Velcro. Attach the soft side to your charm and the hook side to the bag’s interior lining. It keeps everything secure even when you’re on the move.
Q: I have so much merchandise I want to show off. Should I put it all in one bag?
It’s tempting to display everything, but “less is often more.” Overcrowding can make your display look cluttered. Try picking a specific theme or your absolute favorites for now, and rotate your other items in later to keep your bag looking fresh and organized.
Q: How do I avoid making mistakes during the layout process?
A great pro-tip is to plan your layout on paper first. Cut out paper shapes that match the size of your charms and arrange them on a surface that is the same size as your bag’s window. This lets you experiment with different designs without constantly handling (or potentially scratching) your bag and merchandise.
Q: Is it normal to feel frustrated during the first assembly?
Absolutely! Even experienced users find that items don’t always sit right the first time. It’s okay to take your time, rearrange, and even start over. The “perfect” look usually comes after a bit of trial and error.
Get Inspired on Instagram
Looking for inspiration for your next ita bag? Follow us on Instagram for more ita bag decoration ideas, styling inspiration, and creative ways to showcase your favorite pins, charms, and collectibles. We regularly share different styling ideas to help you discover new ways to decorate and personalize your ita bag.